Course navigation
Design the User Interface
Step 1
Now you’re going to take the sketch of the user interface you designed and turn it into a real app!
It says “Screen 1” at the top of your screen. Go to the Properties pane and change the Title to the name of your game.
Step 2
Go to the Media pane (underneath Components) and upload your digital media:
- A background image
- A sprite
- A sound that plays when the player catches the sprite
- A sound that plays when the game ends
Step 3
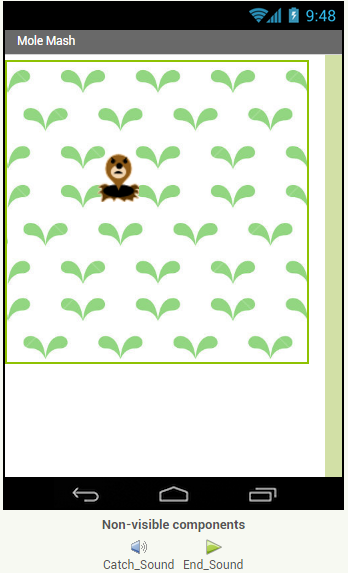
From the Drawing and Animation palette, drag and drop the Canvas component onto the Viewer.
Go to the Properties pane and set the Height property to 300 pixels and the Width property to 300 pixels. This is the playable area of your app.
Set the BackgroundImage of Canvas1 to the image you picked earlier.

Step 4
From the Drawing and Animation palette, drag and drop the ImageSprite component onto Canvas1. Go to the Properties pane and set the Picture property to the sprite you picked earlier.
Set the Height of the sprite to 50 pixels and the Width to 50 pixels.

In the Components pane, rename ImageSprite1 to “Sprite”.
Step 5
Go to the Media palette and drag and drop a Sound component and a Player component onto the Viewer. They will appear in the non-visible components.
Rename Sound1 to “Catch_Sound” and rename Player1 to “End_Sound”. That will help you when you’re programming later.

Go to the Properties pane and set the Source of the Catch_Sound and End_Sound to the sound effects you chose earlier.
Step 6
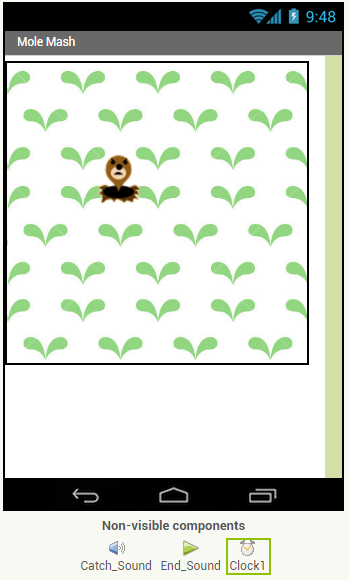
Go to the Sensors palette and drag and drop a Clock component onto the Viewer. Set the TimerInterval to “500”. This is 500 milliseconds, which is a half-second. The Clock will allow you to do animation, where you program the Sprite to move every half-second.

Step 7
There are two more components to add:
- A Label named "ScoreLabel" that shows the score
- A Button named "ResetButton"
Drag these components from the palette and place them underneath the Canvas. Rename them in the Components pane.
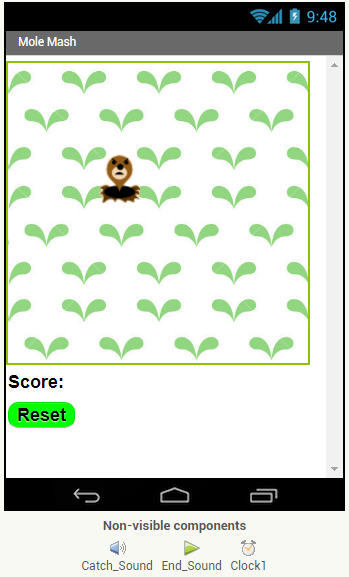
Set the Text of ScoreLabel to "Score:" and set the Text of ResetButton to "Reset". Change the other properties of these components according to your design.
Step 8
Your final UI should now look something like this:
