Course navigation
Write and Test the Code for your Name Badge
Write code to make your name appear on the micro:bit screen.
In this workshop you’re going to code your own digital name badge using the micro:bit. You’ll be creating your own piece of wearable technology.
Step 1
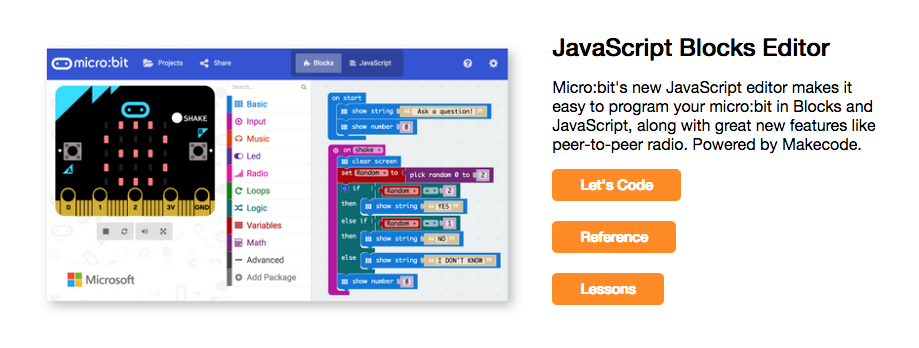
Go to the microbit.org website and click 'Let’s Code'.

You'll write your code using JavaScript Blocks Editor. Choose 'Let’s Code'.

Step 2
To create a name badge you need to be able to find a way to display a word on the screen.
Your name is made up of a sequence of characters put together. For example, 'Akram' is made up of 'A', then 'k', then 'r', then 'a' and then finally 'm'. In computer programming, this is called a 'string', because it’s as if the letters have been threaded beside each other on a string.
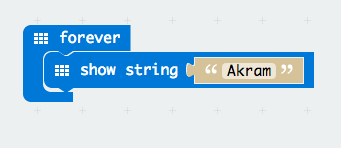
In JavaScript Blocks we can use the show string block to display a message on the micro:bit screen.

Drag the block into your code and place it inside the forever block.

Click inside the speech bubble to change the text from 'hello' to your name.
The forever block will run your code in a loop. In computer programming this means all the code inside that block will be run over and over again. It’s called a 'forever' block because once it has started, it'll never stop running.
Step 3
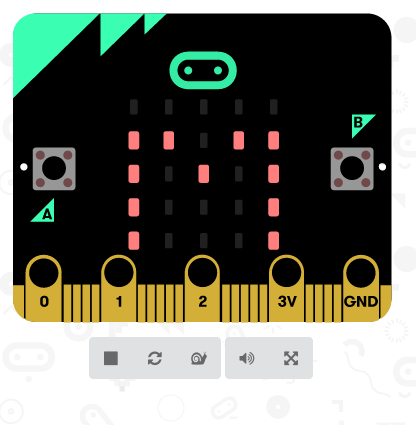
Check to see if your code works. Look at the simulator on the left-hand side of the screen. Your code will automatically run there after you’ve made a change.

If it’s not working you'll need to 'debug' your code. A 'bug' is a mistake in your code – it might be that you’ve typed something wrong, or put something in the wrong place. Look through the code carefully and see if you can find where it went wrong. Once you’ve found the mistake, fix it and test it again using the simulator.