Course navigation
Learn About the Raspberry Pi Camera Module
An introduction to the Raspberry Pi camera module and what you can do with it.
Step 1
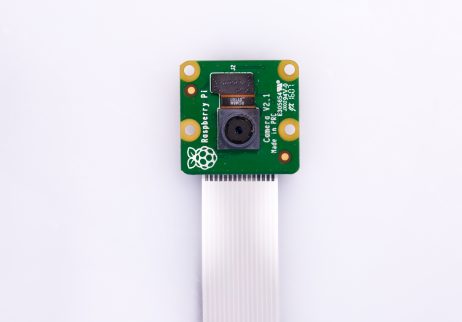
Take out the Raspberry Pi camera module.

Step 2
The Raspberry Pi camera module is an official product from the Raspberry Pi Foundation.
The latest version has an 8 megapixel camera. It can be used to take images and high definition video.
Step 3
The camera can be used to create a time-lapse video. This is when single photos taken over a long period of time are combined to create an animation.
Watch this short time-lapse video taken with the rapsberry pi camera over 2 days:
https://www.youtube.com/watch?v=tz2rC4QqBwM
And watch this short time-lapse video of a landscape with changing weather:
Step 4
The camera can also be used for high-speed recording. This makes it possible to record videos of fast-moving objects and play them back in slow motion.
Watch this video, filmed with the Raspberry Pi camera, of a balloon popping in slow motion:
https://www.youtube.com/watch?v=zm9bmr6_1K8
And watch this slow motion video filmed with a Raspberry Pi camera:
Step 5
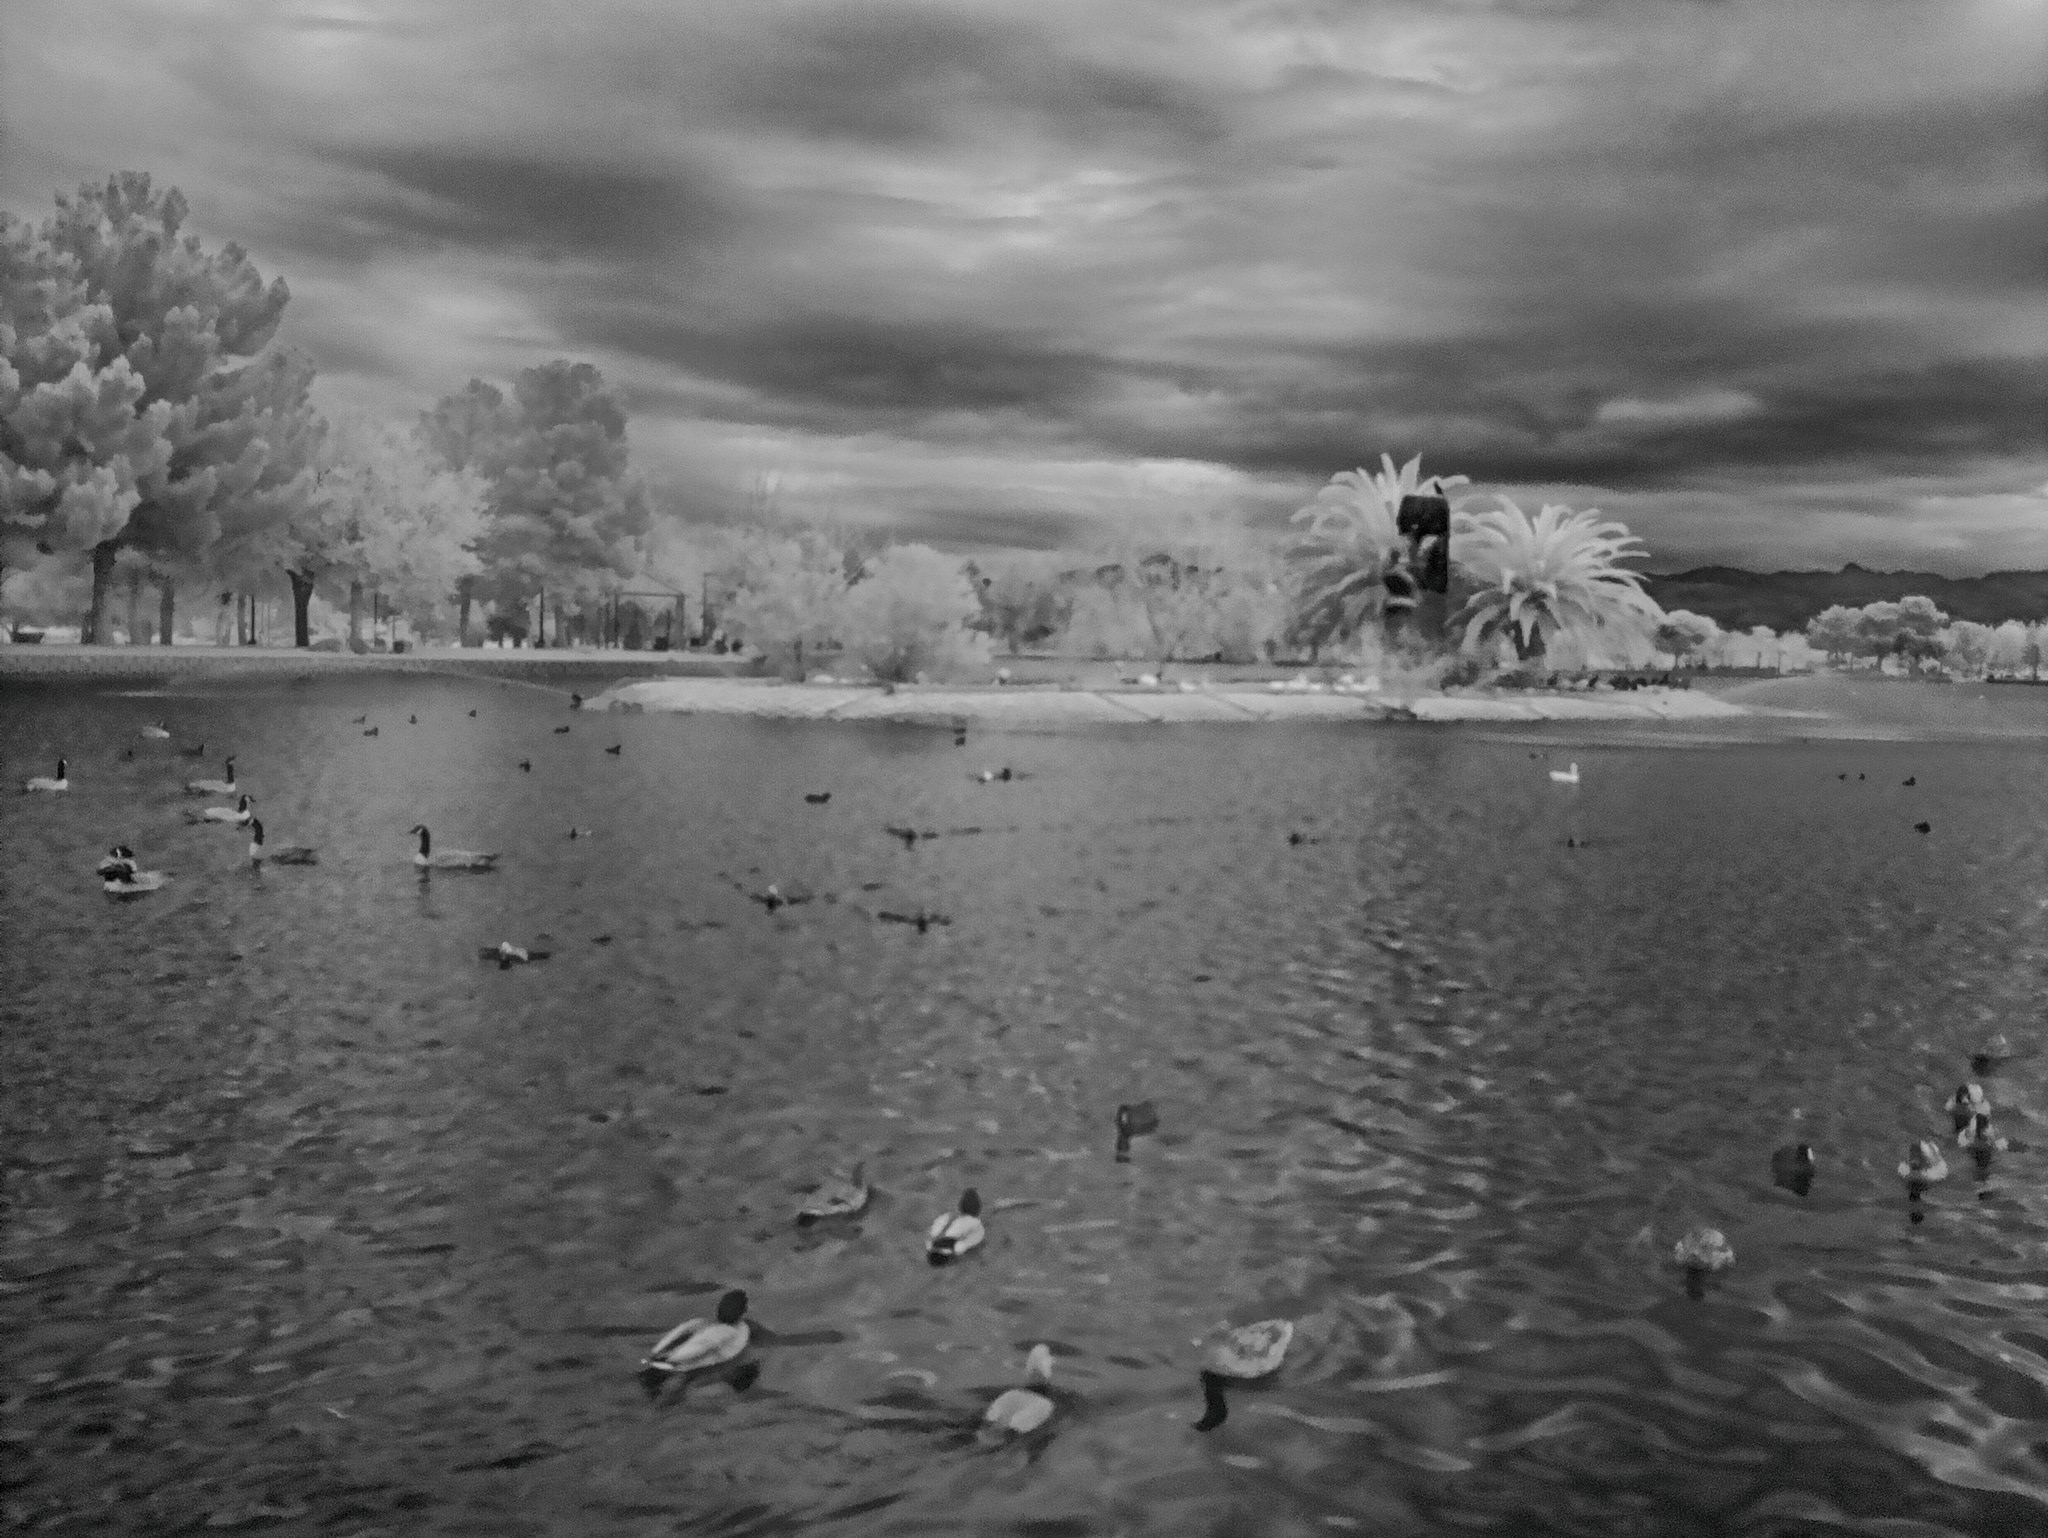
There's a version of the Raspberry Pi camera called the Pi NoIR – this is the same as the regular camera, but the infrared filter has been removed. This means it’s possible to take pictures in the dark.
Here’s a photo taken with the Pi NoIR camera. You can click on the photo to make it bigger:
