Course navigation
Use HTML and CSS to Remix a Web Page
Step 1
In this lesson you will learn more about coding in HTML and CSS to design web pages.
HTML controls where everything is shown on a web page, and CSS helps control what each part looks like.
You will work on changing, or remixing, an "HTML Bricks" web page to make it your own.

Open the page at: https://codepen.io/terencefn/pen/RwqdJbv. You can click "Fork" on the bottom bar and login or sign up to CodePen, or you can edit the page directly, but you won't be able to save your progress without logging in.
Step 2
The Code Pen website is an online editor for making web pages. You can change the view by clicking the "change view" button on the top right.

The list of files you will use is on the left – there is an HTML file and a CSS file. We won't use the JS file in this lesson.
Have a look at the html and css files and see if you recognise any code from the previous lessons.
If you change any of the code in the file, the page on the right will update. Don’t worry about breaking any of the code, you can always open the link and start again.
Step 3
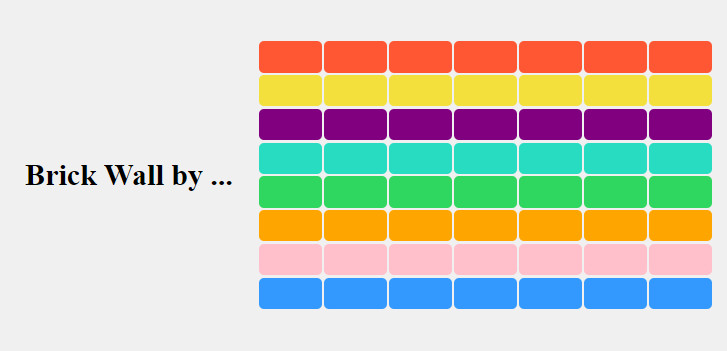
The code creates a wall of colored bricks. You can control the color of each brick in the html file. Try changing some of the brick colors to create a pattern (for example, you can change class="lego-brick red" to class="lego-brick blue".
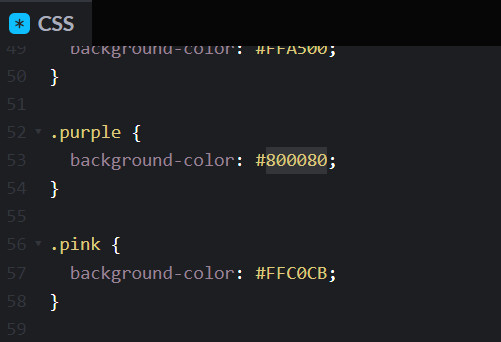
The color of the bricks is defined in the css file. Scroll down to the definition of each color. See if you can change the color by using a different color code. You can find hex color codes on this page https://en.wikipedia.org/wiki/Web_colors

Step 4
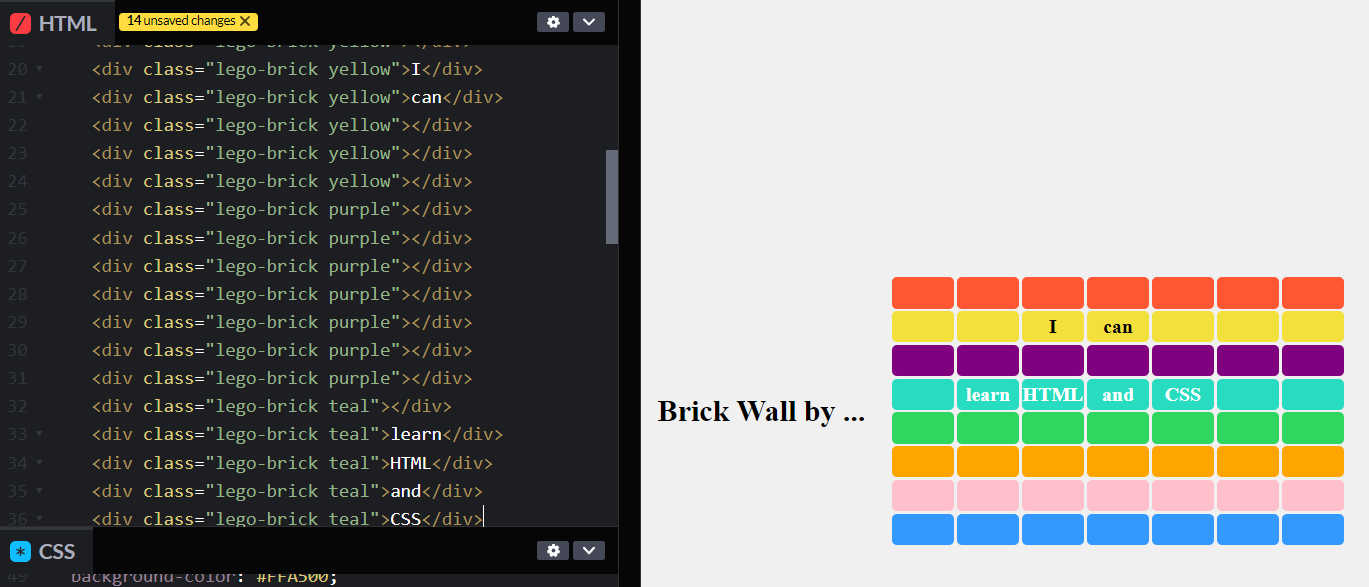
You can add text inside the bricks, by writing in between the opening and closing div tags (between <div> and </div> for that brick.)
Try writing your name, or a greeting, to some of the bricks.

The text shows as white text, because in the css file, the property "color:white" is declared in the "lego-brick" section. The white text doesn't show up well on the yellow bricks, so you can add "color:black" in the ".yellow" section of the css file to make black text appear on those bricks. Add some text onto a yellow brick to check that it has worked.
Step 5
By now you should be getting used to how the css file controls the look and feel of the page. Here are some pieces of code to notice to help understand how it all works:
- The "lego-wall" section controls how wide the wall is with the width: 400px property.
- The flex settings in the "lego-wall" section tells the web page to display all the bricks next to each other, and to start a new line of bricks when needed
- The width and height properties in the "lego-brick" section sets the width and height of the bricks, in pixels.
- The margin property sets how much space is in between the bricks.
Try changing any of the values in the list above to see what happens. If something goes wrong, you can press CTRL and Z or CMD and Z to undo.
Step 6
Instead of relying on the flex properties to position the bricks, you can place a brick in a specific place on the screen.
Try adding <div class="lego-brick blue" style="position: absolute; top: 300px; left: 300px;">
You can also control the width and height of the brick by adding that property, for example: <div class="lego-brick blue" style="position: absolute; top: 300px; left: 300px; width: 200px">
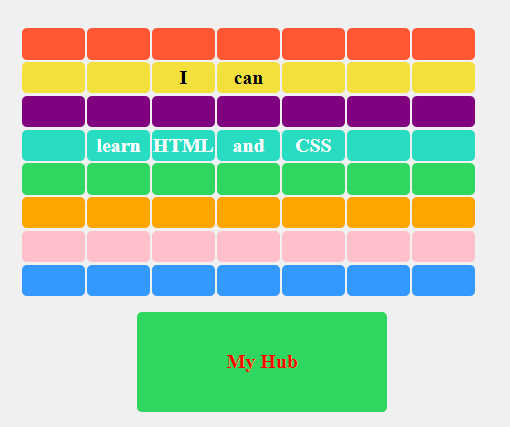
See if you can add a large brick (around 200 pixels wide and 60 pixels high) under your brick wall, and label it with your name in red text. You can choose a color for the brick.

Step 7
Add any other details that you want. You can save your page if you are logged in, and share a link with someone else by clicking the "share" button at the bottom of the page. You can also take a screenshot to send.