Course navigation
Separating Your Layers
This lesson will show you how to separate out different elements of your pattern to create a solid background and a top cut out layer. You can then test out your colours and layout before finalising your decisions.
Step 1
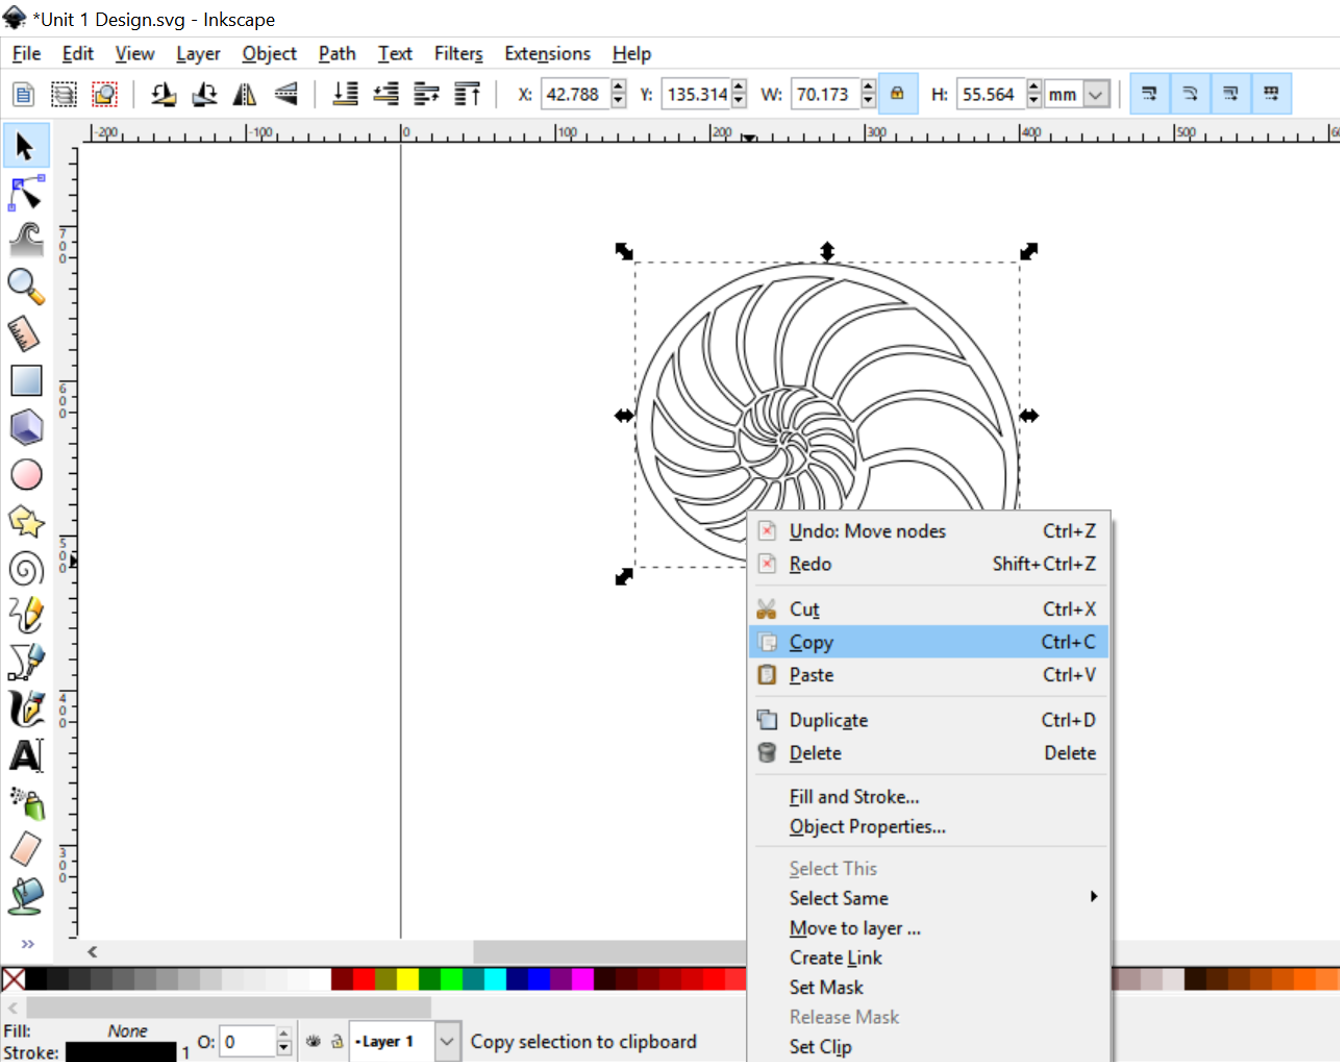
Use your selection tool to click and select your outer cut line then right-click and select Copy (alternatively use Ctrl + C).
Right-click again and select paste to create a copy of your outer cut line (alternatively use Ctrl + V).
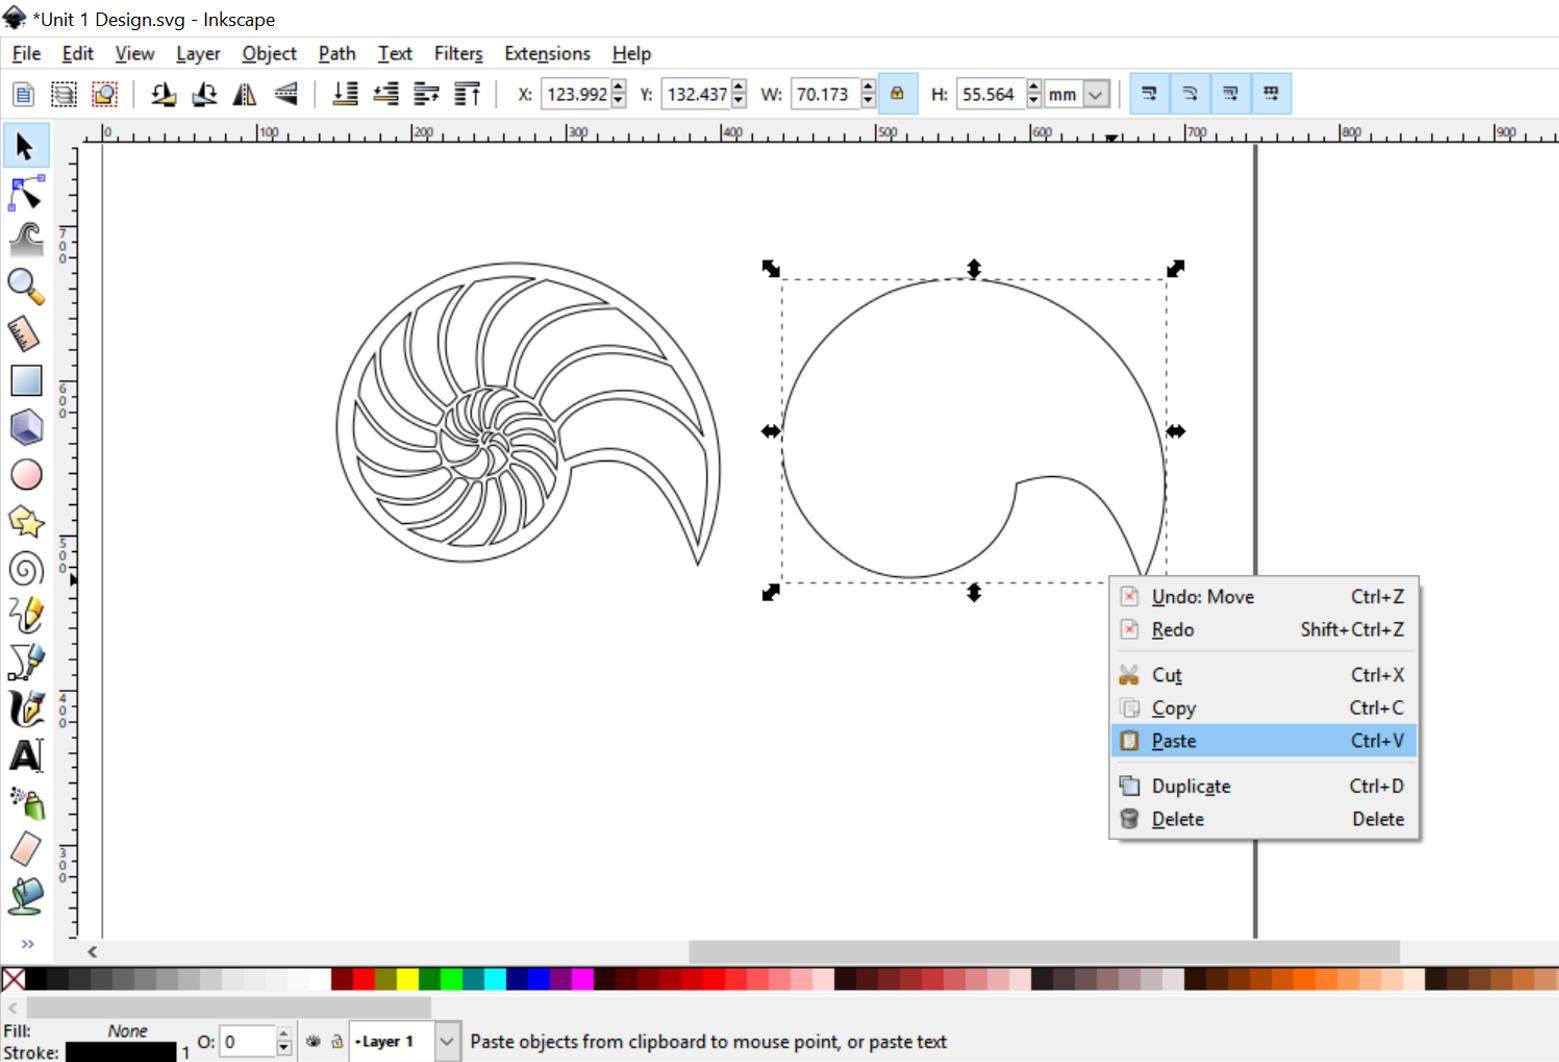
Combine all the paths in your cut out pattern into one compound path.
To do this, use your selection tool and draw a selection box around your pattern. Once selected, go to Path in the top menu and select Combine.

(Hint: Compound paths made using the Combine tool let you use an object to cut a hole in another object. For example, you can create a doughnut shape from two nested circles. To go back and edit parts of the compound path, you can use Break Apart in the Path menu to pide a compound path back into its inpidual components.)
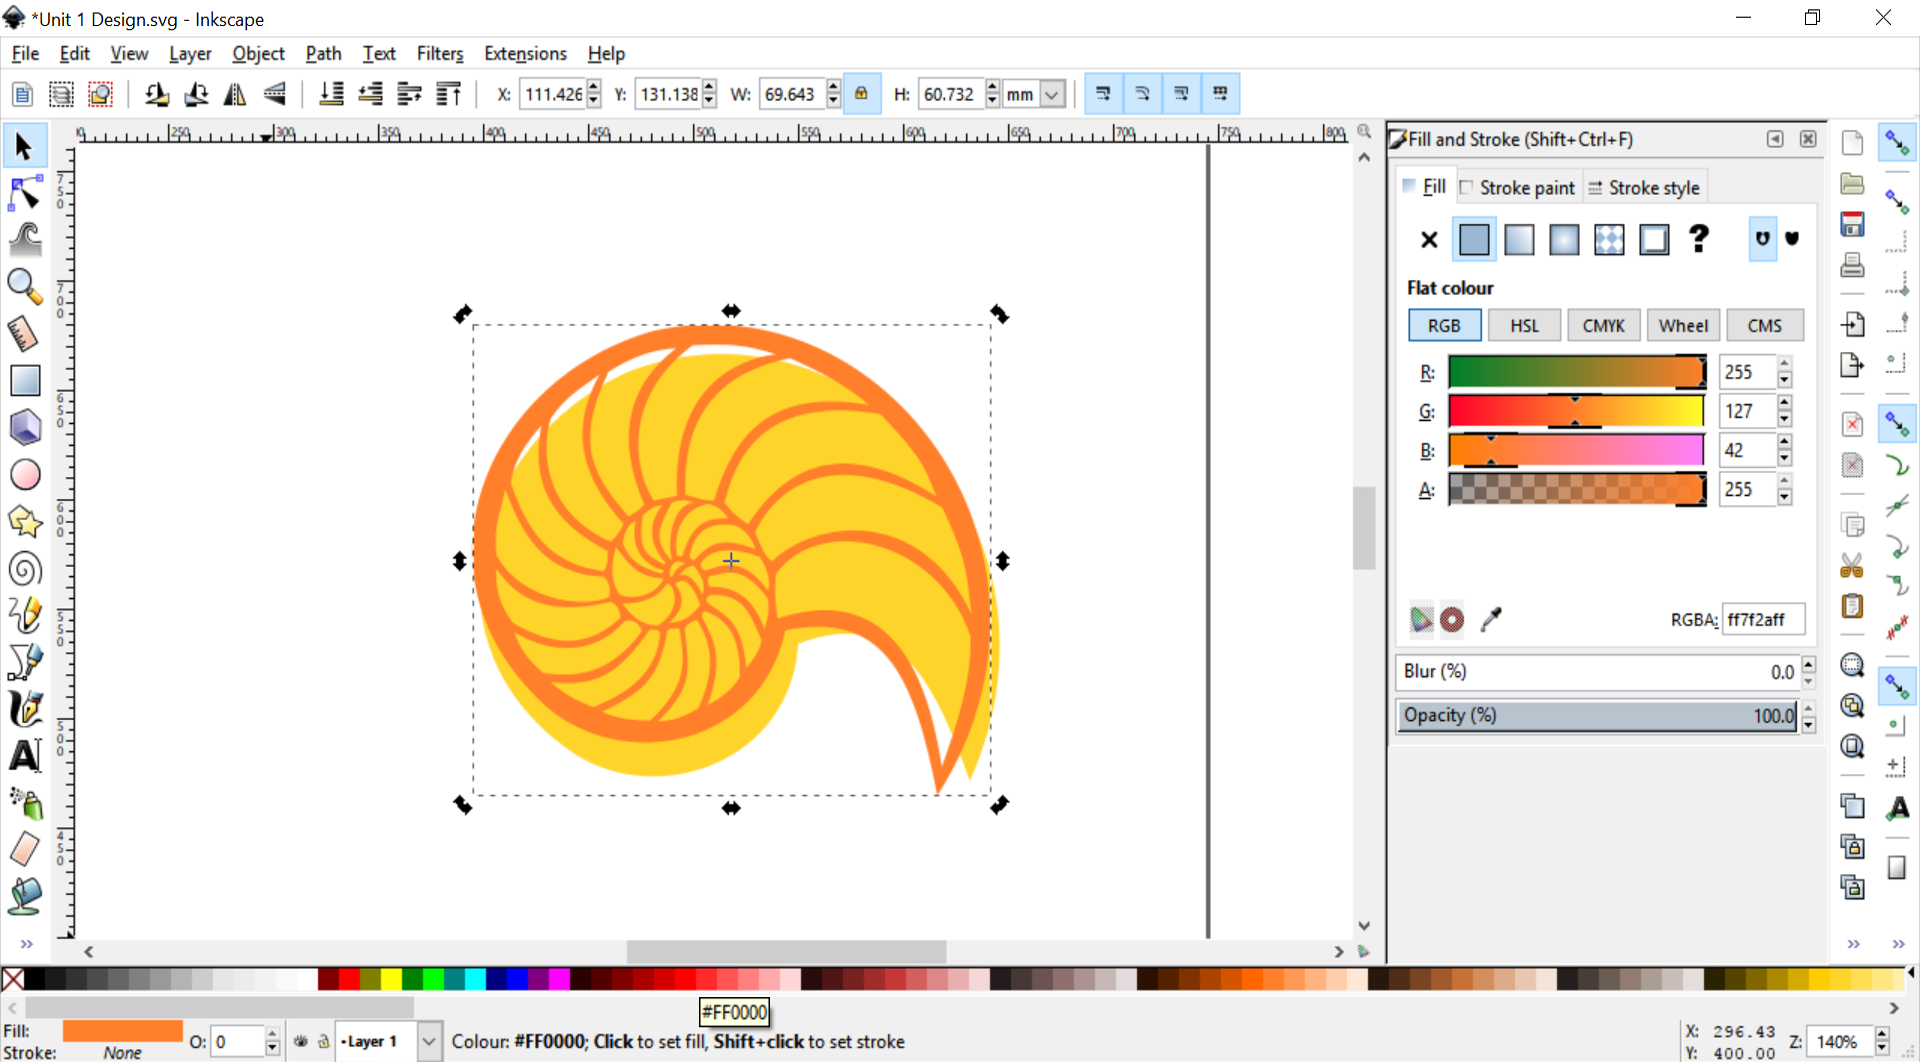
Test your ideas for colour combinations using the Fill and Stroke menu (Shift + Ctrl + F). Overlay your two shapes to see how the patterns will interact.
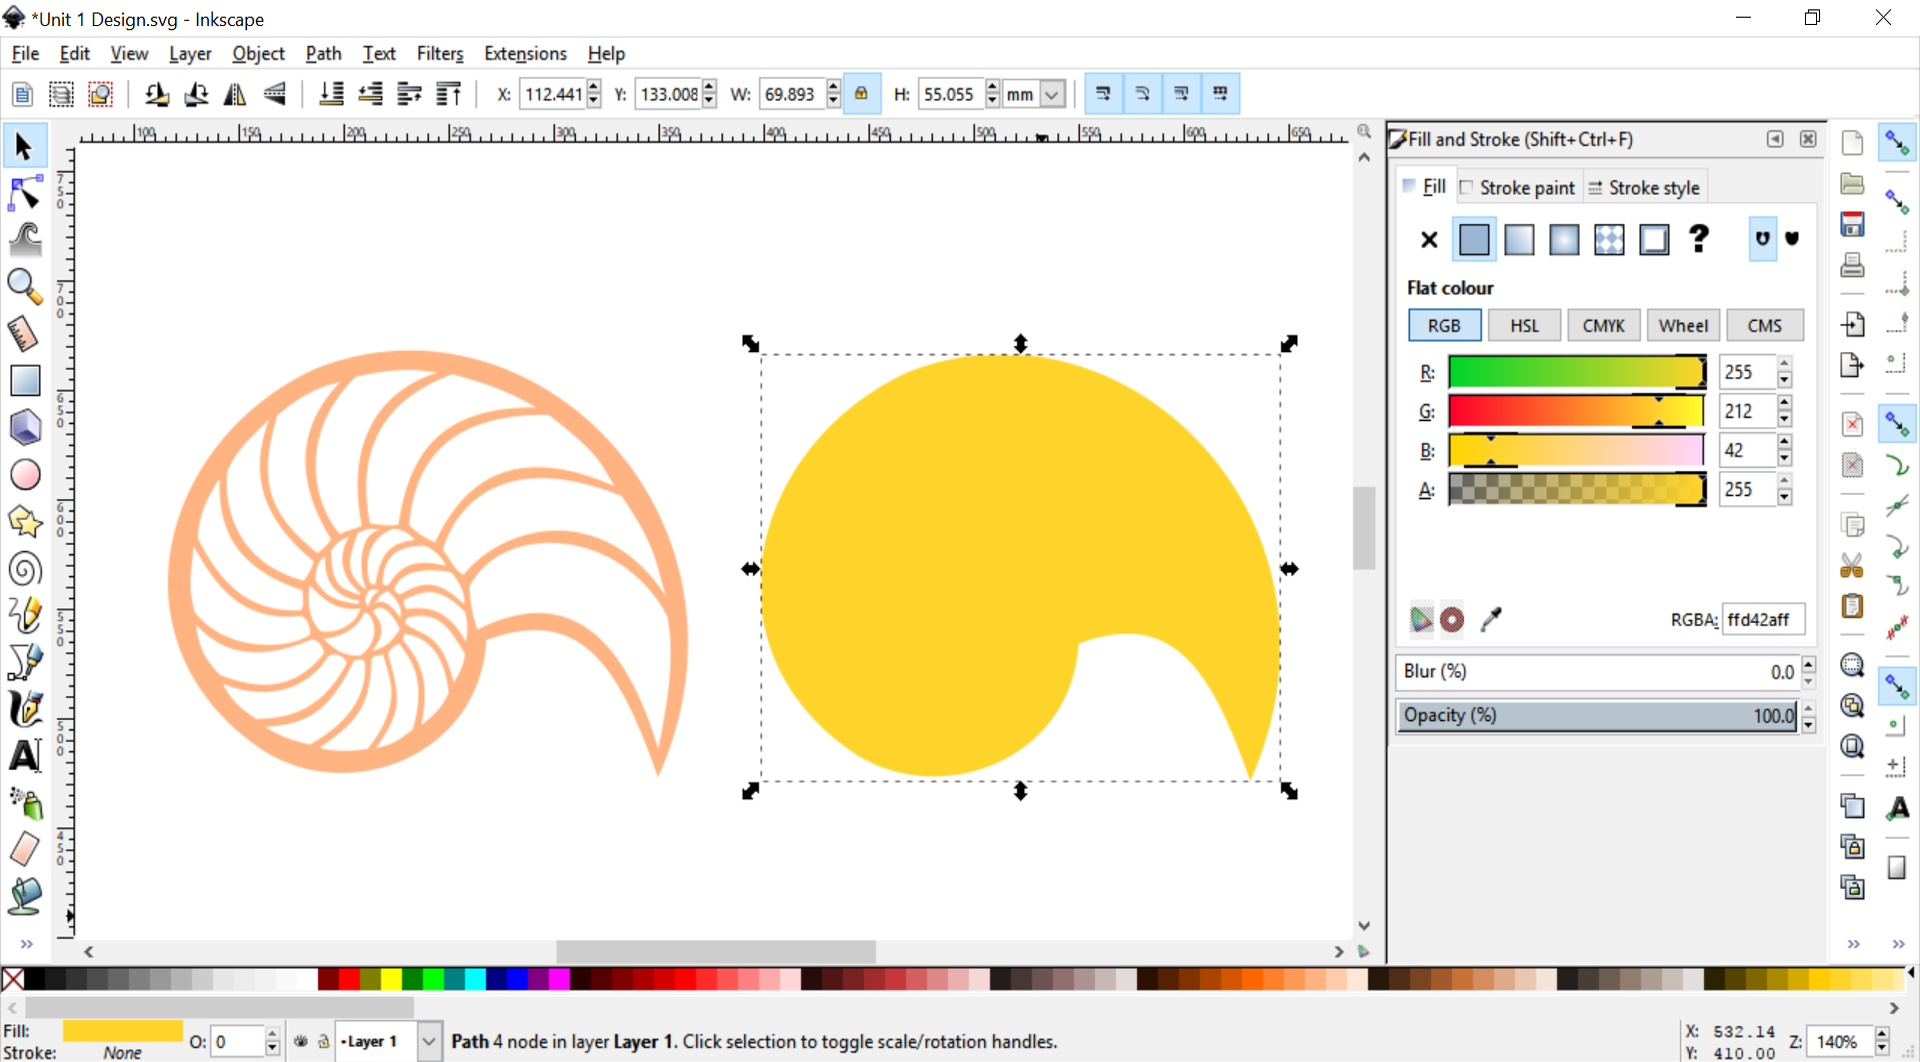
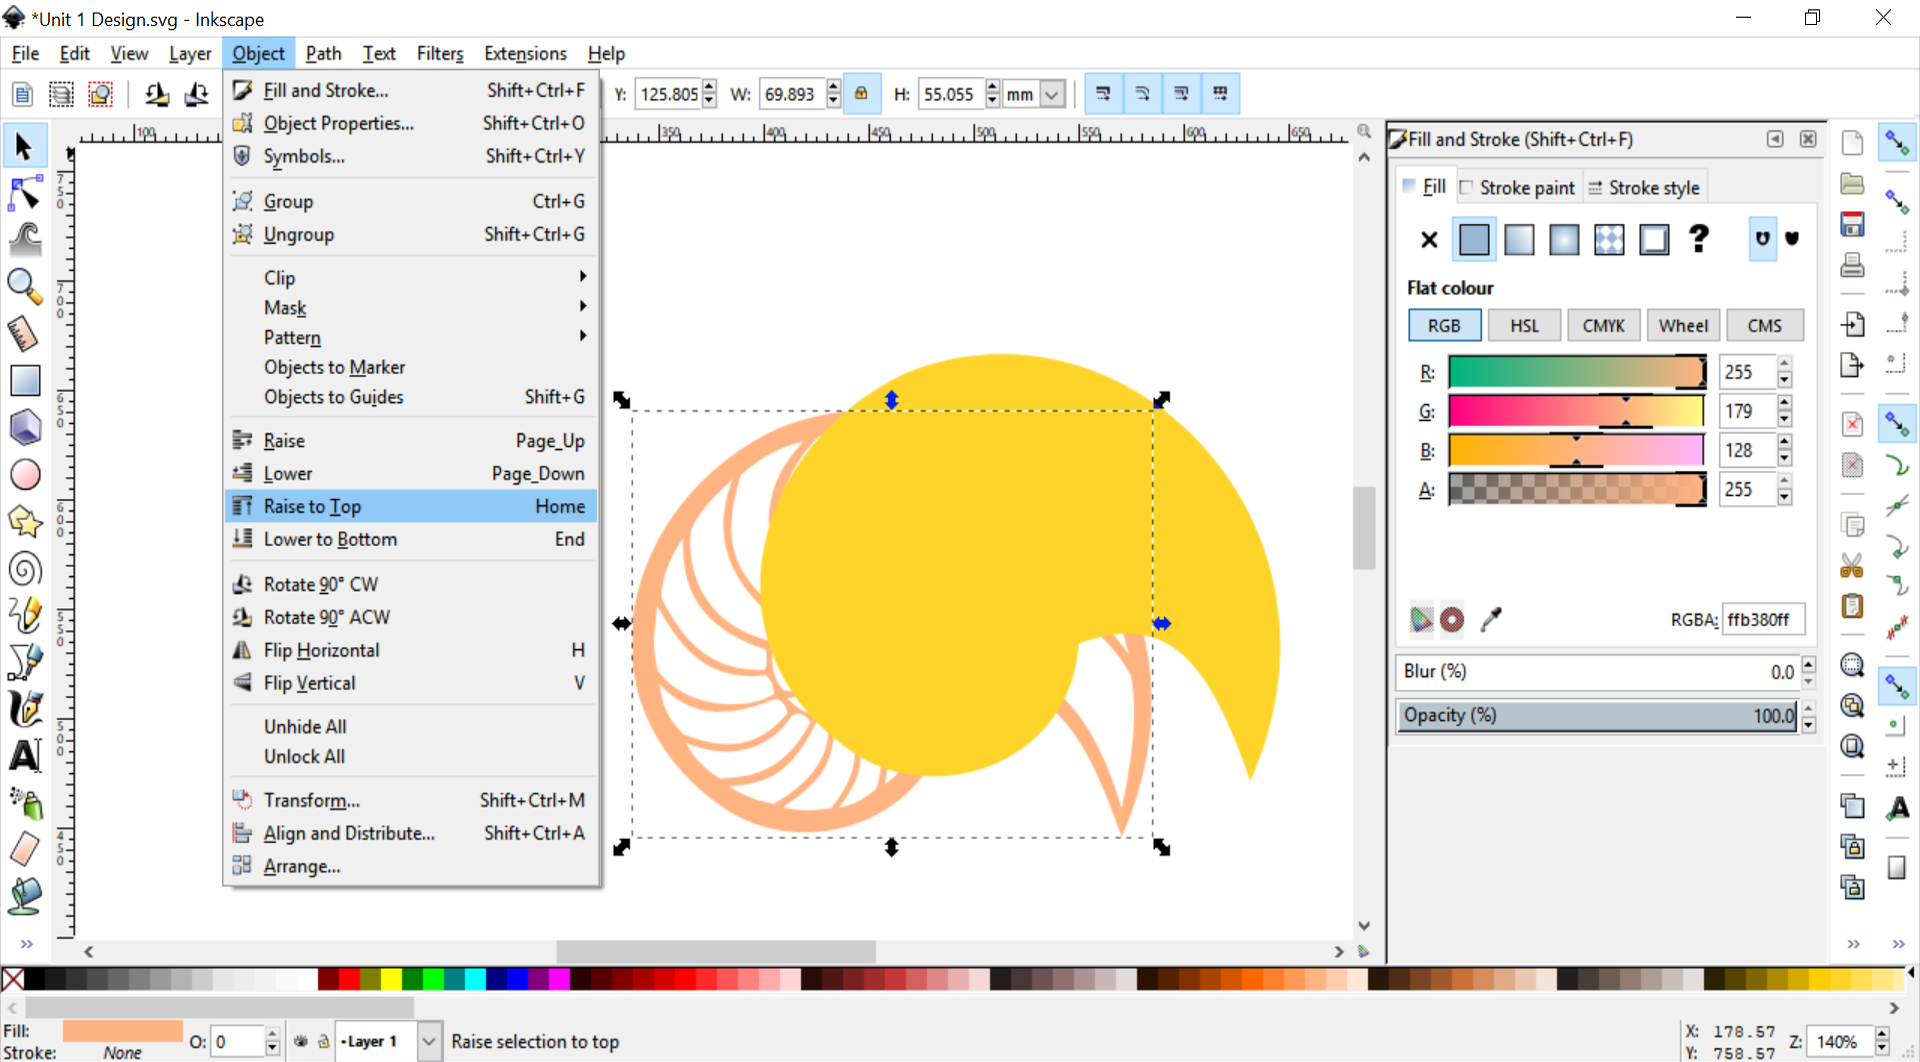
To change the order of your shapes in the document, select one of your shapes and go to Object in the top menu, then select Raise to Top or Lower to Bottom as required.
Use the selection tool to adjust the position of your shapes, rotate and resize them until you’re satisfied with your layout.