Course navigation
Plan Your Geometric Pattern
Step 1
Use the polygon tool to draw a polygon with the number of corners of your choice.
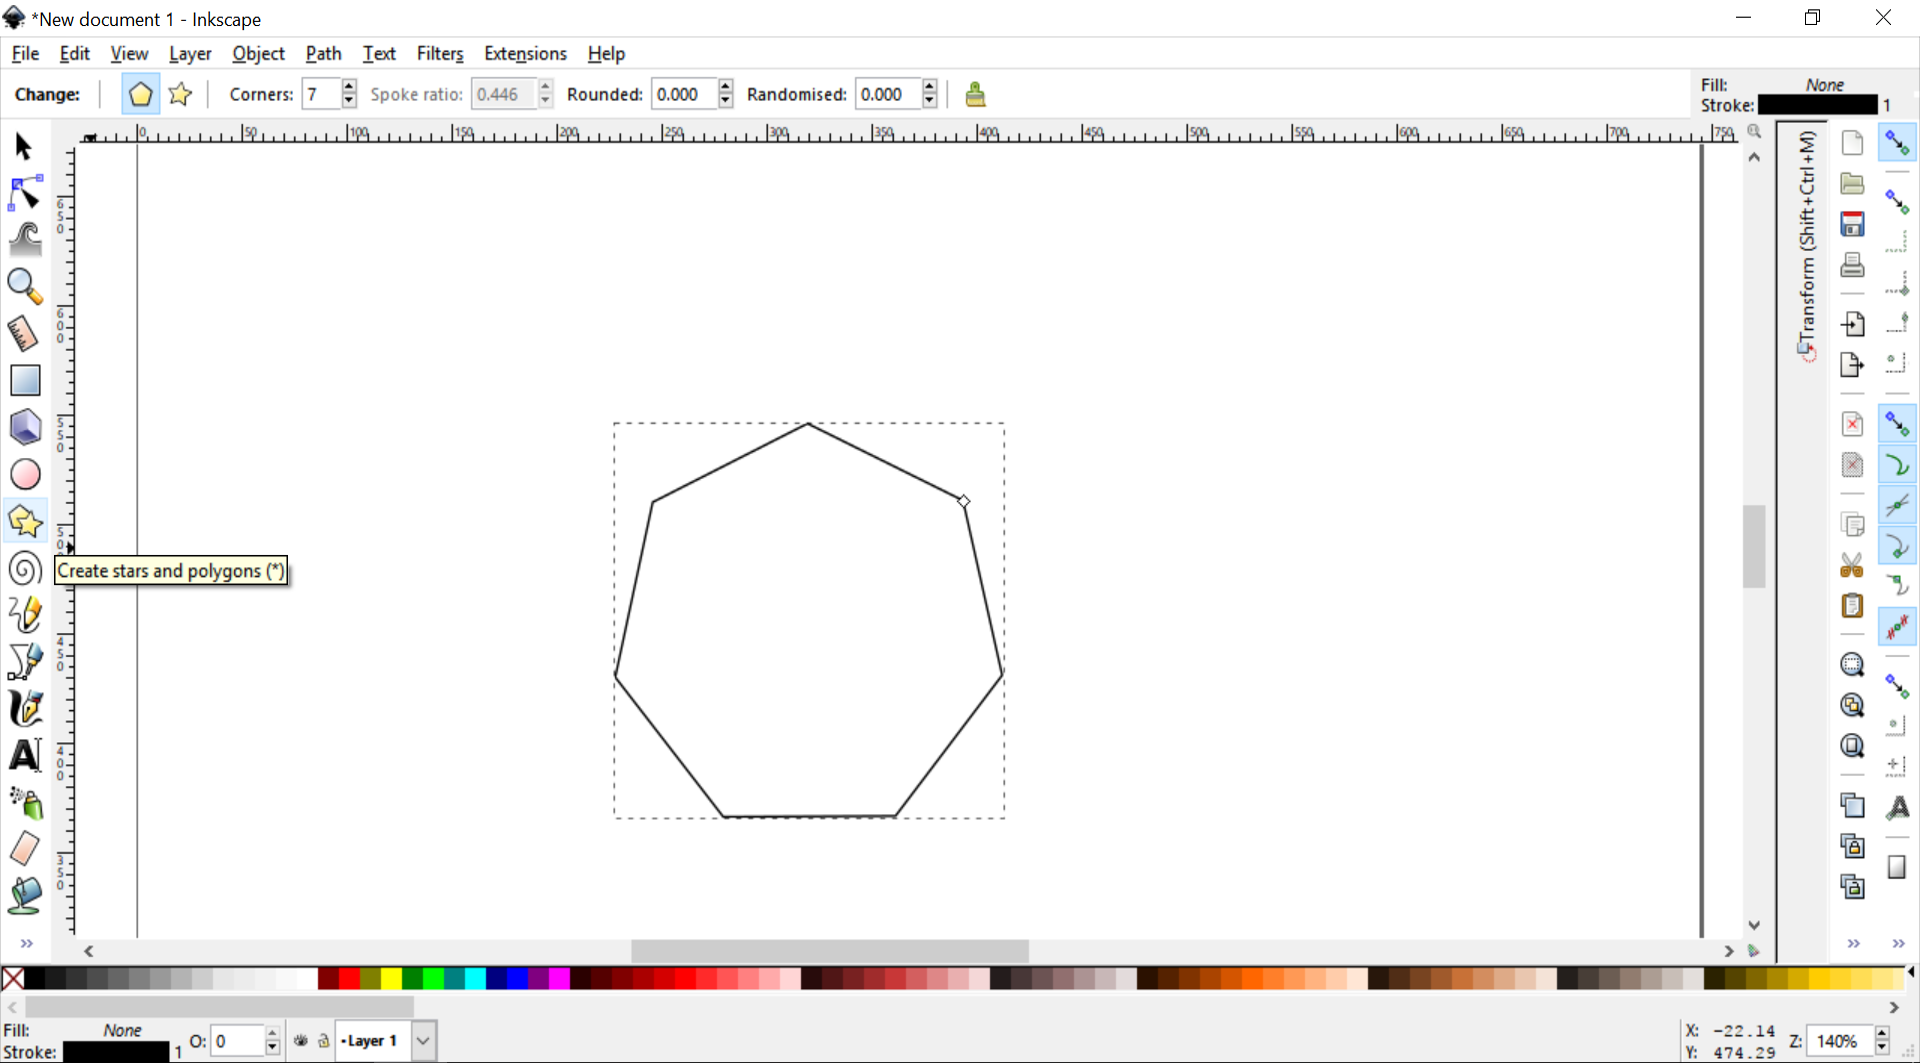
Copy and paste the polygon twice.
Set one polygon to a width of 65mm, one to 60mm and one to 15mm.
Use the Alignment tool (Shift + Ctrl + A) to align their centres vertically and horizontally.
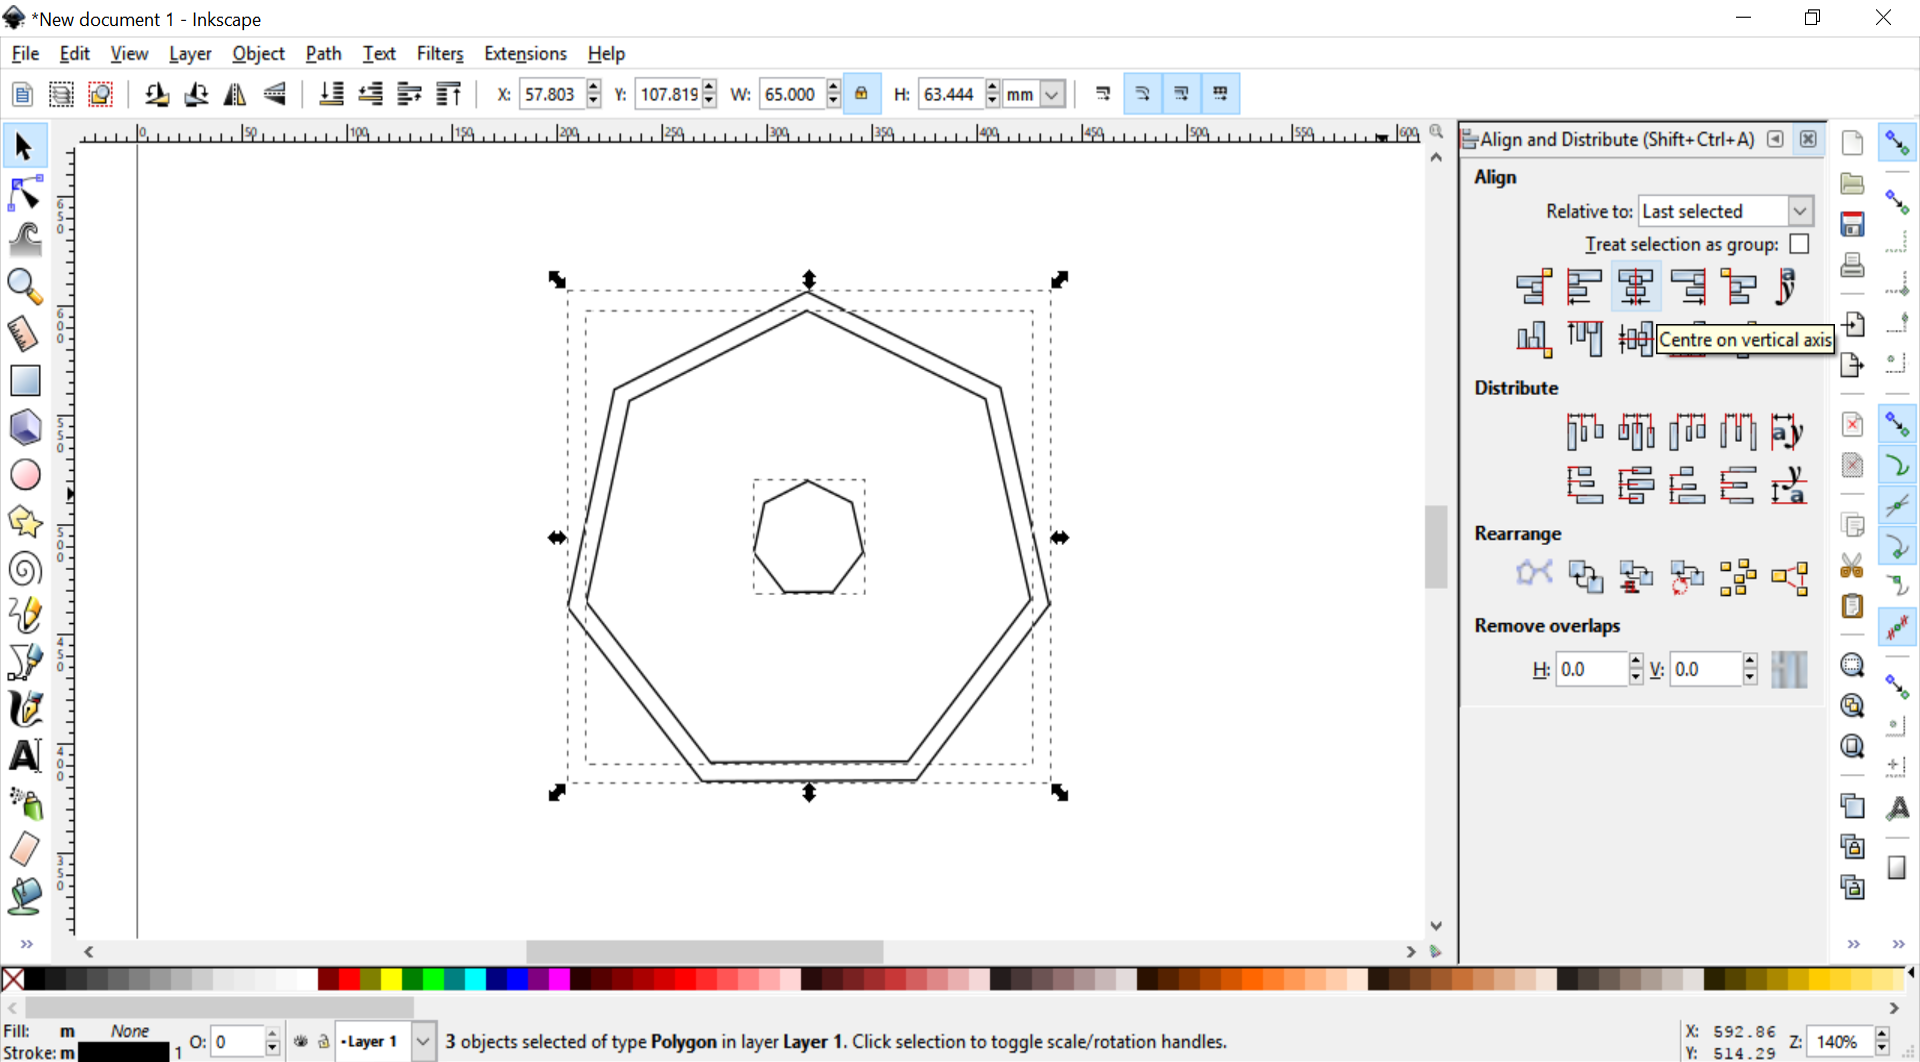
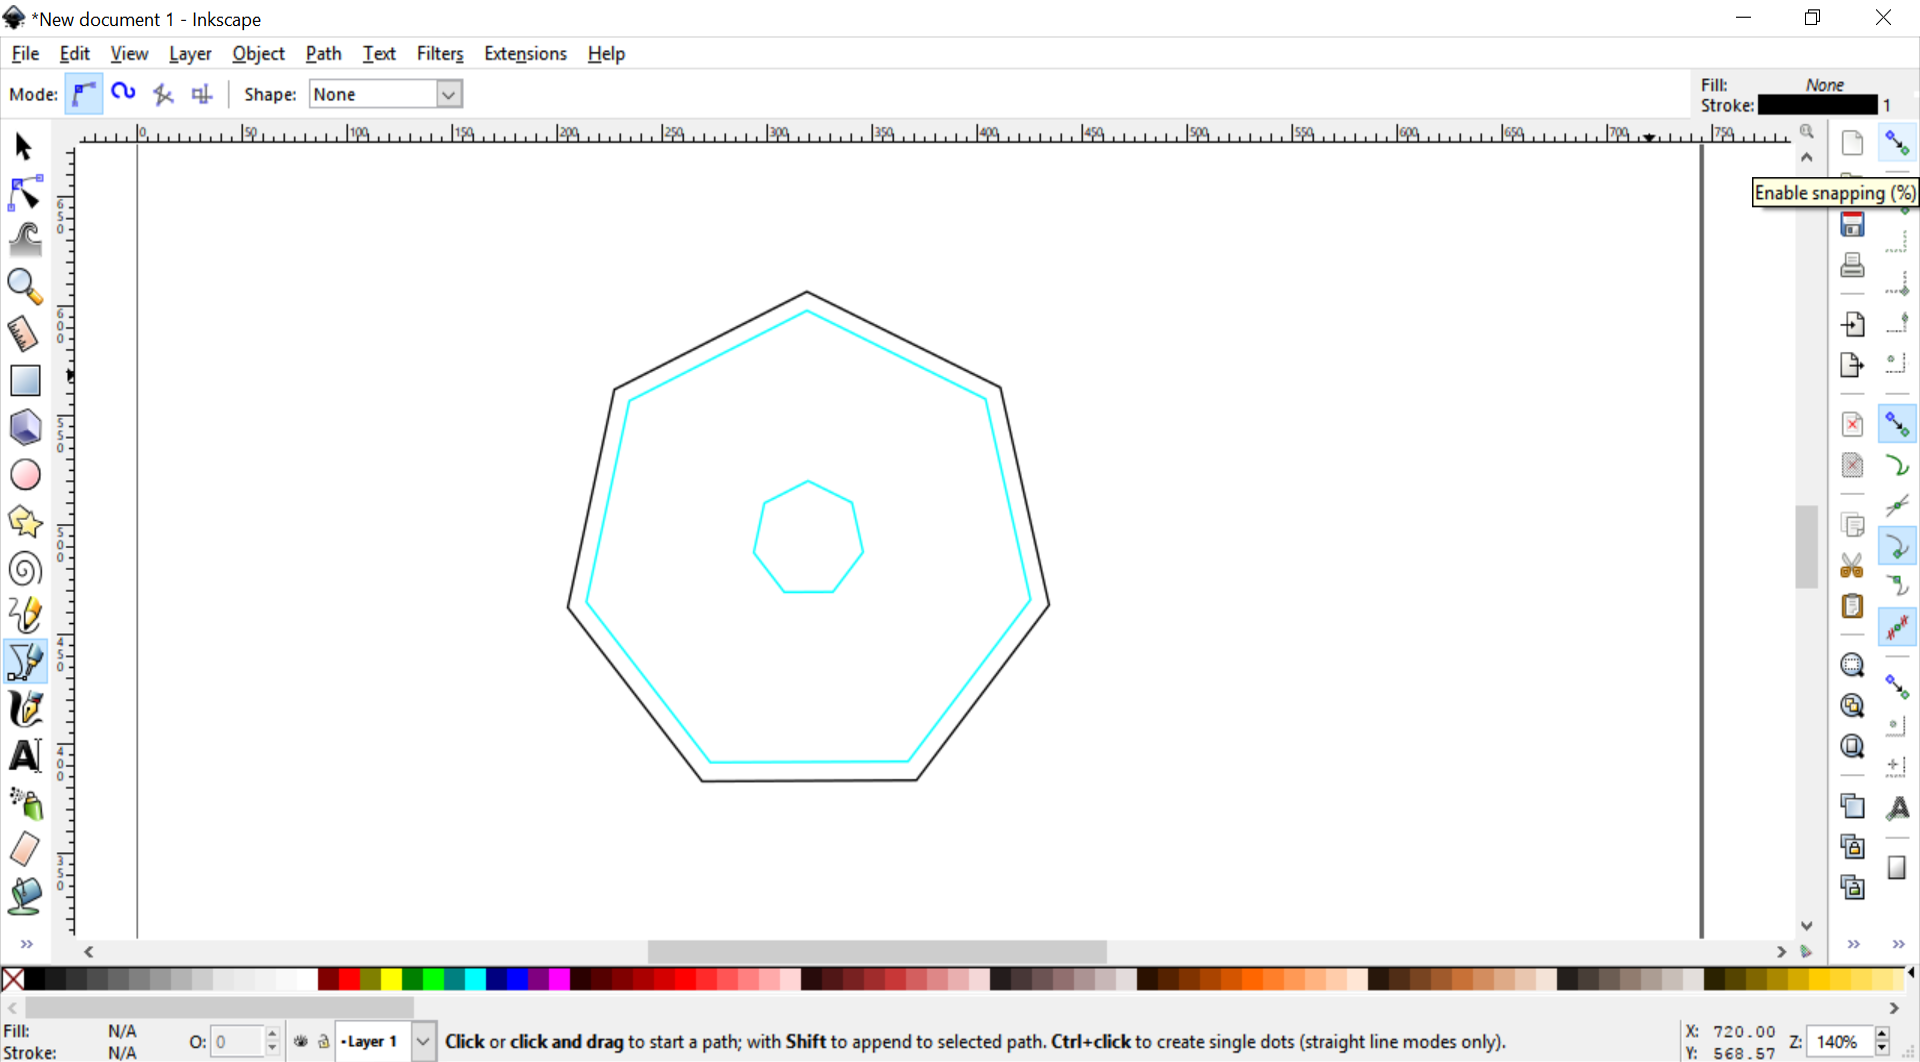
Set your two inner polygons with a light blue stroke to use as guides
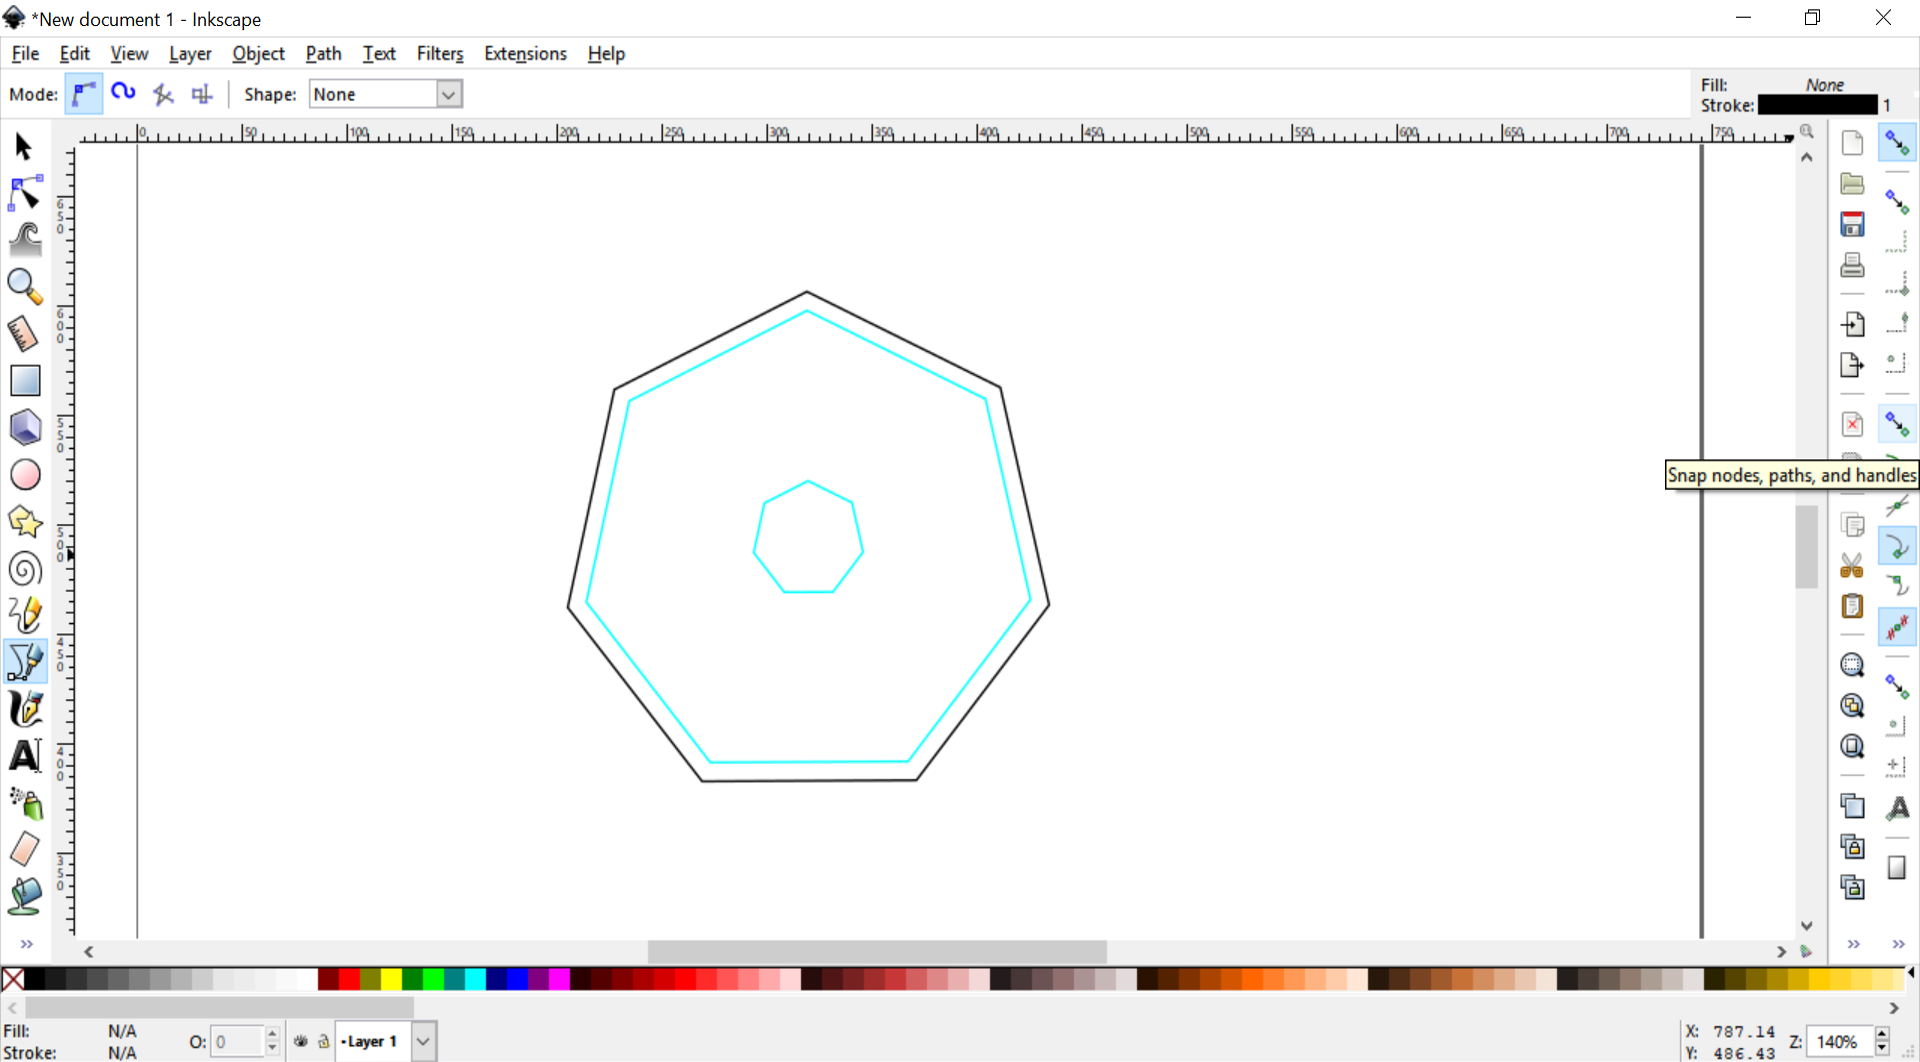
In the right-hand menu, check that Enable Snapping is turned on.
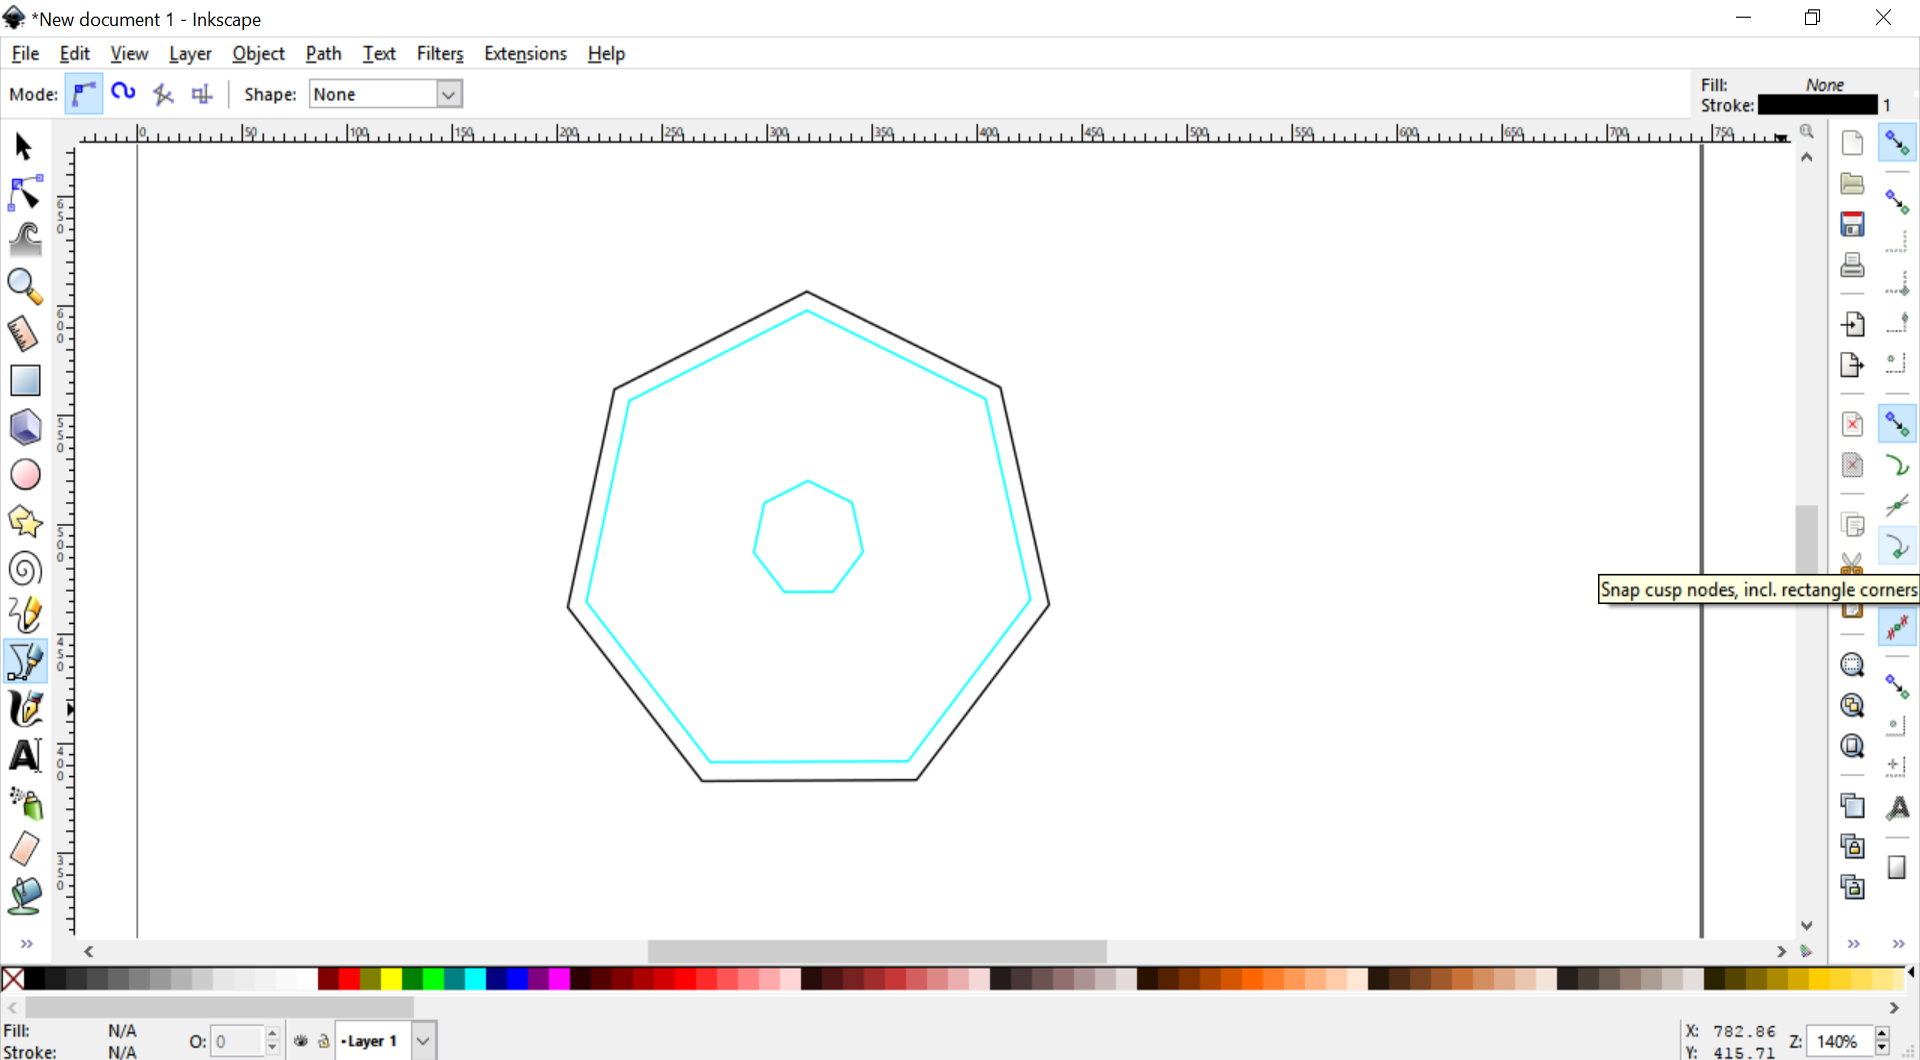
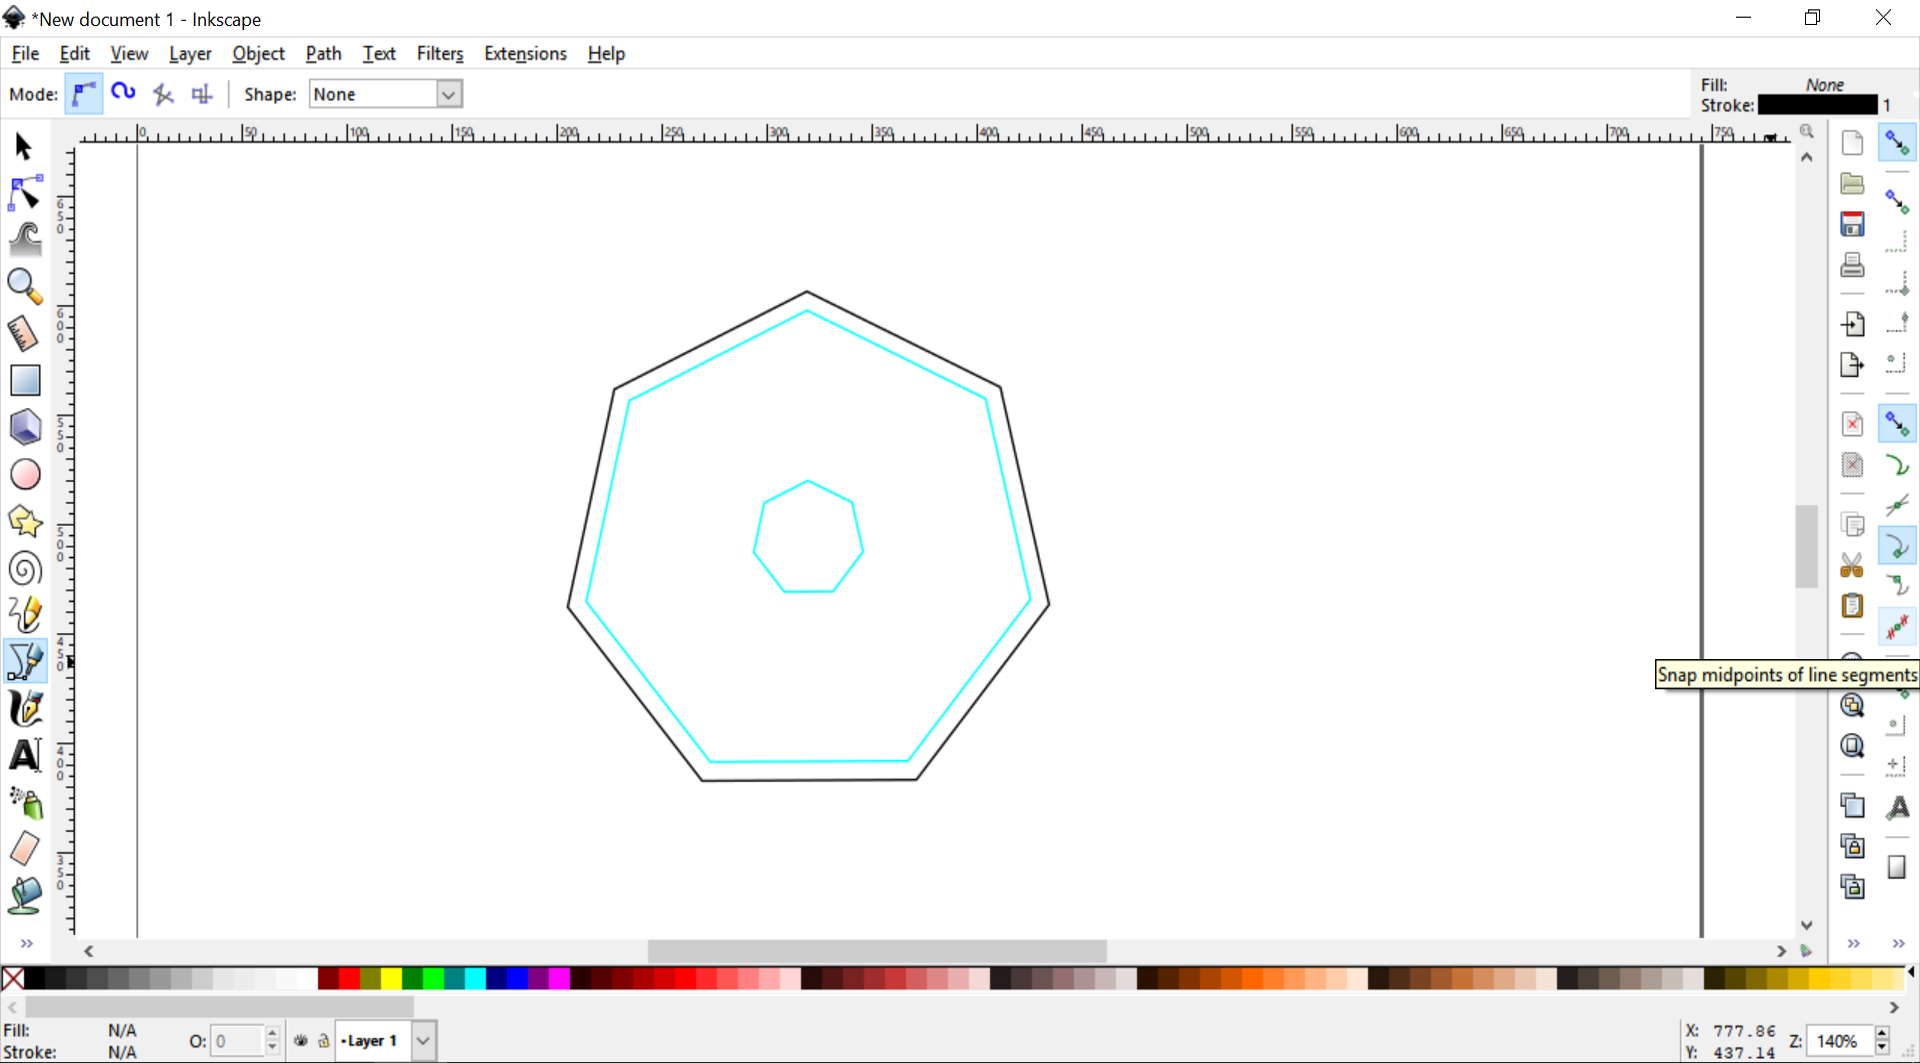
Check that you have the correct snap settings. Make sure that the following are all engaged:
- Snap Nodes, Paths and Handles
- Snap Cusp Nodes
- Snap Midpoint of Line Segment
Step 2
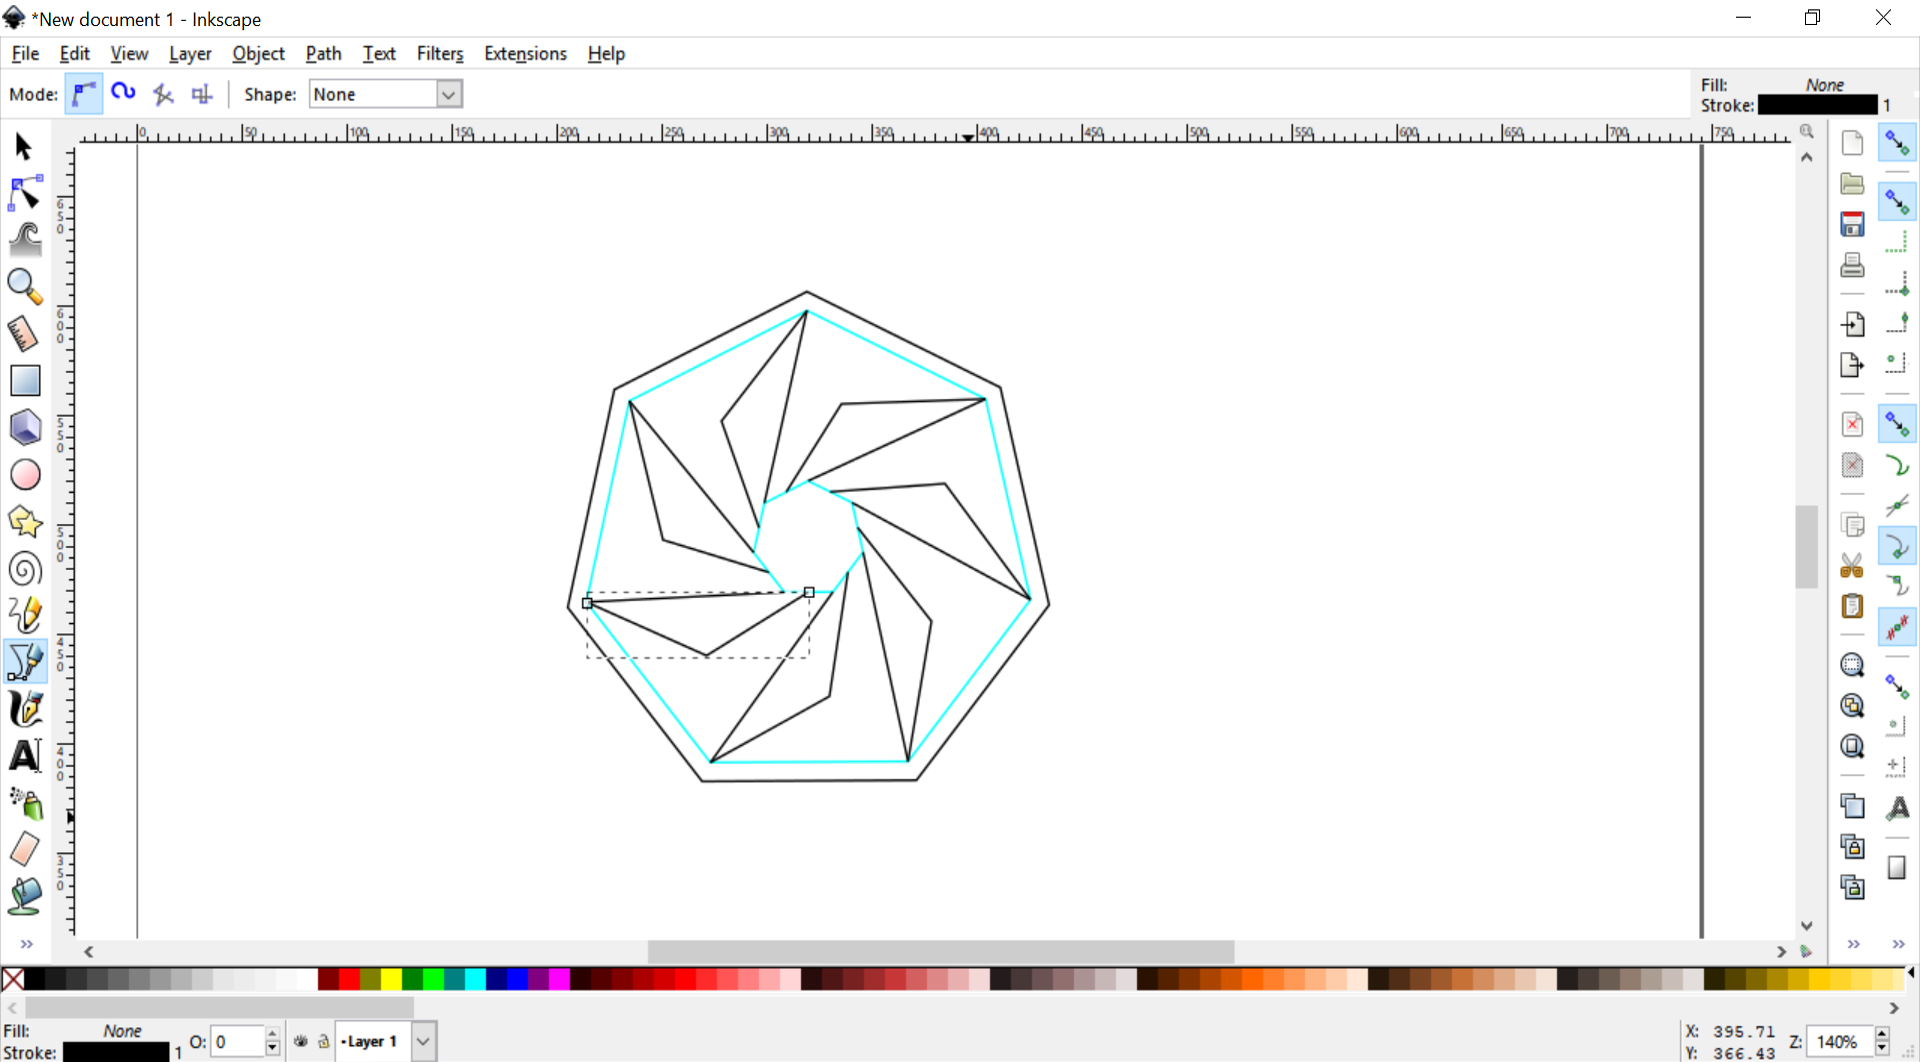
Use the Pen Tool to connect points of the two guide polygons. Make sure that each connected point is offset from its starting point. (Use your snaps for greater accuracy.)
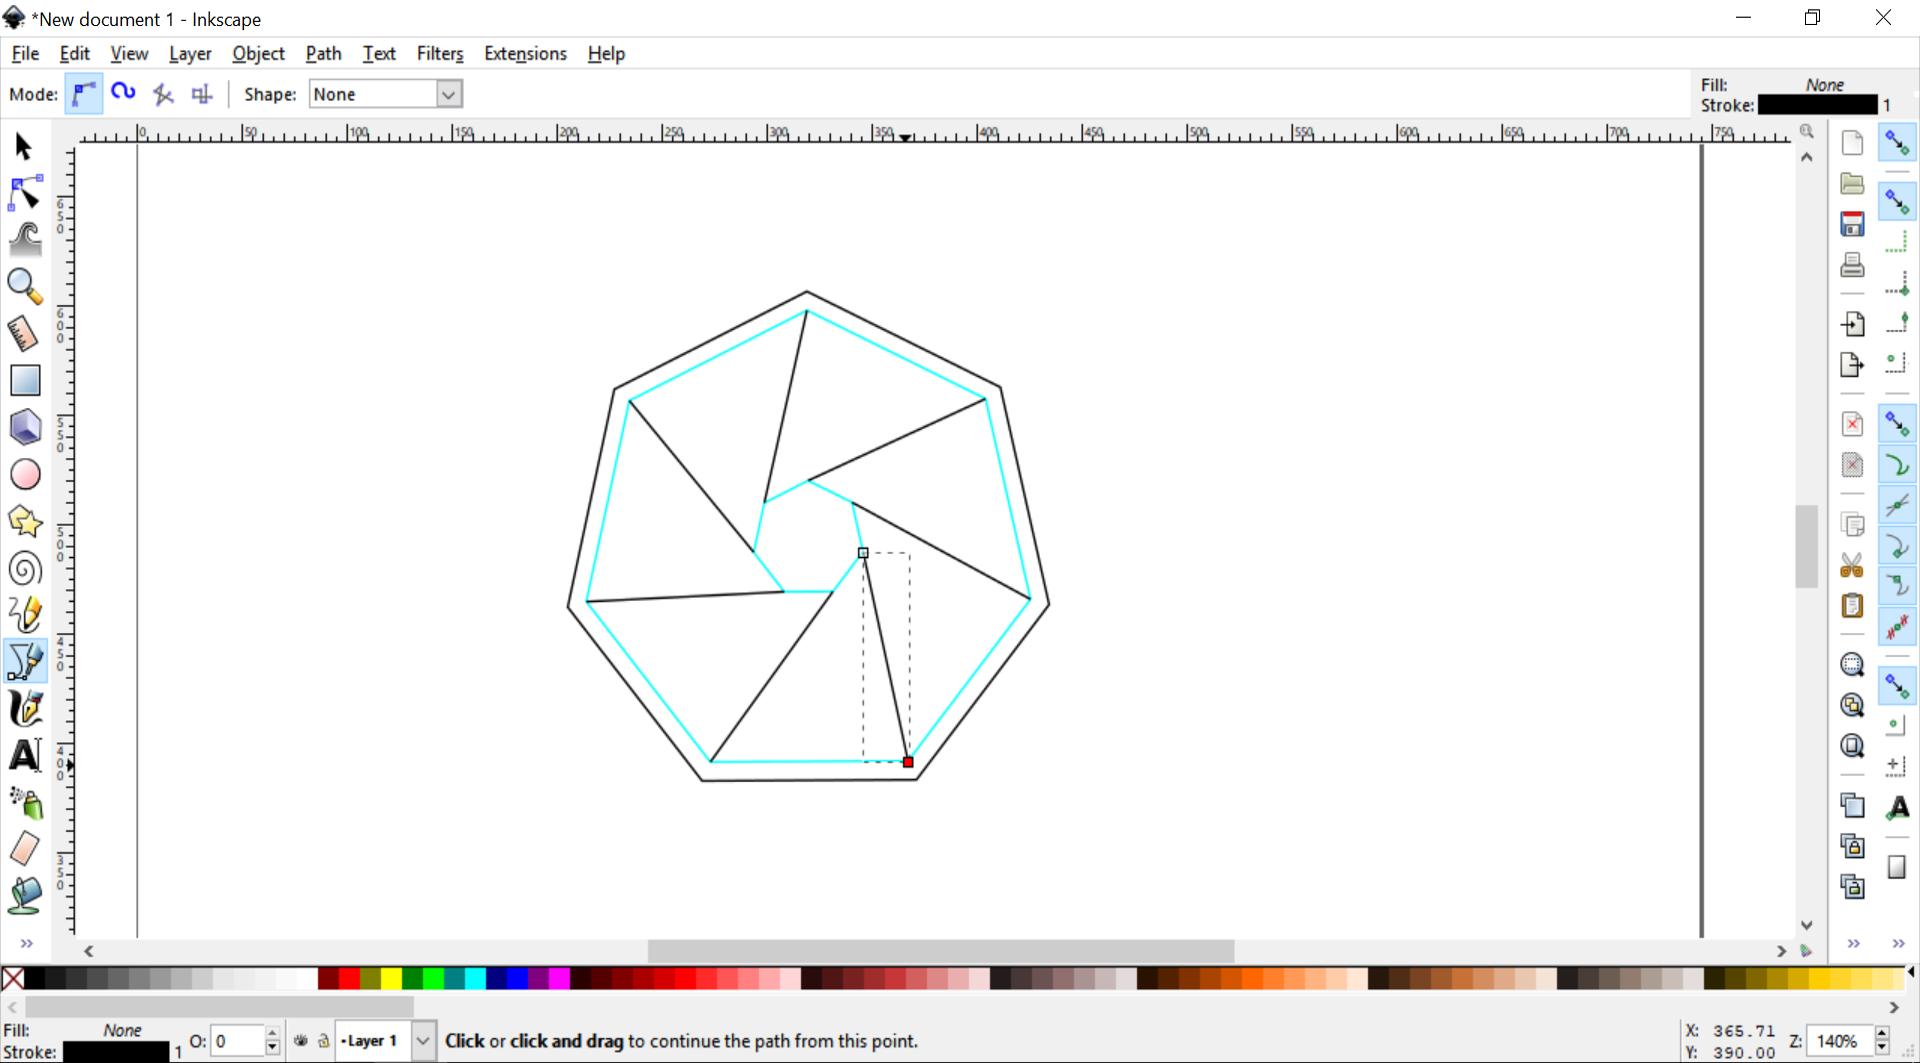
Draw a second set of lines starting from each point of the larger polygon guide and ending at the line segment midpoint of the smaller polygon.
Step 3
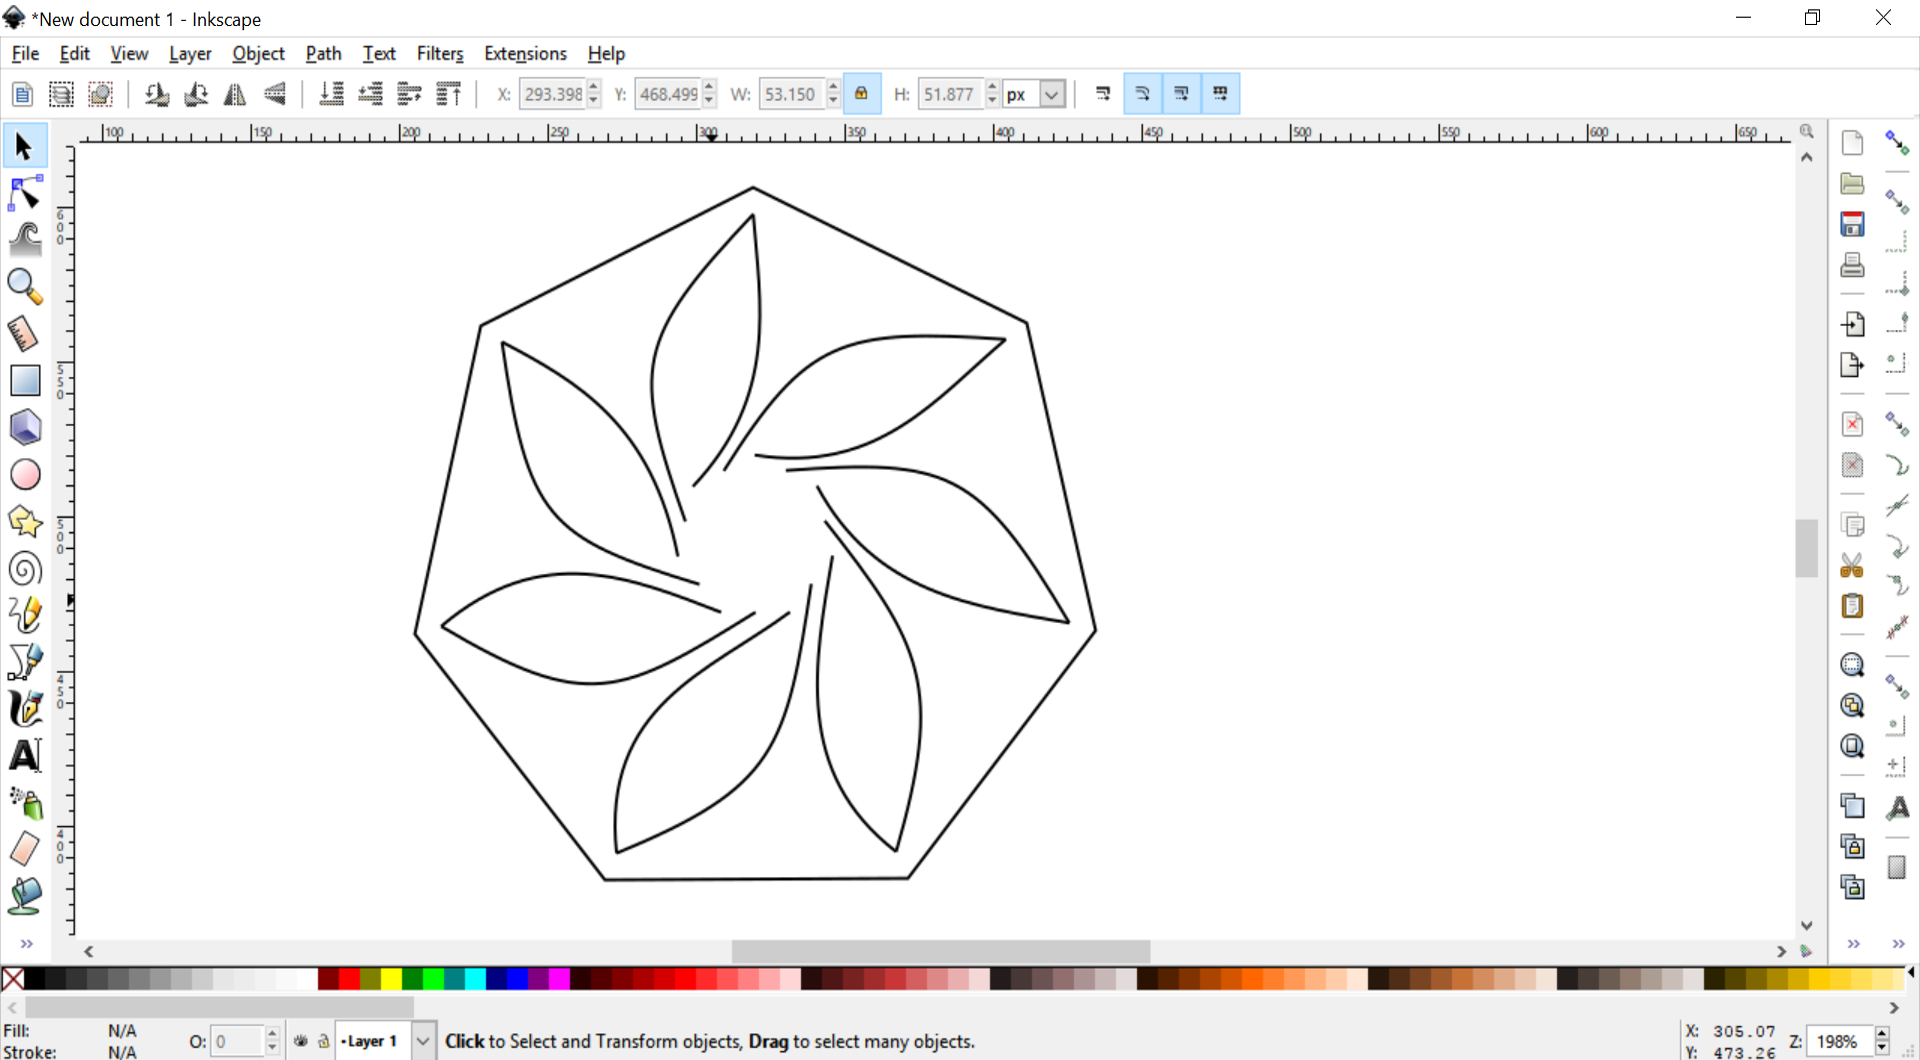
Adjust your pattern to your preference using the Edit Paths by Nodes tool. You can keep it with straight geometric lines or add curves as you wish.
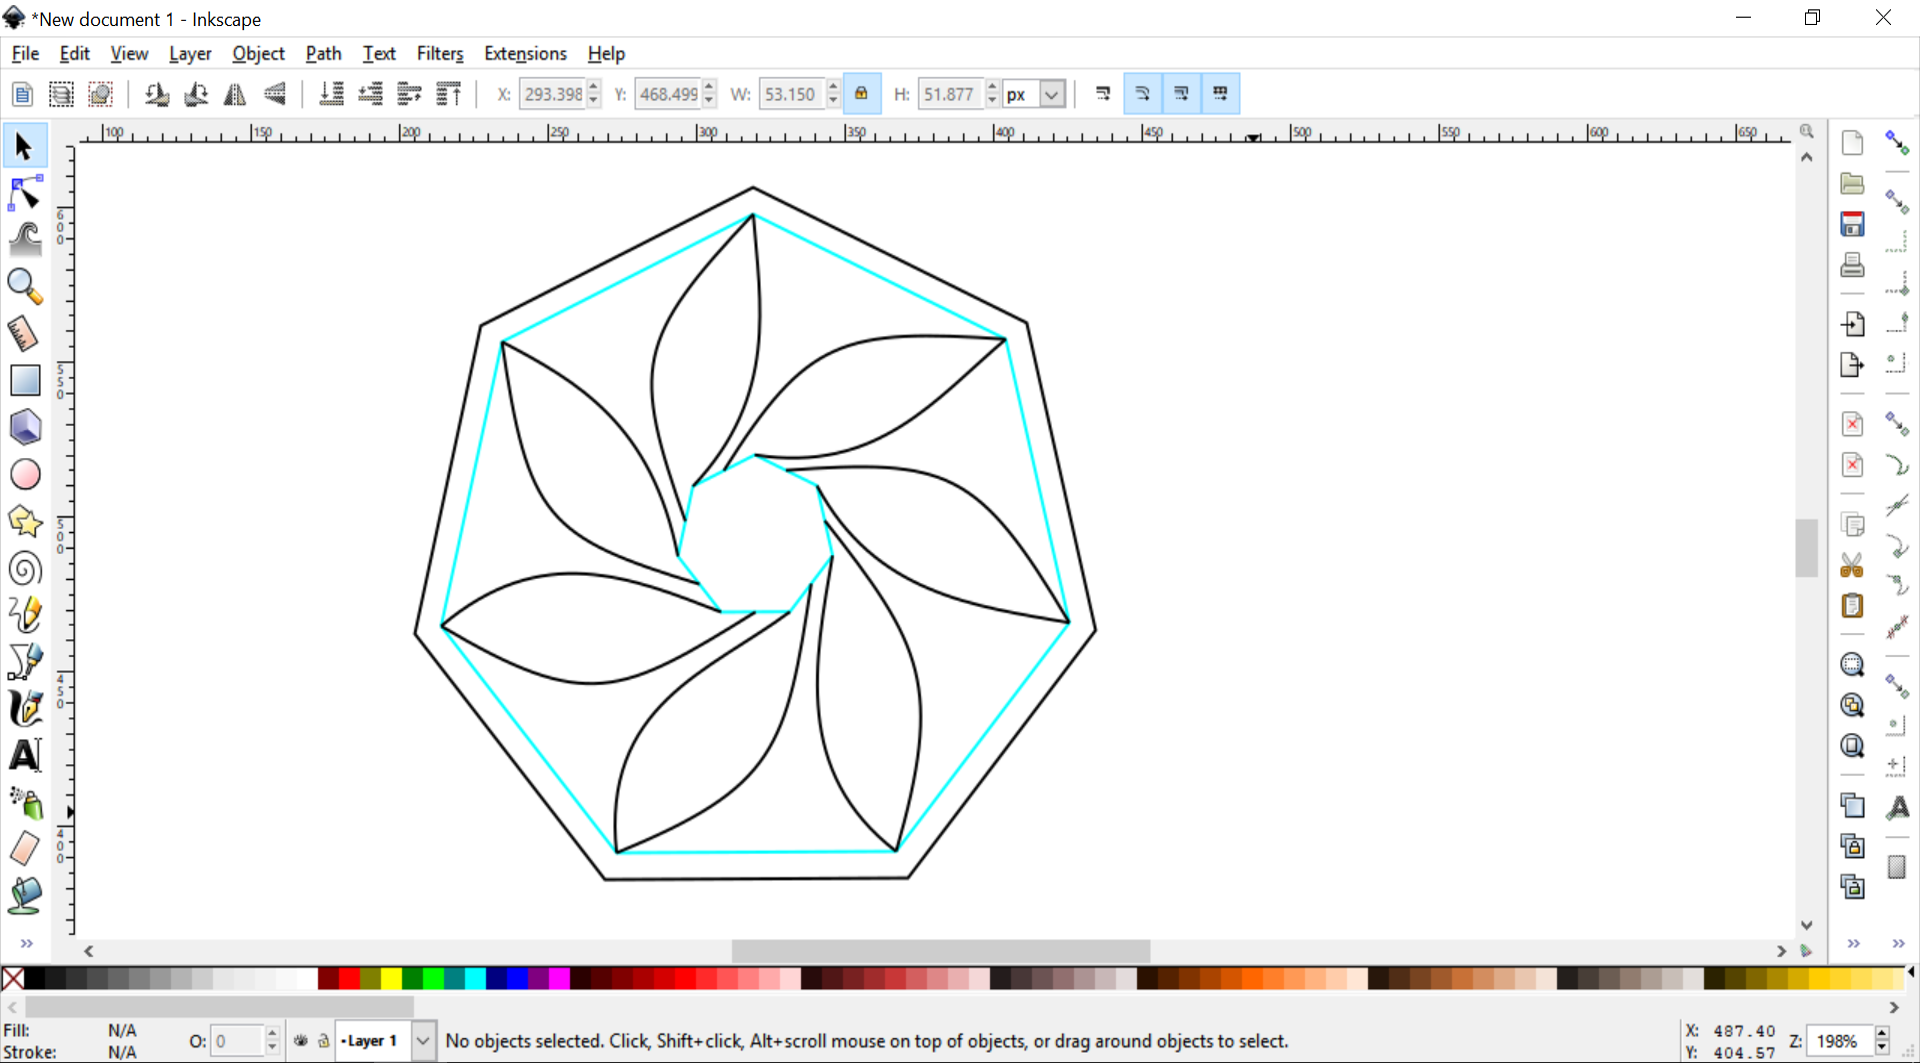
Delete your polygon guides once your pattern is completed.
