Course navigation
Drawing Your Pattern
In this lesson you’ll get to select a natural, organic pattern and select portions of it to turn into a cut-out pattern using Inkscape.
Step 1
Go to Google images and search for organic or natural patterns.
Select one and save it onto the desktop.
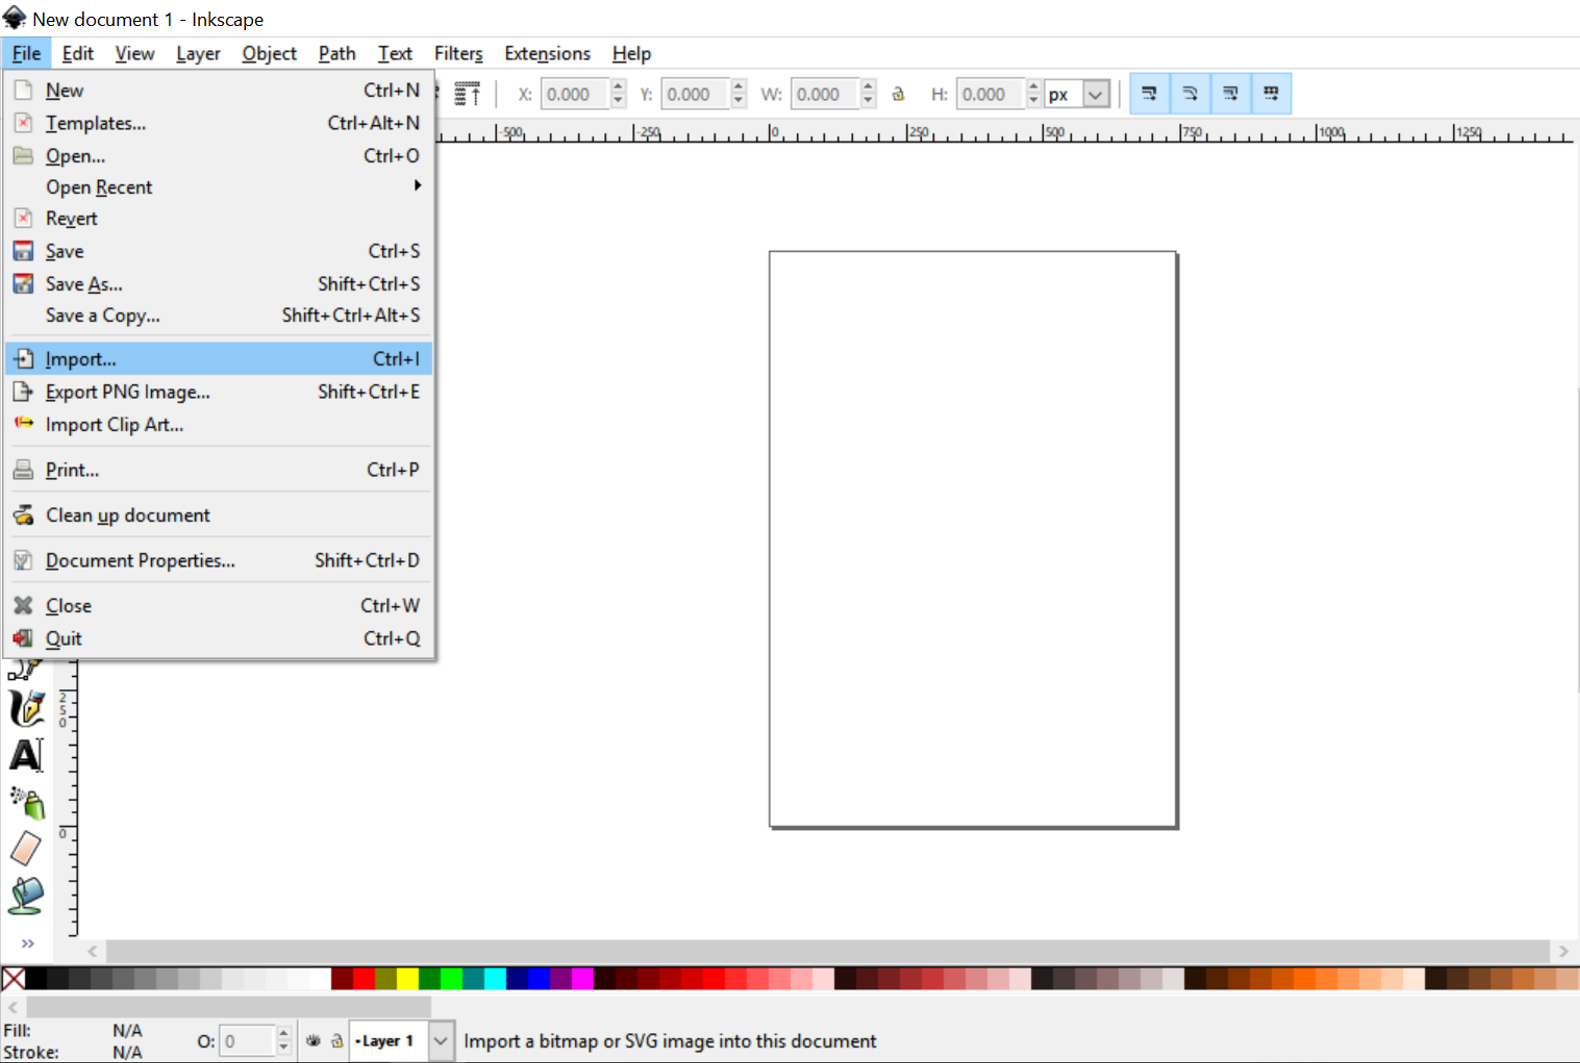
Find the Inkscape icon on your desktop and open a new document. In the File menu, go to Import then select your organic pattern and click OK in the dialogue box.
Step 2
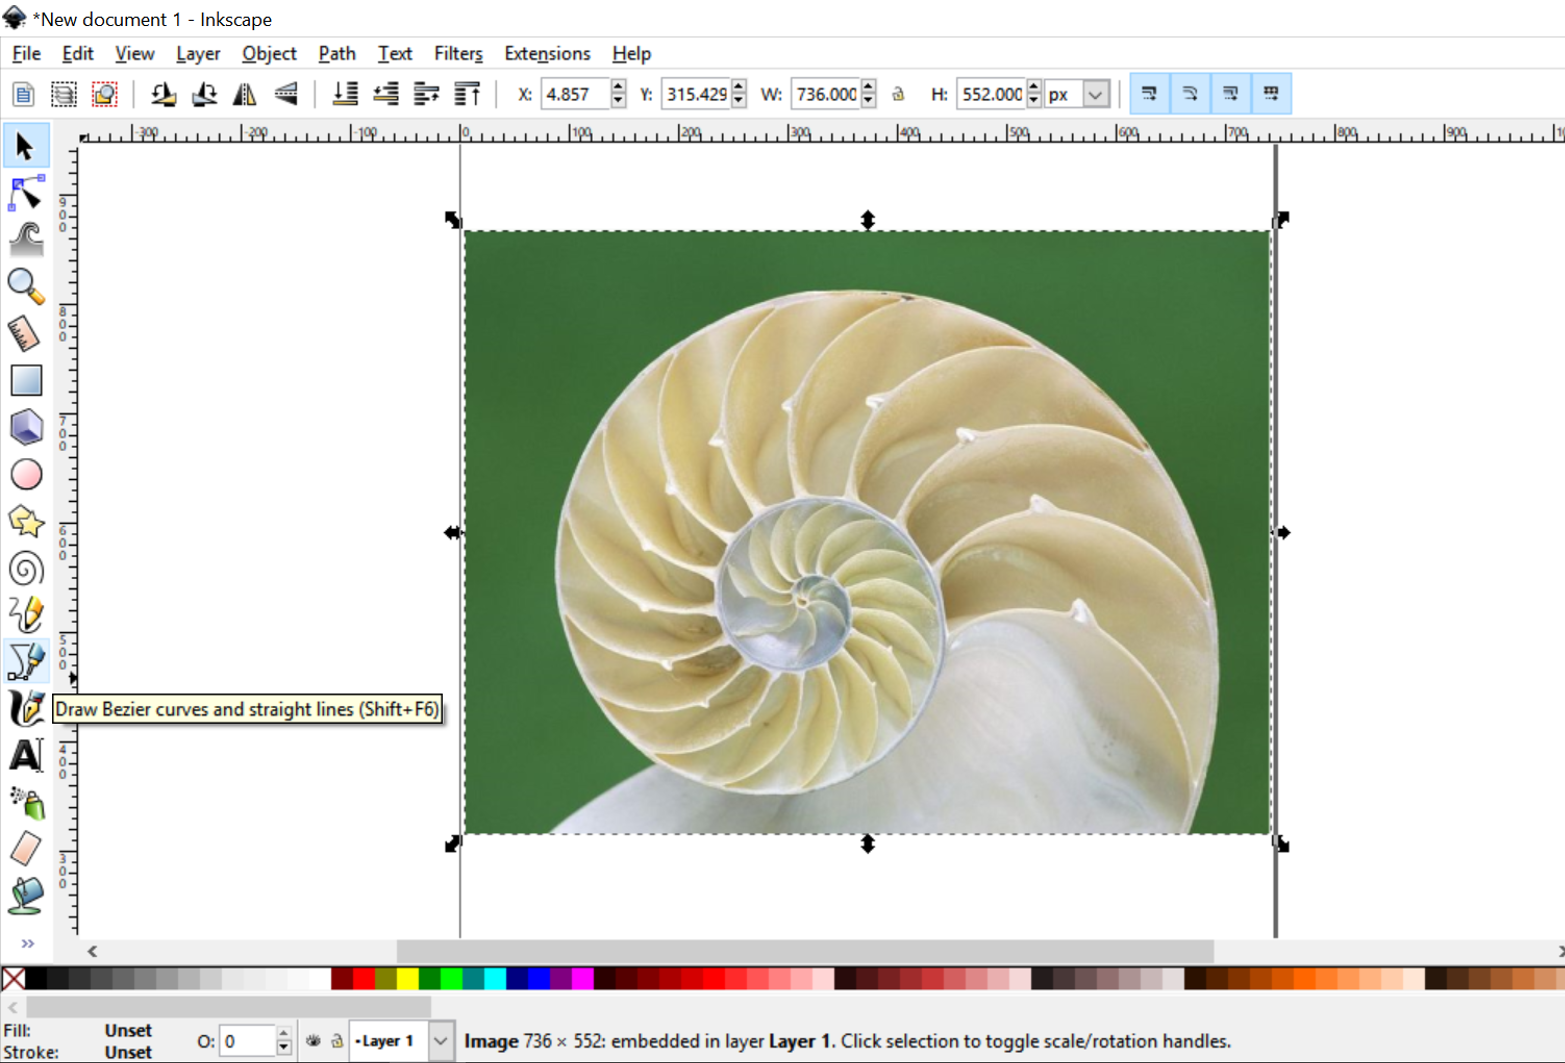
Move your file to the centre of your document and use the + or – buttons to zoom in or out.
Select the Pen Tool from the left-hand menu.
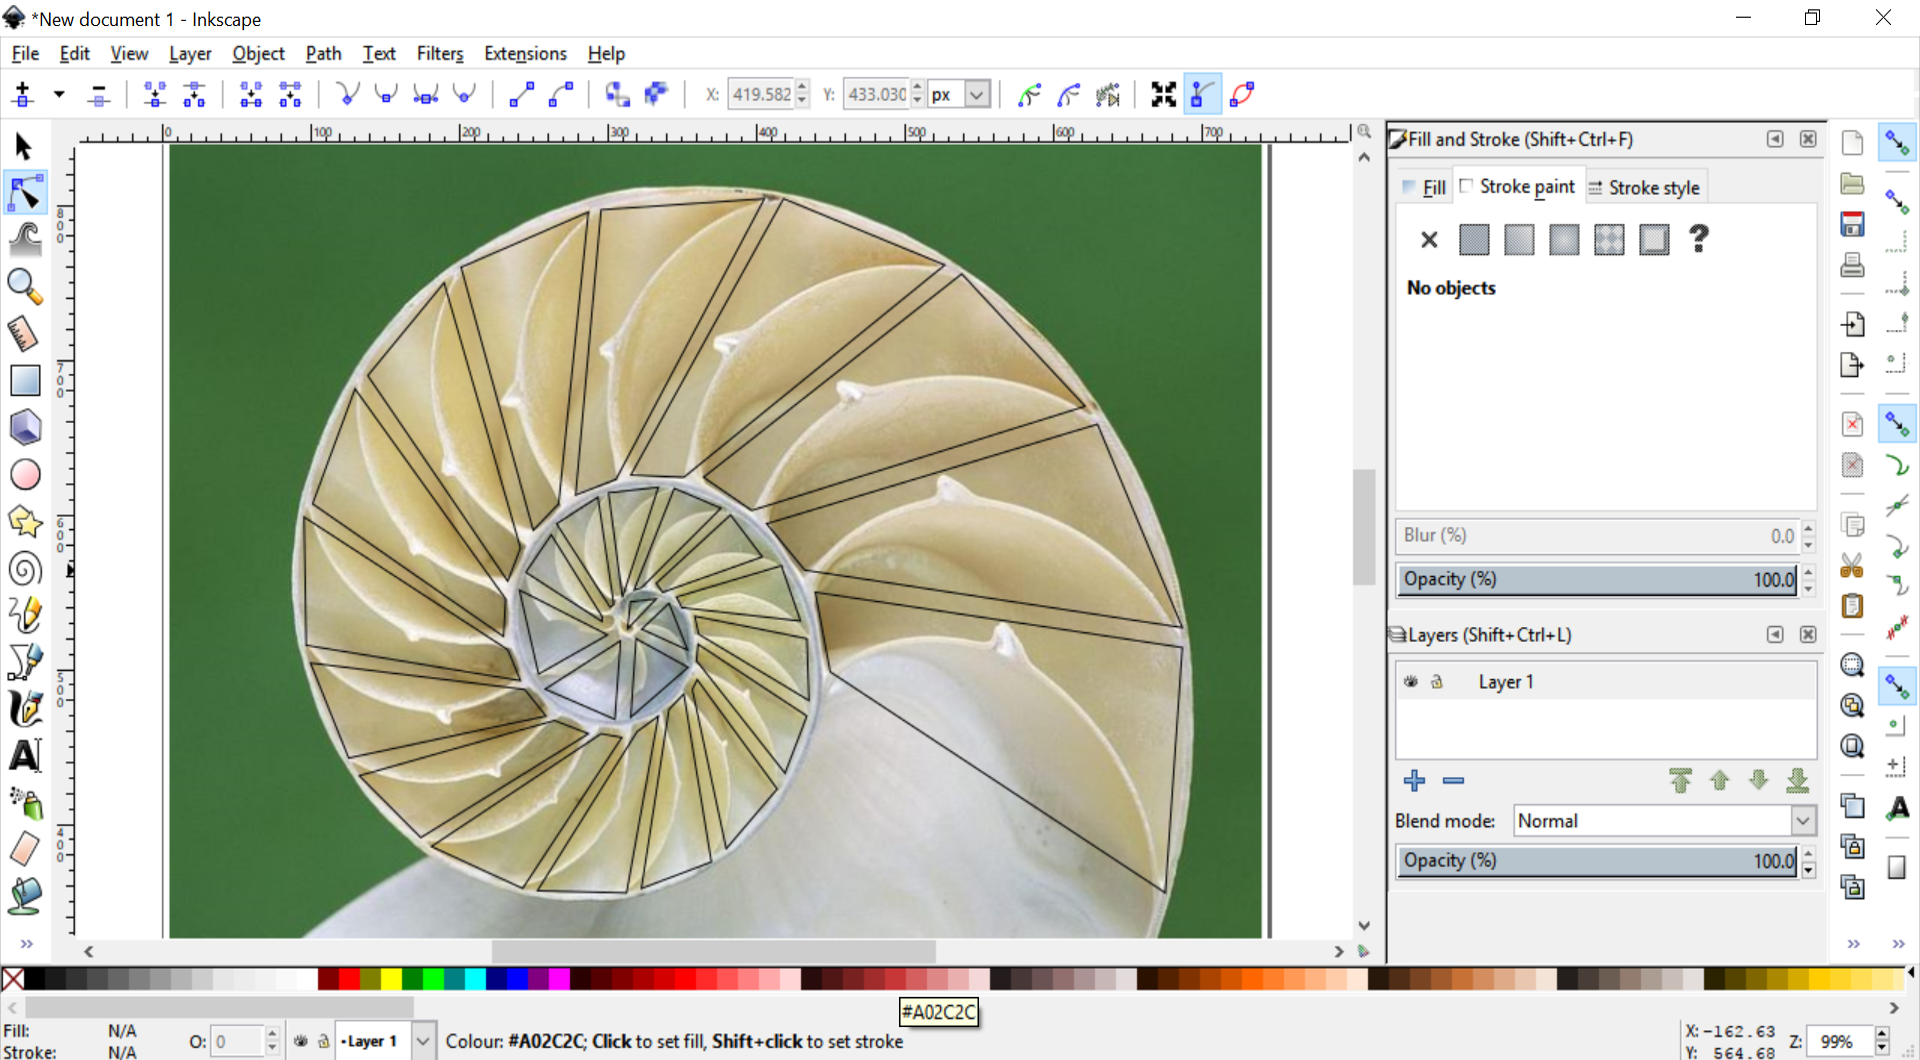
Set the stroke to a contrasting colour (use Shift+Ctrl+F to open the Fill and Stroke dialogue box) and start drawing the parts of the pattern you want to incorporate in your design. Make sure to always leave a minimum of 2mm between two cut out lines.
Step 3
The lines generated using the Pen tool will be straight lines, which may suit your choice of design.
However, you may also choose to turn your straight lines into curves using the Edit Paths by Nodes tool in the left-hand menu.
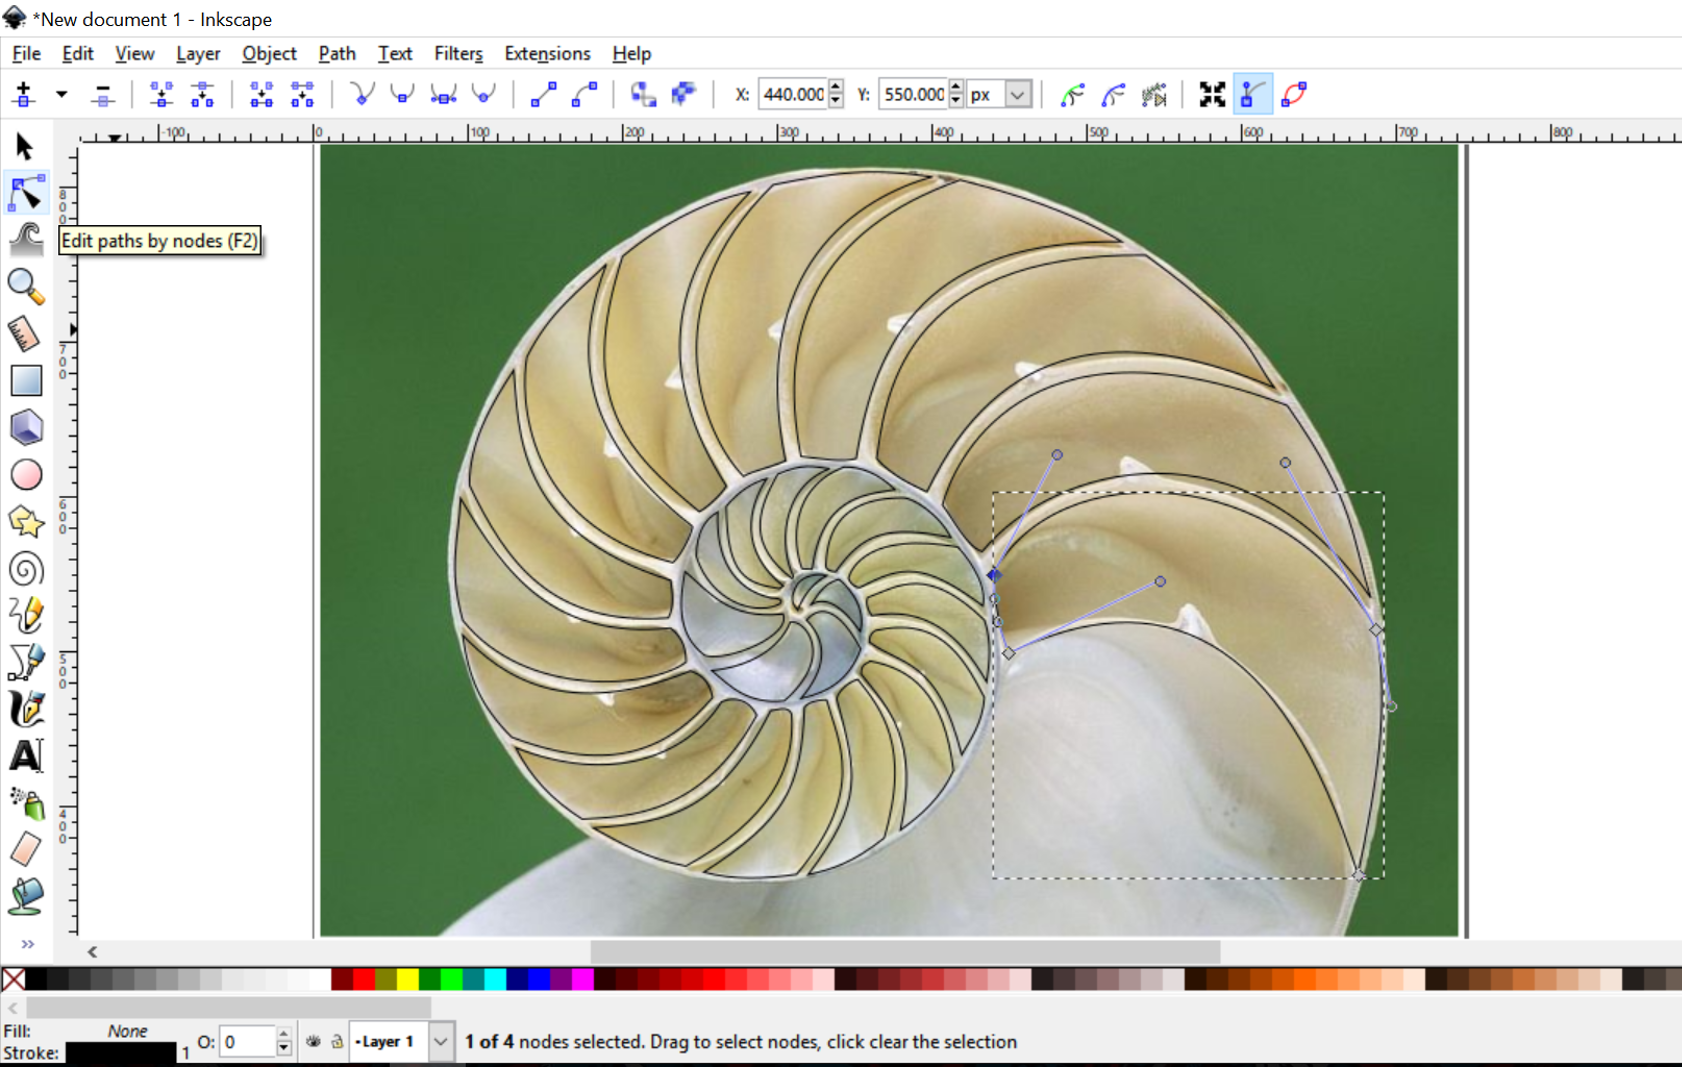
Step 4
Once you’re happy with your pattern, use the pen tool to draw an outer line around it to create your outer shape. Edit the path as required.
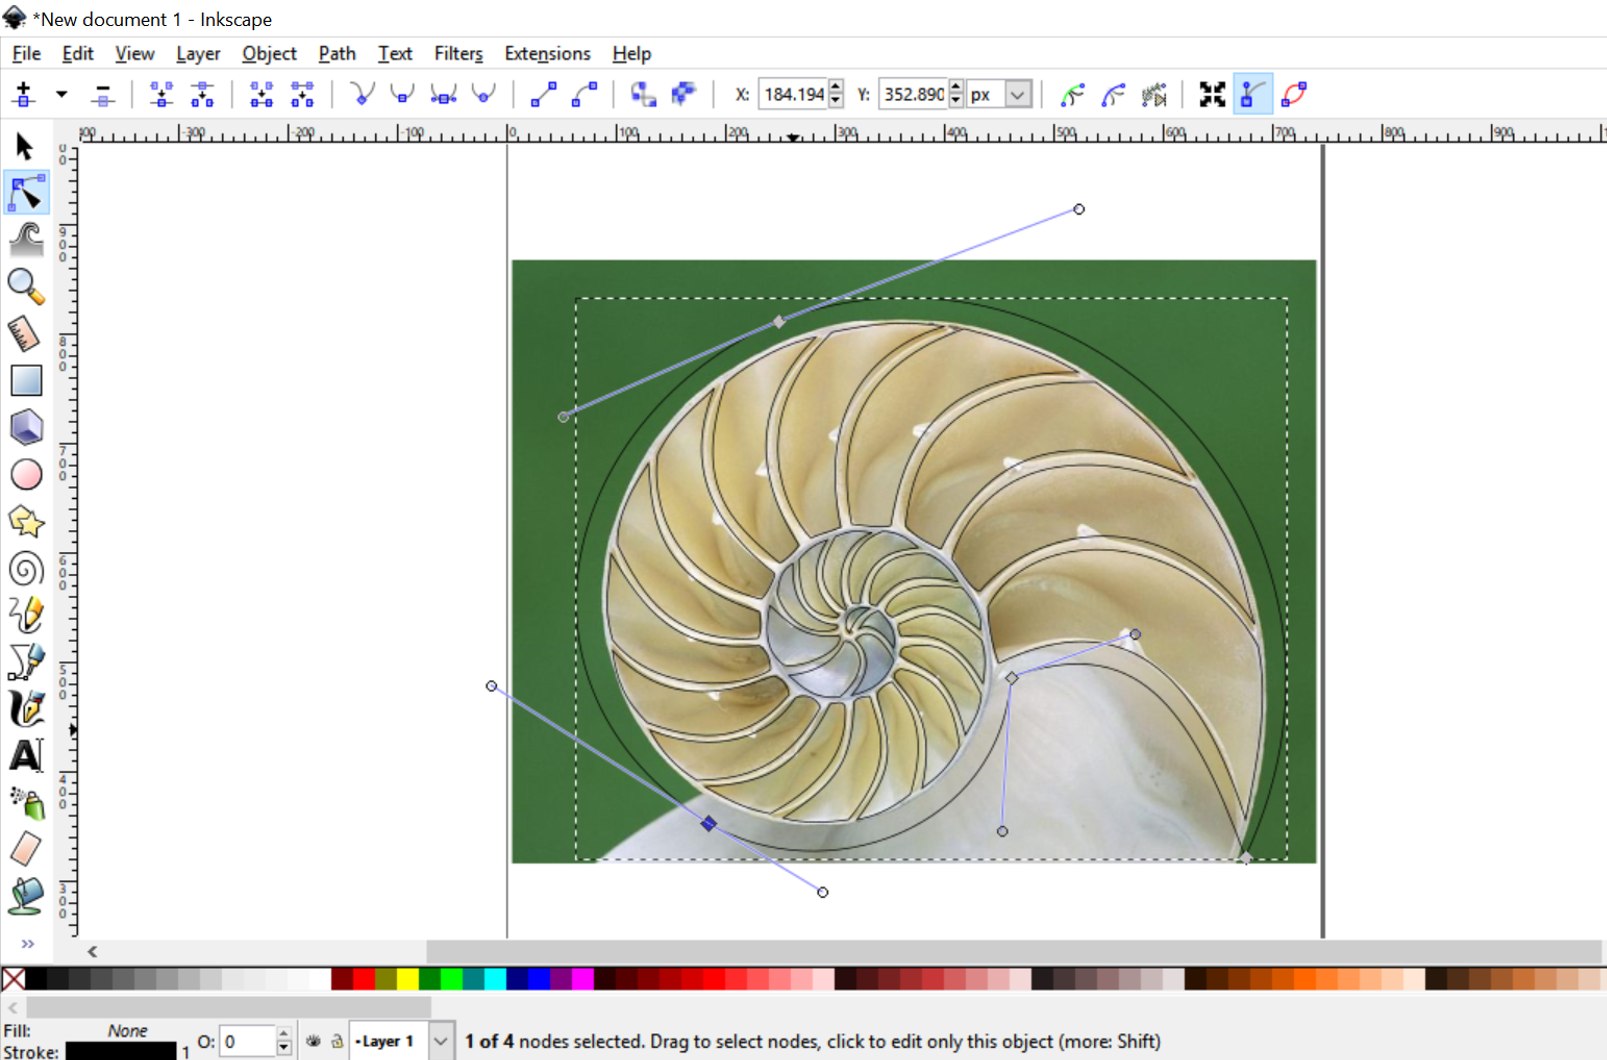
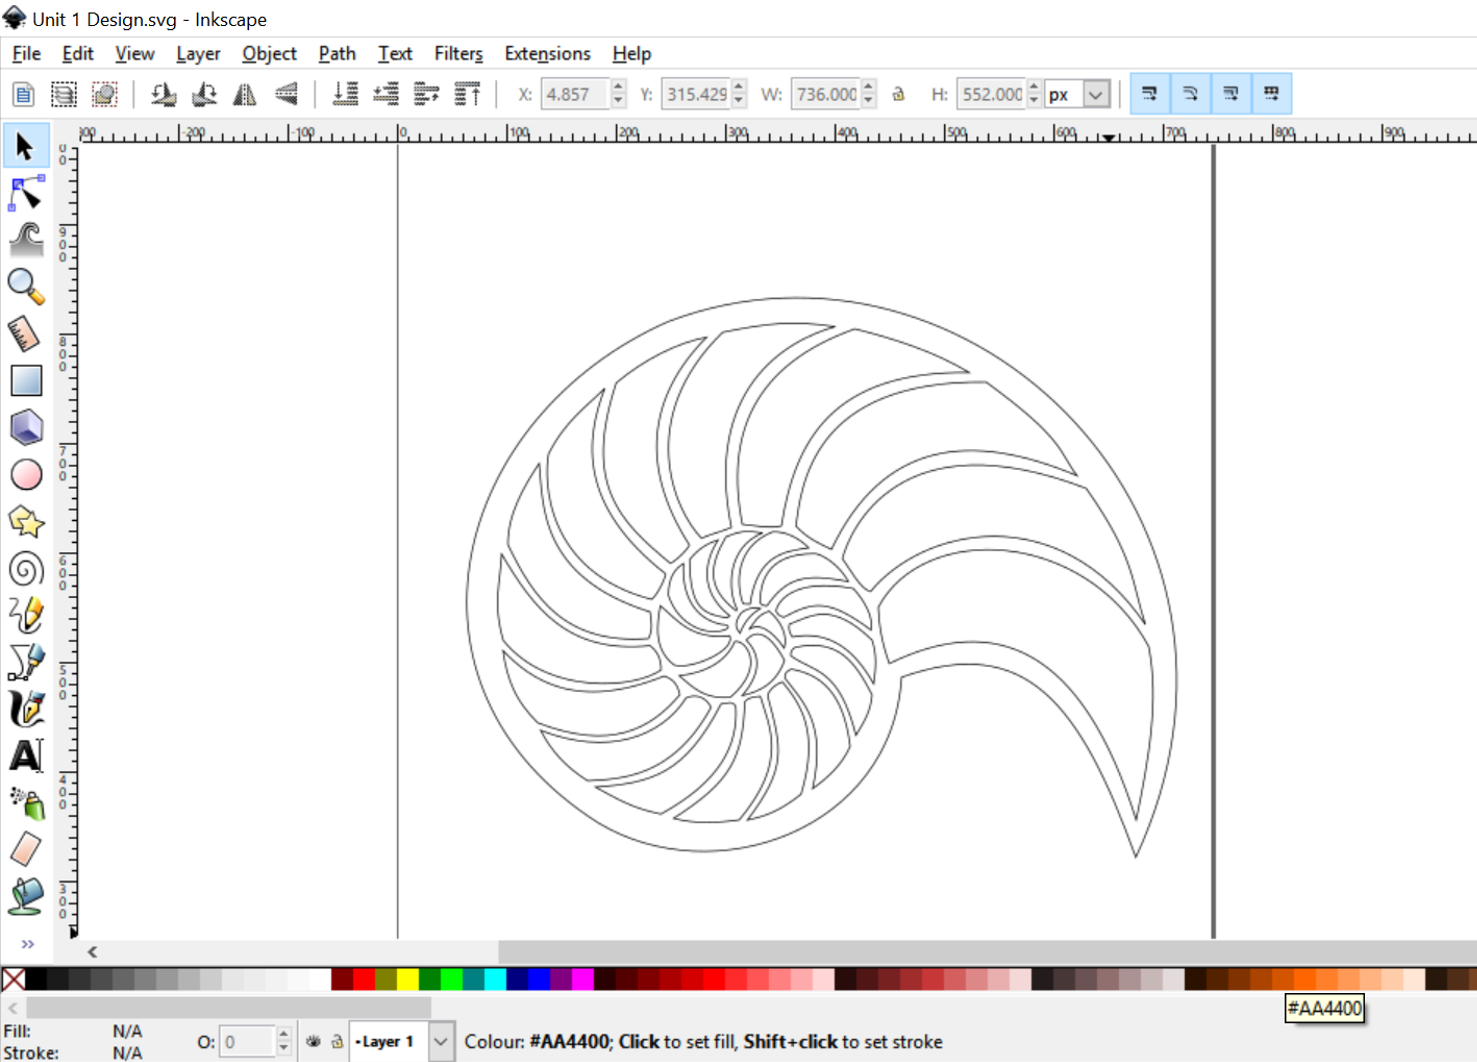
When you’re satisfied with your outer shape and pattern, delete your reference image.
