Course navigation
Cardboard Prototype
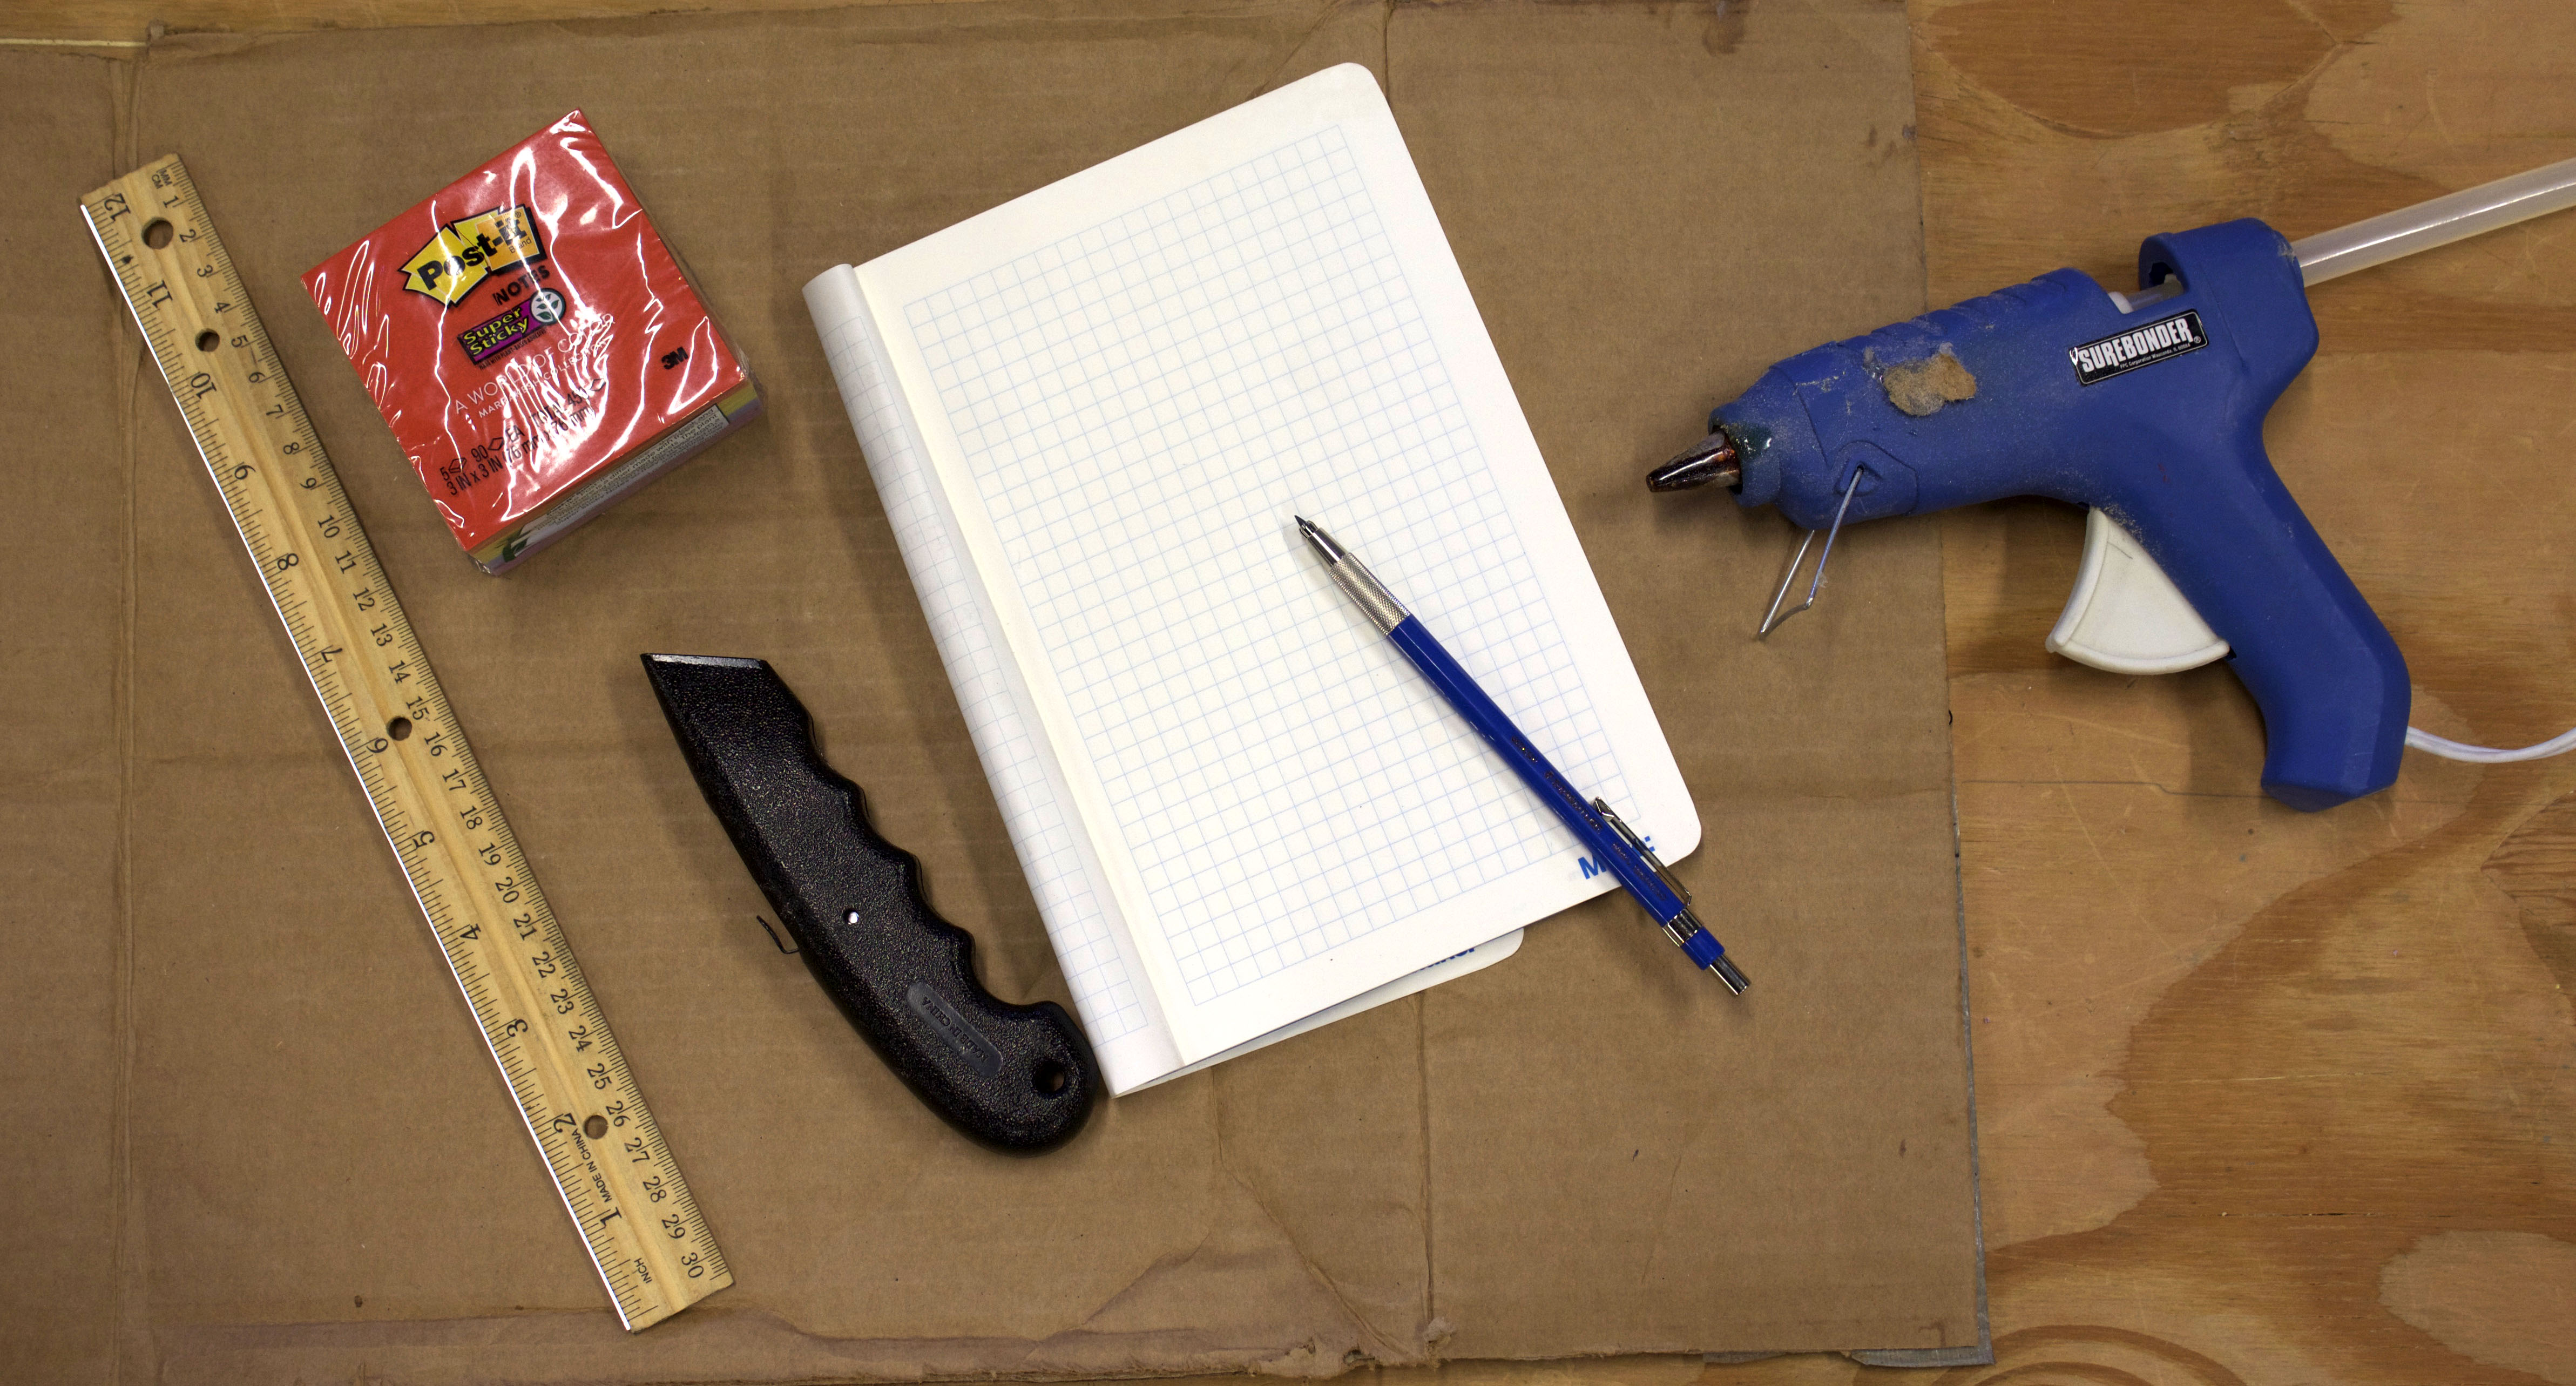
It’s now time to put your idea to the test. Using the materials and tools provided in your prototyping kit, have a go at making a rough cardboard prototype of your idea.
Step 1
Start working on your cardboard prototype. Each member of the group can have a go at making their version of the idea. This is a rapid prototyping exercise, it doesn’t have to be perfect, it just has to demonstrate that your idea can work.
Step 2
This is your opportunity to think through how your prototype will work in real life. What thickness of material do you need? Should it be made of something tough, or something flexible? Are there multiple parts? Will they be glued together, will they slot into each other, should they lock in place?
Step 3
Keep annotating and updating your sketches as you go along. Discuss your prototype with your team, highlight any issues and work as a team on the solutions. Come to a decision on your preferred prototype to transfer into a design. Select the materials that you want to work with for your final prototype.