Course navigation
Sweep
Step 1
Open a New Design in Fusion 360.
Create a new sketch on the horizontal plane. (Hint: this is the bottom square.)
Step 2
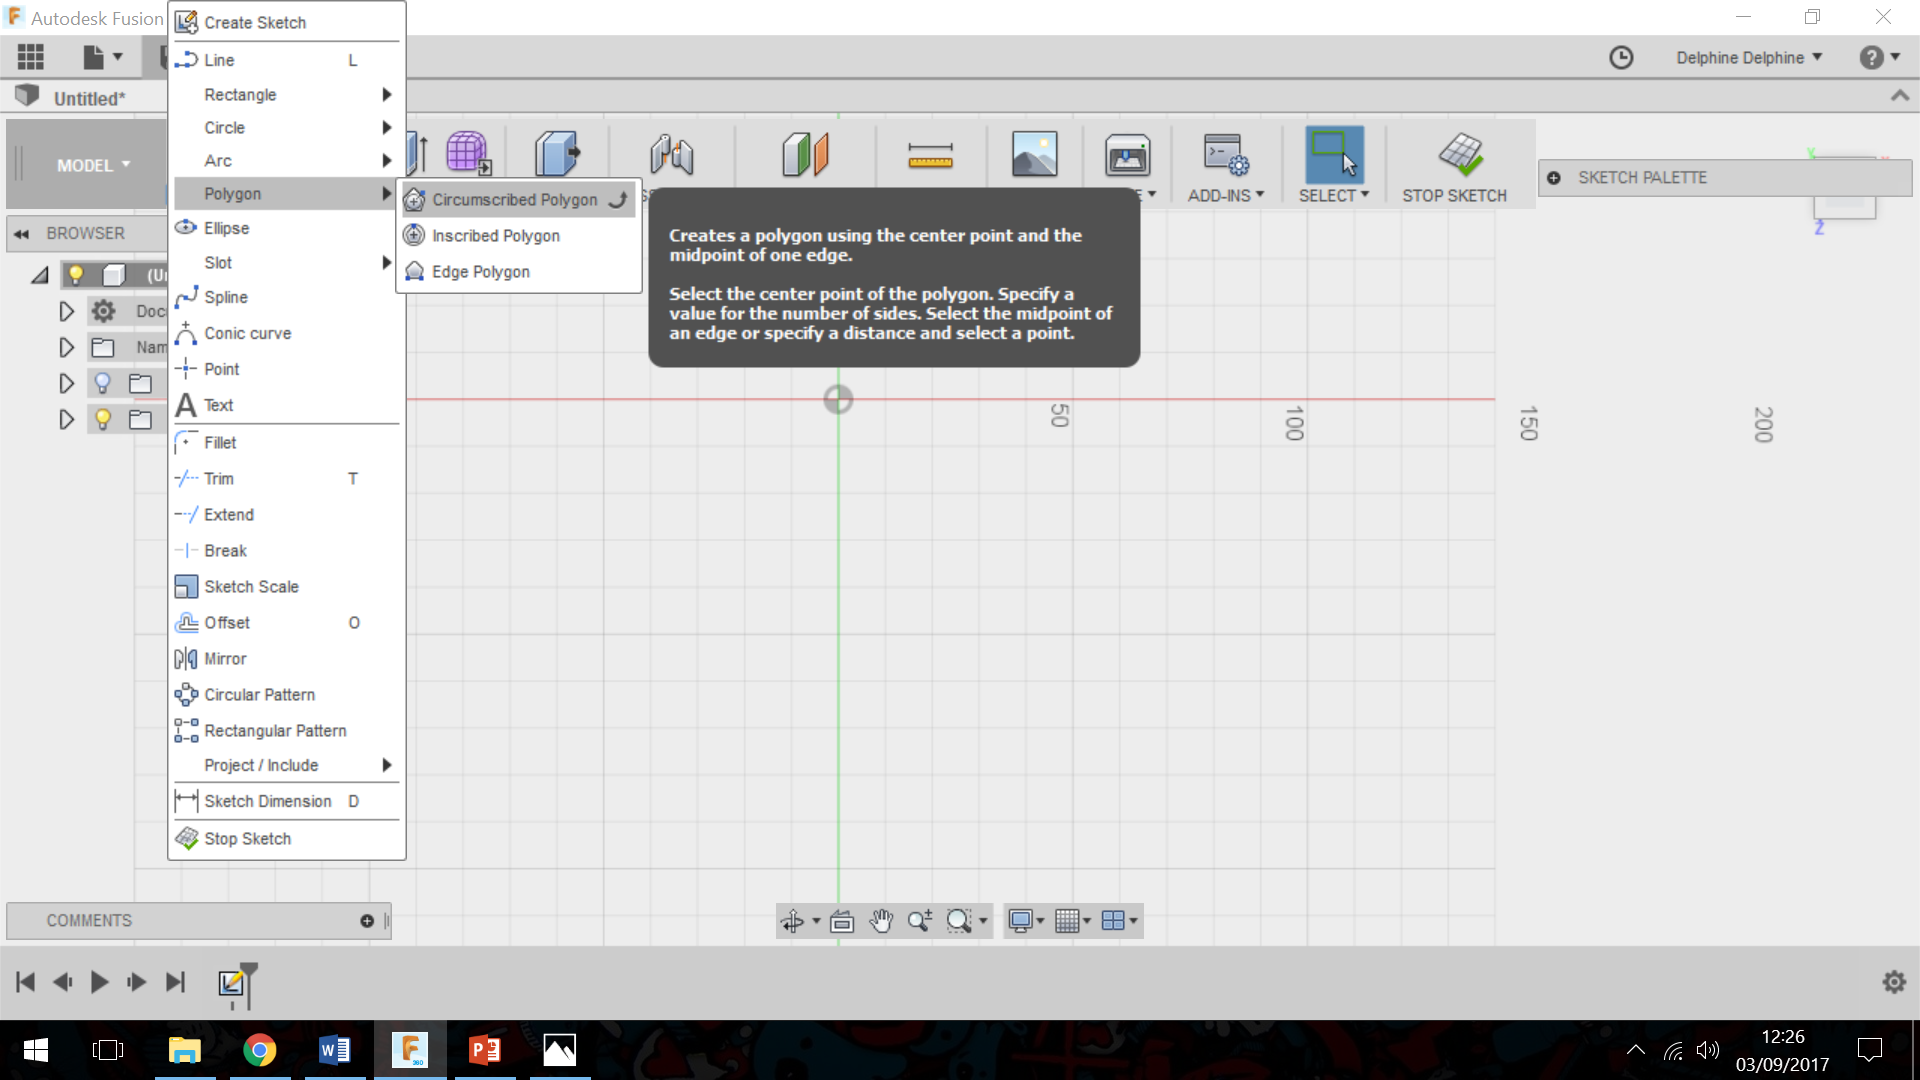
Click on the SKETCH or CREATE drop-down menu.
Go to Polygon and select Circumscribed Polygon.
Step 3
Choose the origin as the centre point for your polygon. (Hint: the origin is where the two axes cross.)
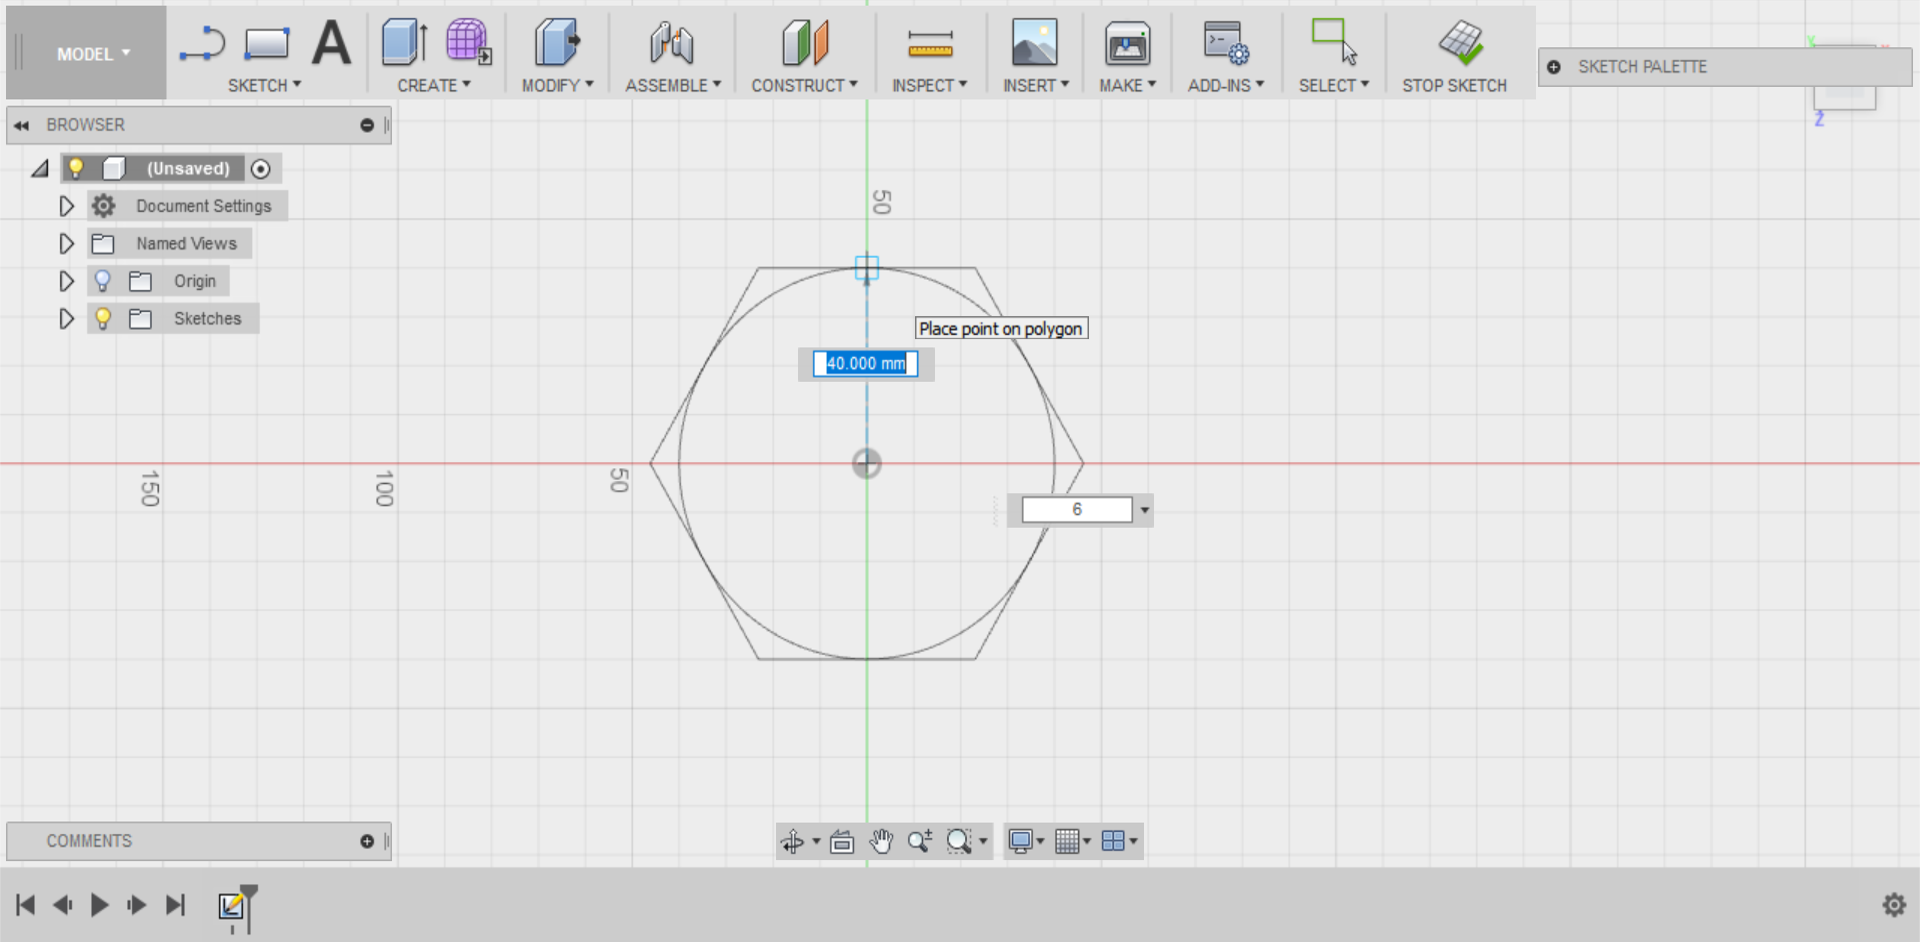
Create a polygon with a 40mm diameter. (Hint: you can do this by typing the number or dragging the polygon.)
Click STOP SKETCH or FINISH SKETCH.
Step 4
Create a new sketch on a plane perpendicular to your polygon. This will be either of the planes you haven’t used yet.Step 5
Select Spline from the drop-down menu.
Start your first spline at the origin (where the two axes cross) and make a loose curve with it.
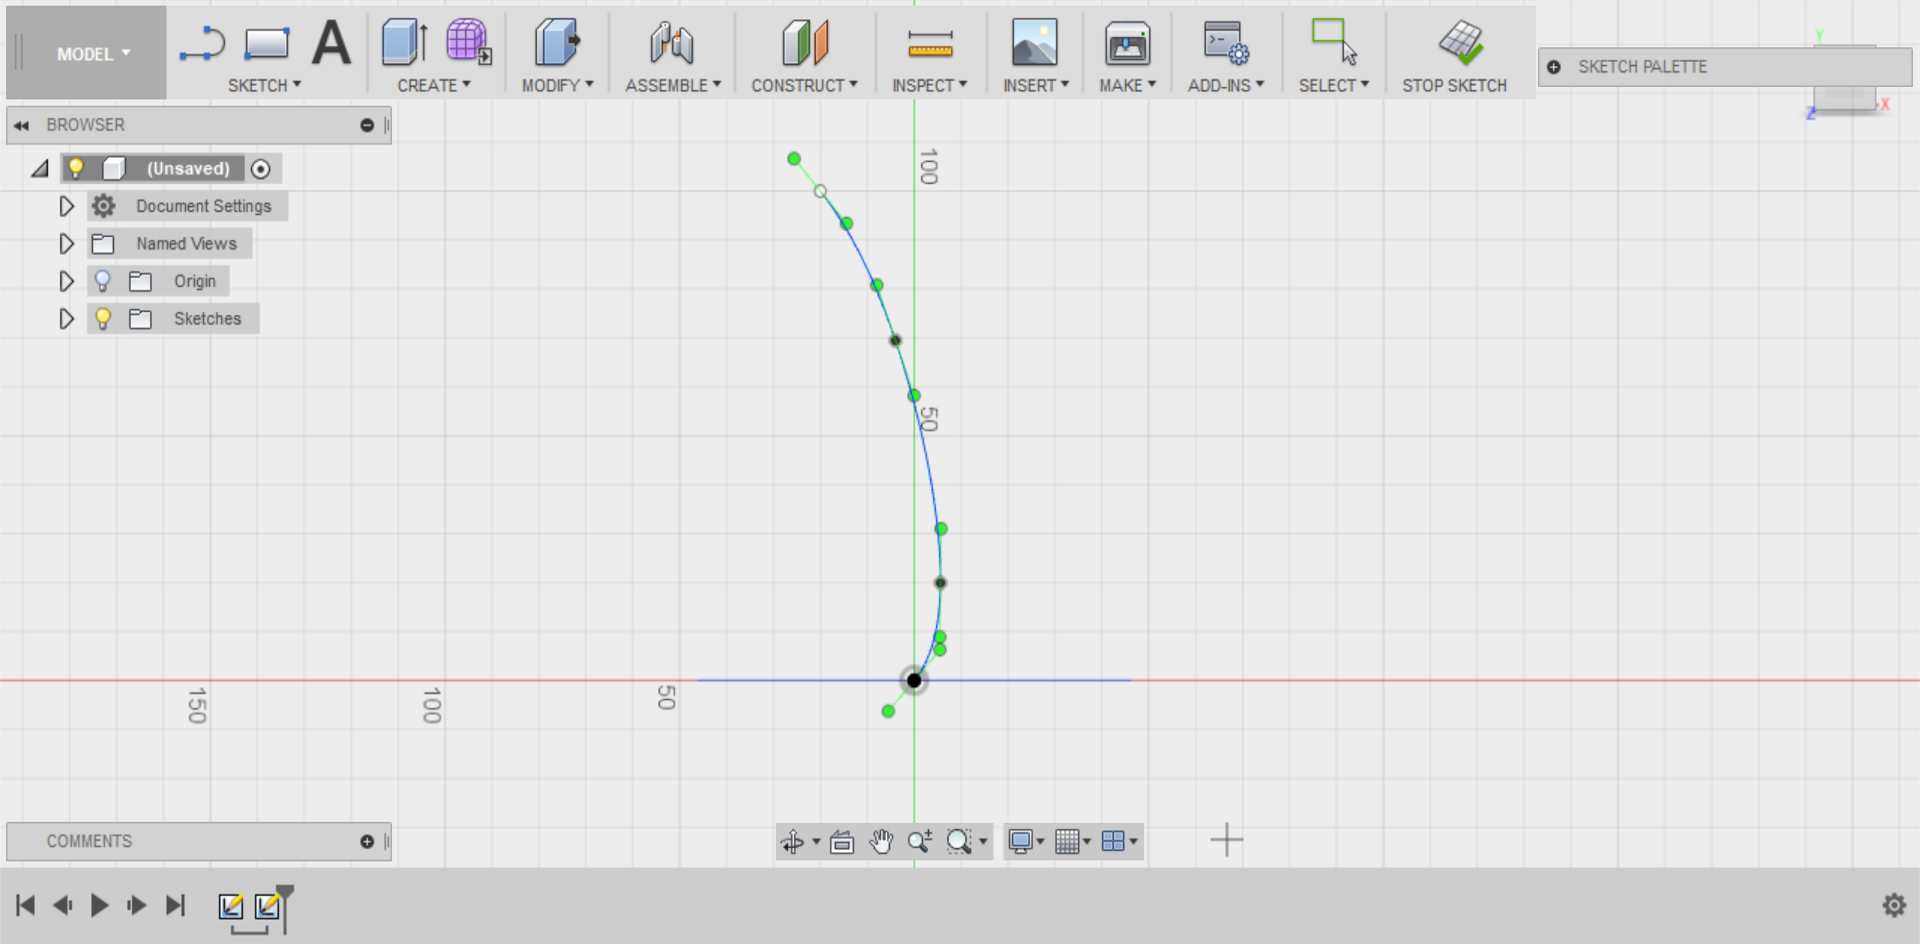
Create a second spline starting at the outer edge of your polygon and give it a series of loose curves. If your curves are too tight, the sweep won't work.
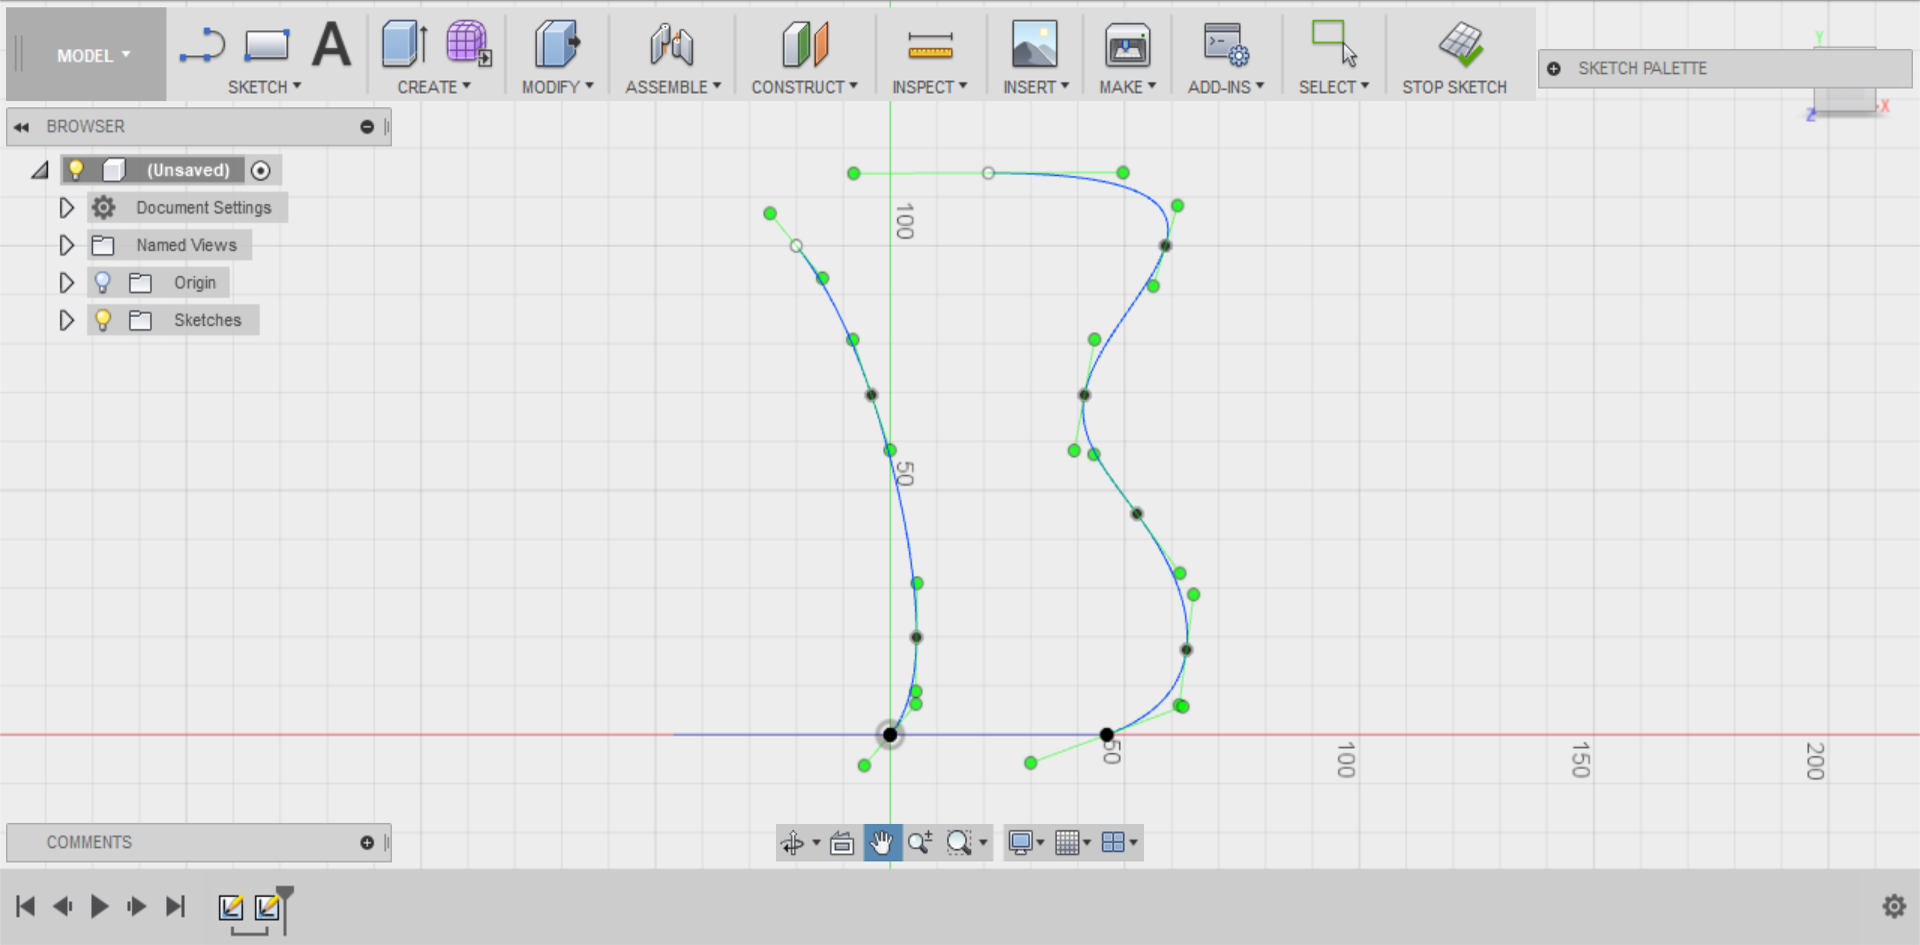
Click STOP SKETCH or FINISH SKETCH.
Step 6
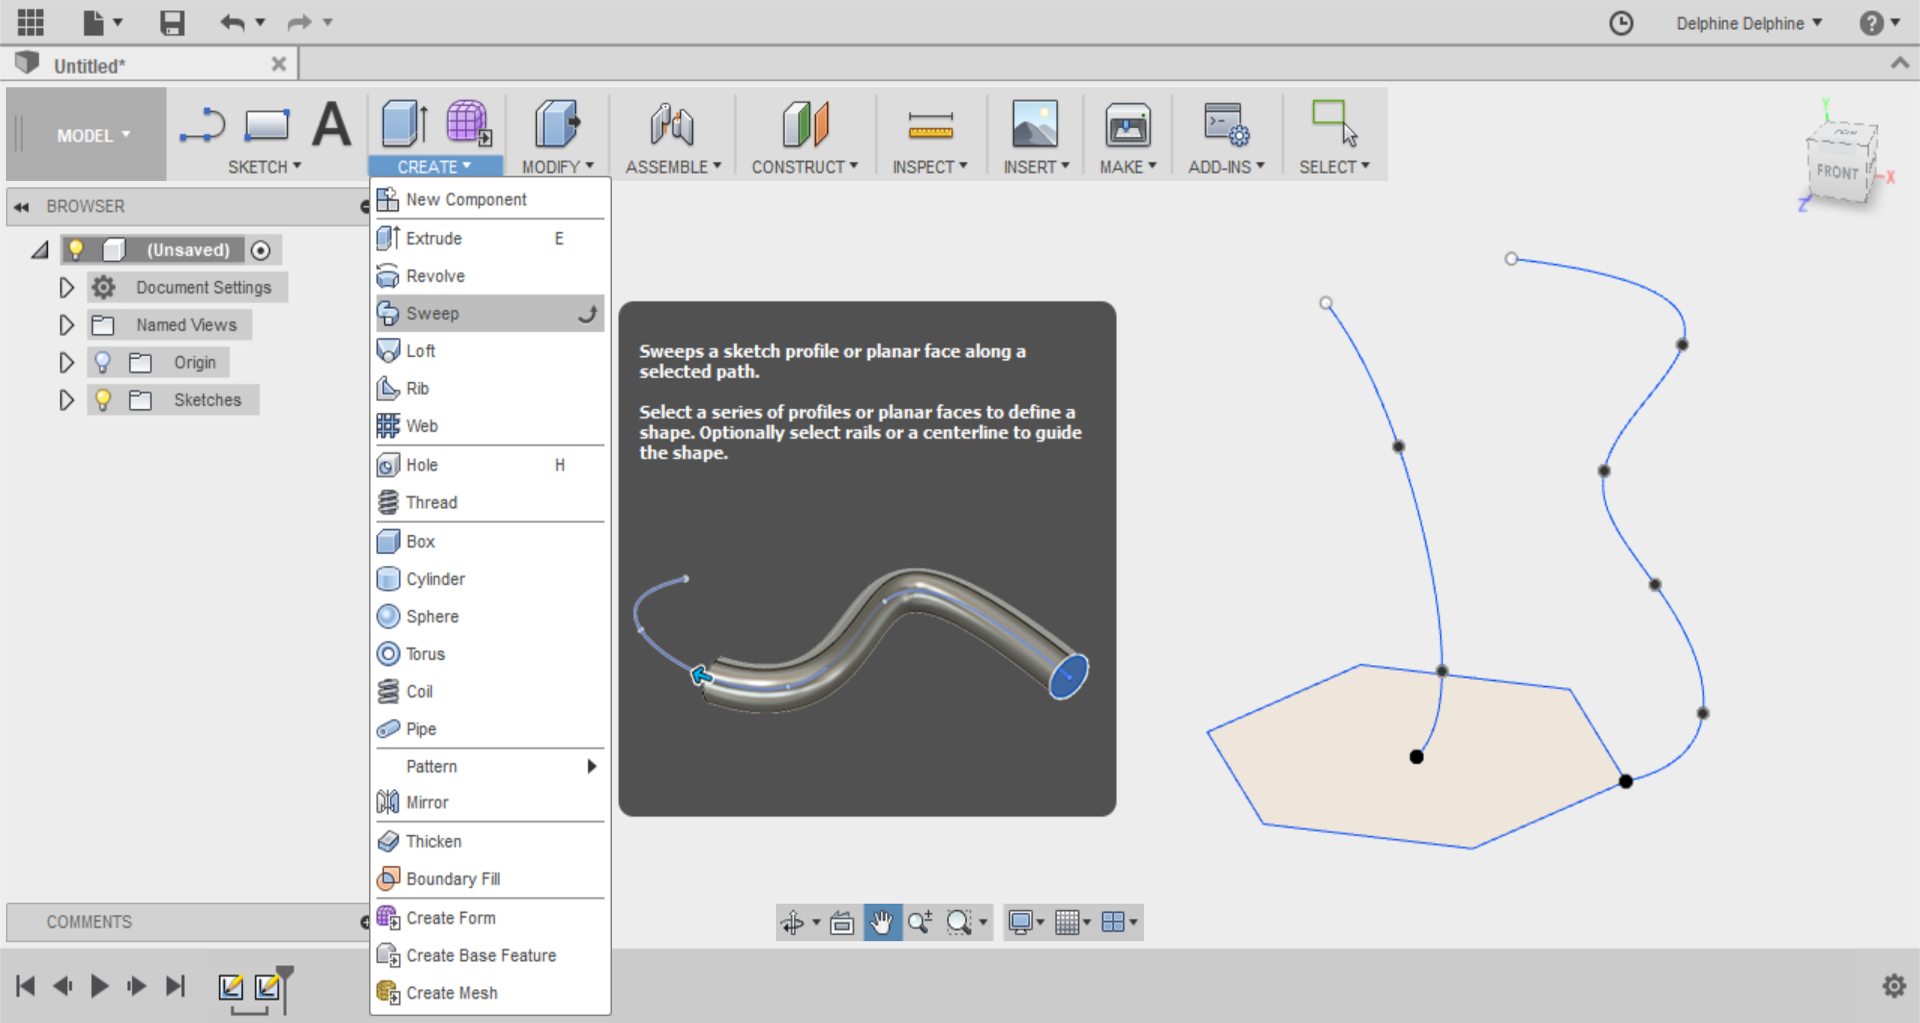
Click on the CREATE drop-down menu.
Select the 'Sweep' command.
Step 7
On the right of the screen is now the Sweep panel.
Check that your sweep type is set to Path + Guide Rail.
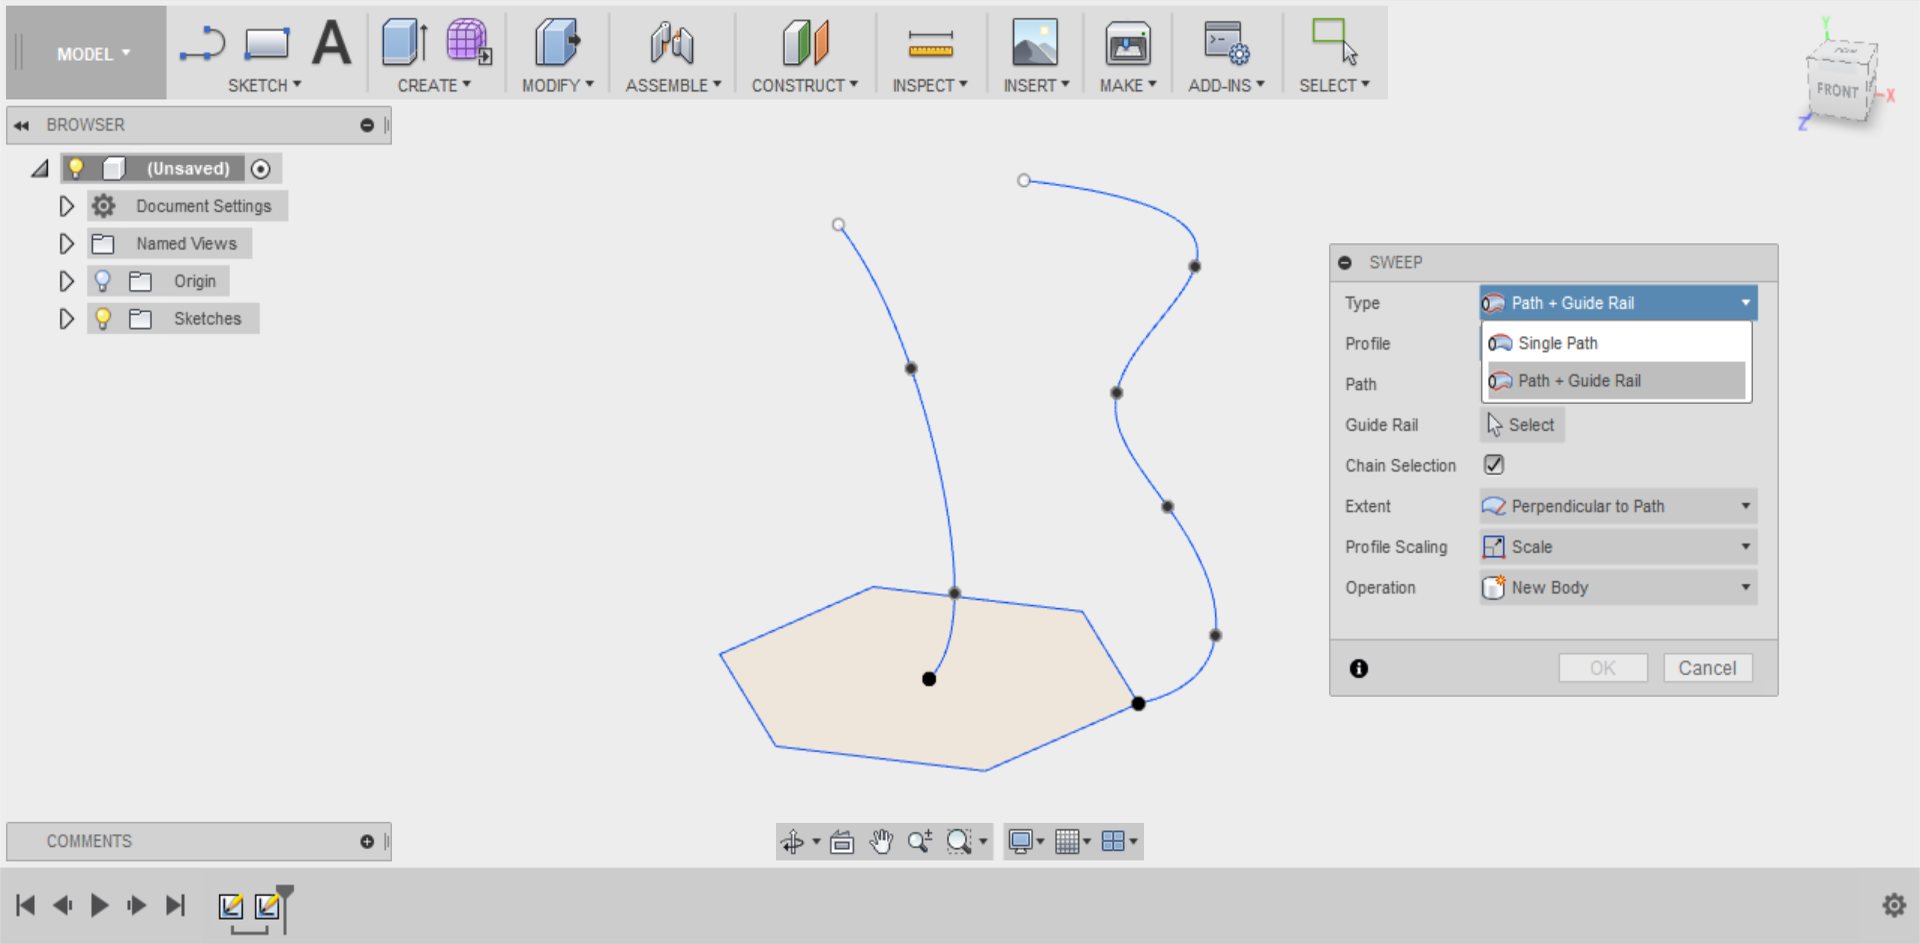
Select your polygon shape as the profile.
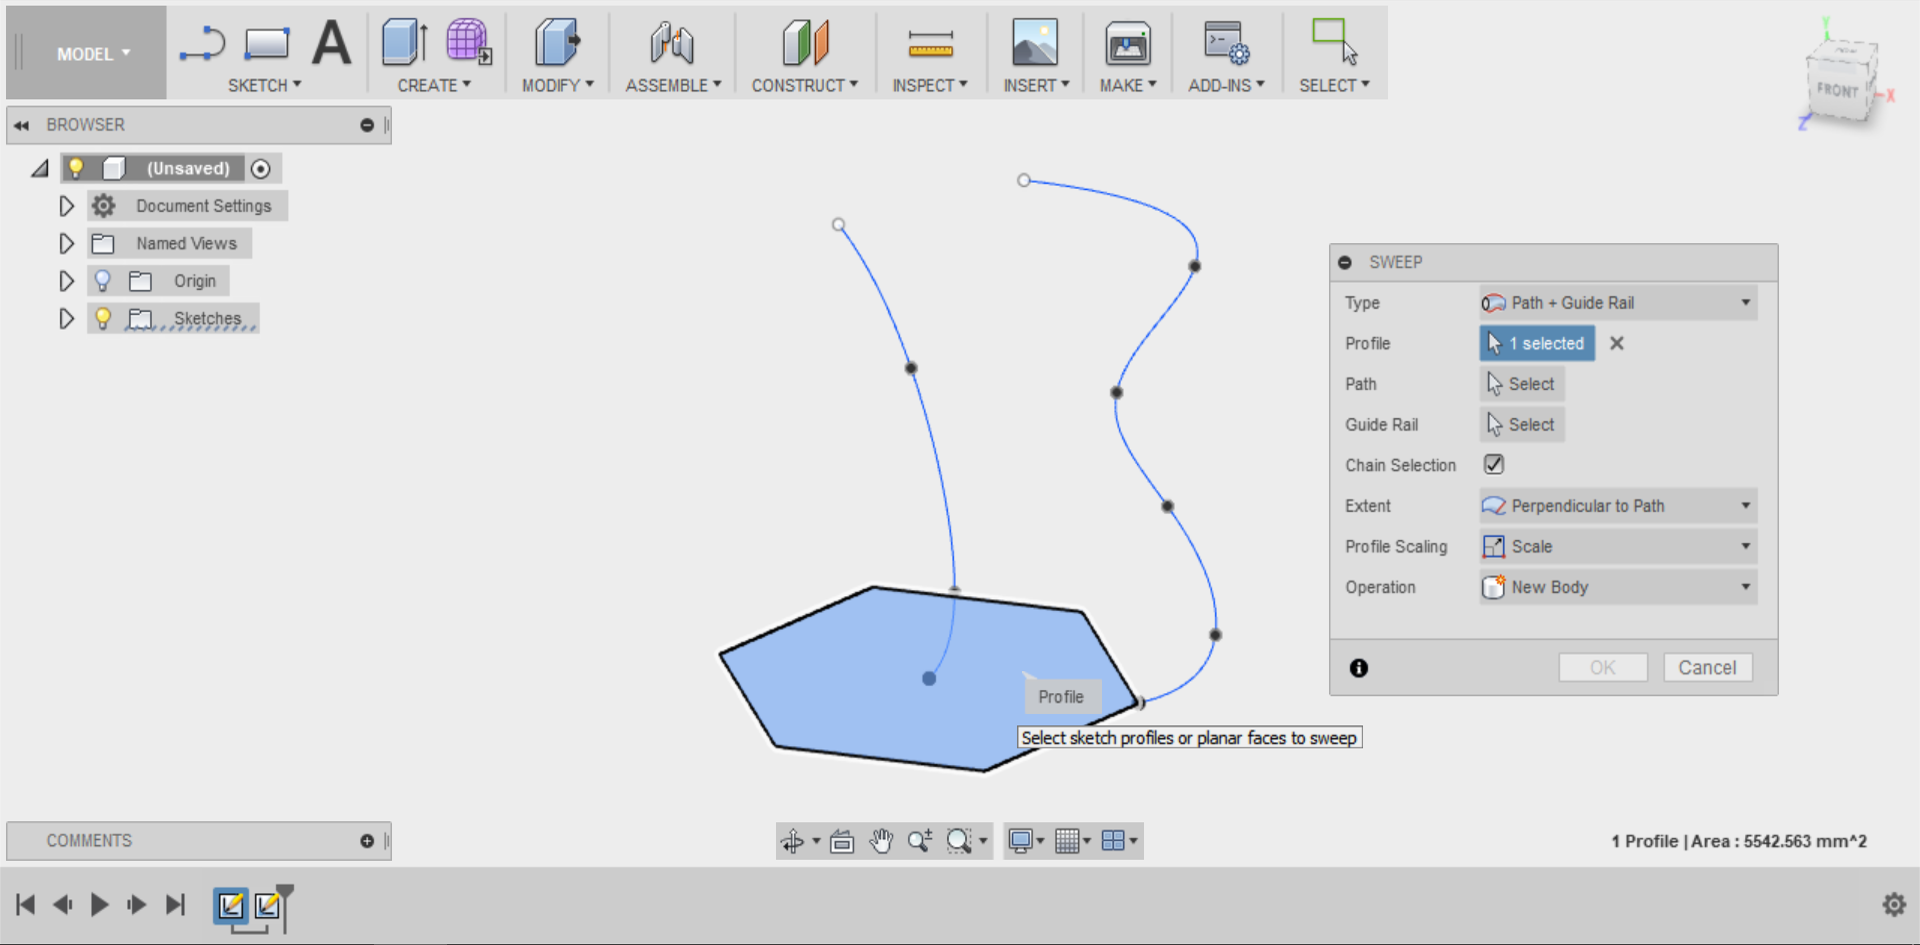
Step 8
Select your centre spline shape as the Path.
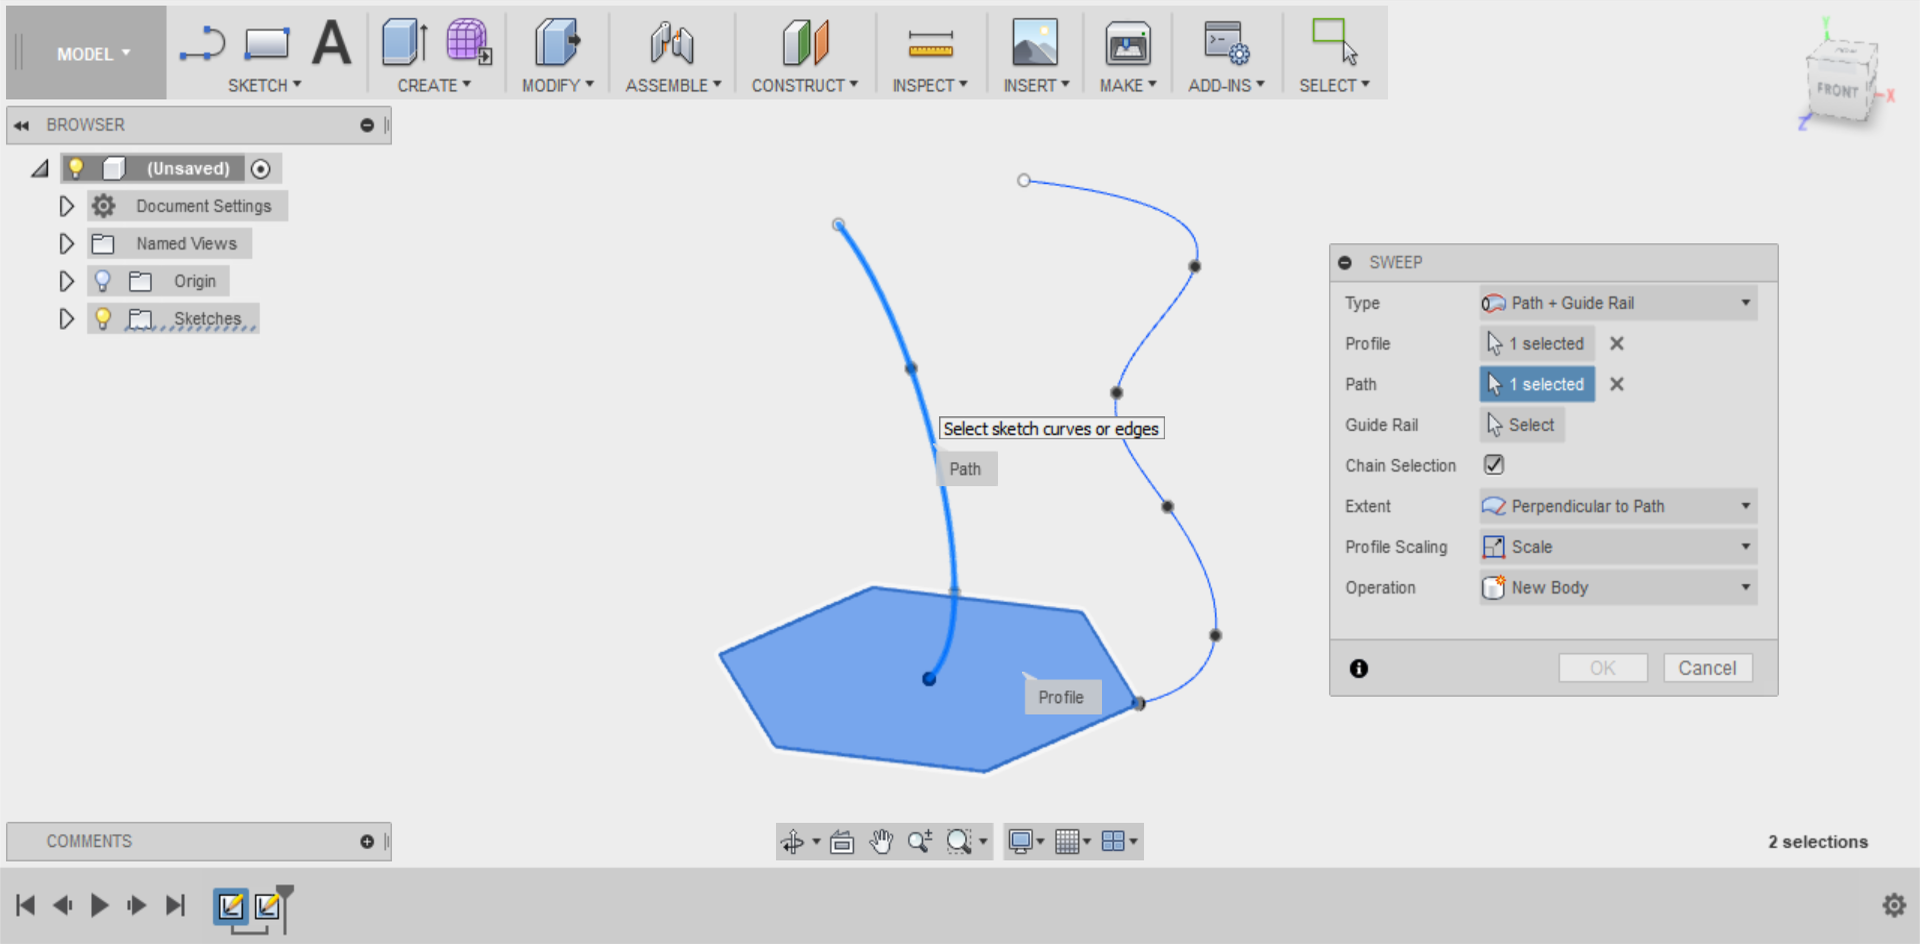
Select your curved side spline as the Rail.
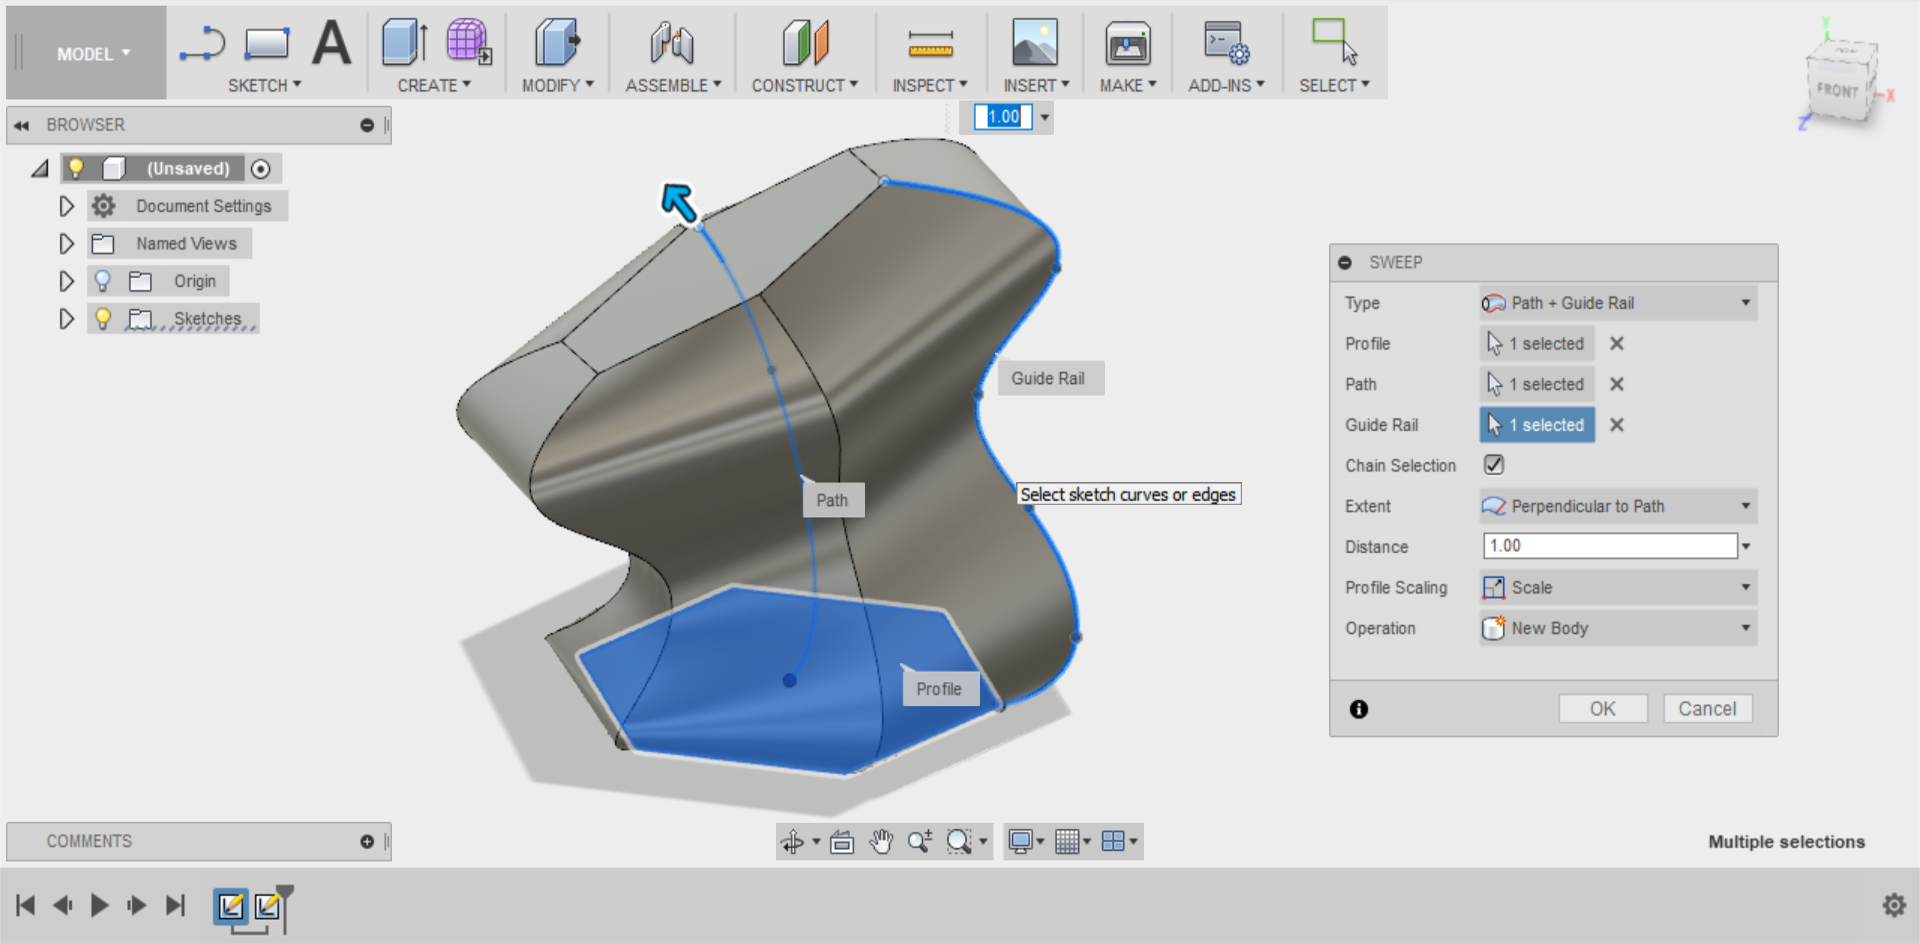
Your shape should automatically change as the polygon is extruded along the splines.
Step 9
You can experiment with the other settings, such as only extruding part way along the splines or changing the orientation of the shape.
Press OK when you’re finished.
Step 10
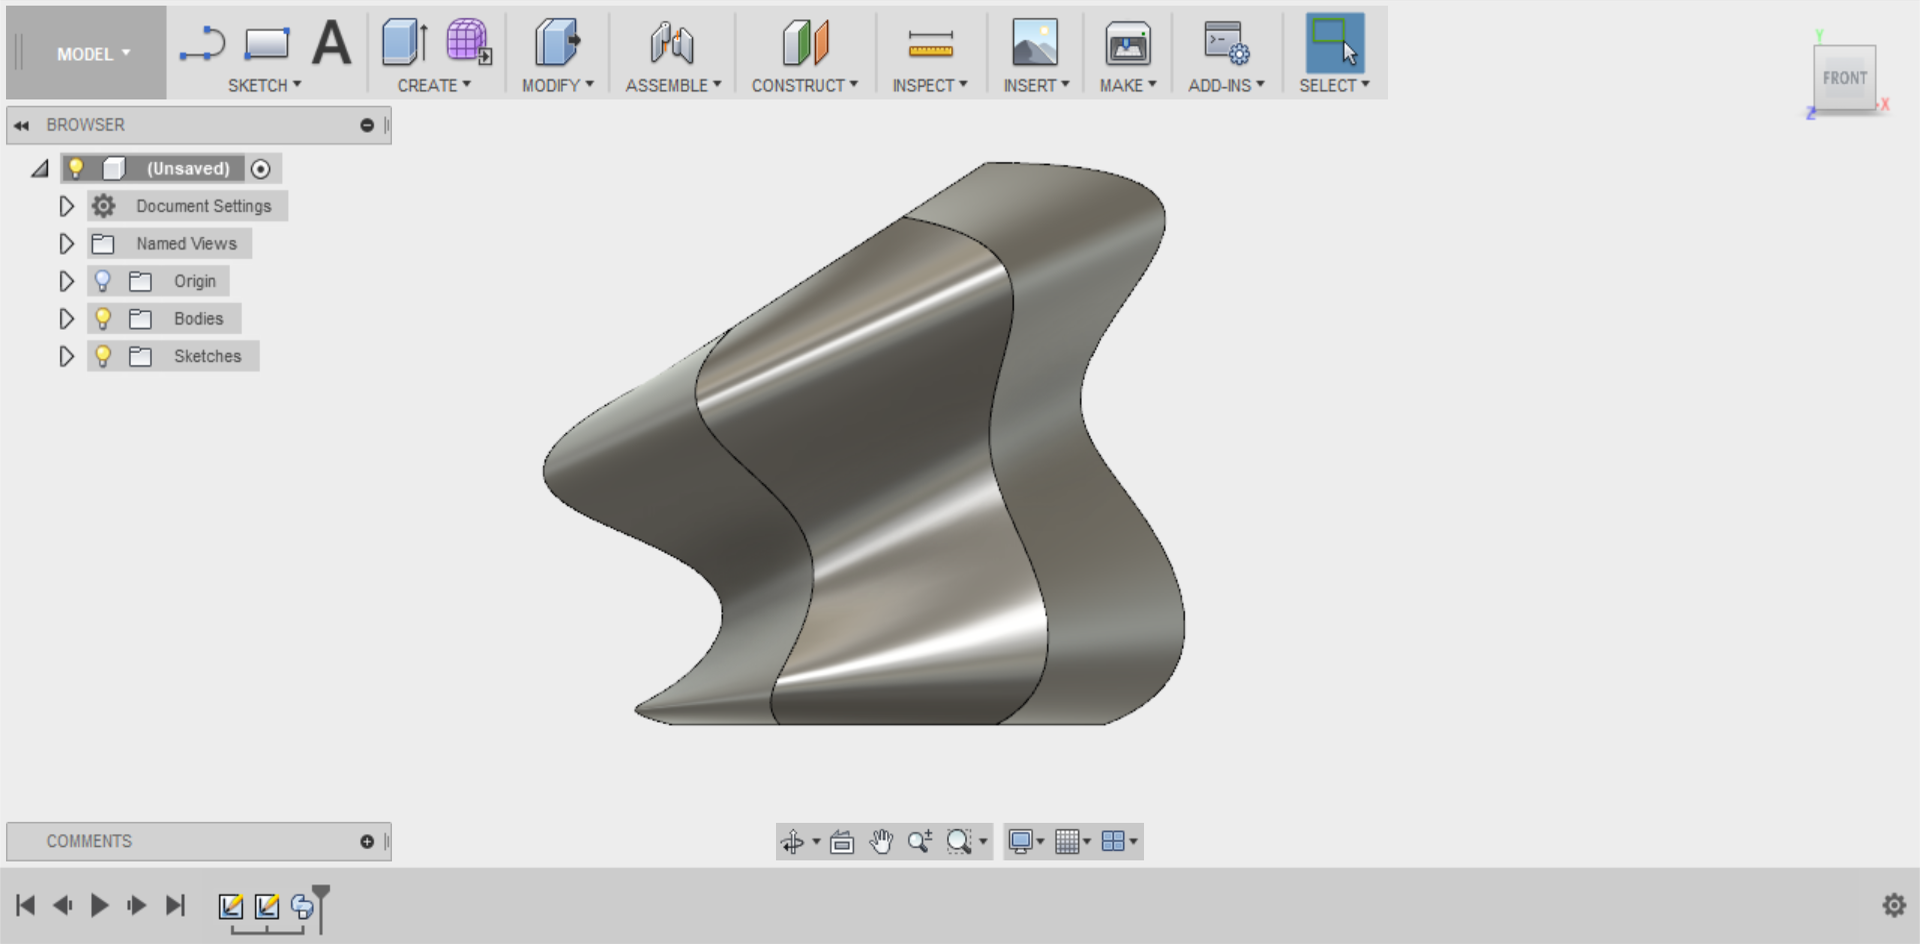
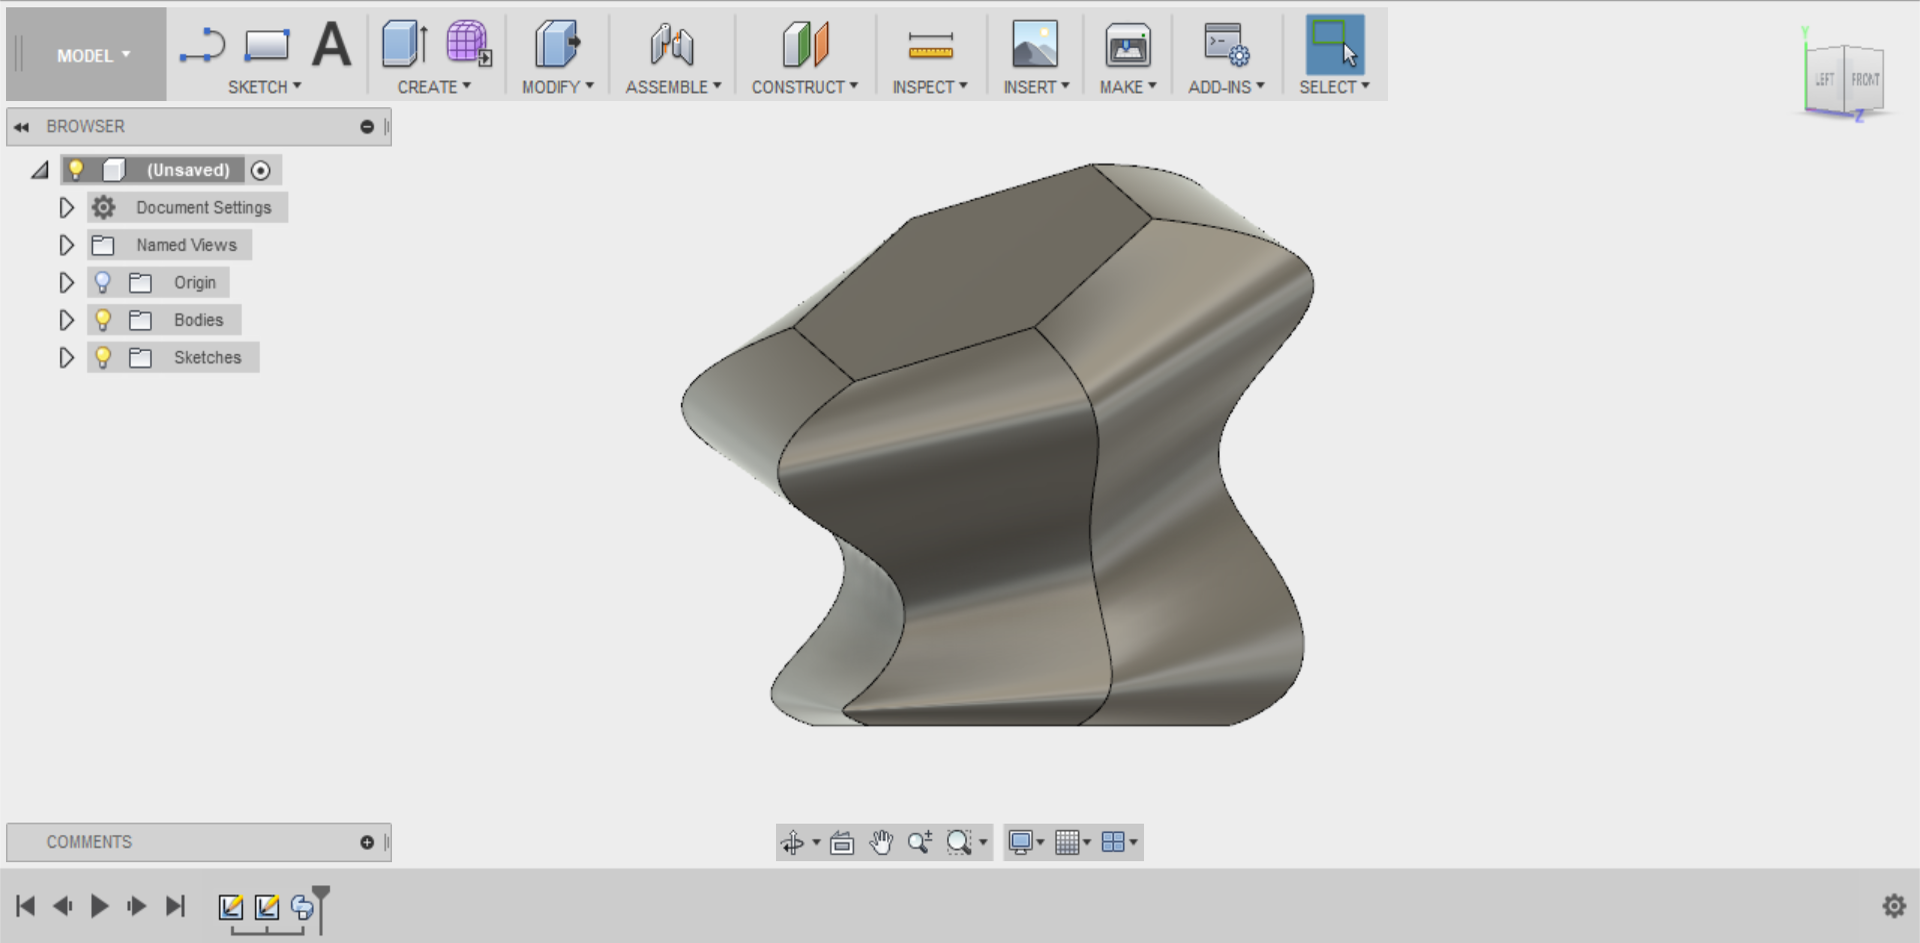
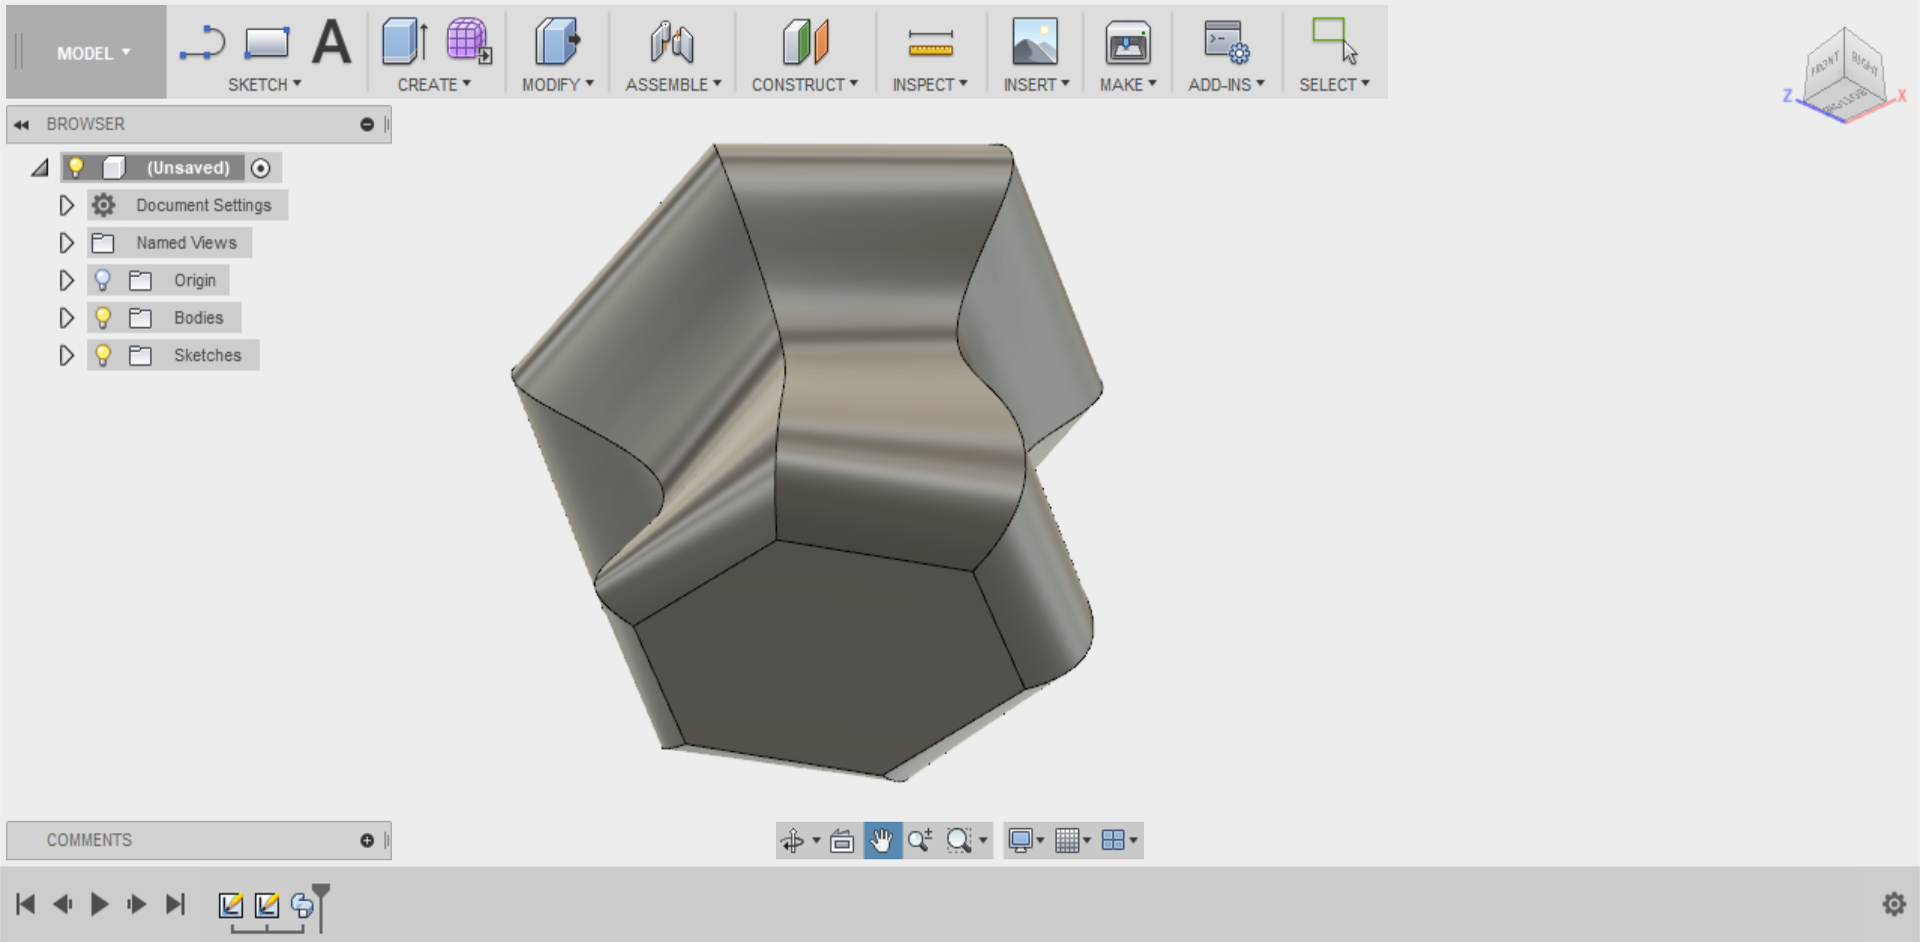
Congratulations, if everything has gone to plan you will now have a swept shape.
