Course navigation
Revolve
Step 1
There is a program on your computer named Fusion 360. Look for this icon:
Double-click to open the program.
Log in using the same log in details you created for TinkerCAD.
Open a new design.
Step 2
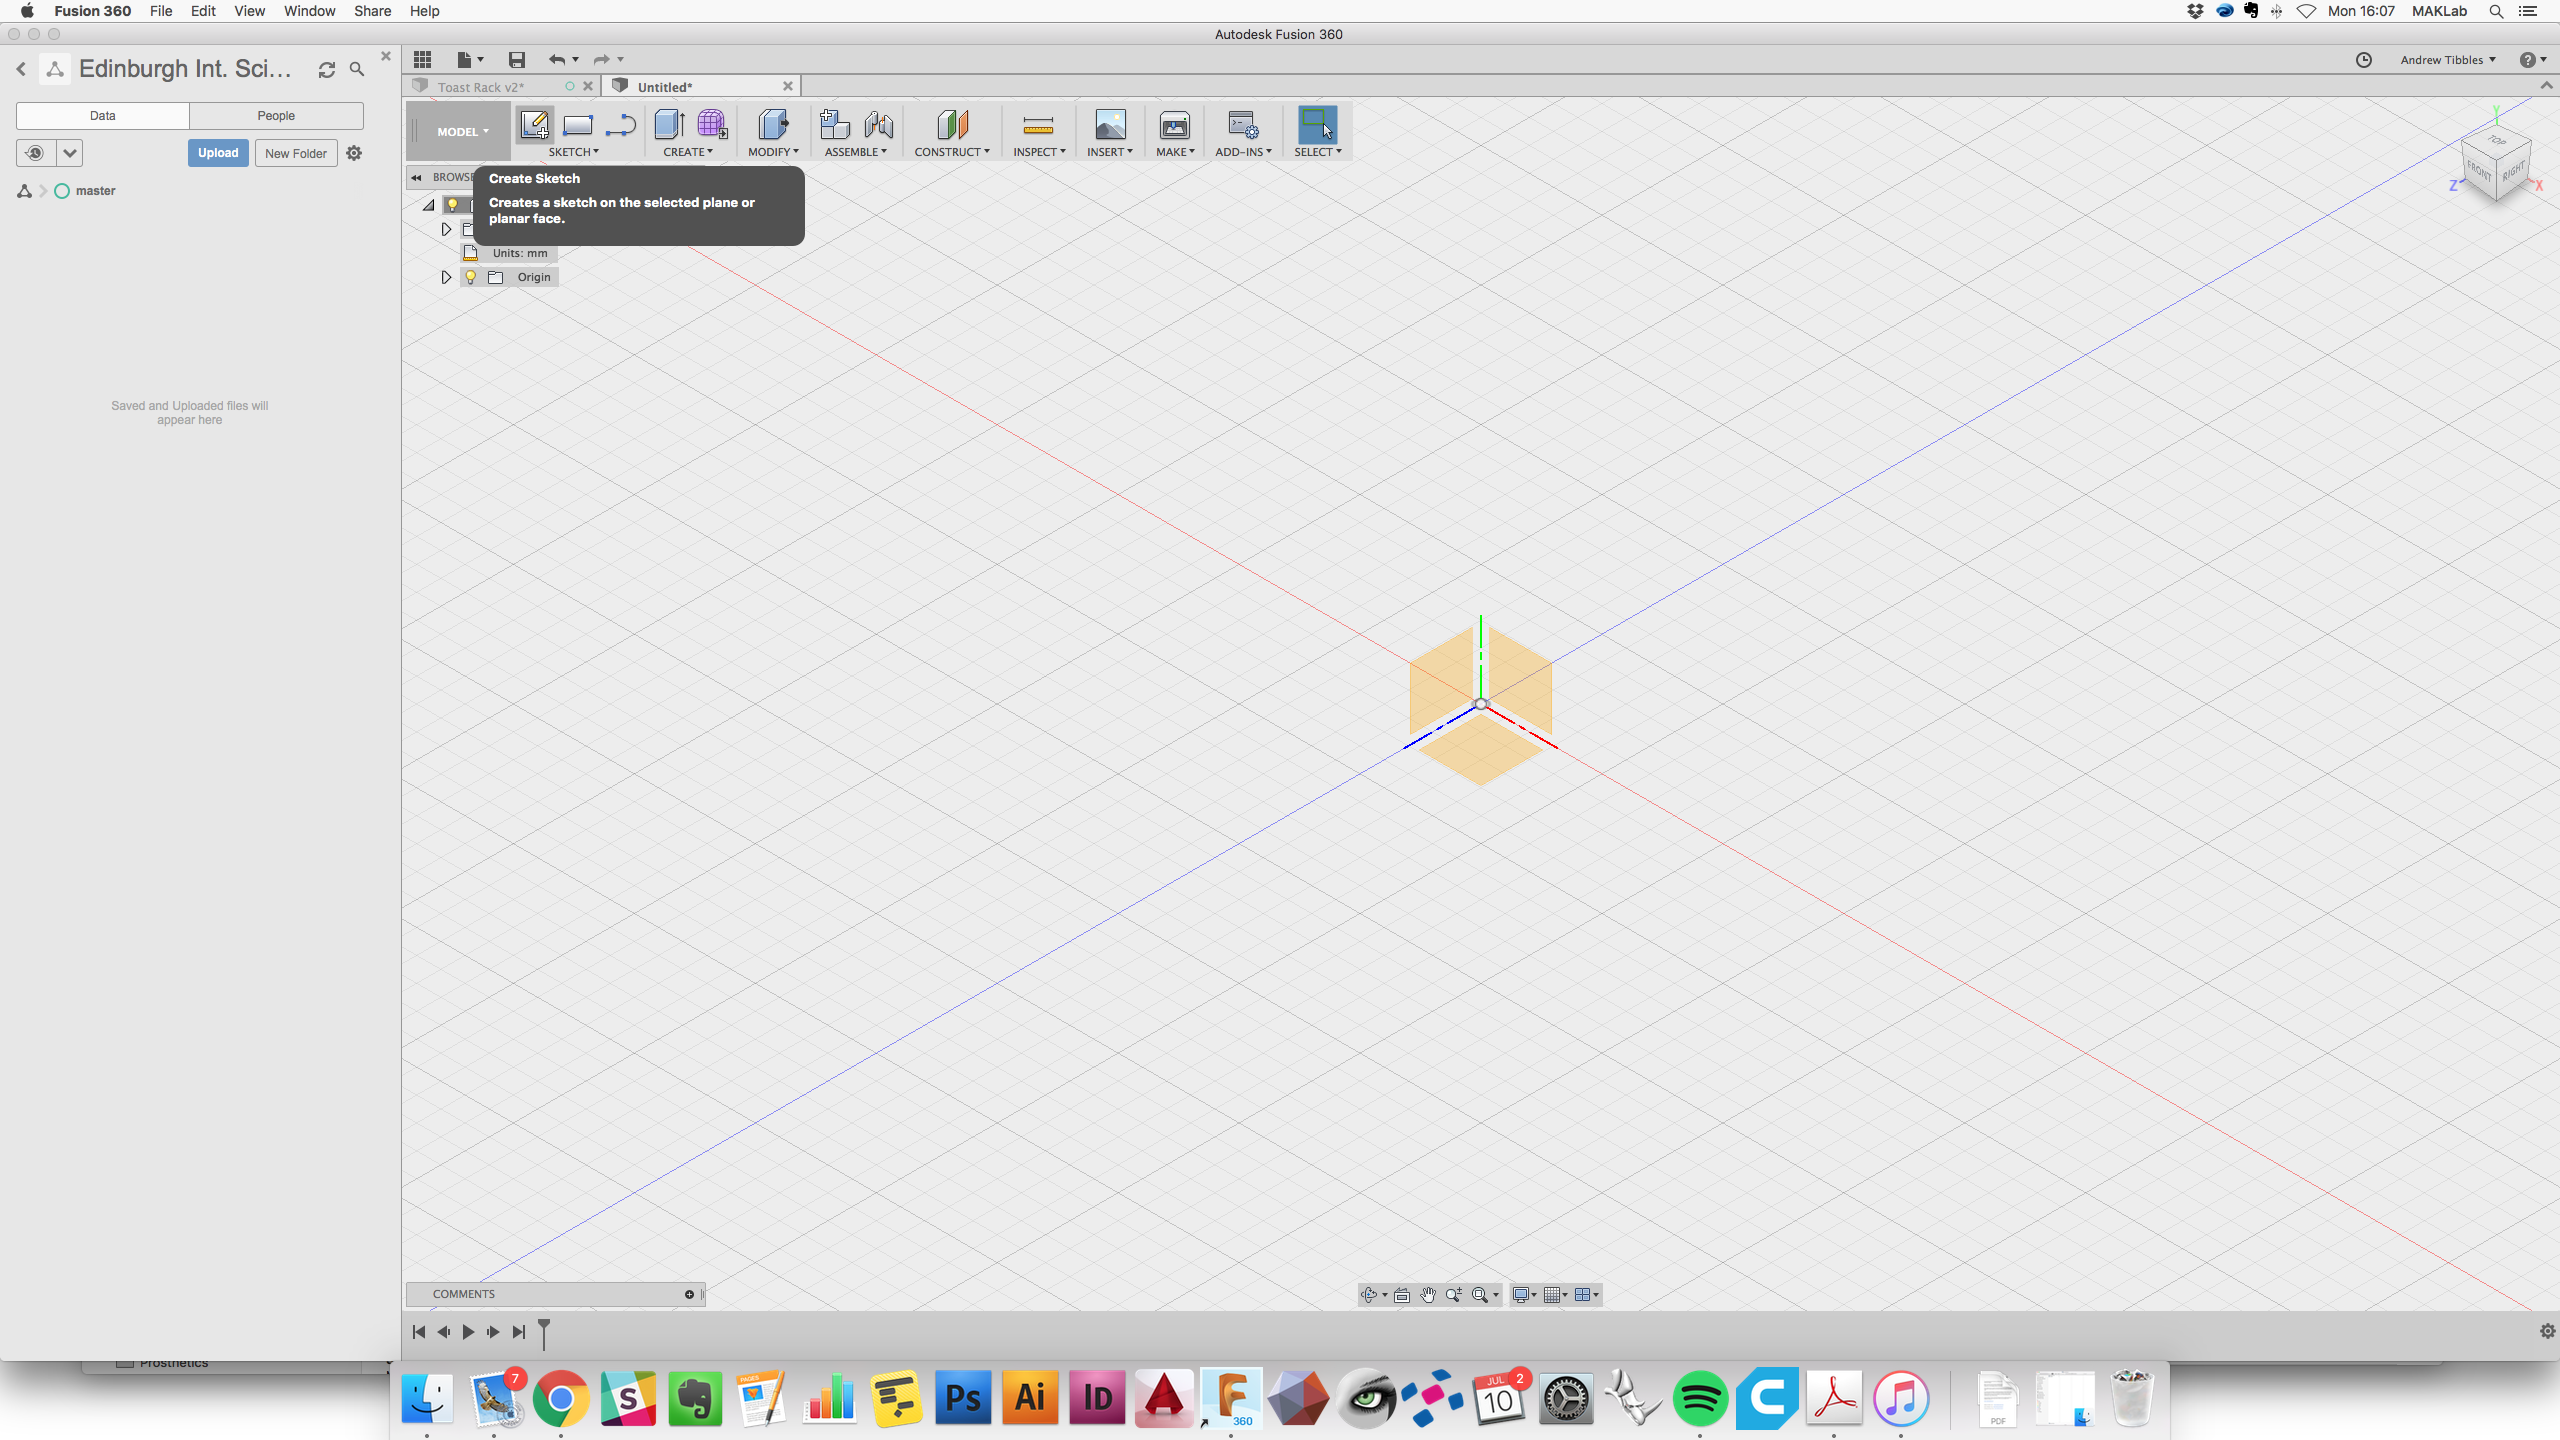
First, create a sketch by clicking on the first icon in the menu bar (an icon with a box and a plus sign)
Step 3
In the middle of the workspace you should now see three orange squares. Click on the square to the right of the green line. This will select to work on the vertical plane (the y-axis).
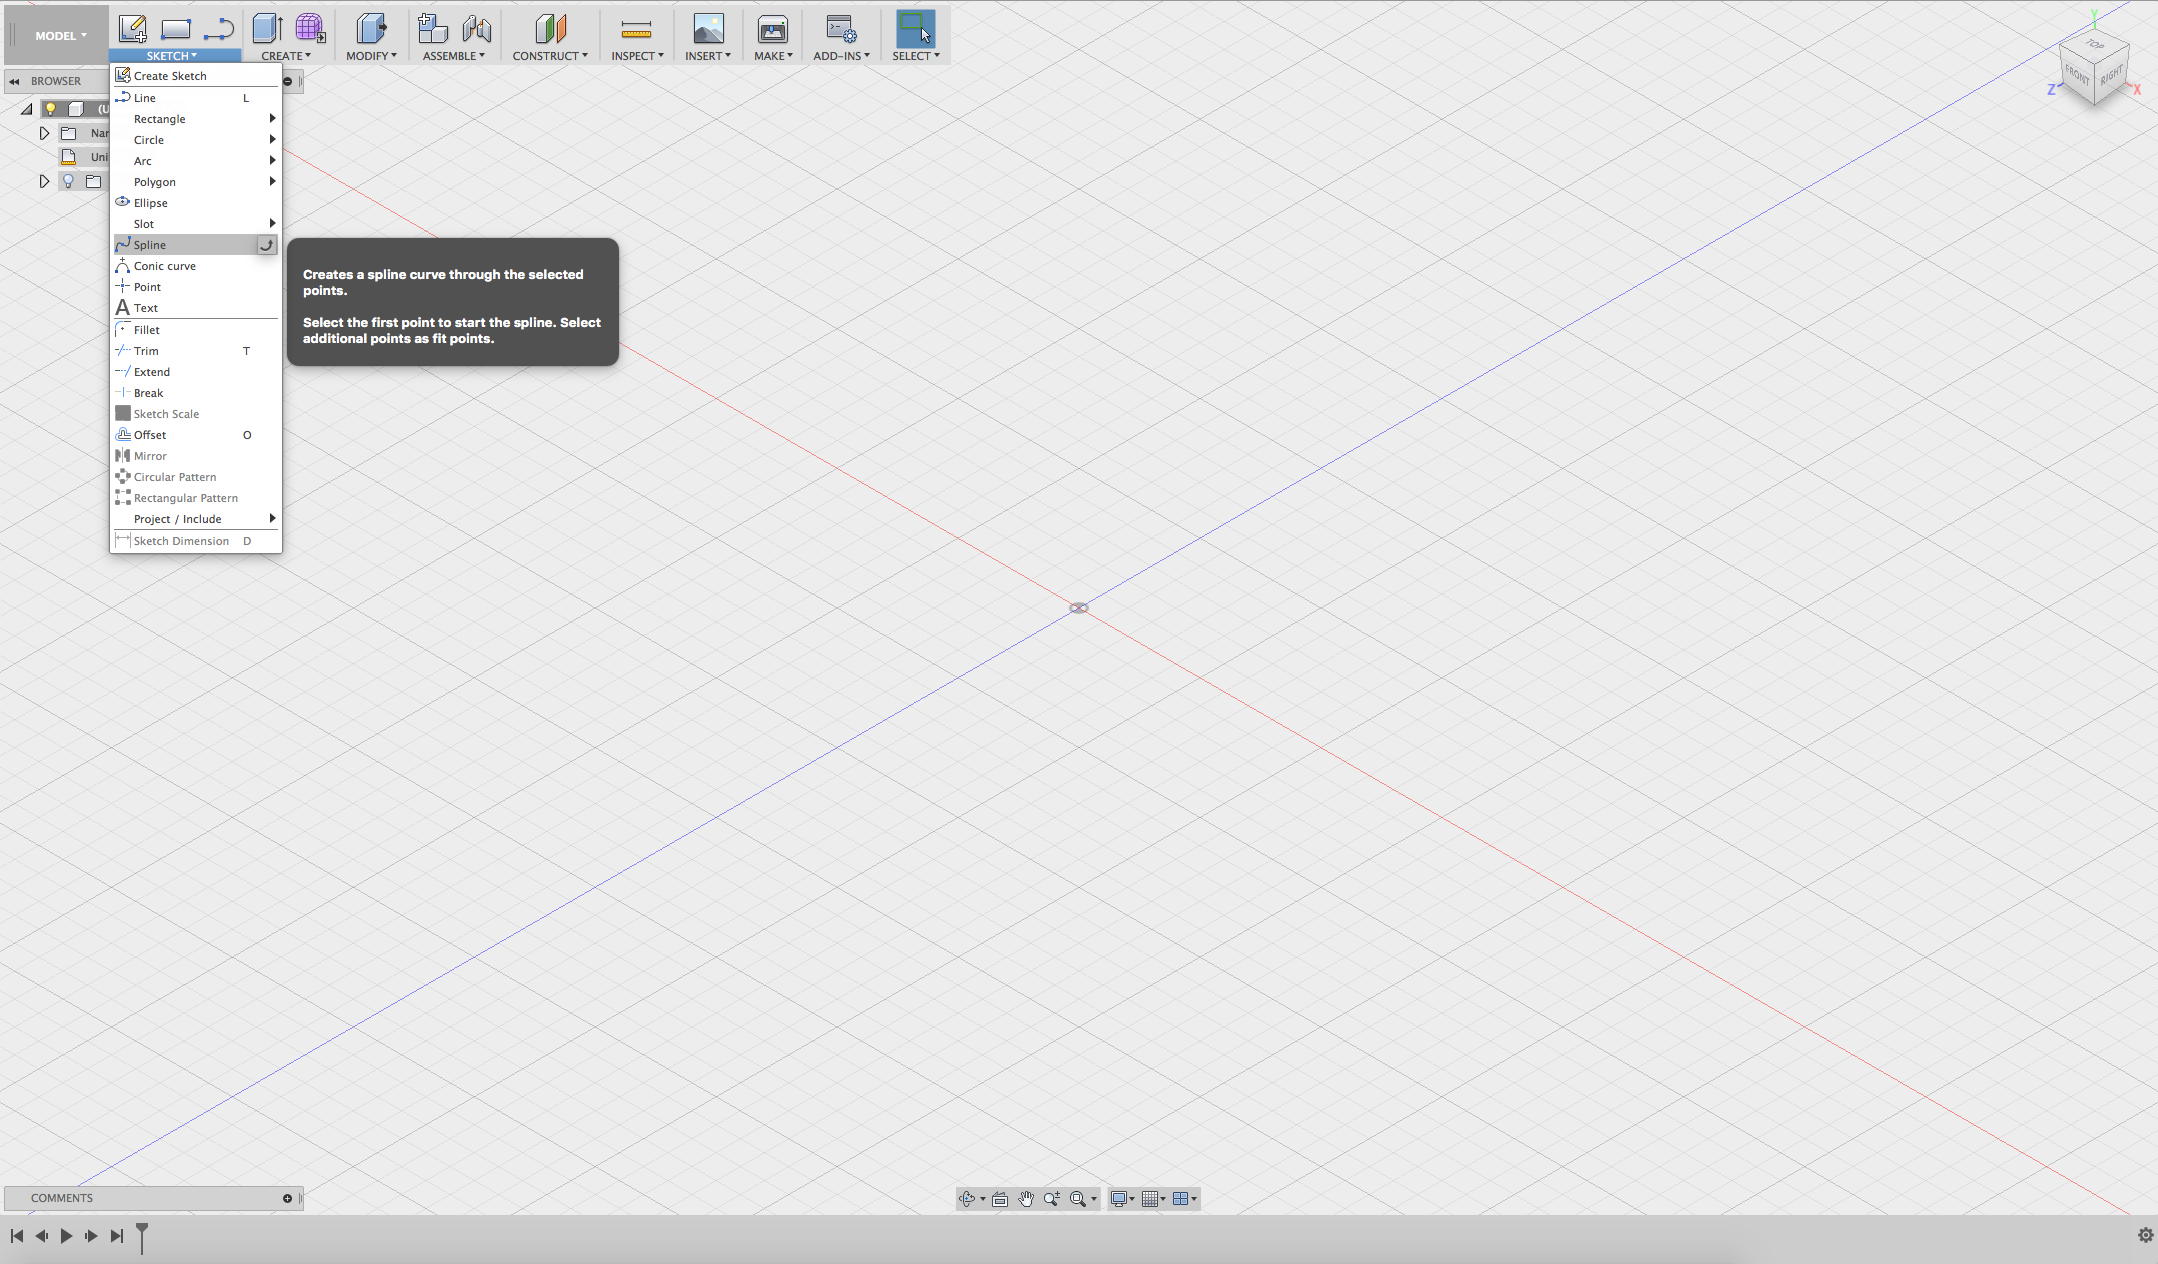
Click the down arrow next to SKETCH.
From the drop-down menu choose Spline.
Step 4
Splines help create lines. They work a little differently from straight lines. Splines help create control points with handles which will dictate the curve you then produce.
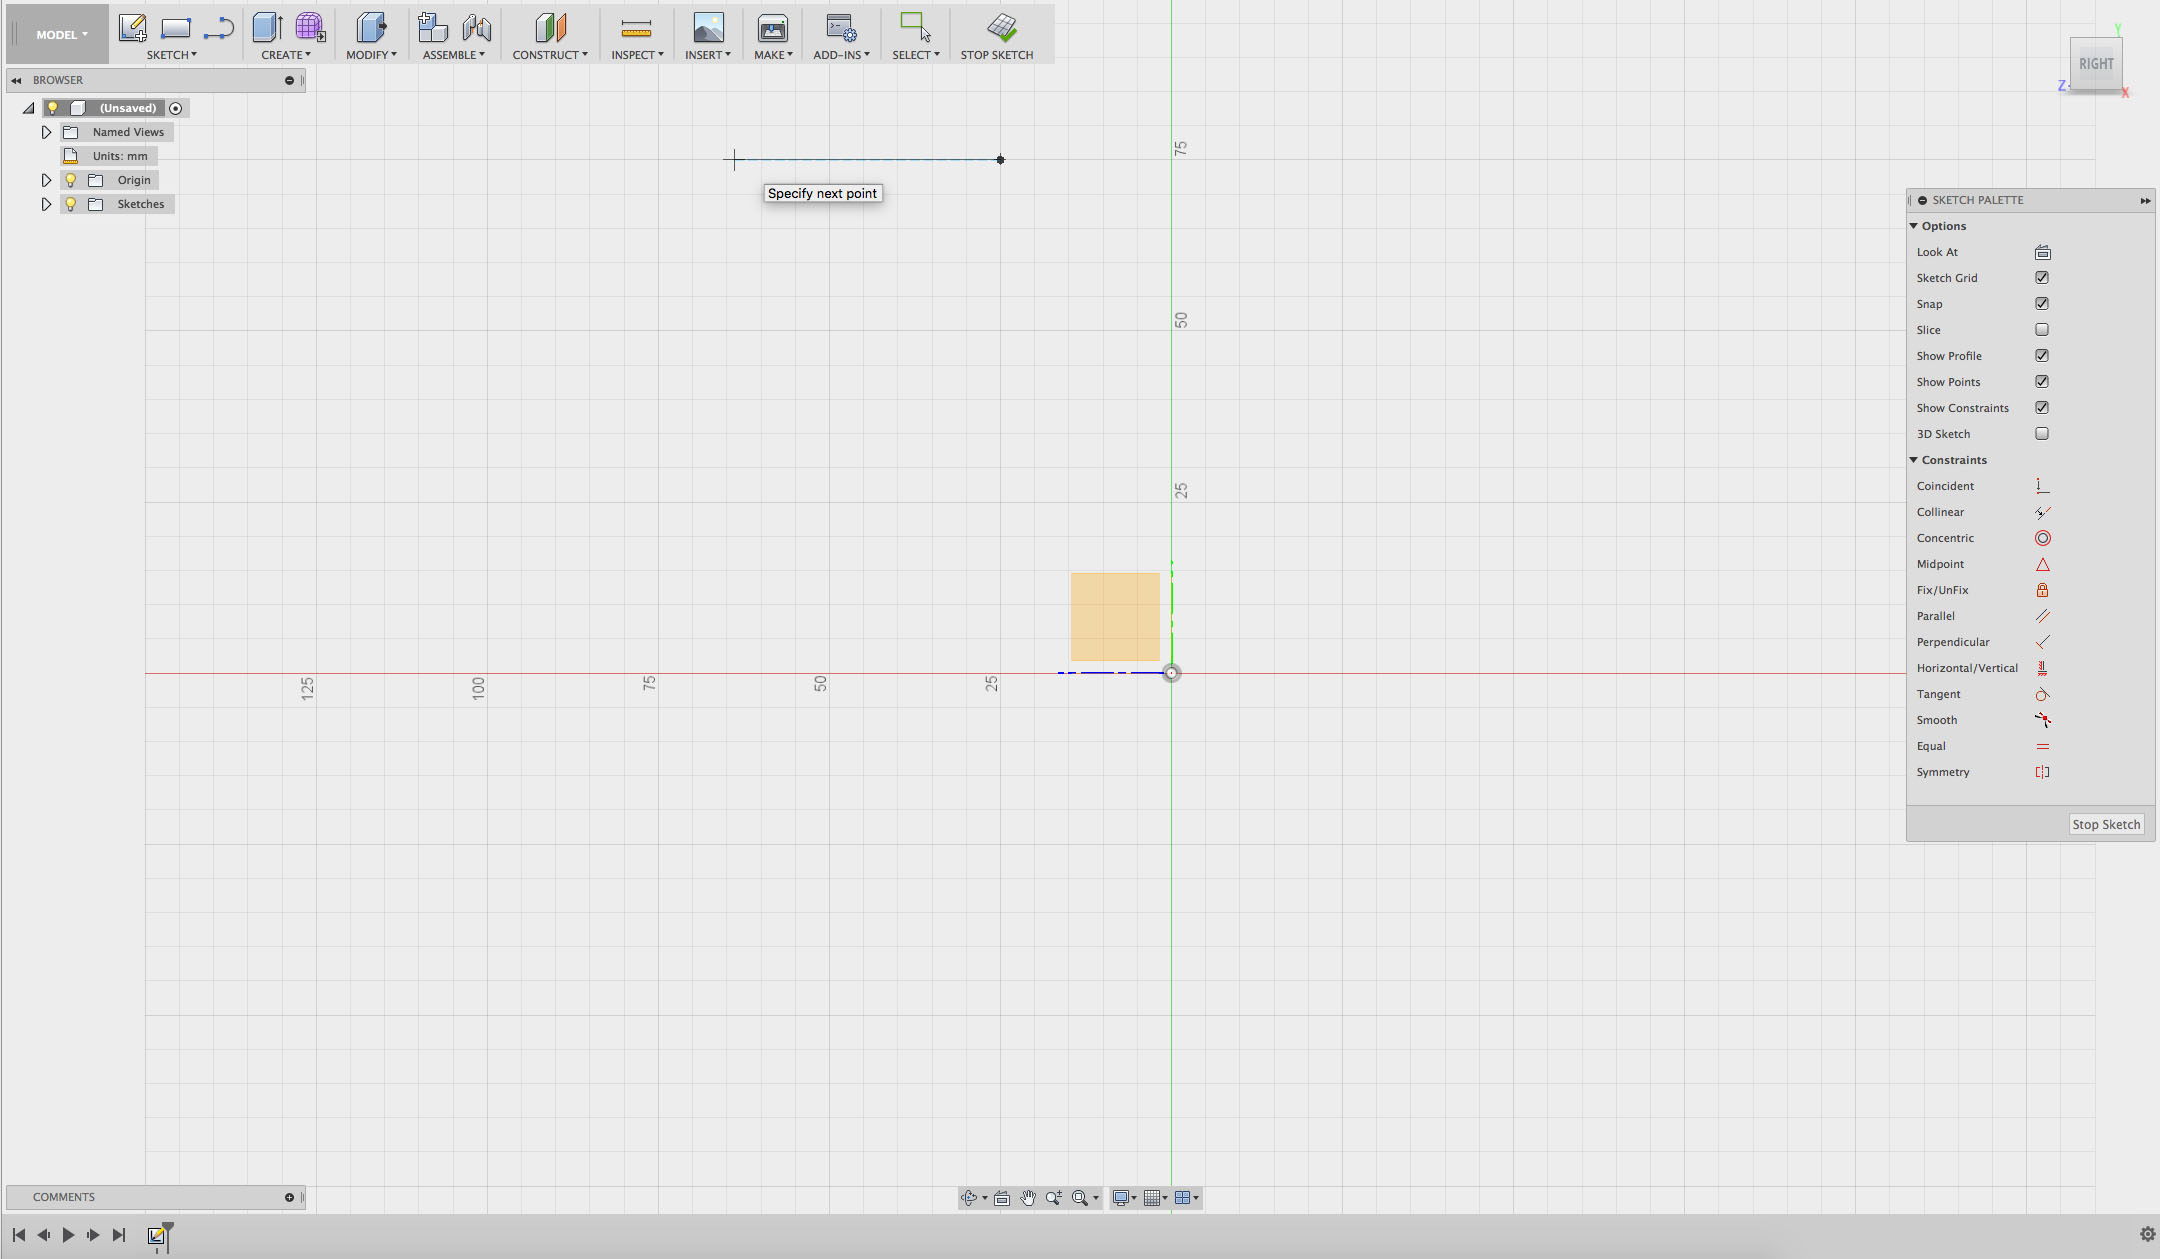
Click once, anywhere in your workspace to the left of the green line (y-axis), and you’ll see a straight line follow it.
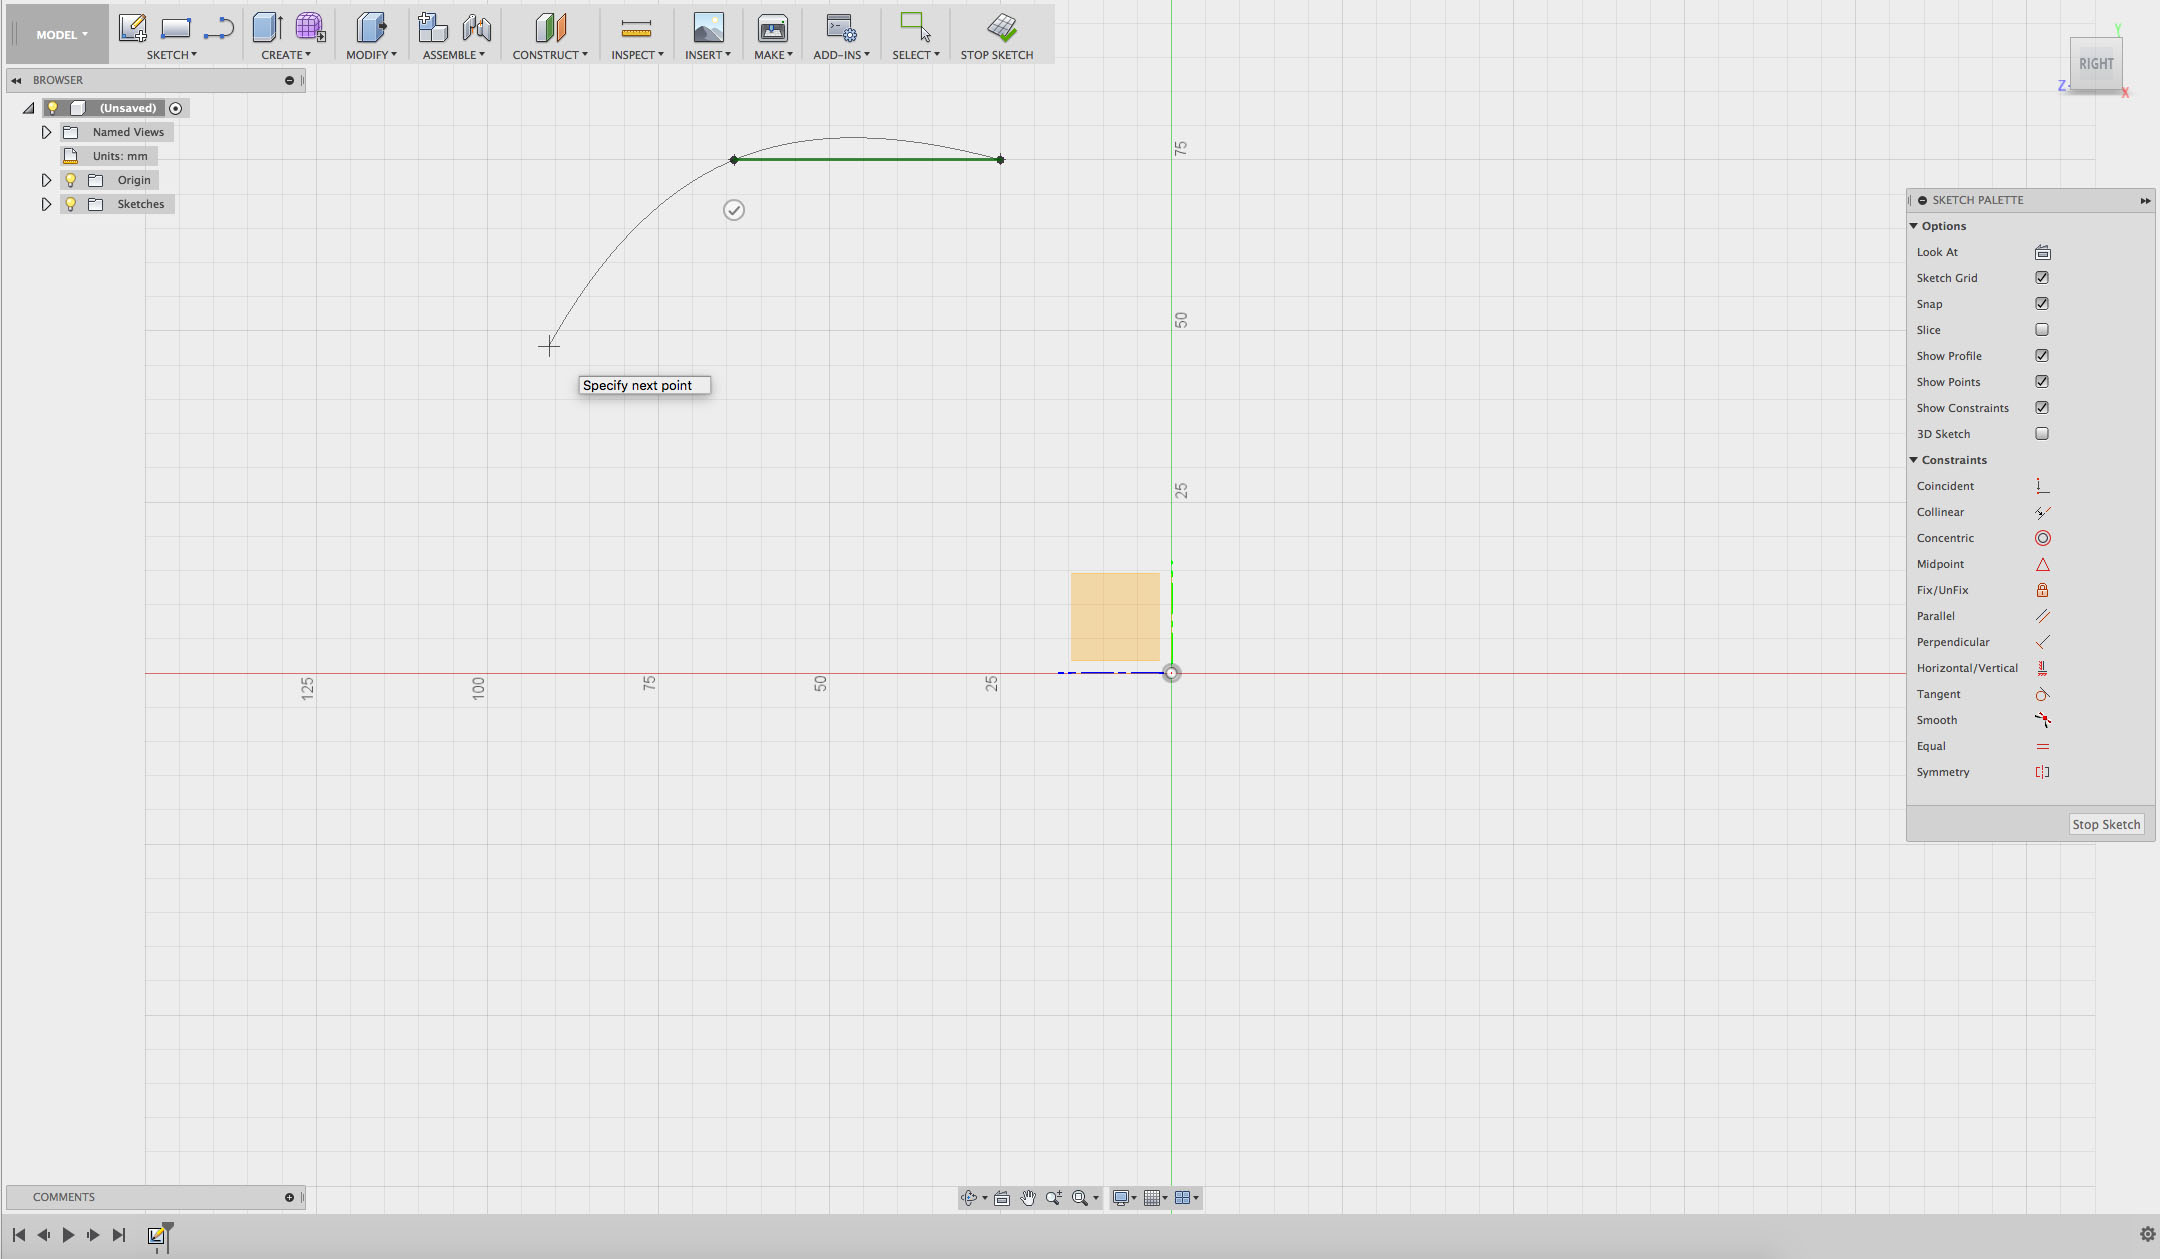
Click again in the area to the left of the y-axis and you'll notice a new curve start to appear based upon the geometry of the last.
Step 5
Click a few more points, all in the area on the left of the y-axis (green line).
A small circle with a tick inside it has appeared near the end of your line. Click the tick to finish your line.
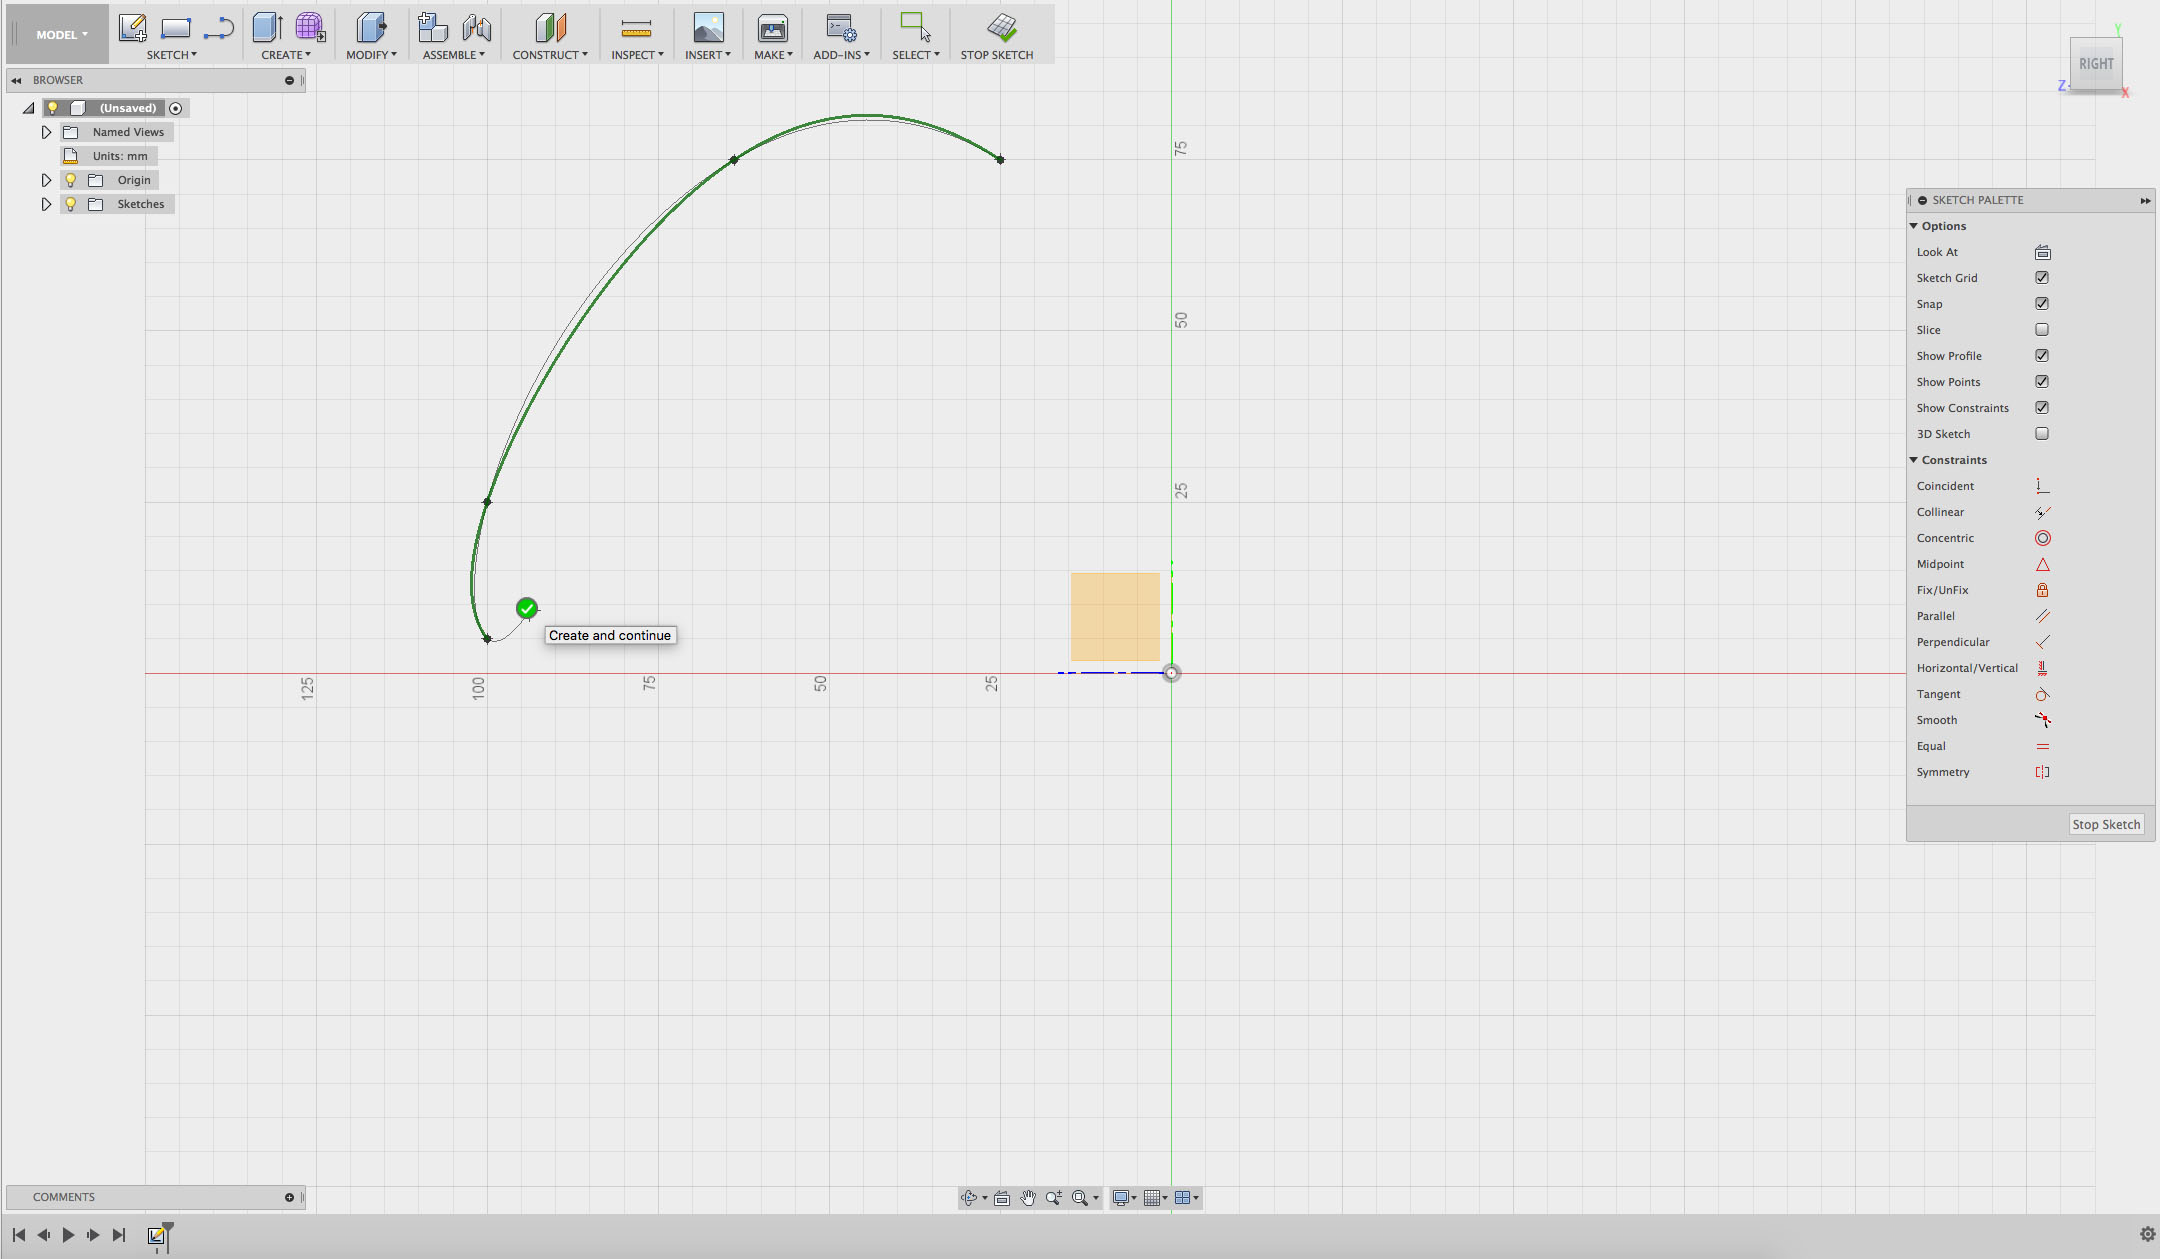
Now there are lots of thin green lines coming out of black points along your line. These are called handles.
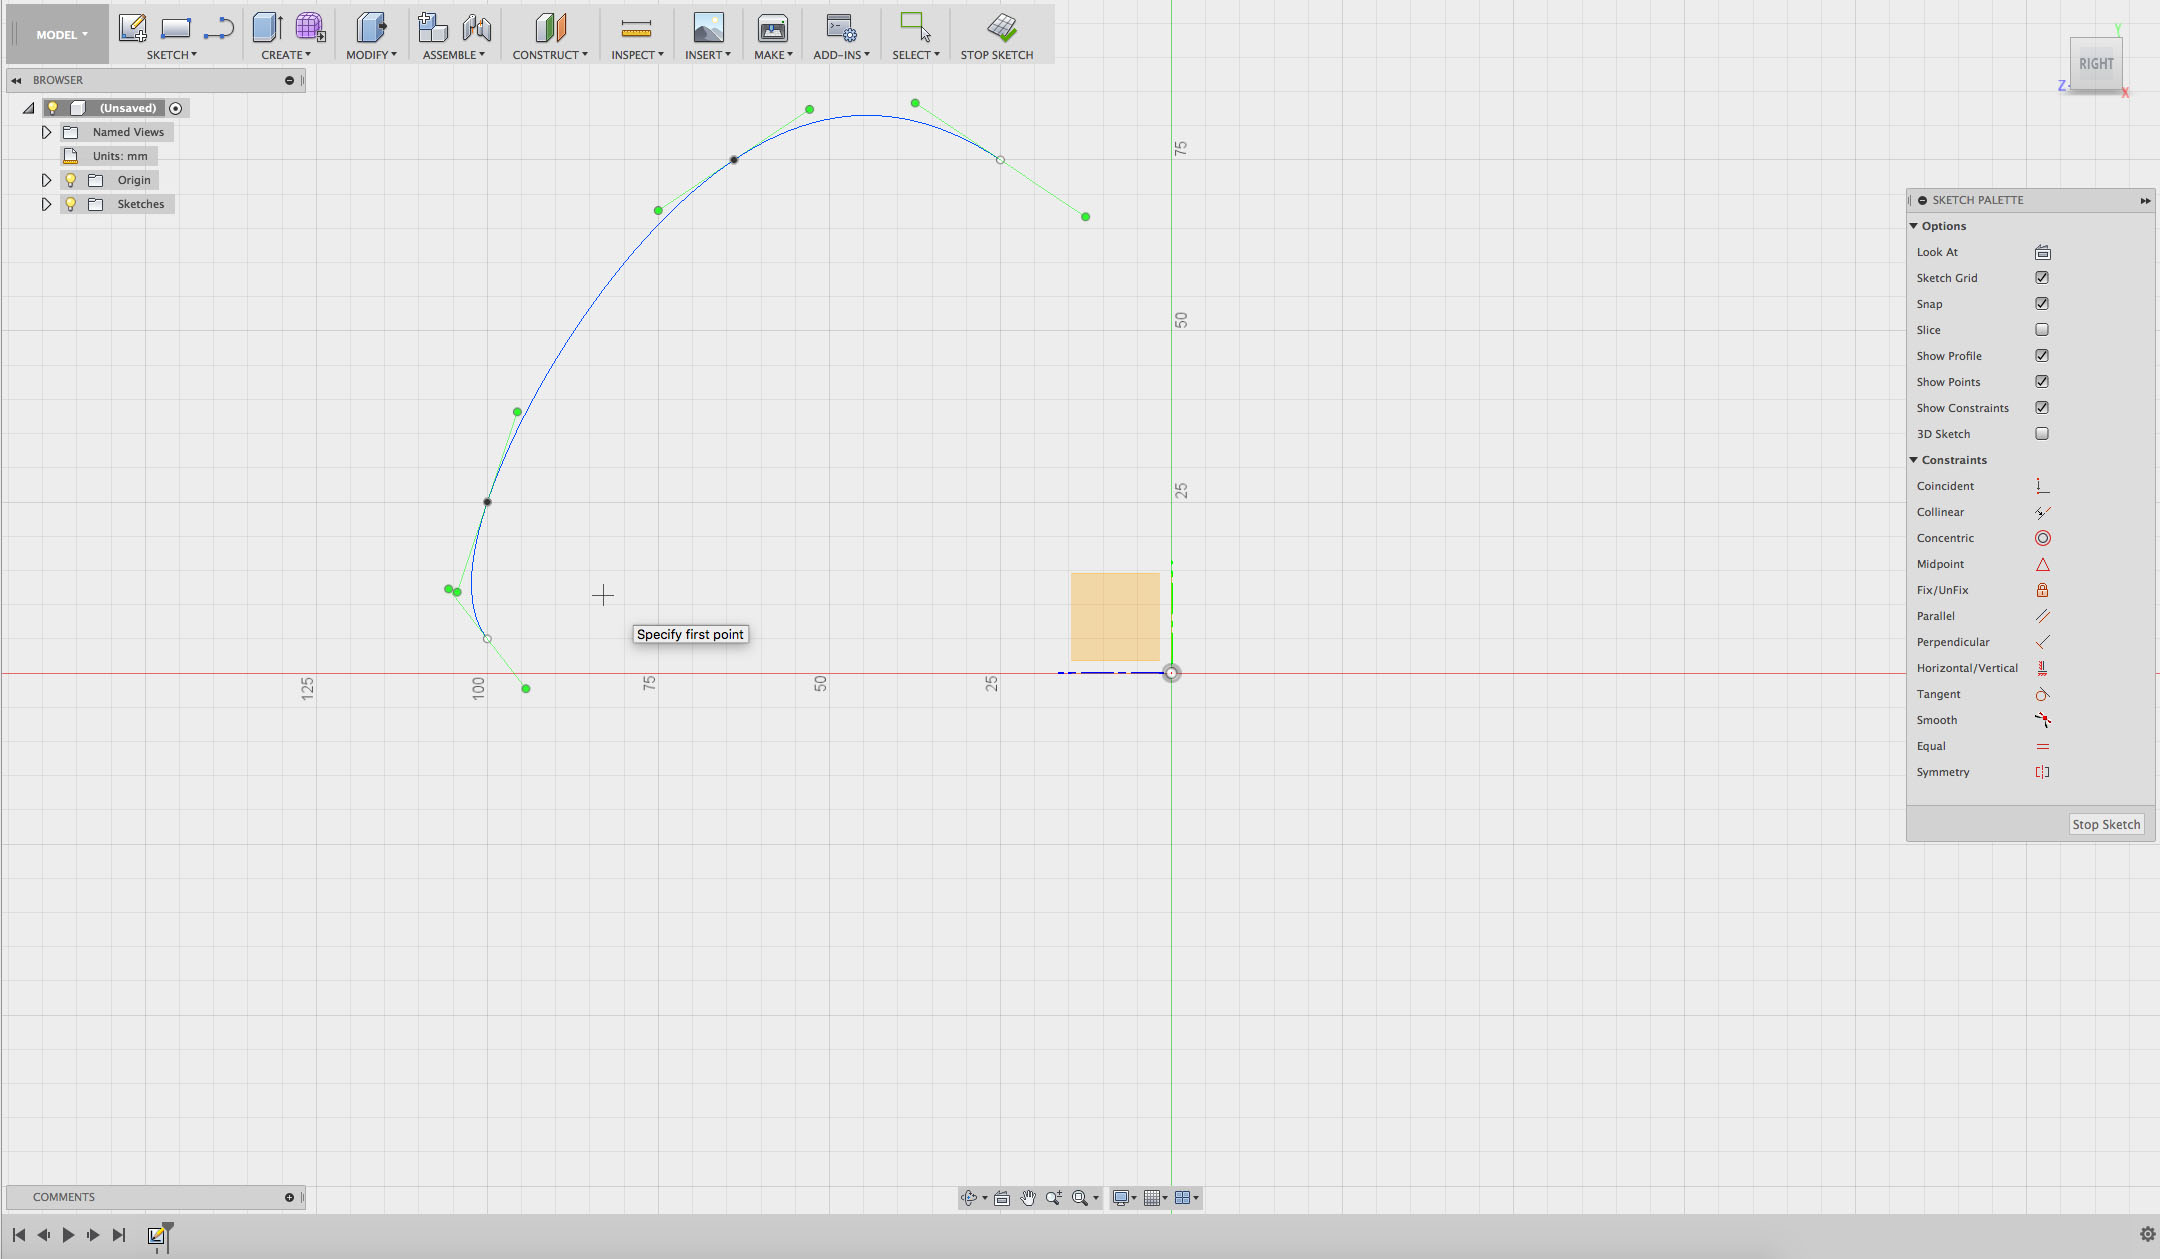
Step 6
Make the line into a closed shape. To do this, create another spline, which connects the two ends of the line. Make sure all your points are on the left side of the y-axis (green line).
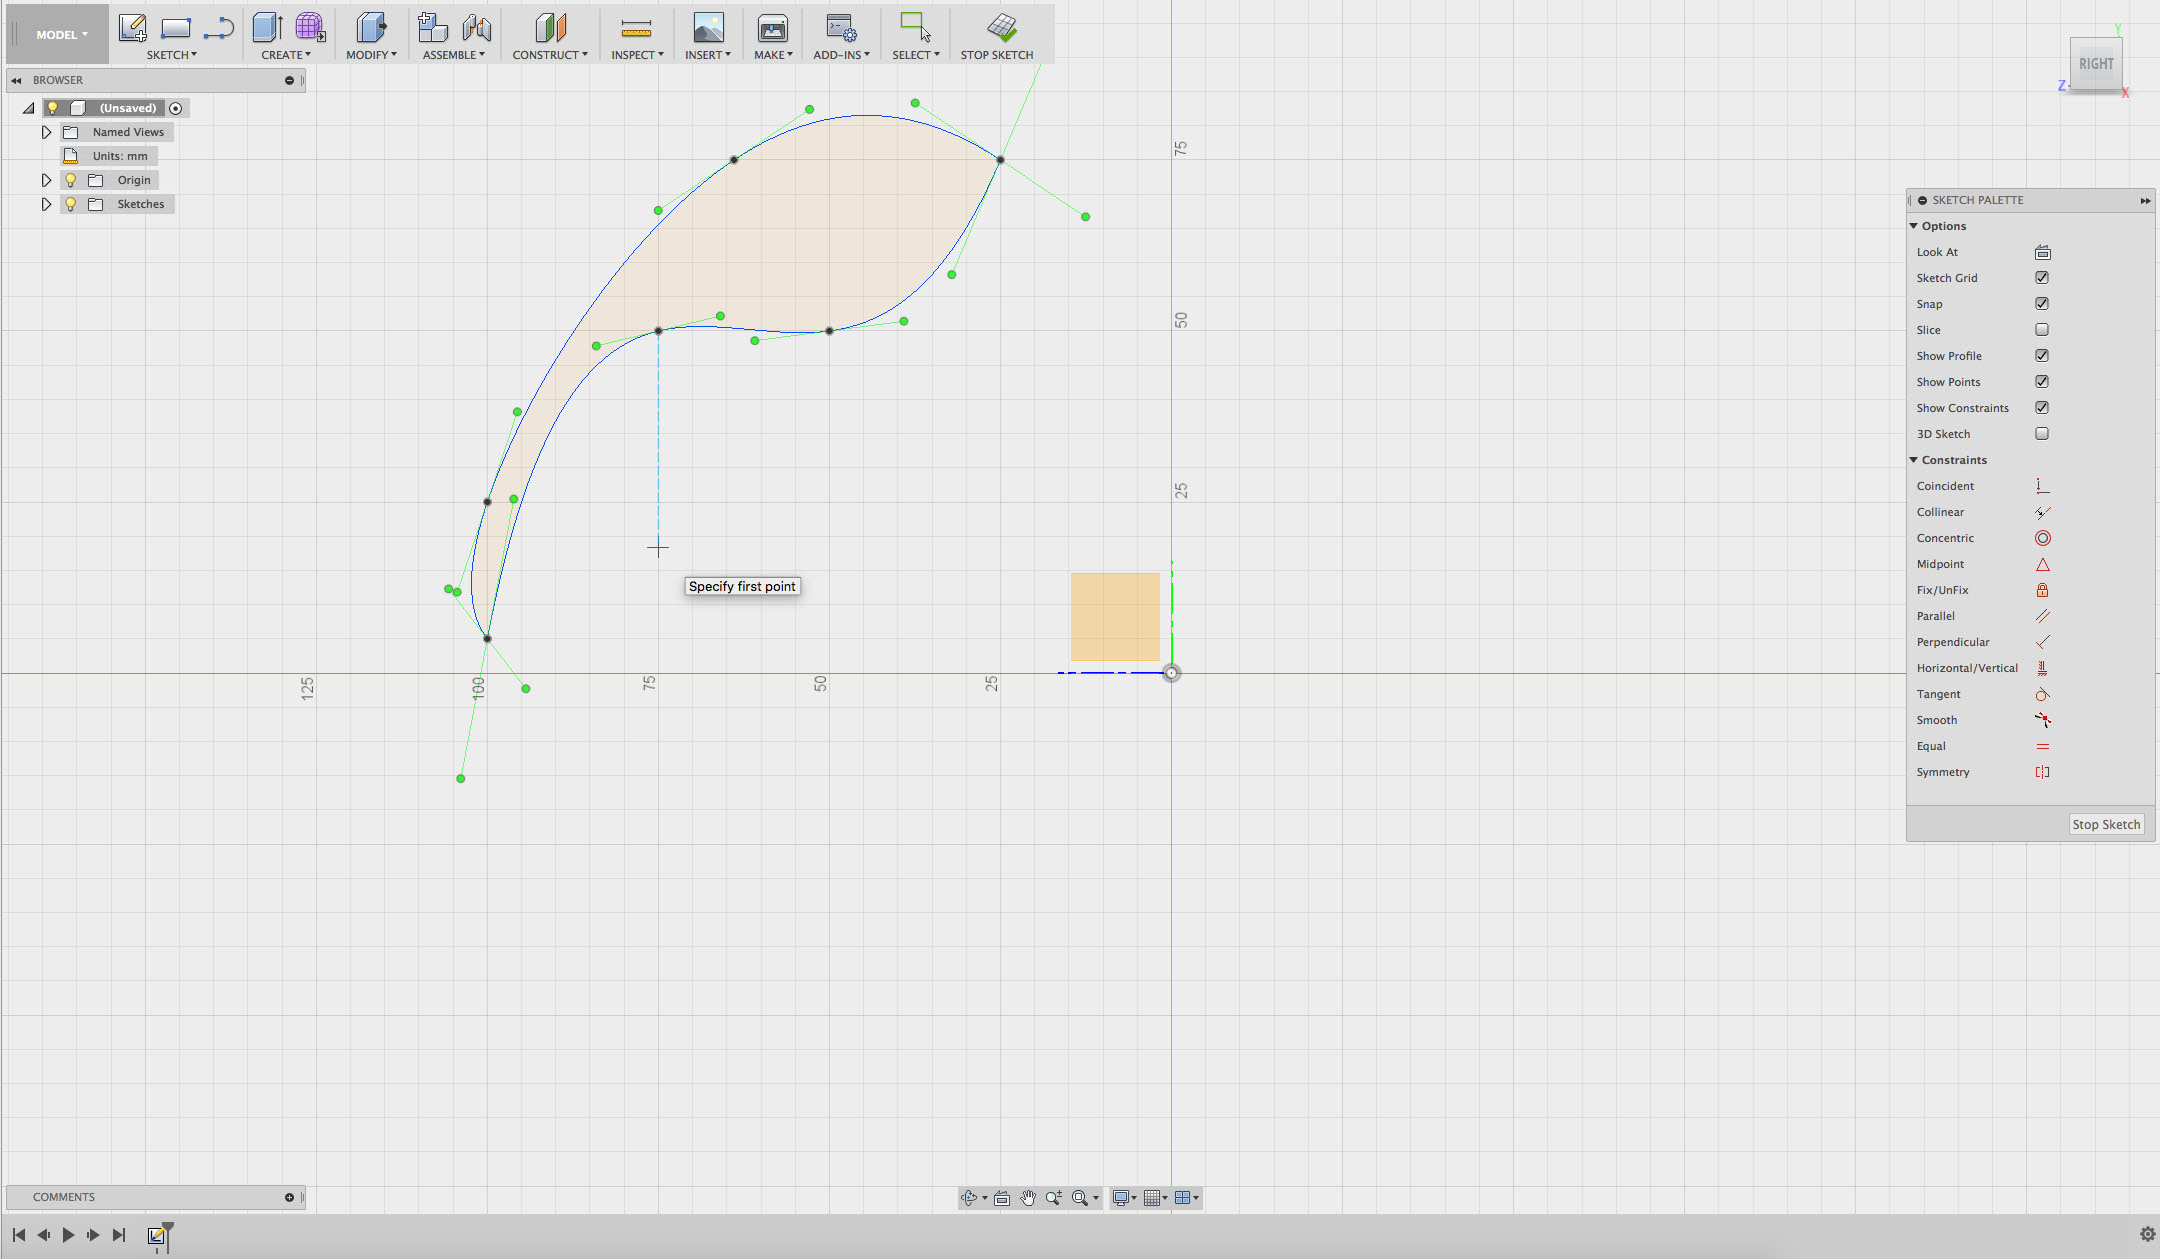
Step 7
Your shape should now be orange on the inside. This means this shape is a closed shape.
Click the SELECT button on the menu bar to turn off the spline tool.
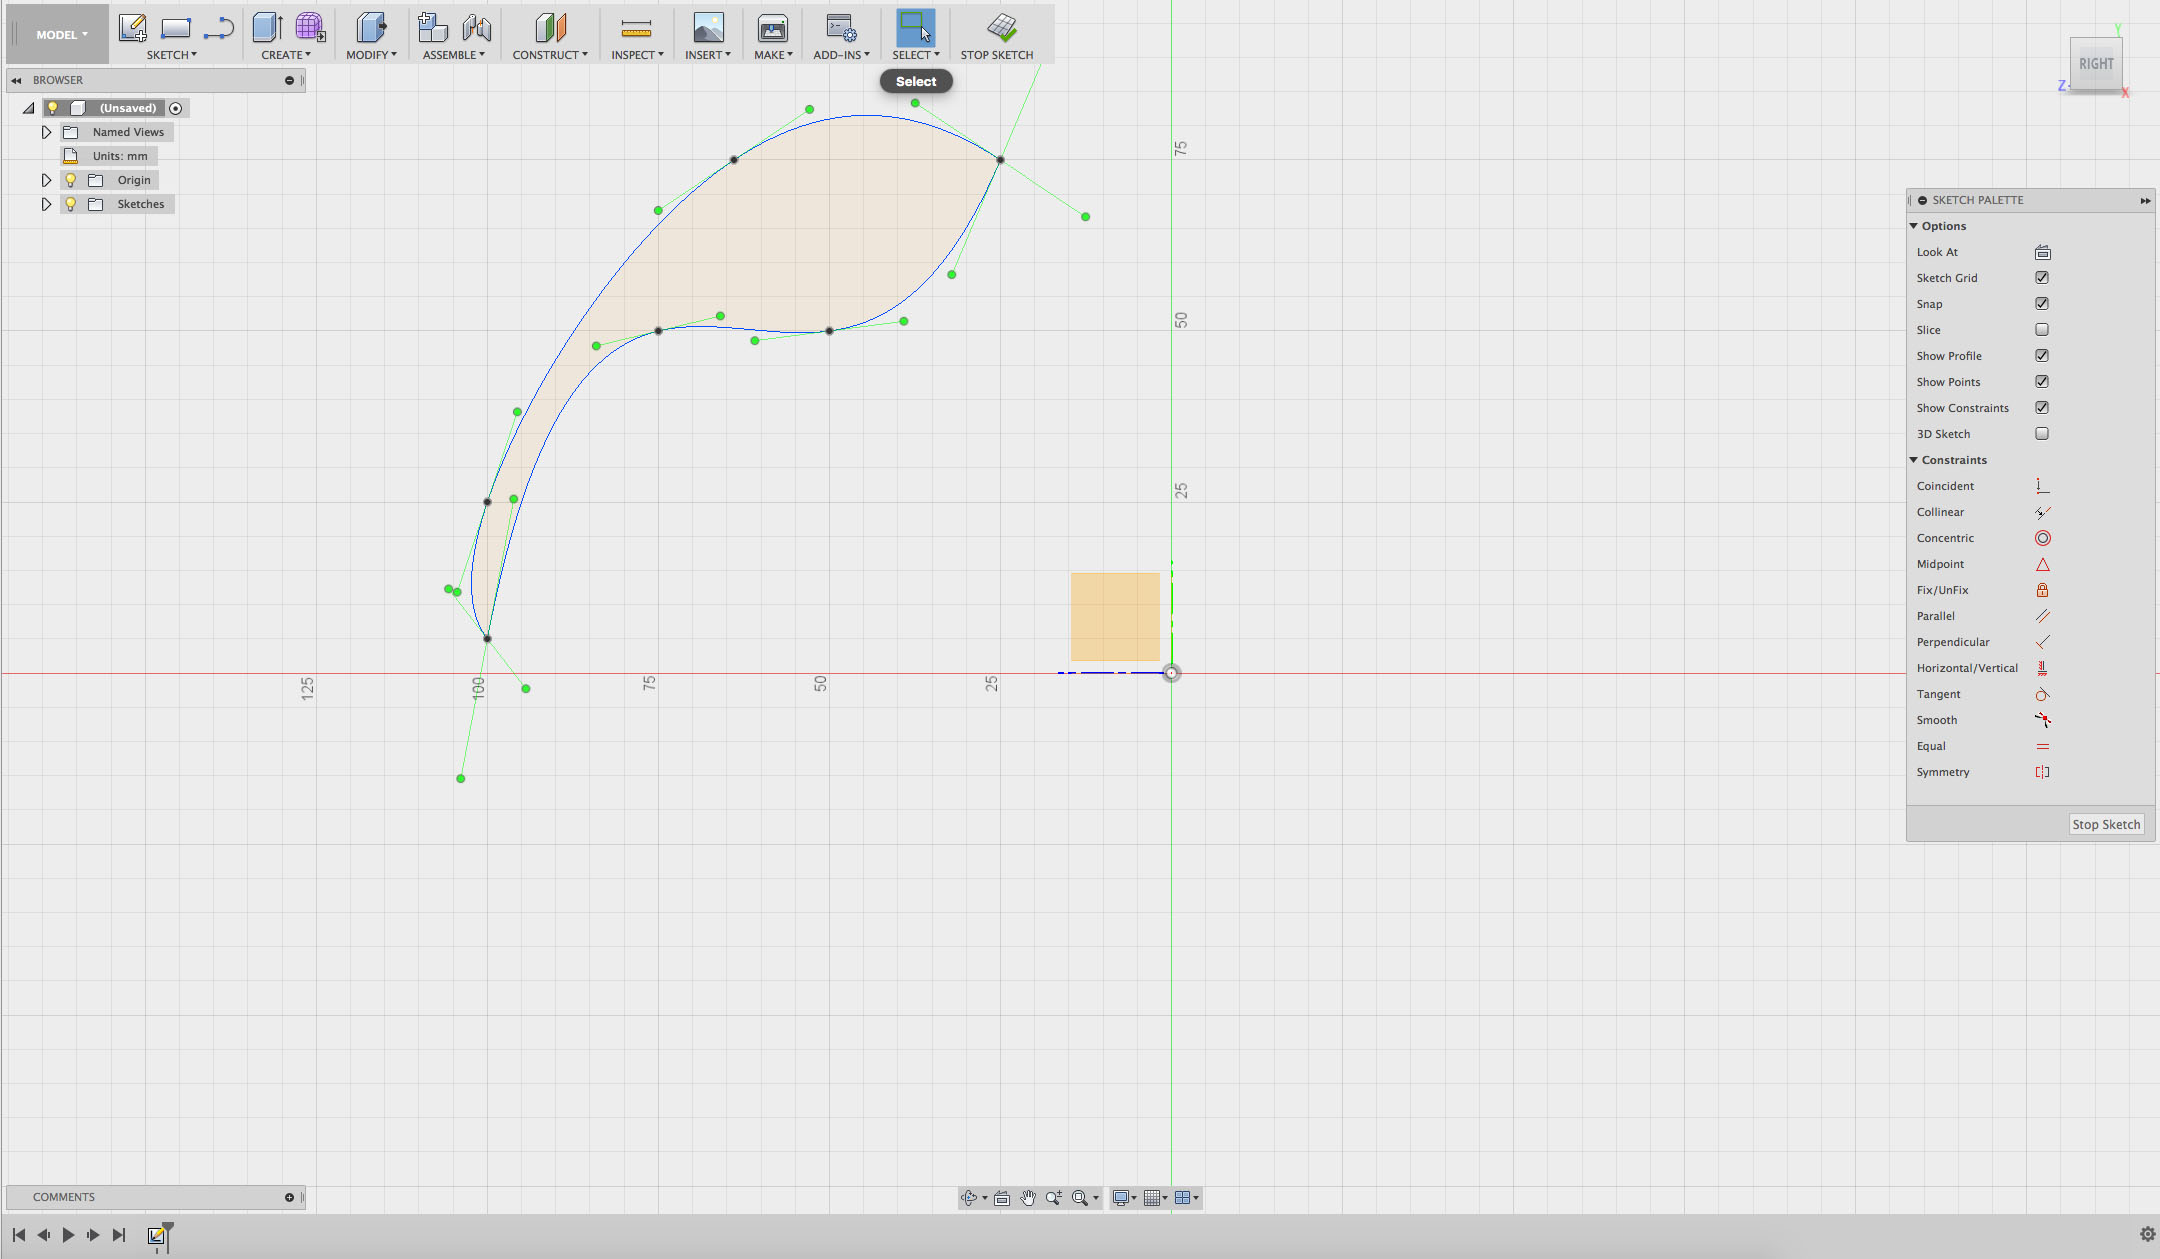
Step 8
Change the shape of your curve to get it just the way you want it. Use the black control points and green handles.
Click and hold one of the black control points and move it around. Look at how it affects the curve.
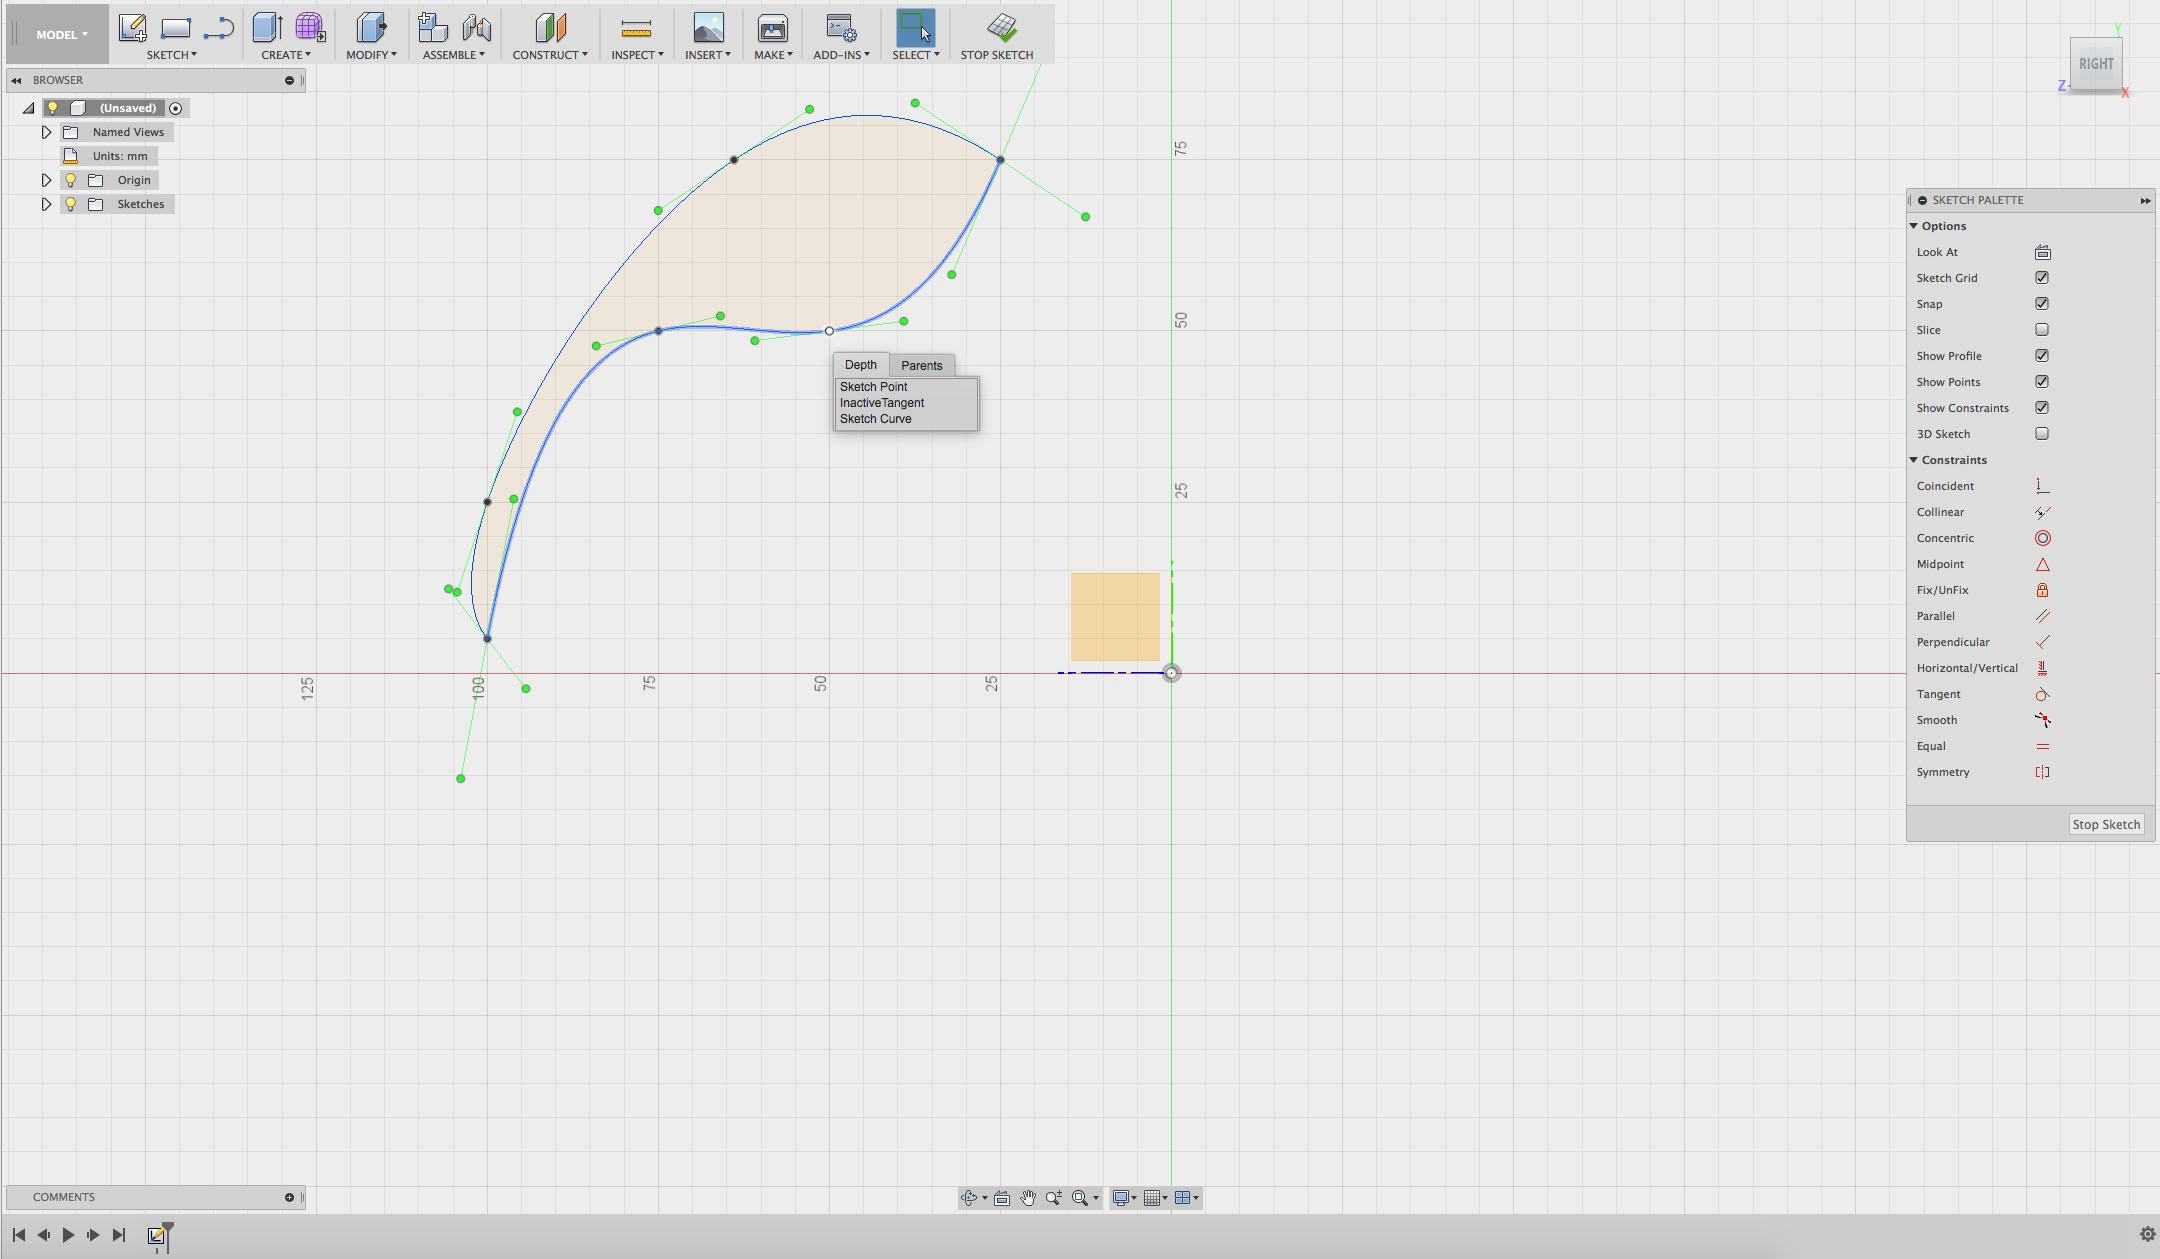
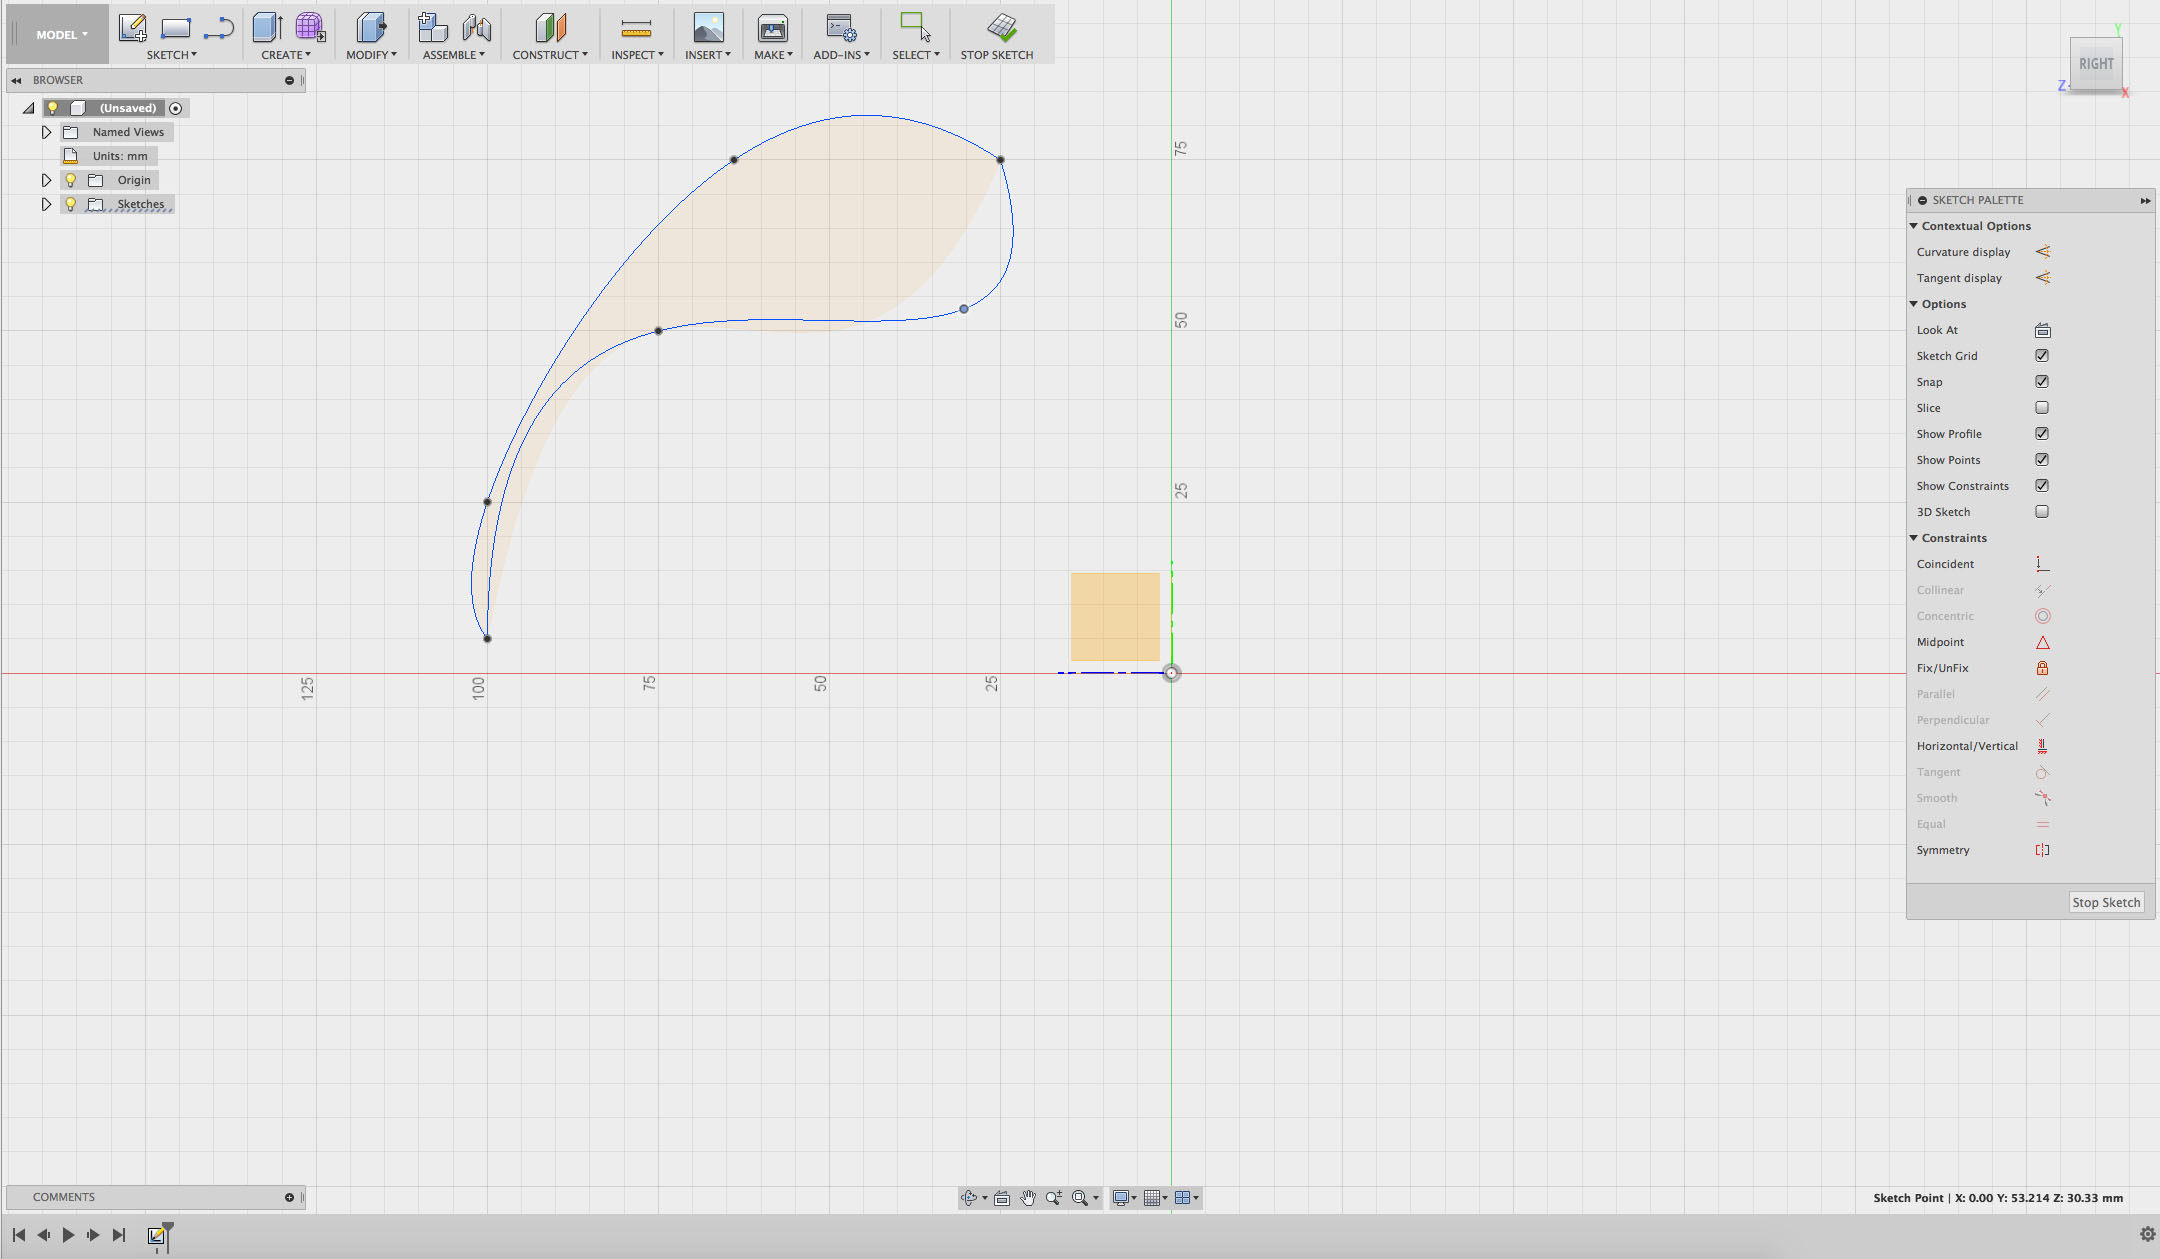
Step 9
Click one of the black control points. Click and hold one of the green handles and move it around.
How does moving a handle change the shape?
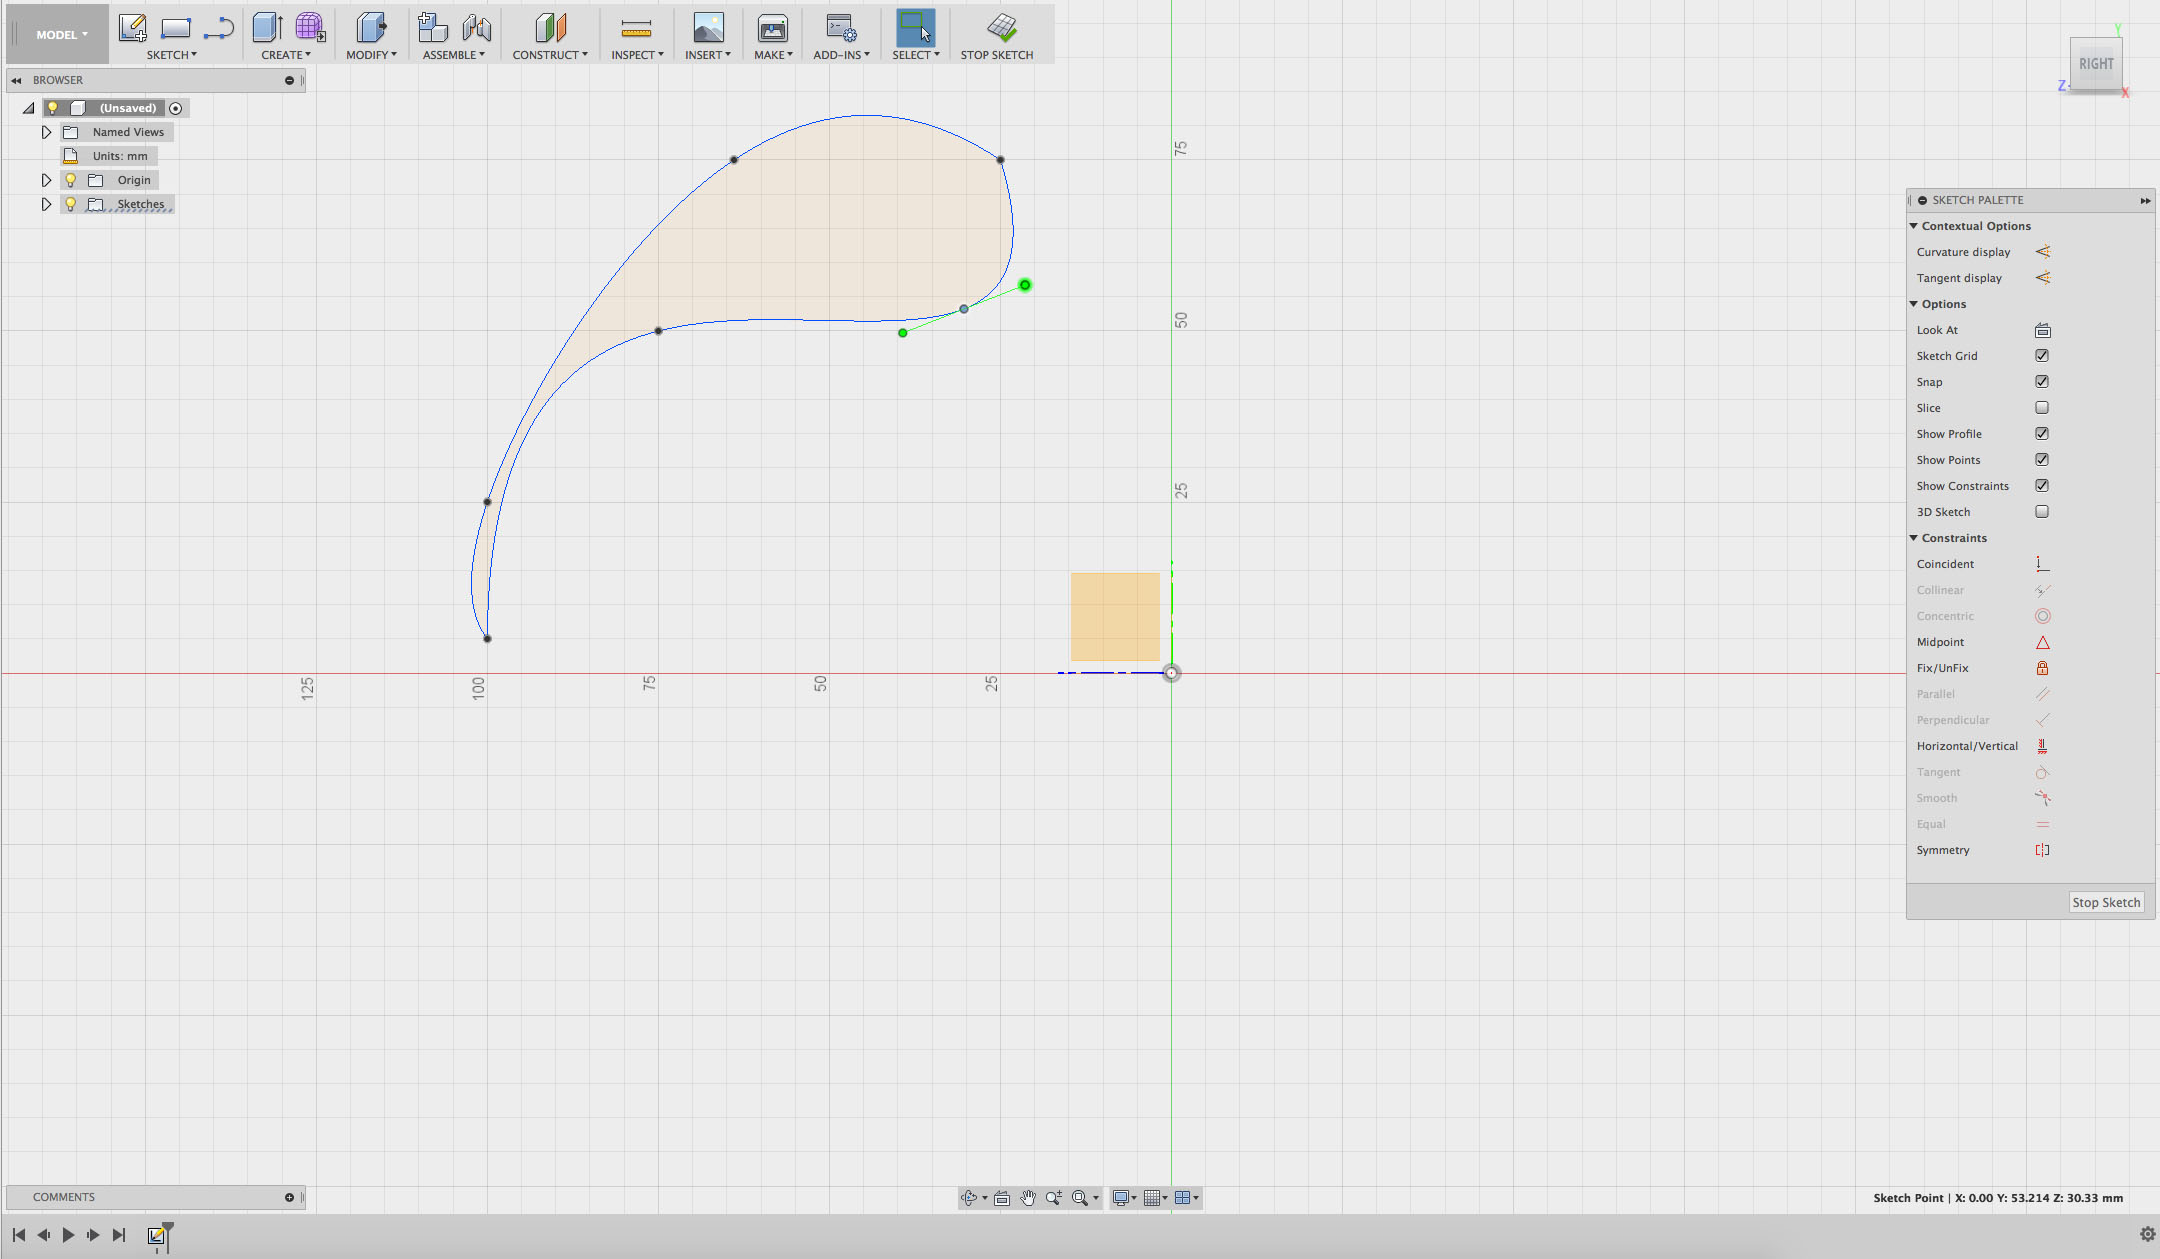
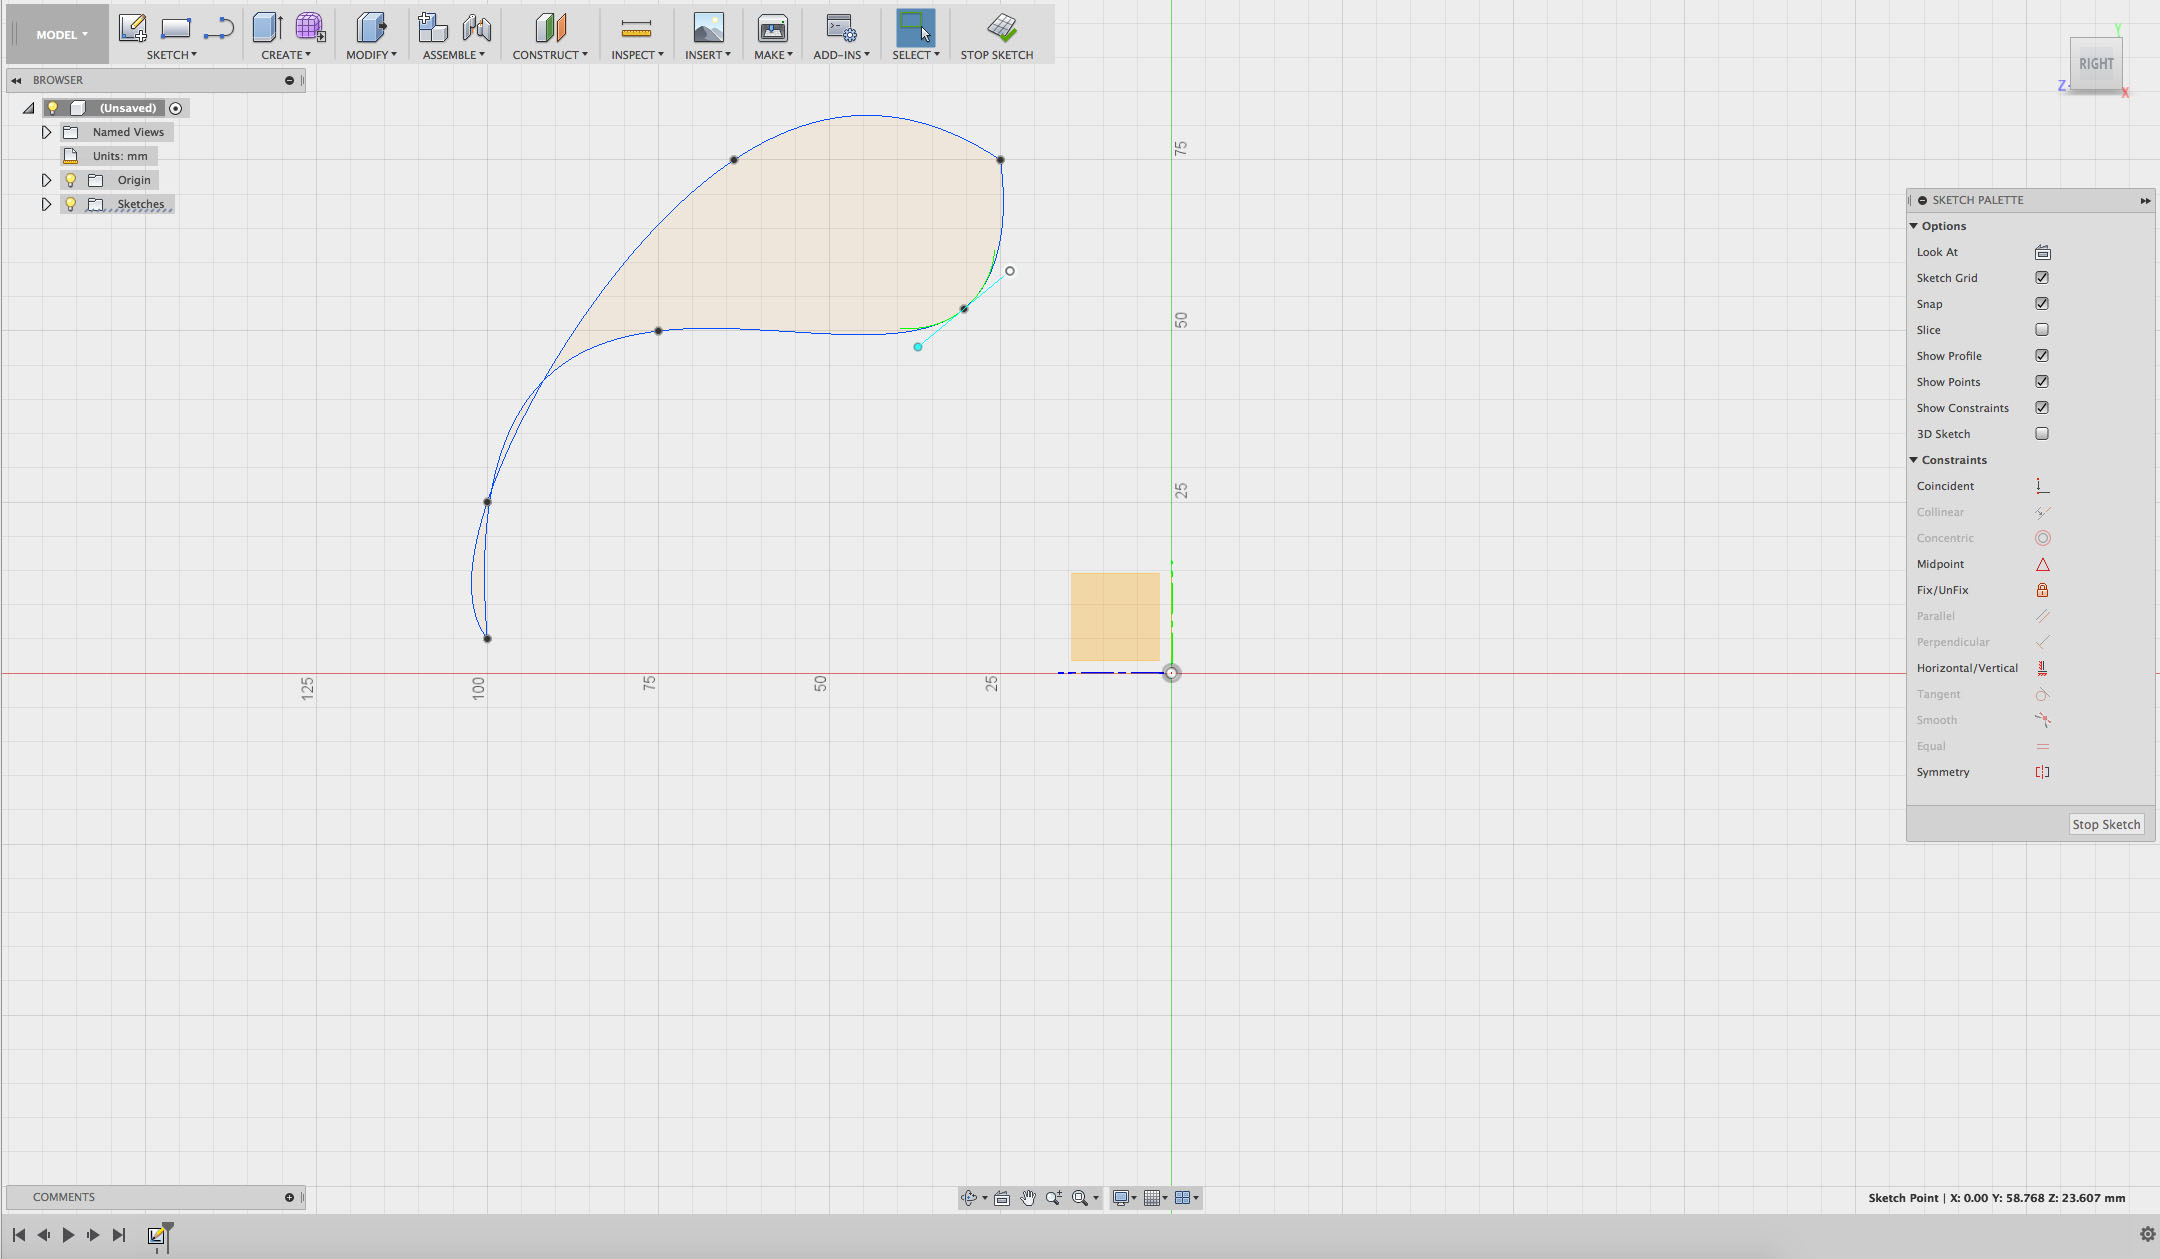
Step 10
Play around with the shape of your sketch until you’re happy with it.
Select STOP SKETCH or FINISH SKETCH.
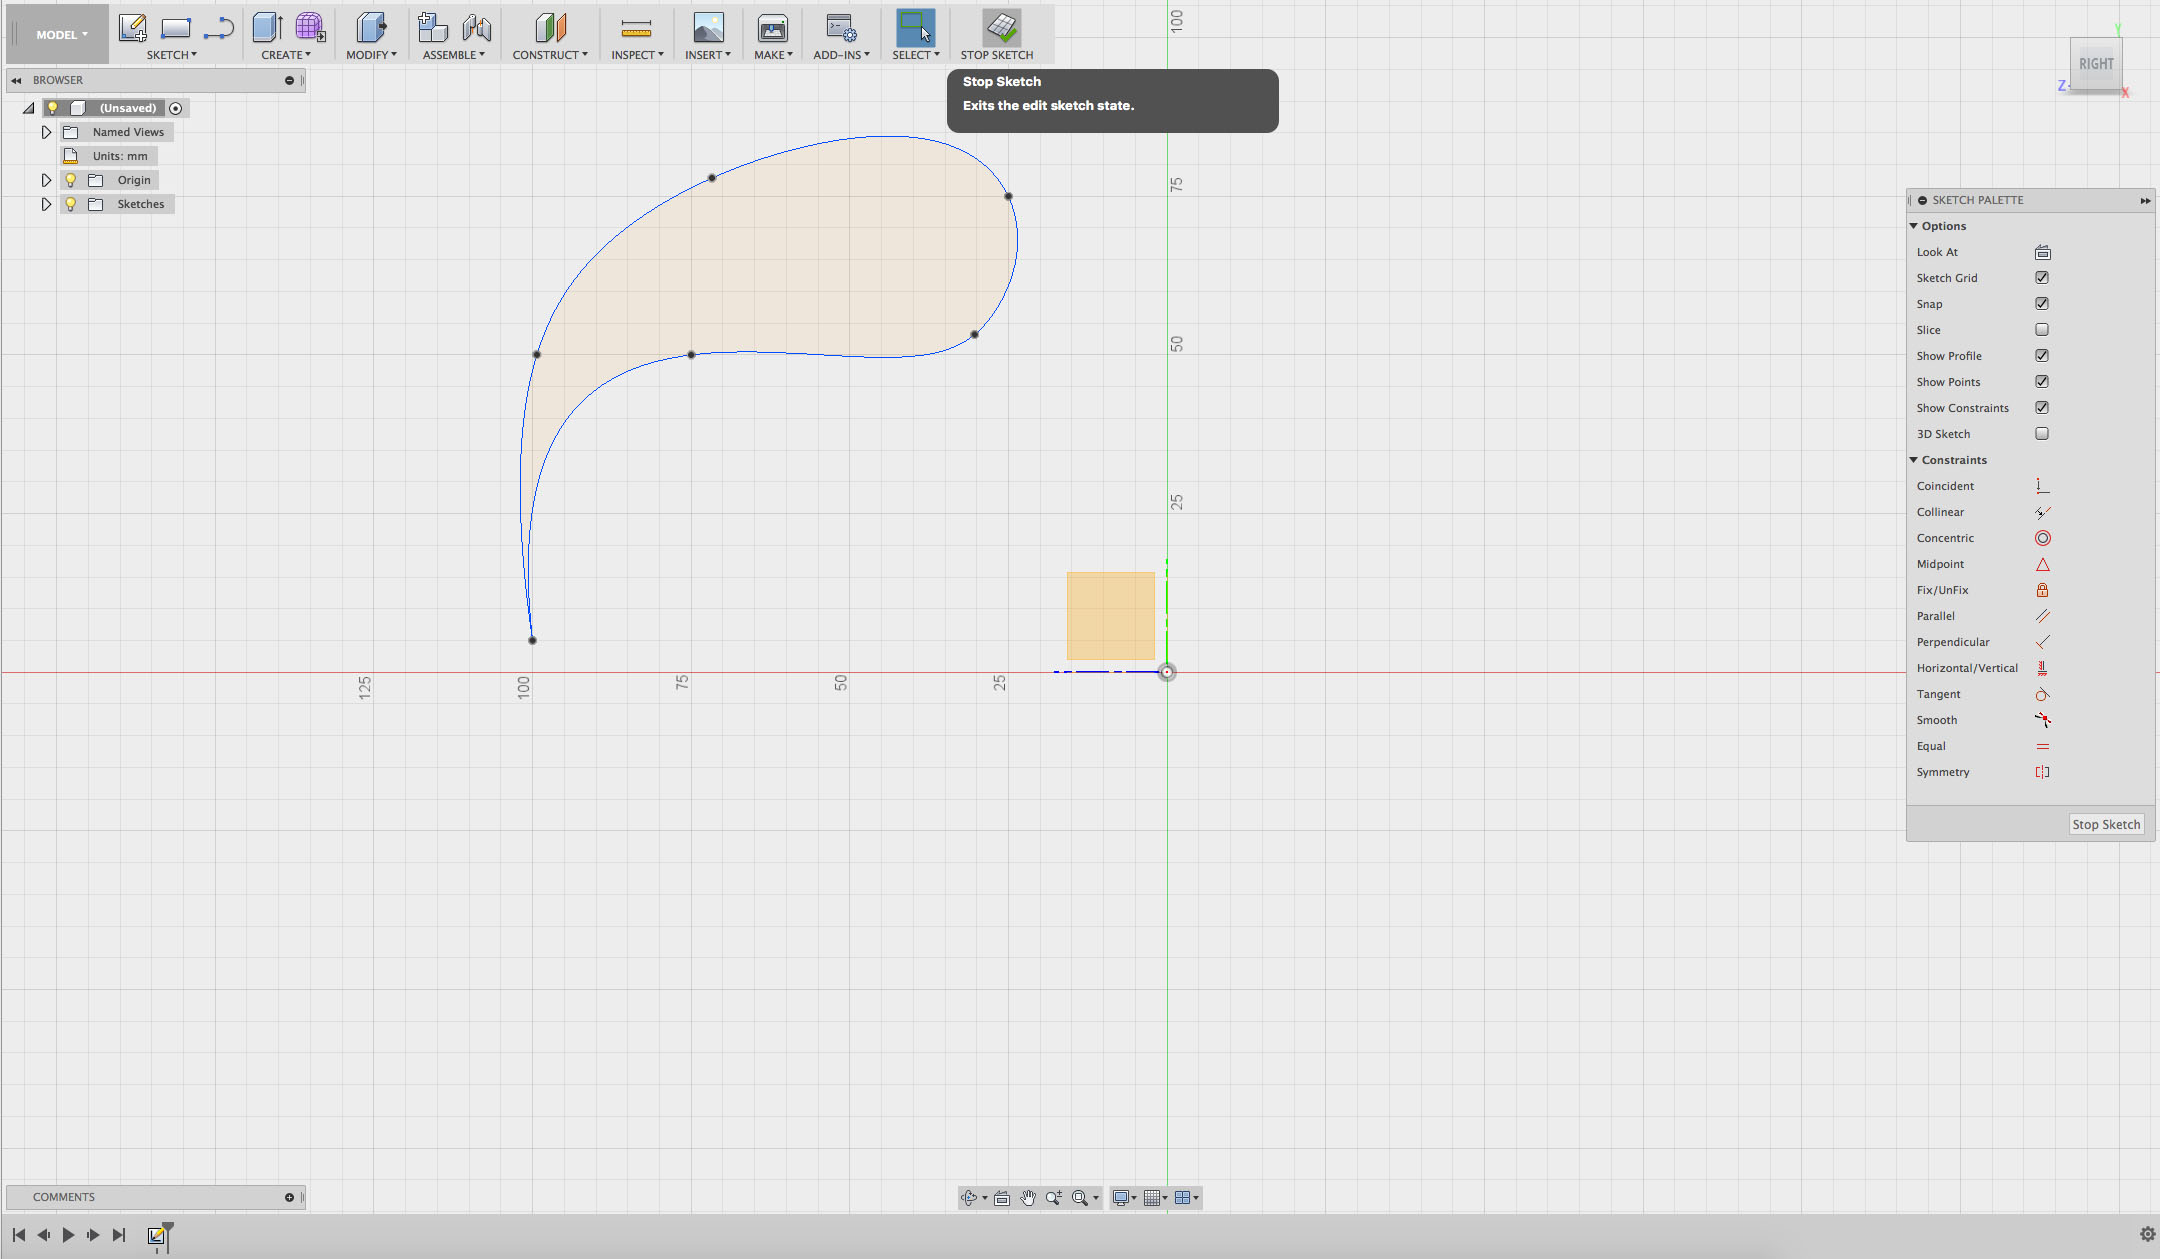
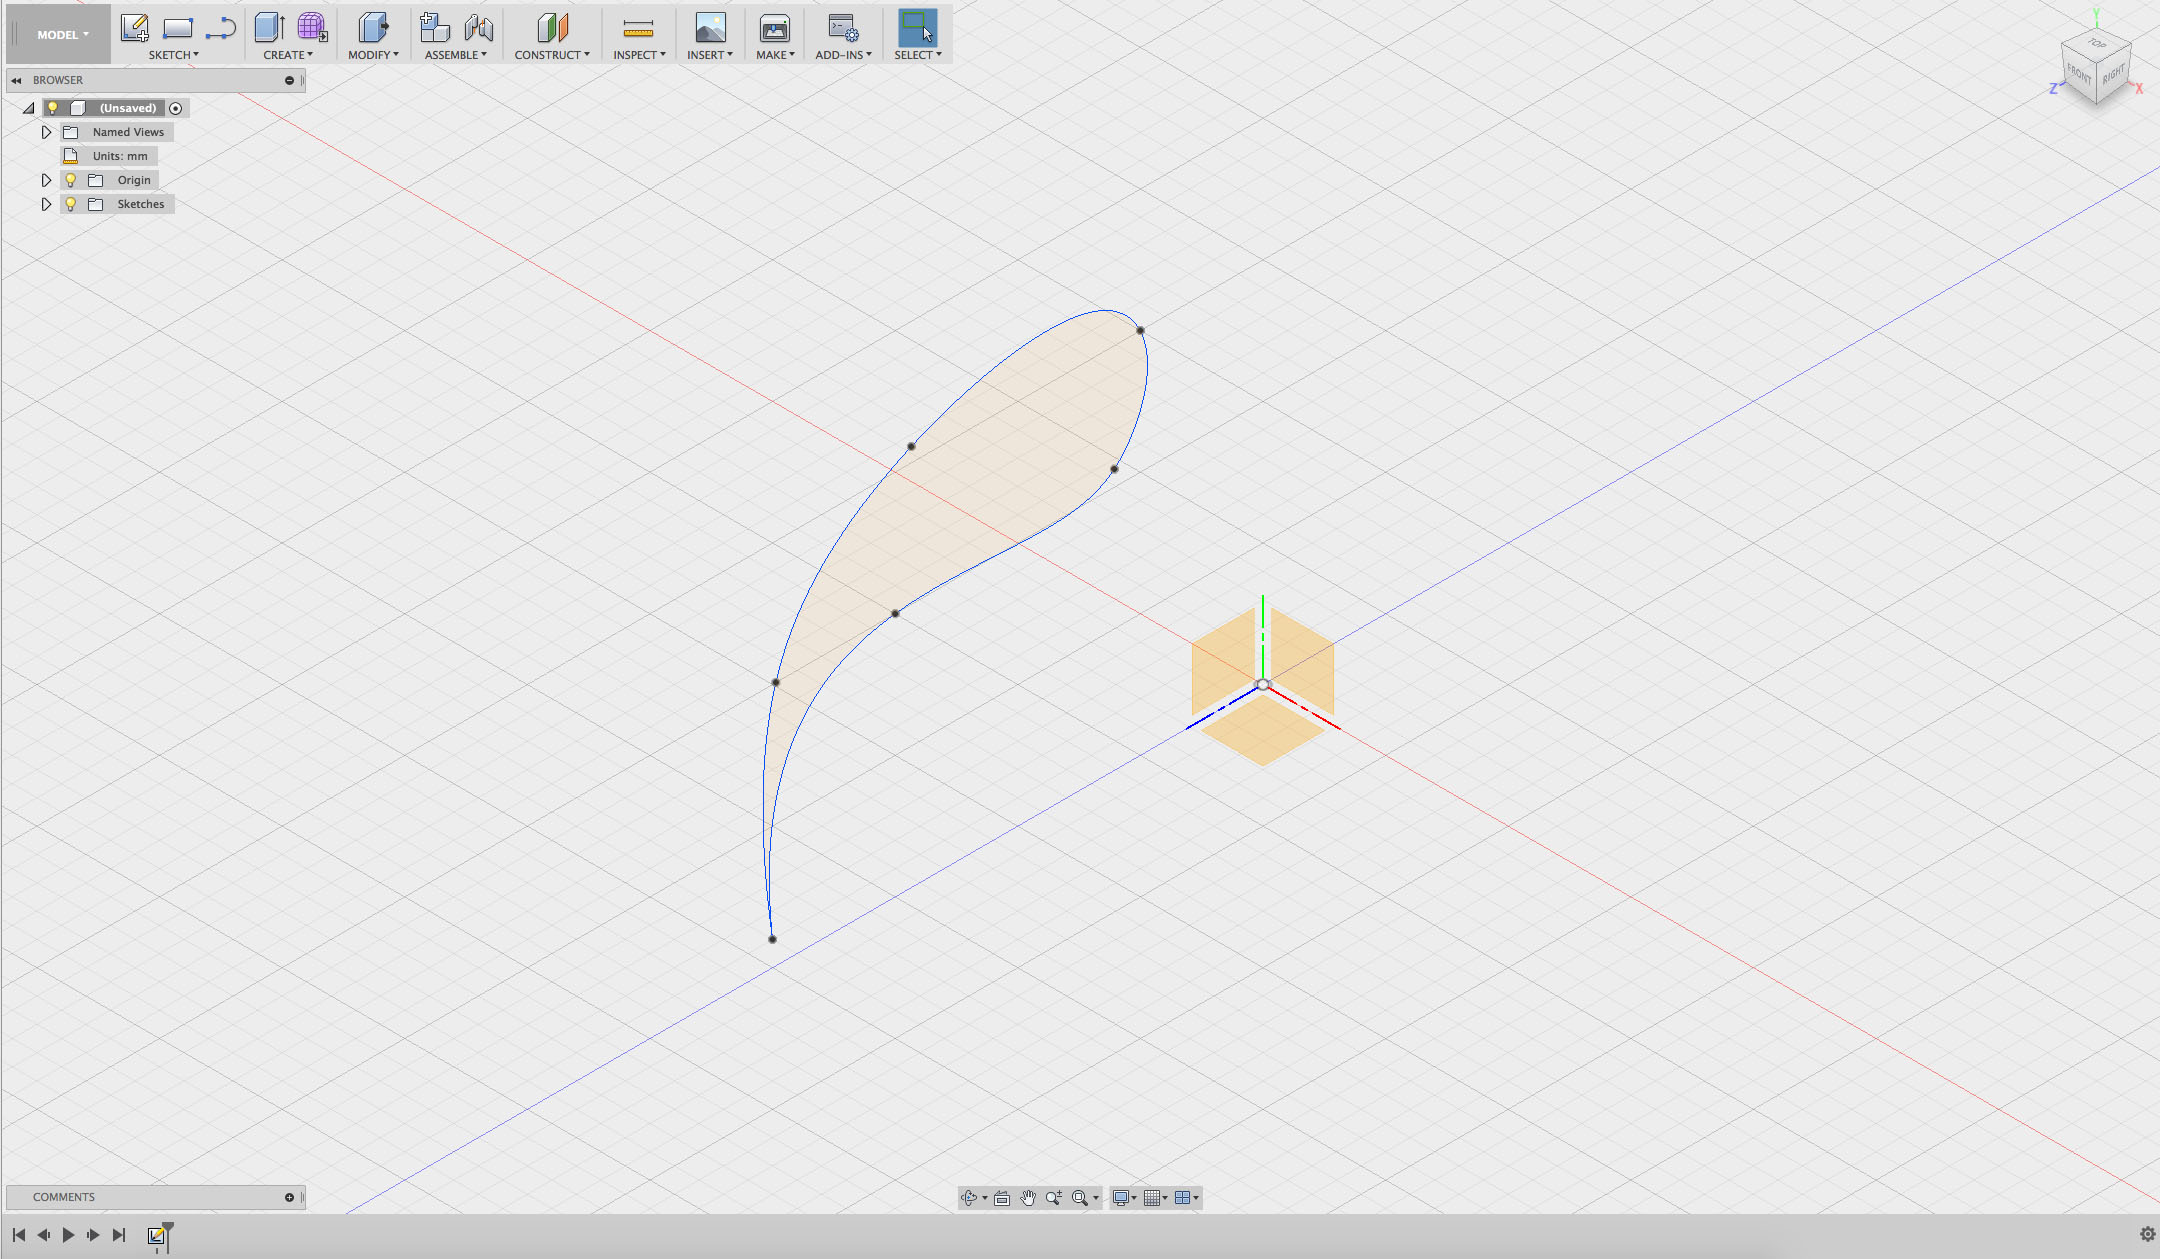
Step 11
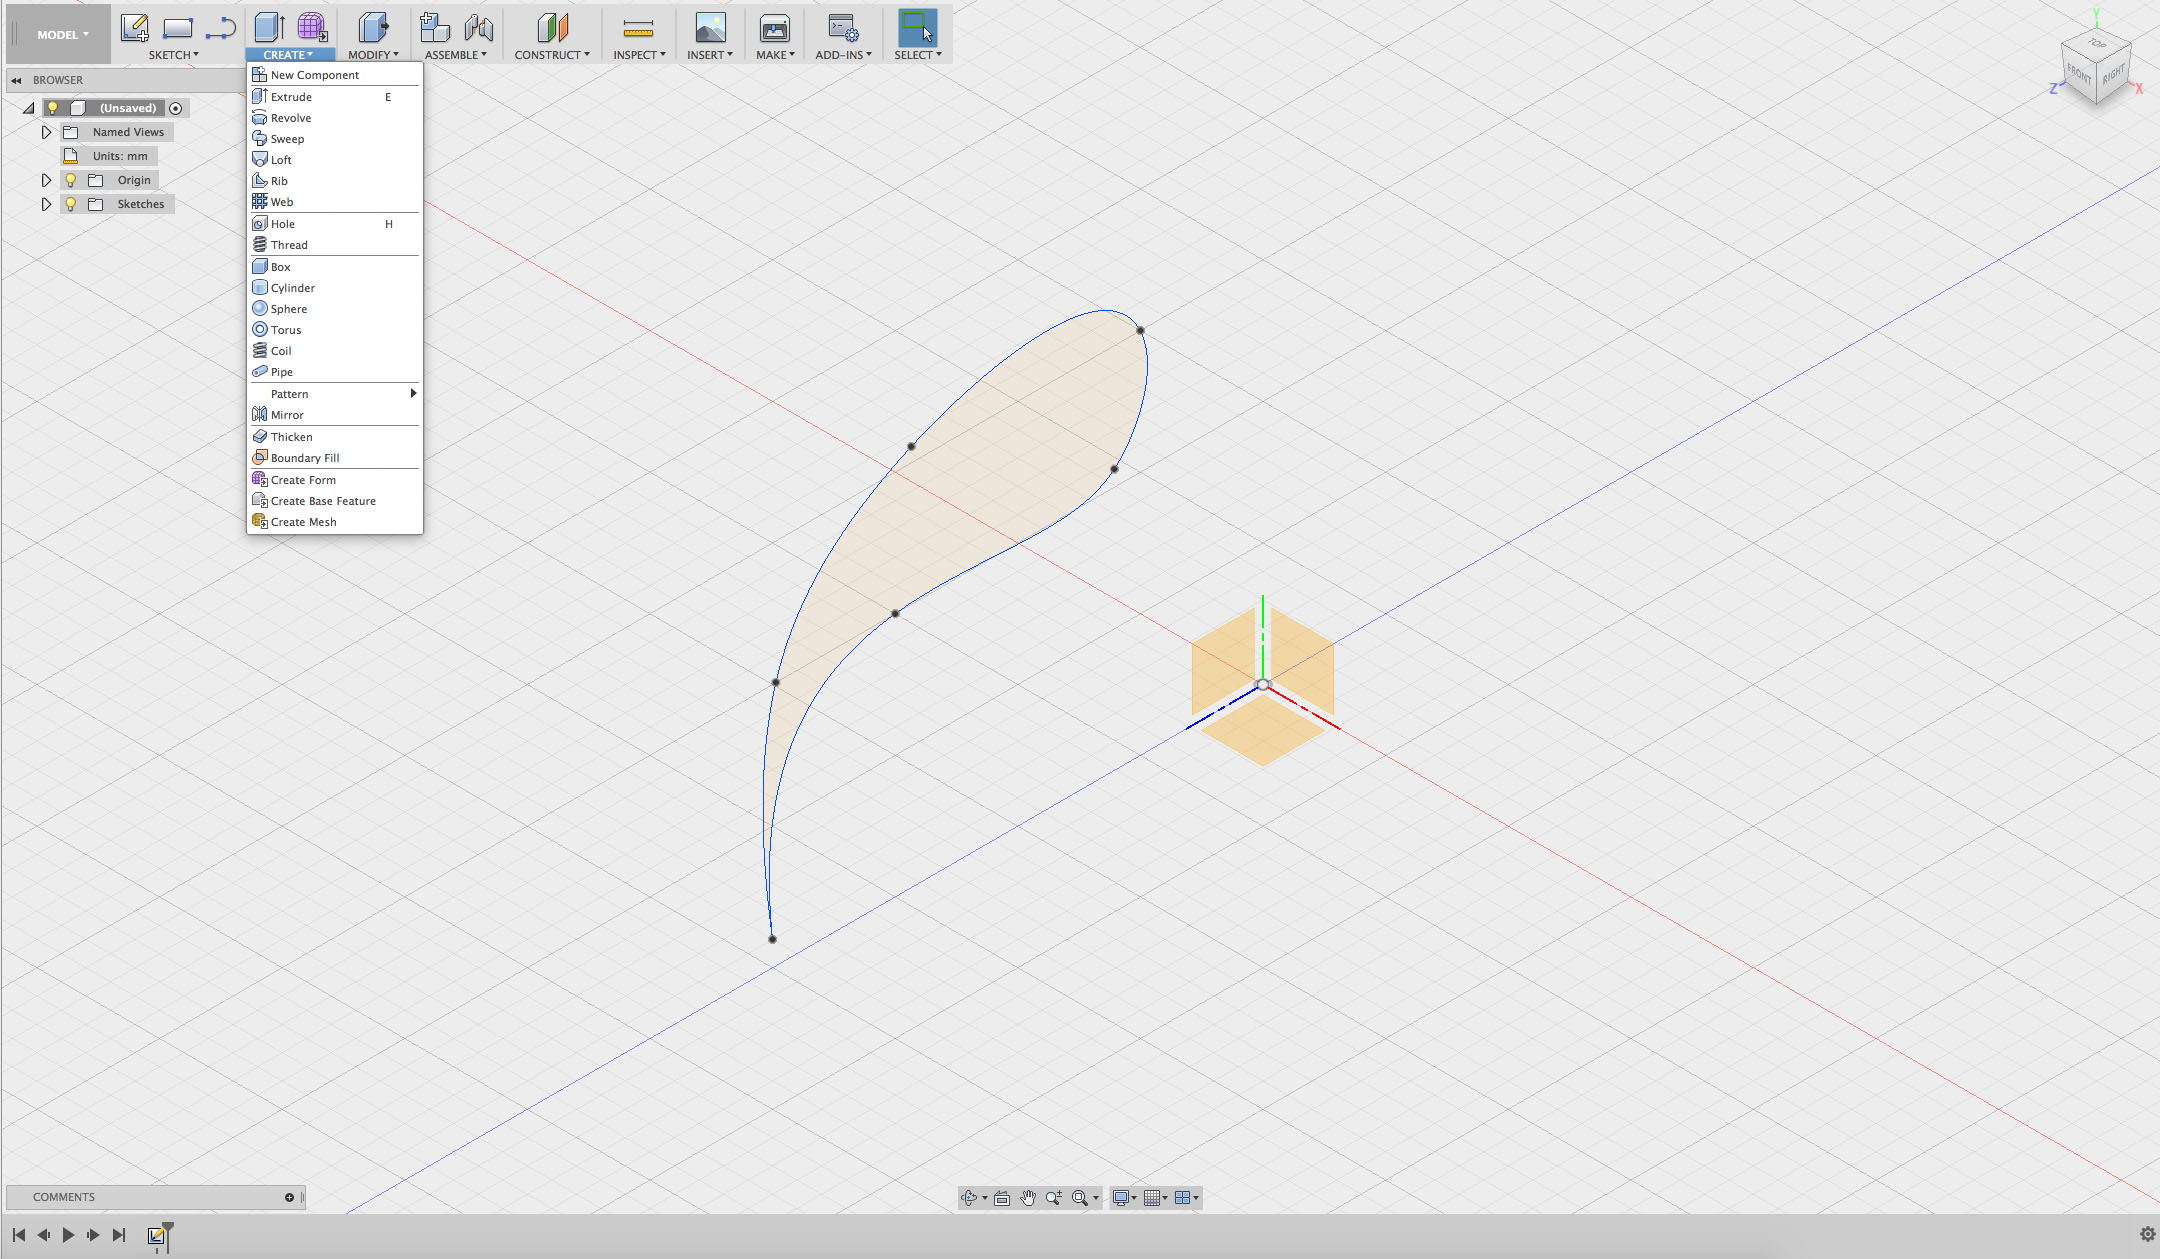
Go to CREATE in the top menu. Click the drop down menu.
Click Revolve.
Step 12
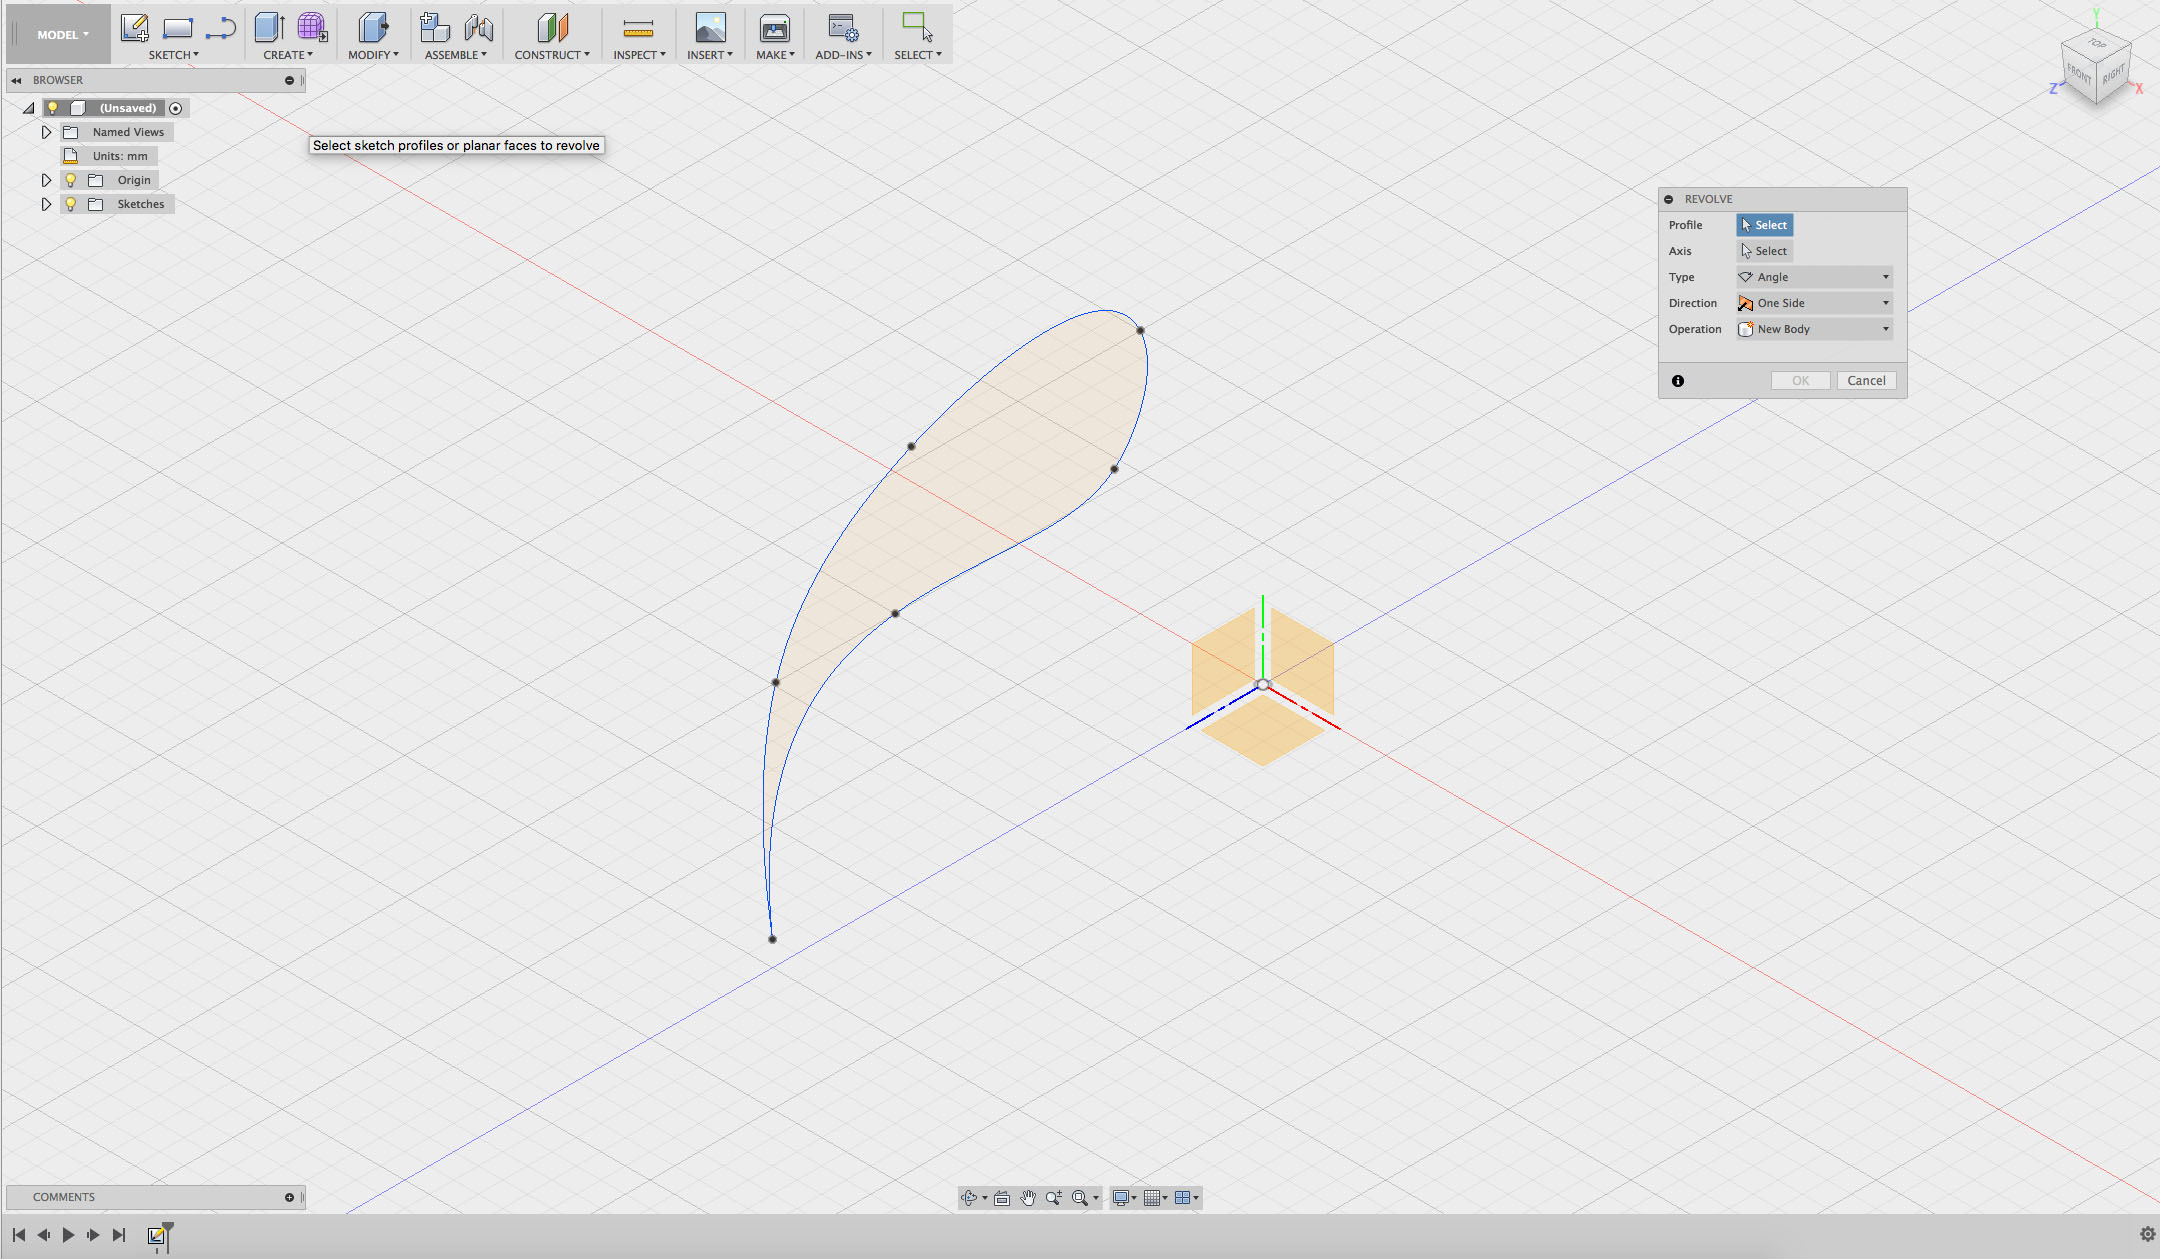
A menu will appear that will guide you through selecting:
- Profile
- Axis
- Angle
- Direction
- Operation
Select the Profile action and then click on your sketch.
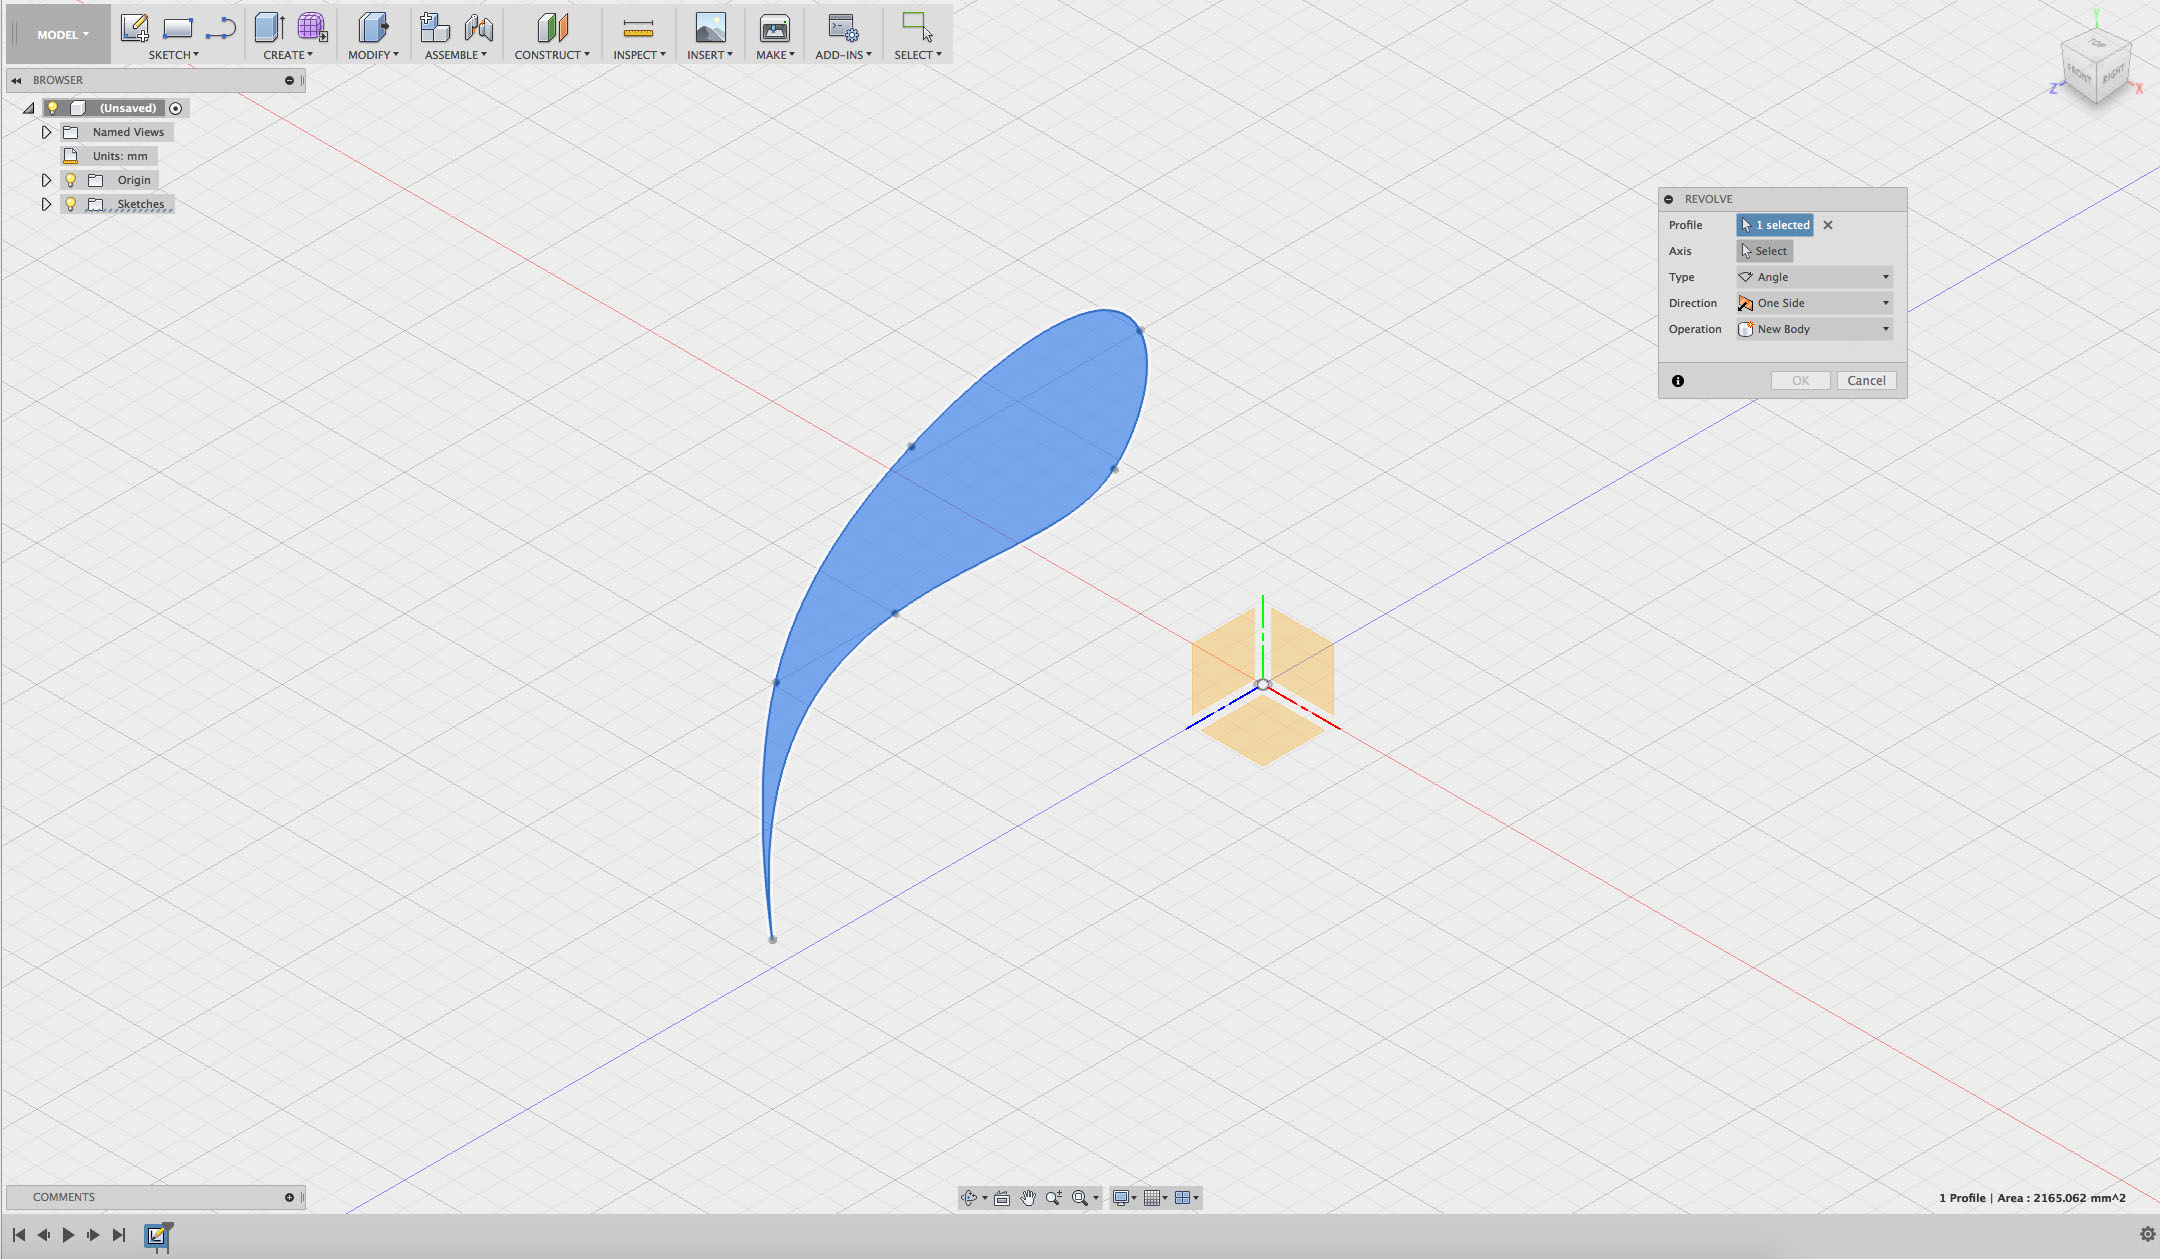
Step 13
Select which axis to spin the shape around.
Select Axis from the menu on the right.
Click on the y-axis (green line).
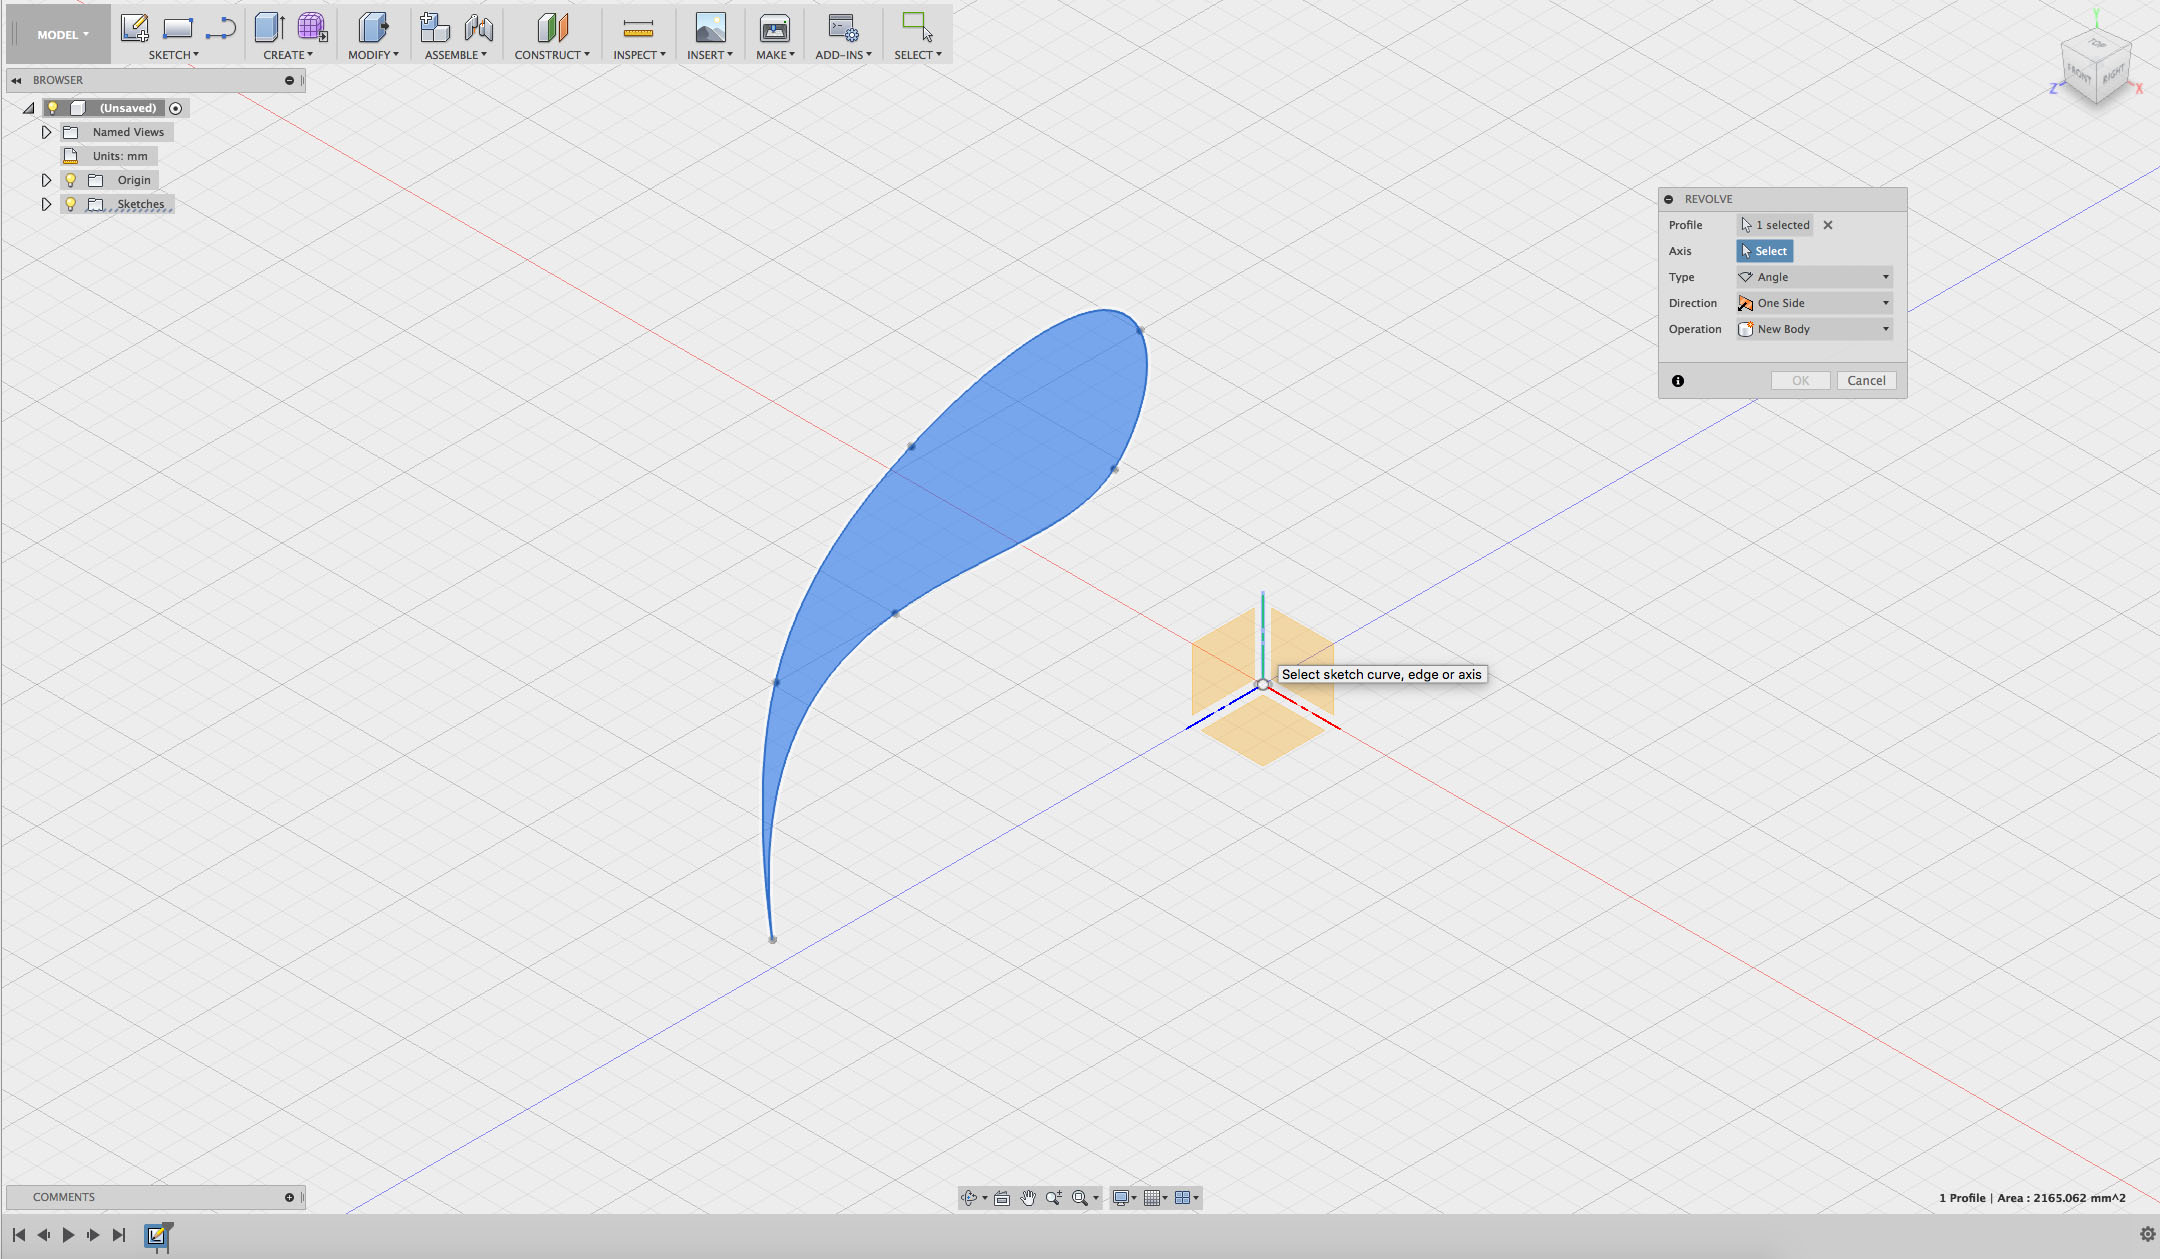
Step 14
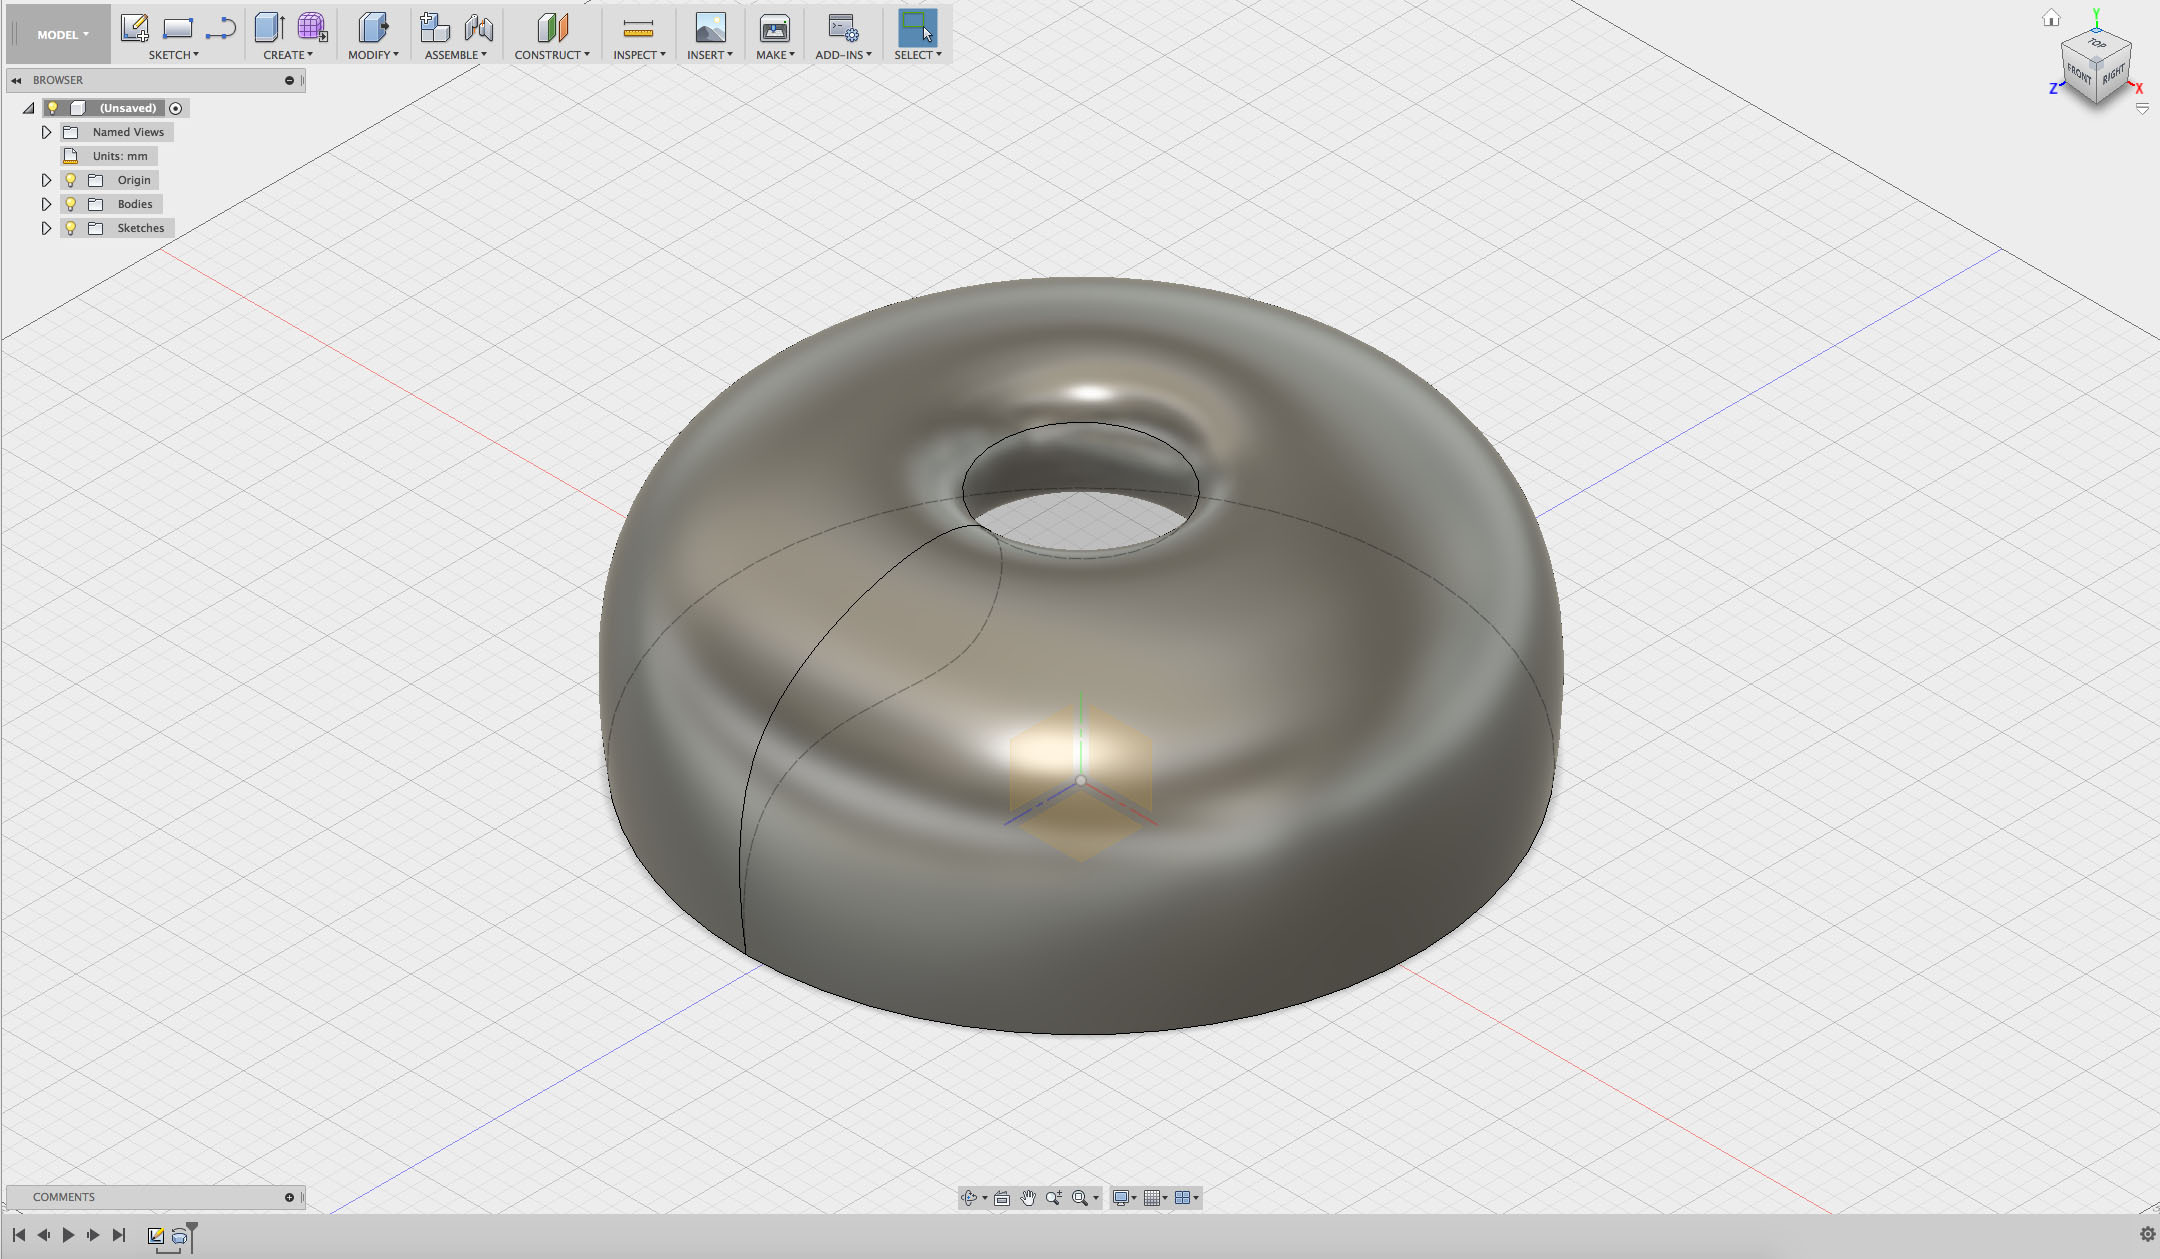
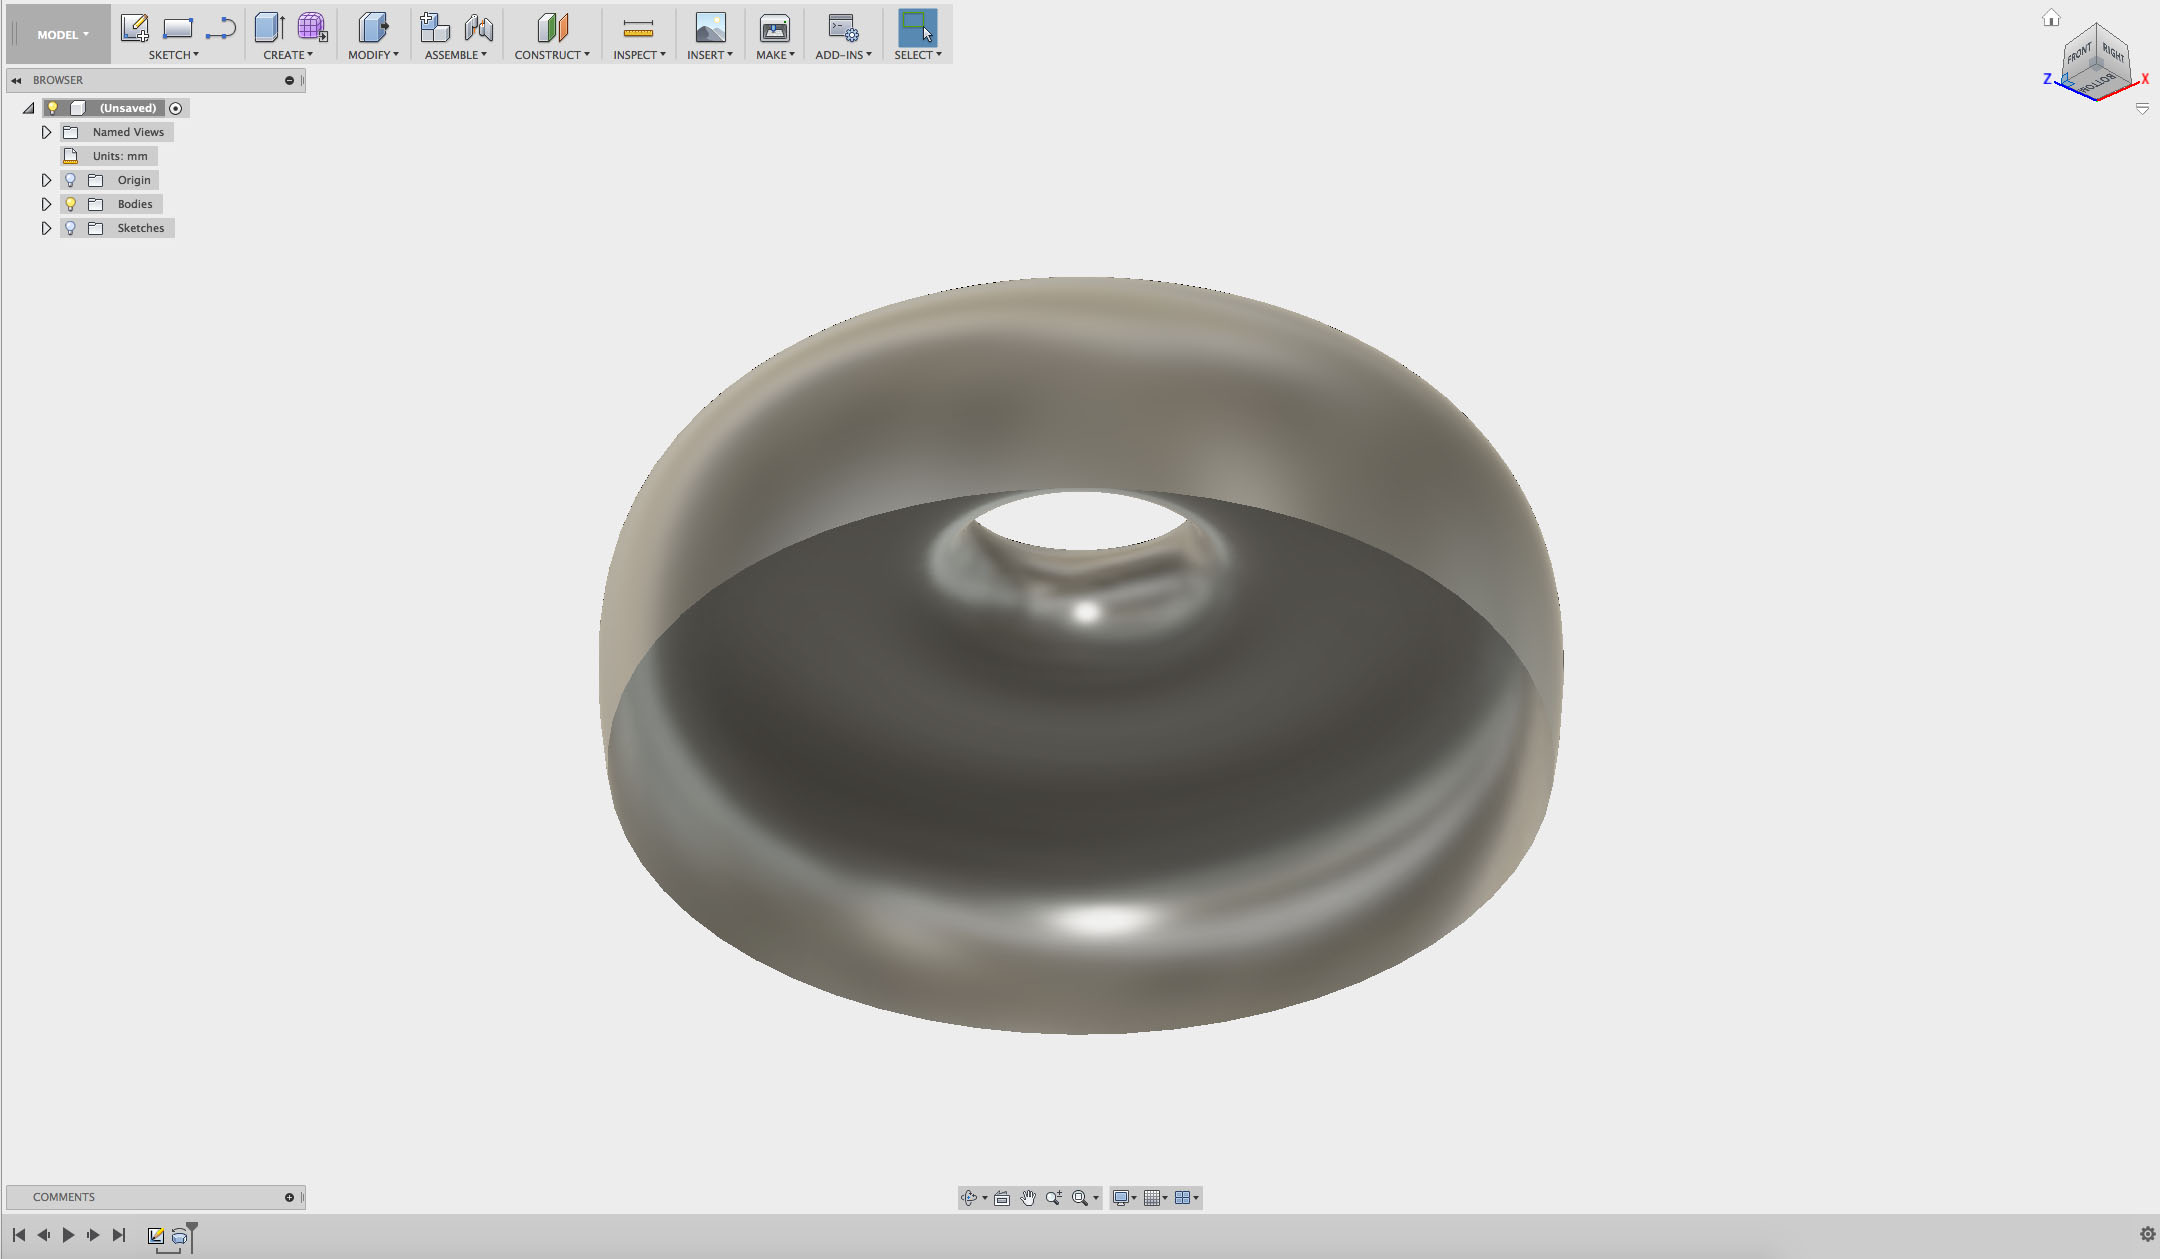
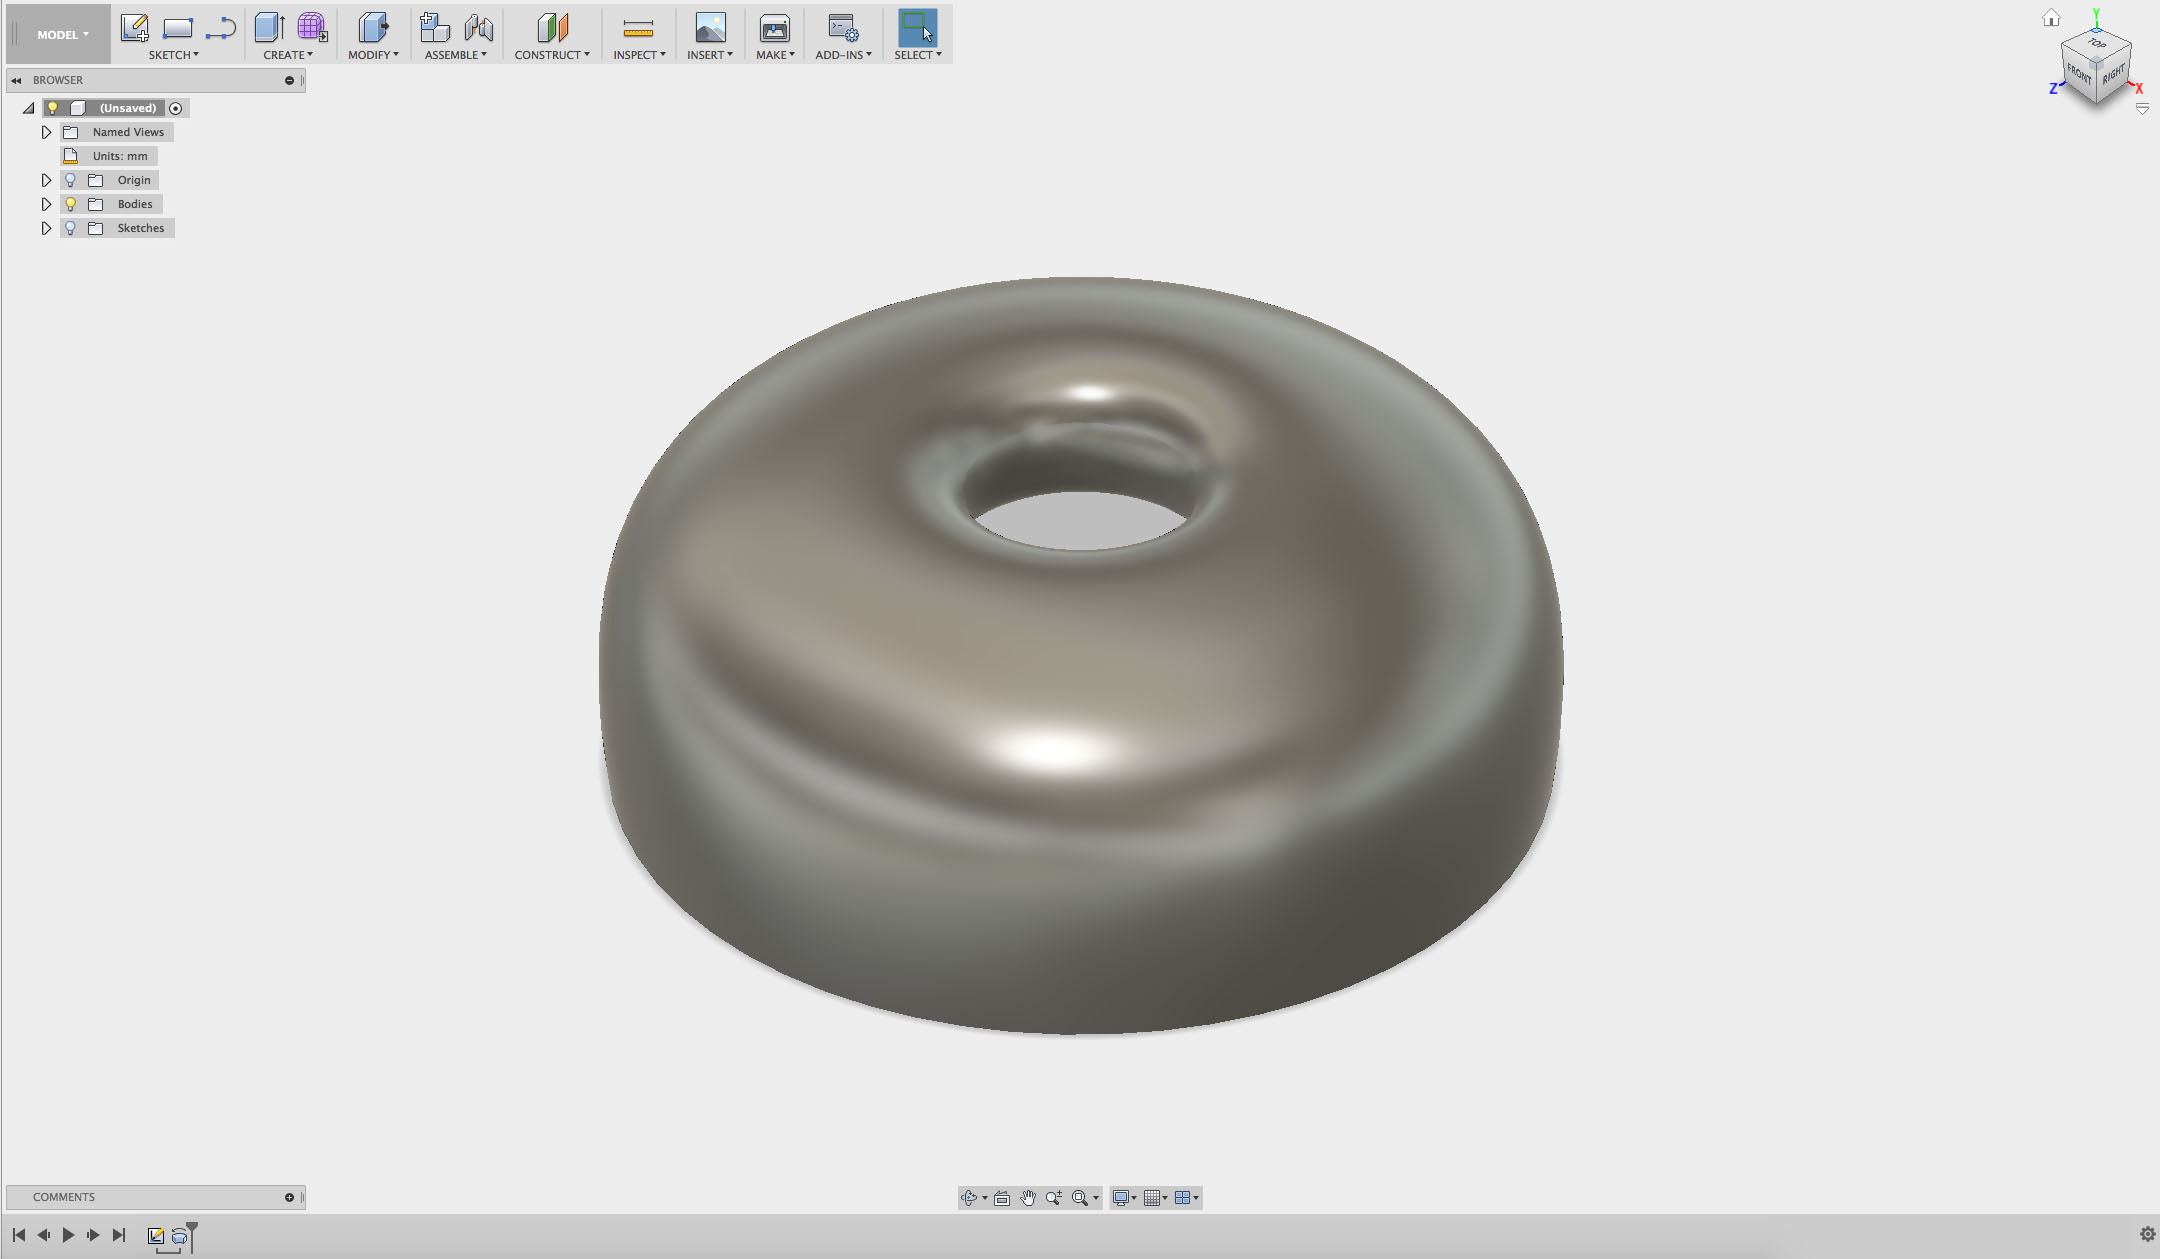
You can now see your shape revolved 360 degrees as a solid object! Explore your shape by using the cube in the top right corner to look at it from different angles.
