Course navigation
Create Your Revolve Profile
Step 1
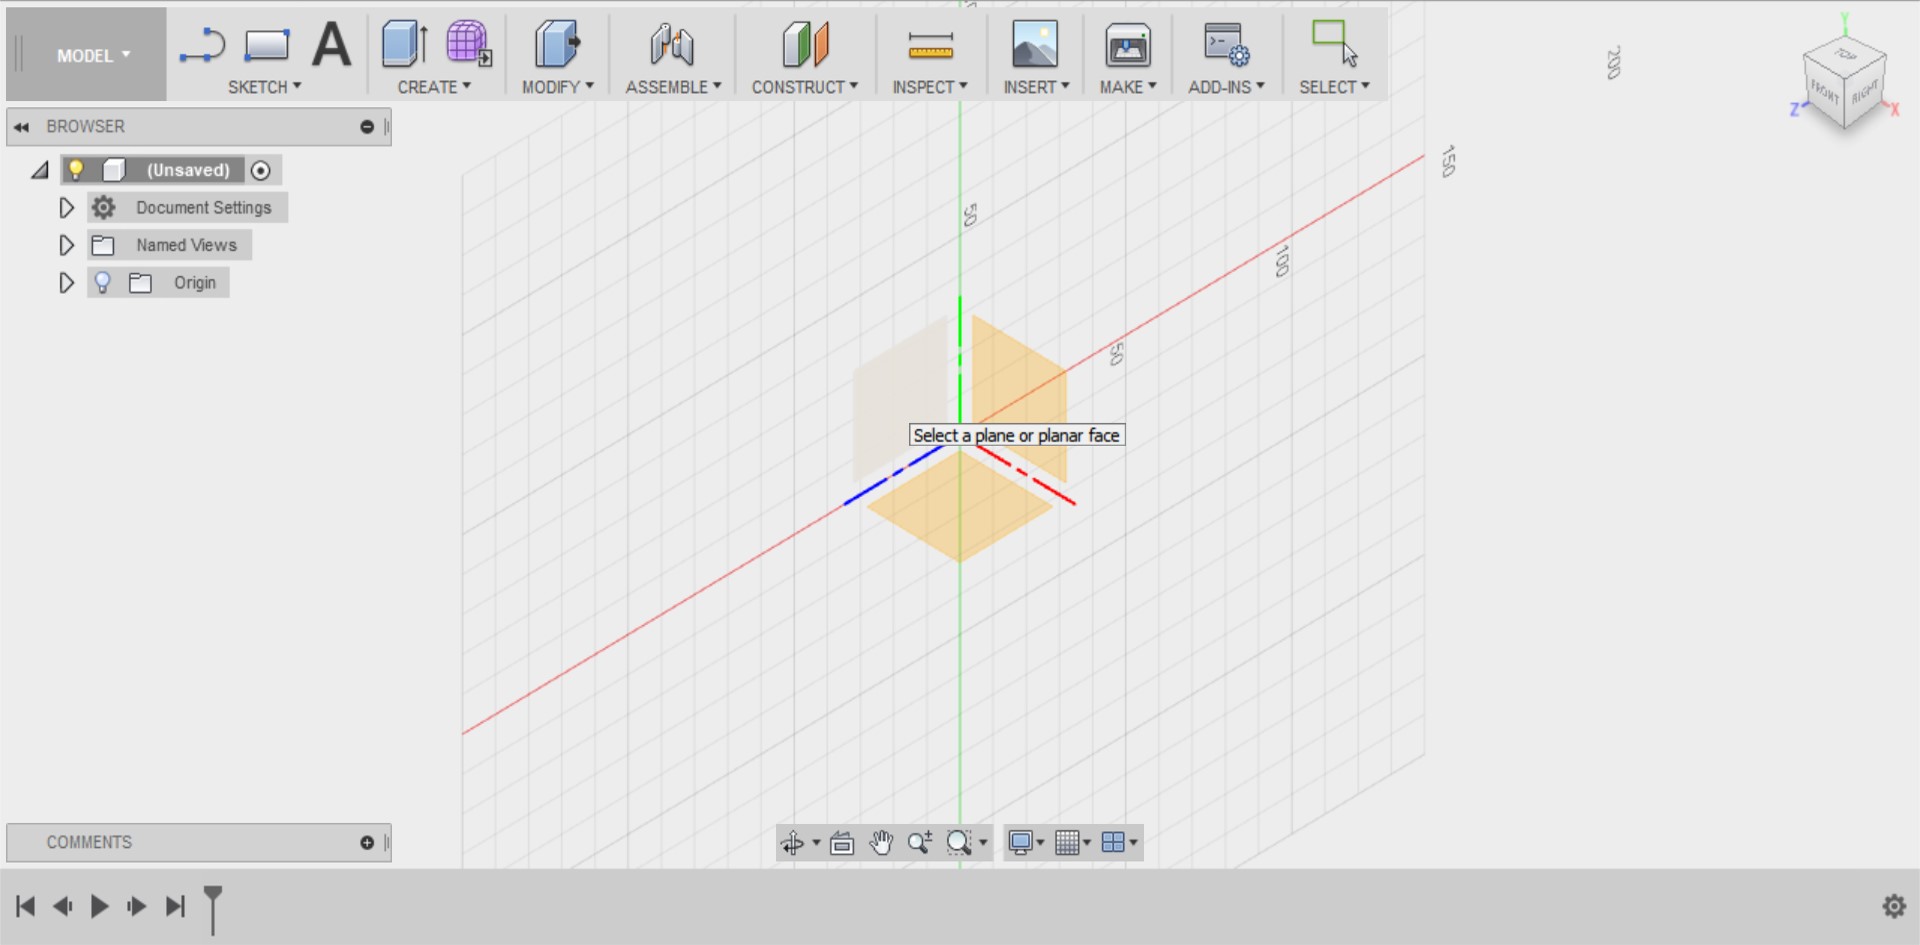
Open a new design in Fusion 360.
Start a New Sketch.
Select the Left Vertical Plane.
Step 2
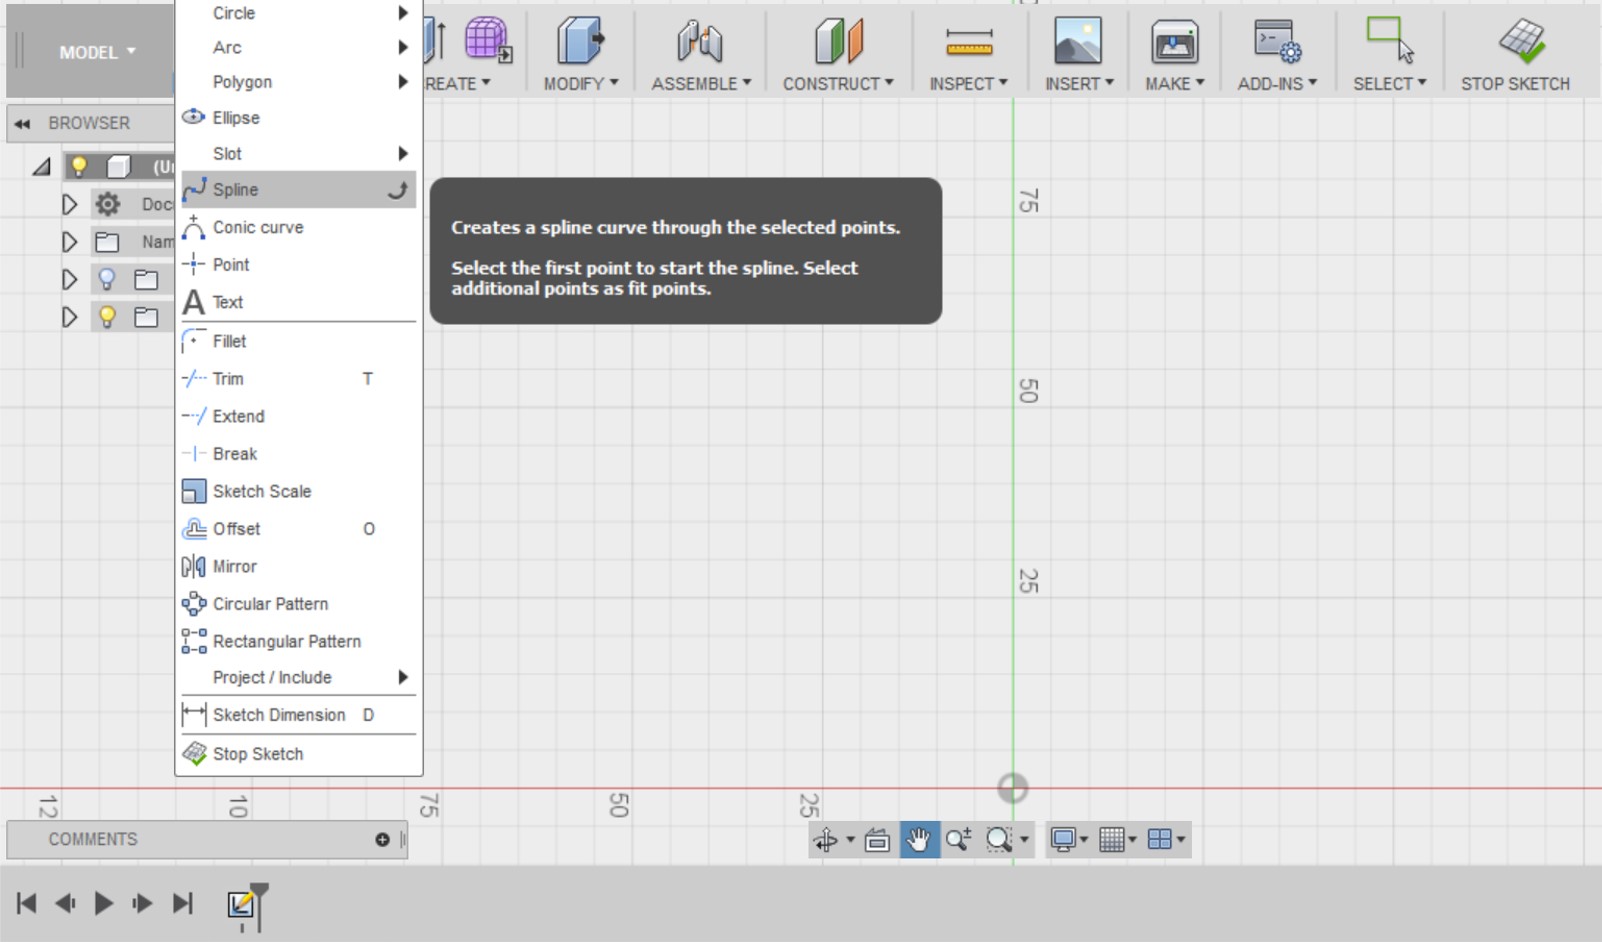
Select the Spline tool.
Step 3
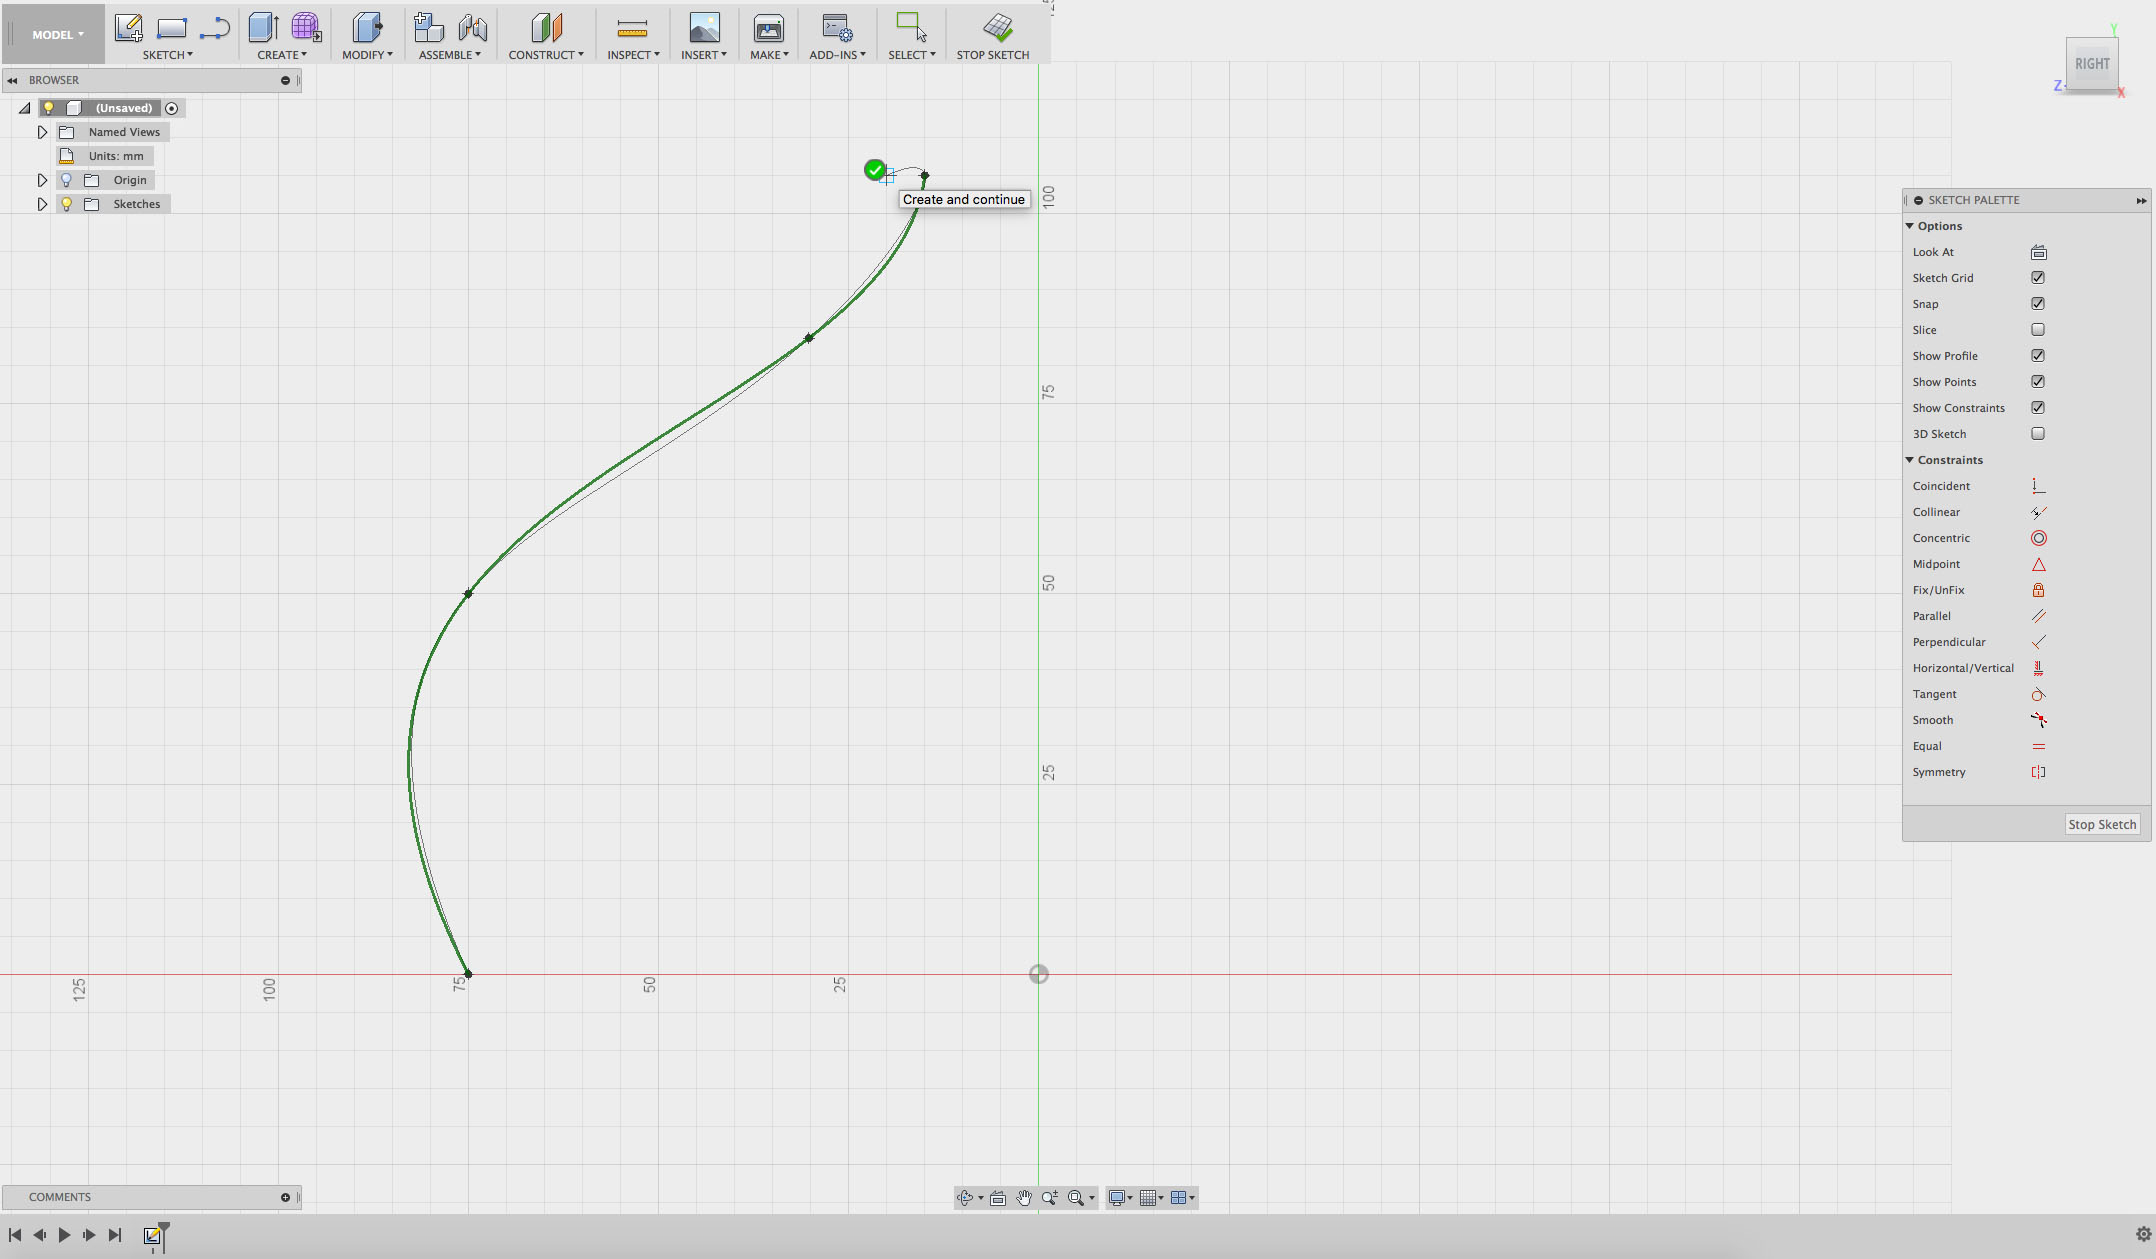
Create the profile for your lampshade using the Spline tool. When you’re happy with the curve, press the green tick.
Make sure you don’t cross over any axis because you’re going to use them in place of a construction line later.
Step 4
Use the black control points or green handles to change the shape of your spline until you’re happy with it.
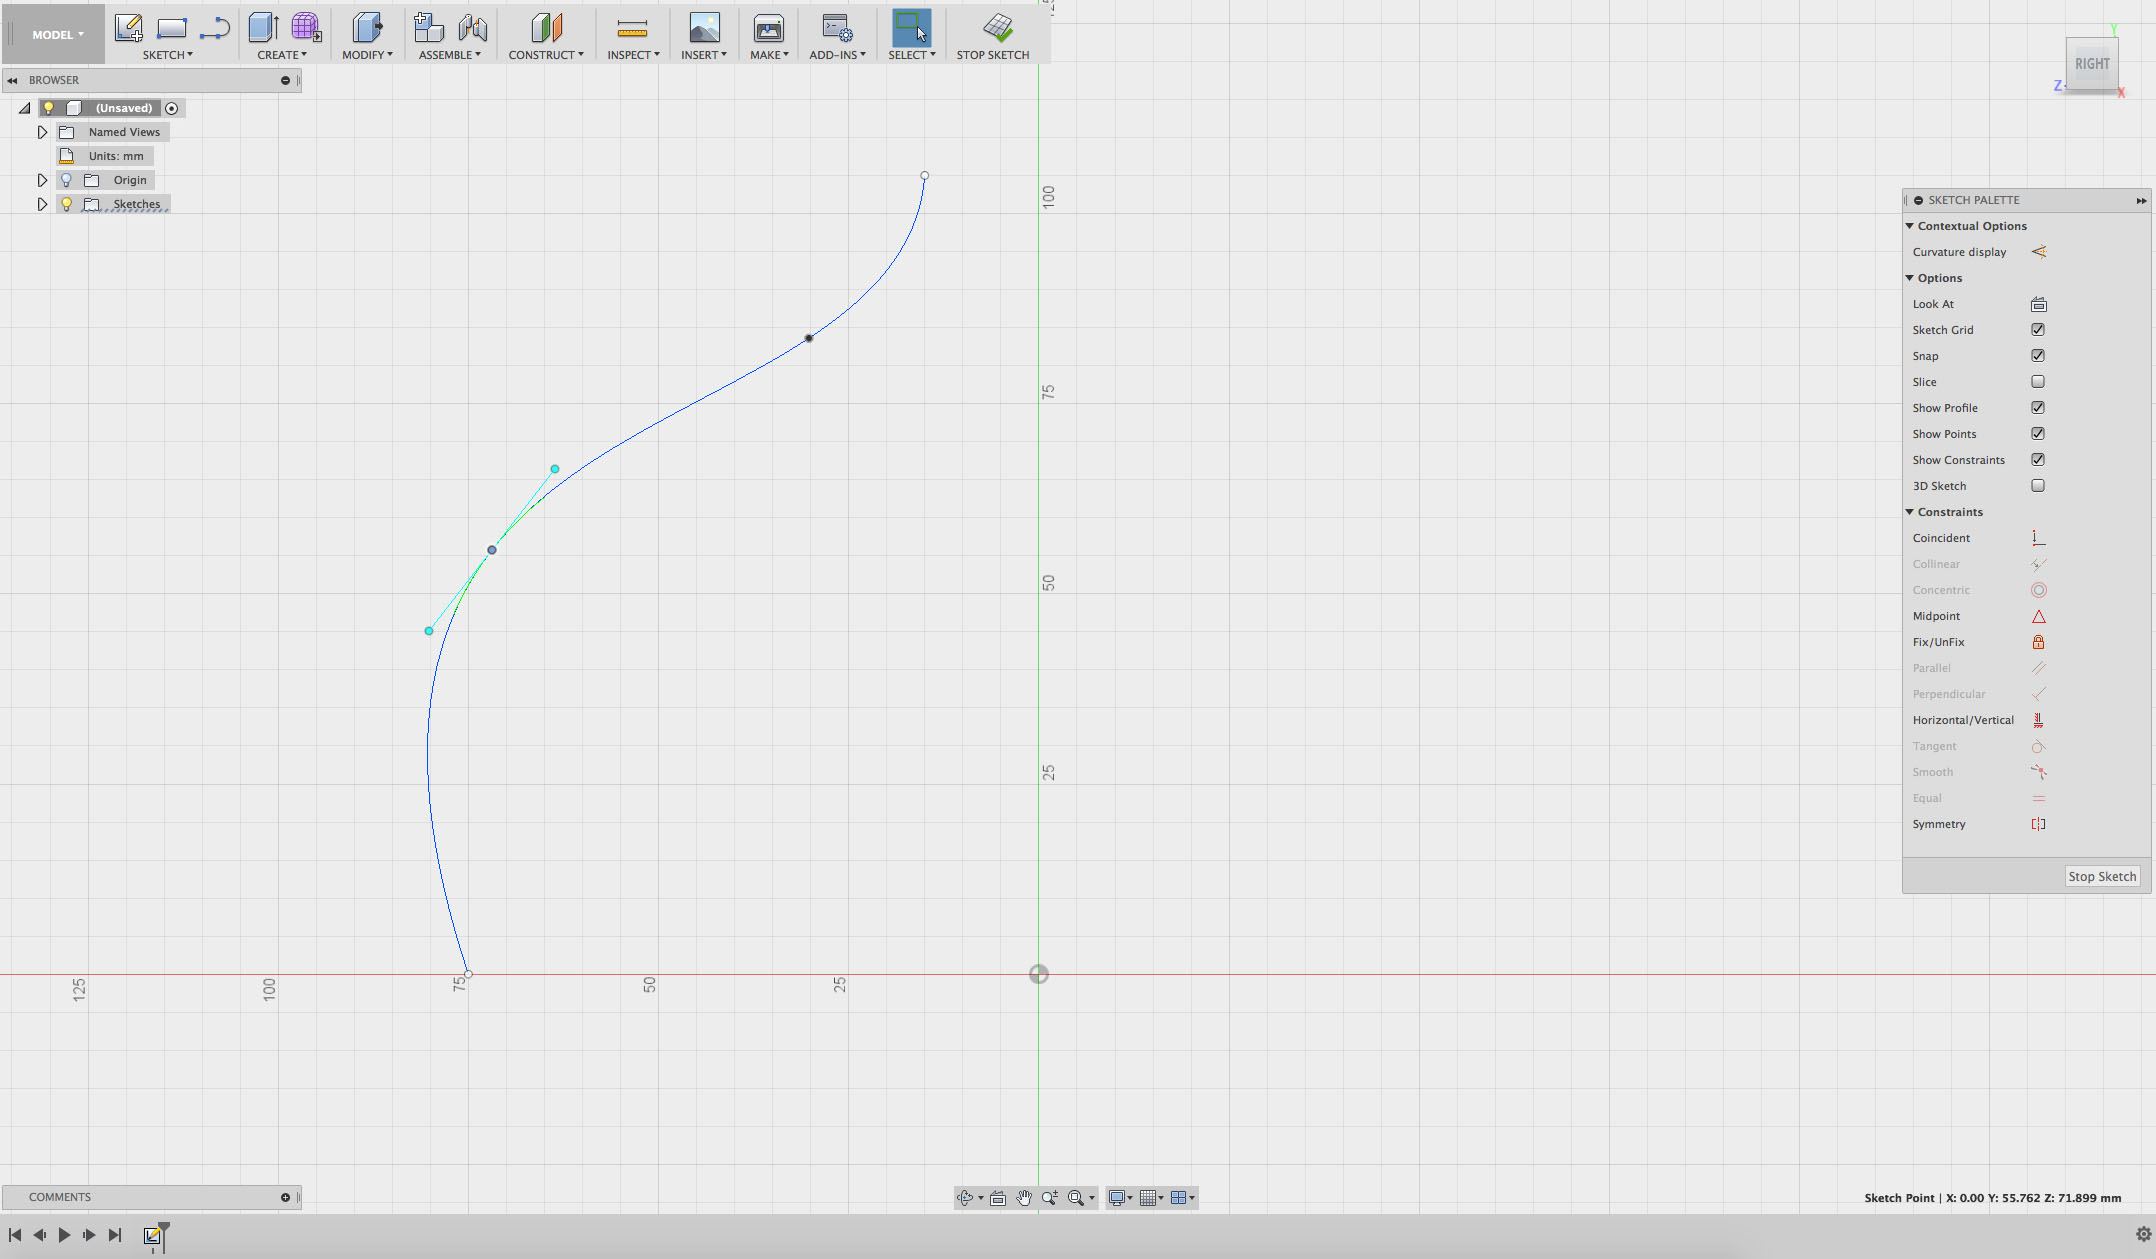
Step 5
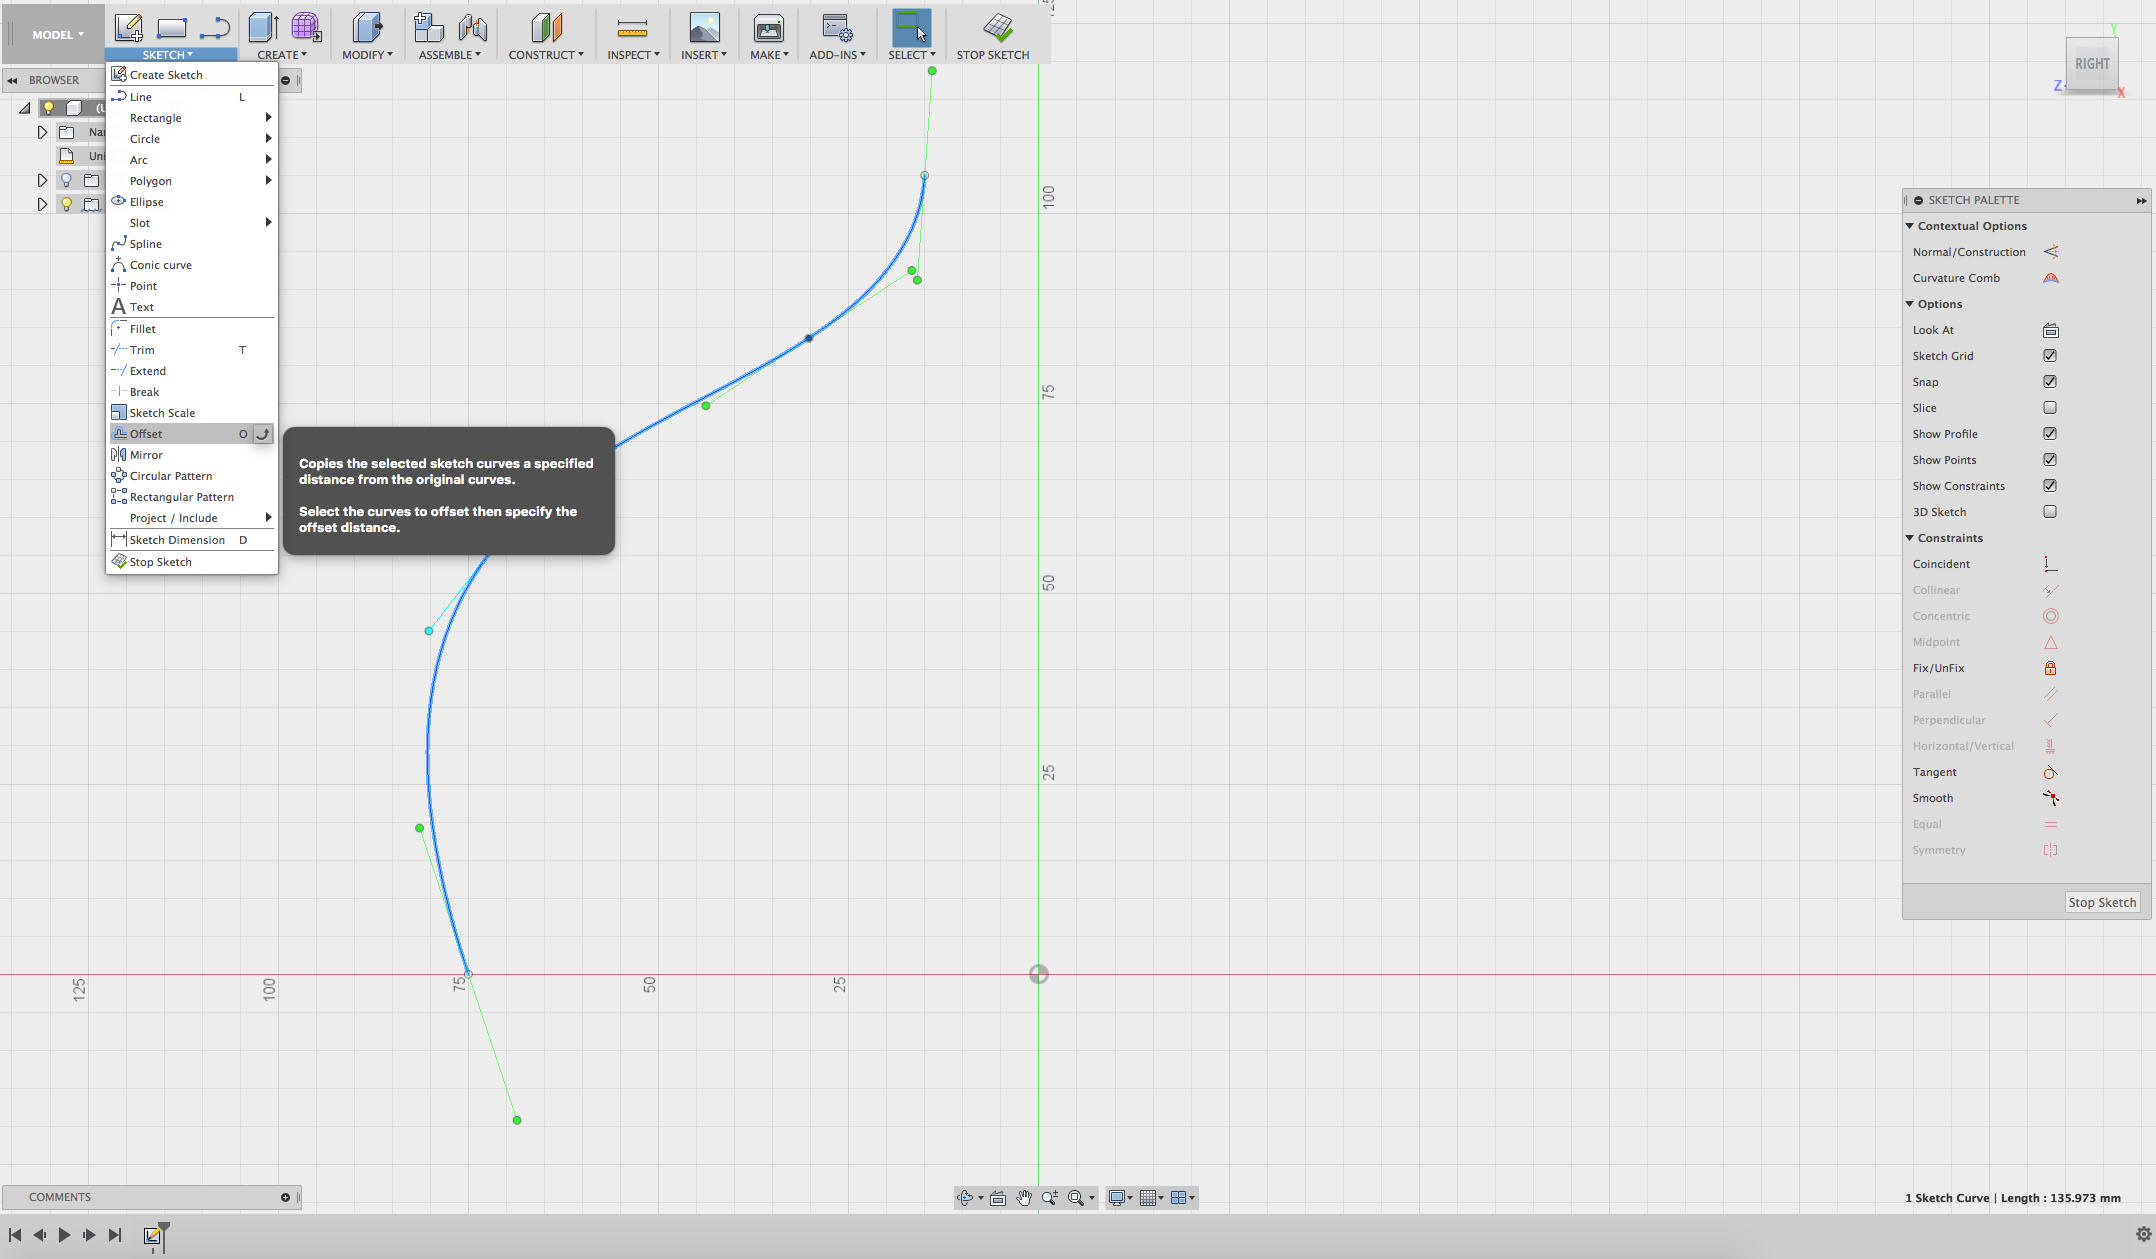
Click on the SKETCH or CREATE drop-down menu and select Offset.
(Hint: you can also select offset by pressing the letter ‘O’.)
Offset allows you to copy an existing curve or line and create a copy beside it. This can help you draw parallel objects.
Step 6
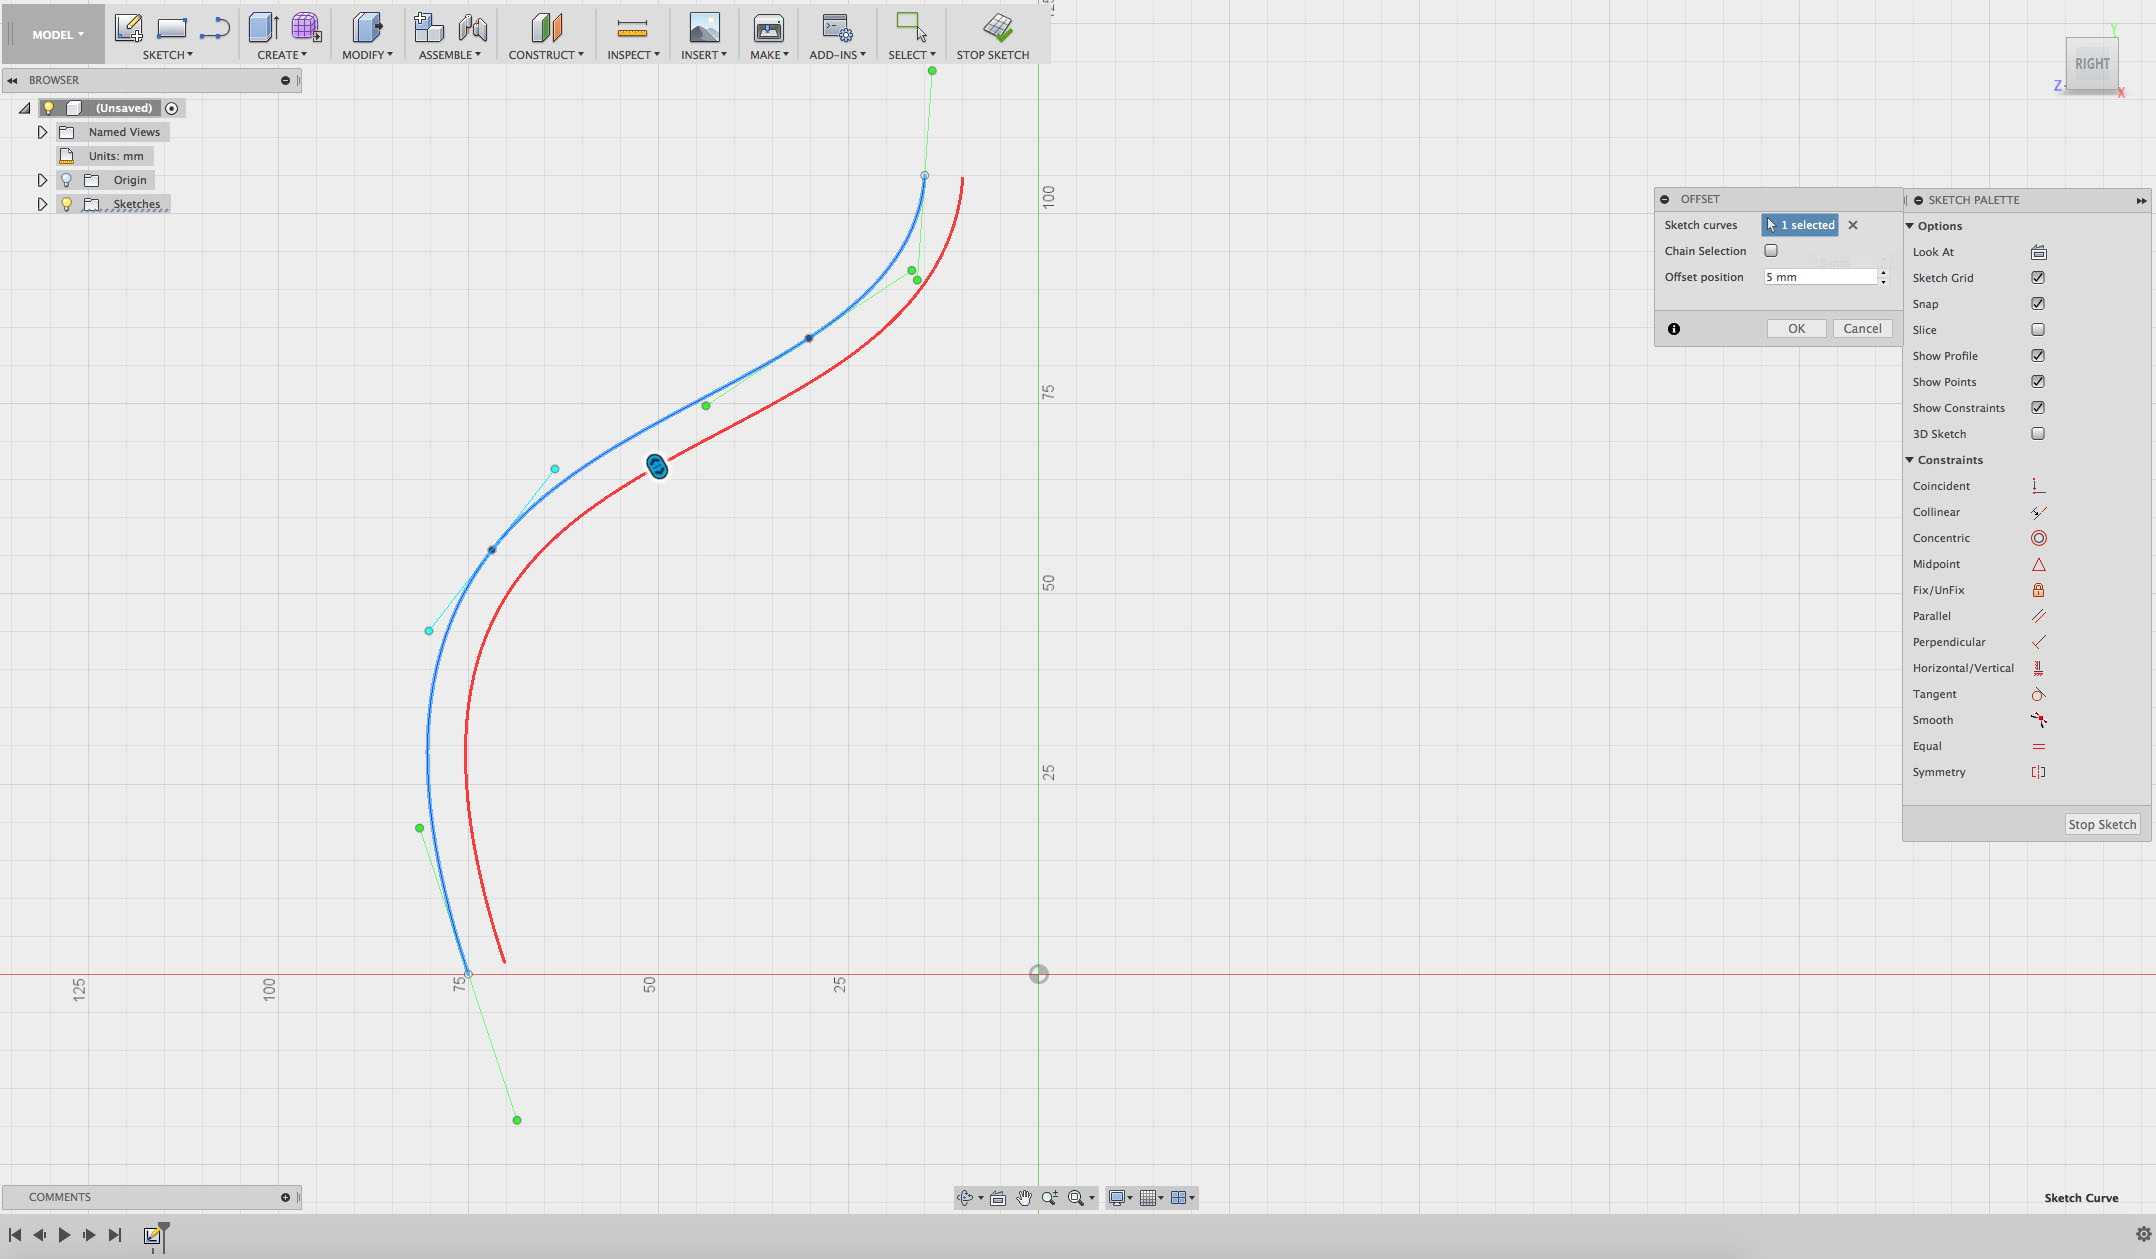
On the right of your screen is the Offset panel.
Click on Sketch Curves and select your spline.
A number box will appear beside your spline, this controls how far apart (or how offset) the lines are.
Type in 5mm. This will set the thickness of the shell of your lampshade. If you want it thicker or thinner, change the measurement as required.
Step 7
Create a closed shape.
Find the Line tool in the SKETCH menu.
Click on the end point of one of your curves and then click on the one beside it. This will create a straight line between the two curves.
Do the same at the other end.
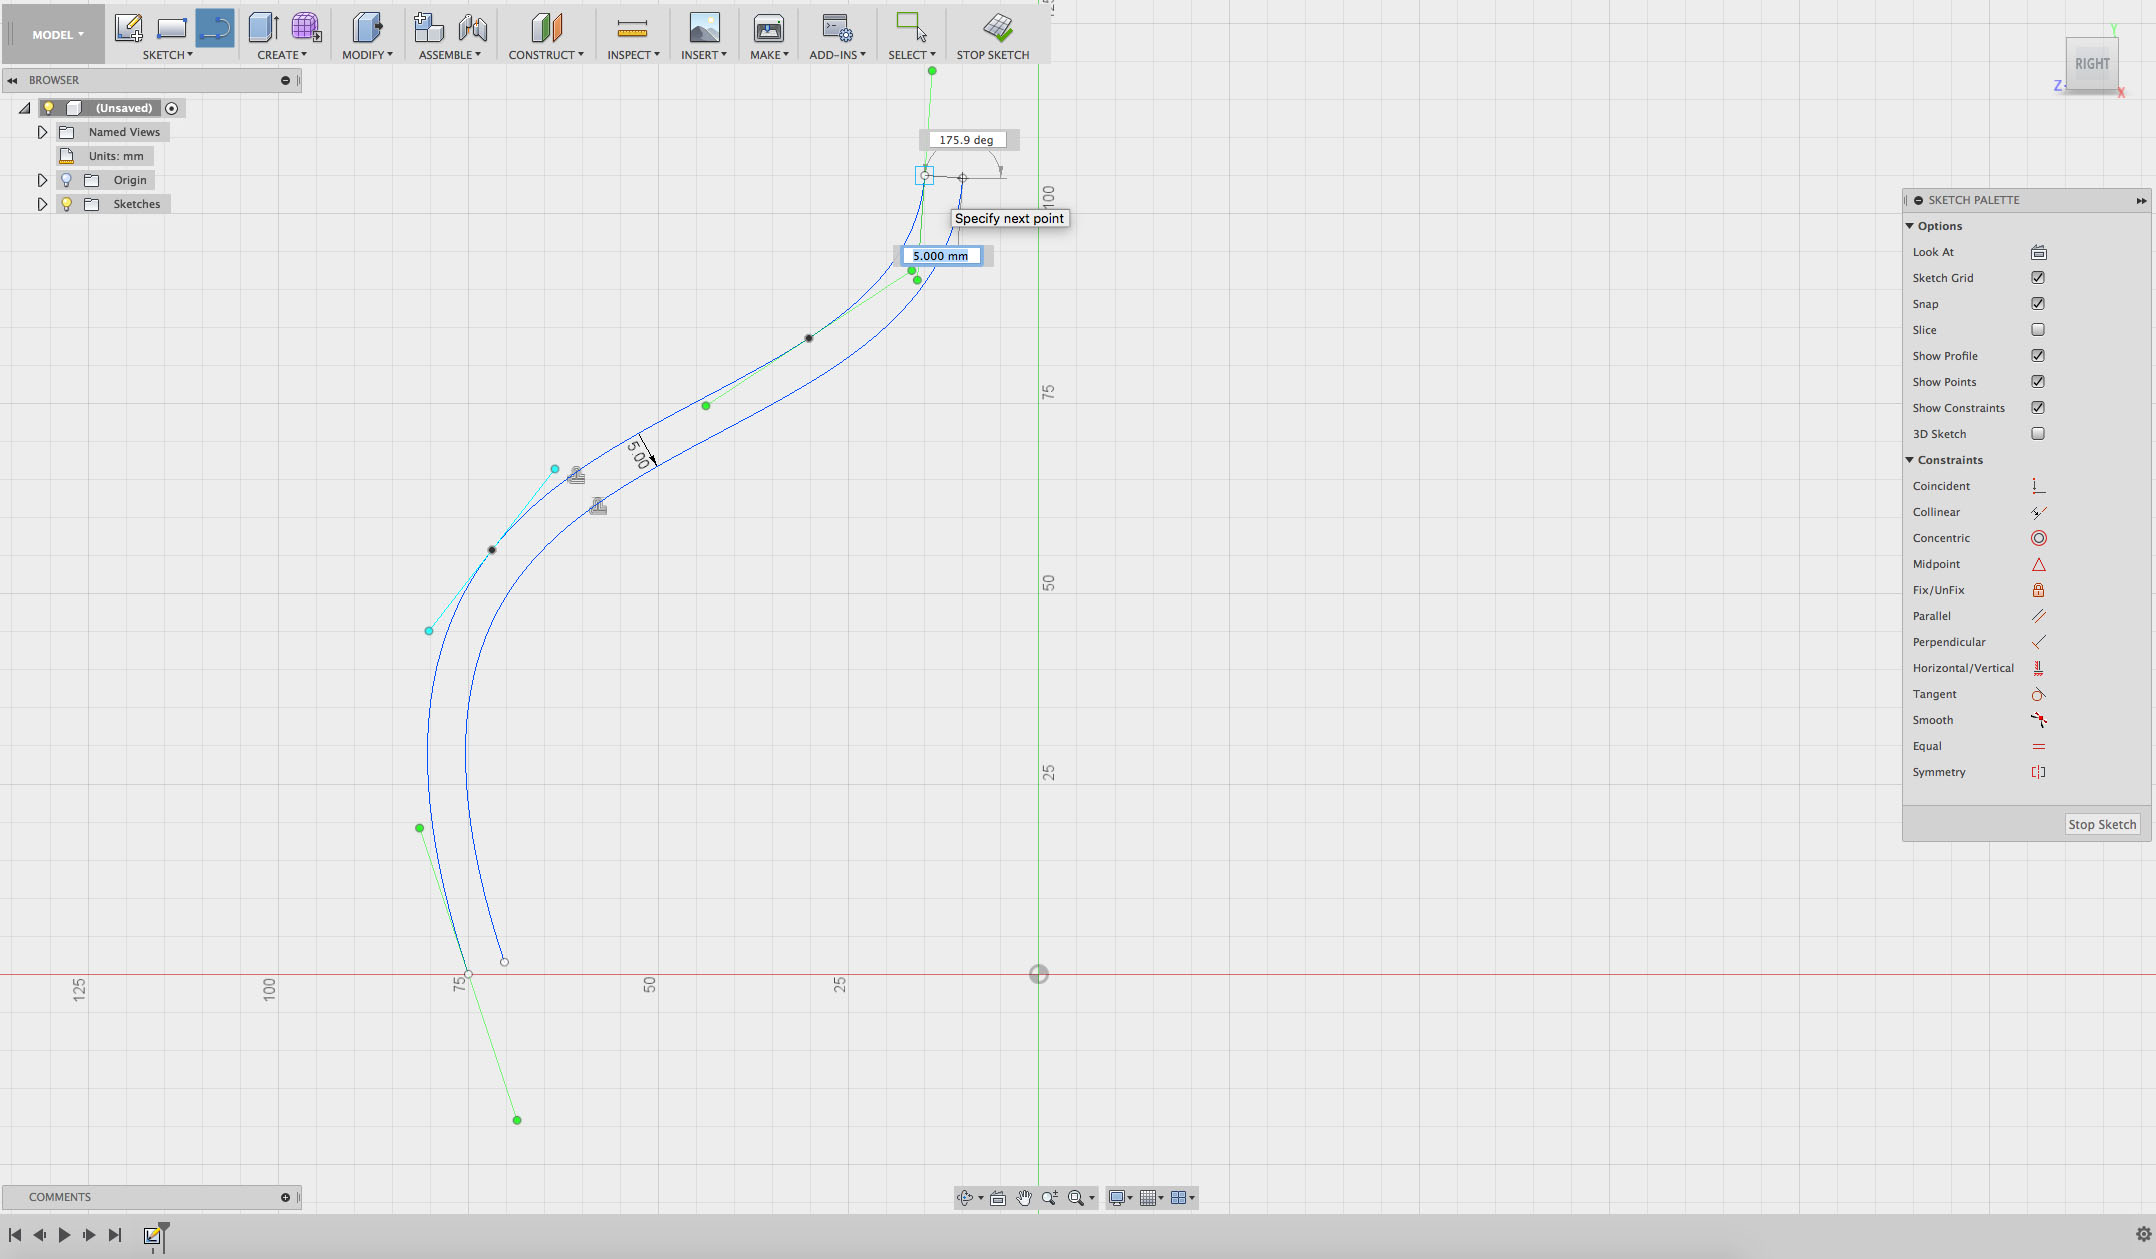
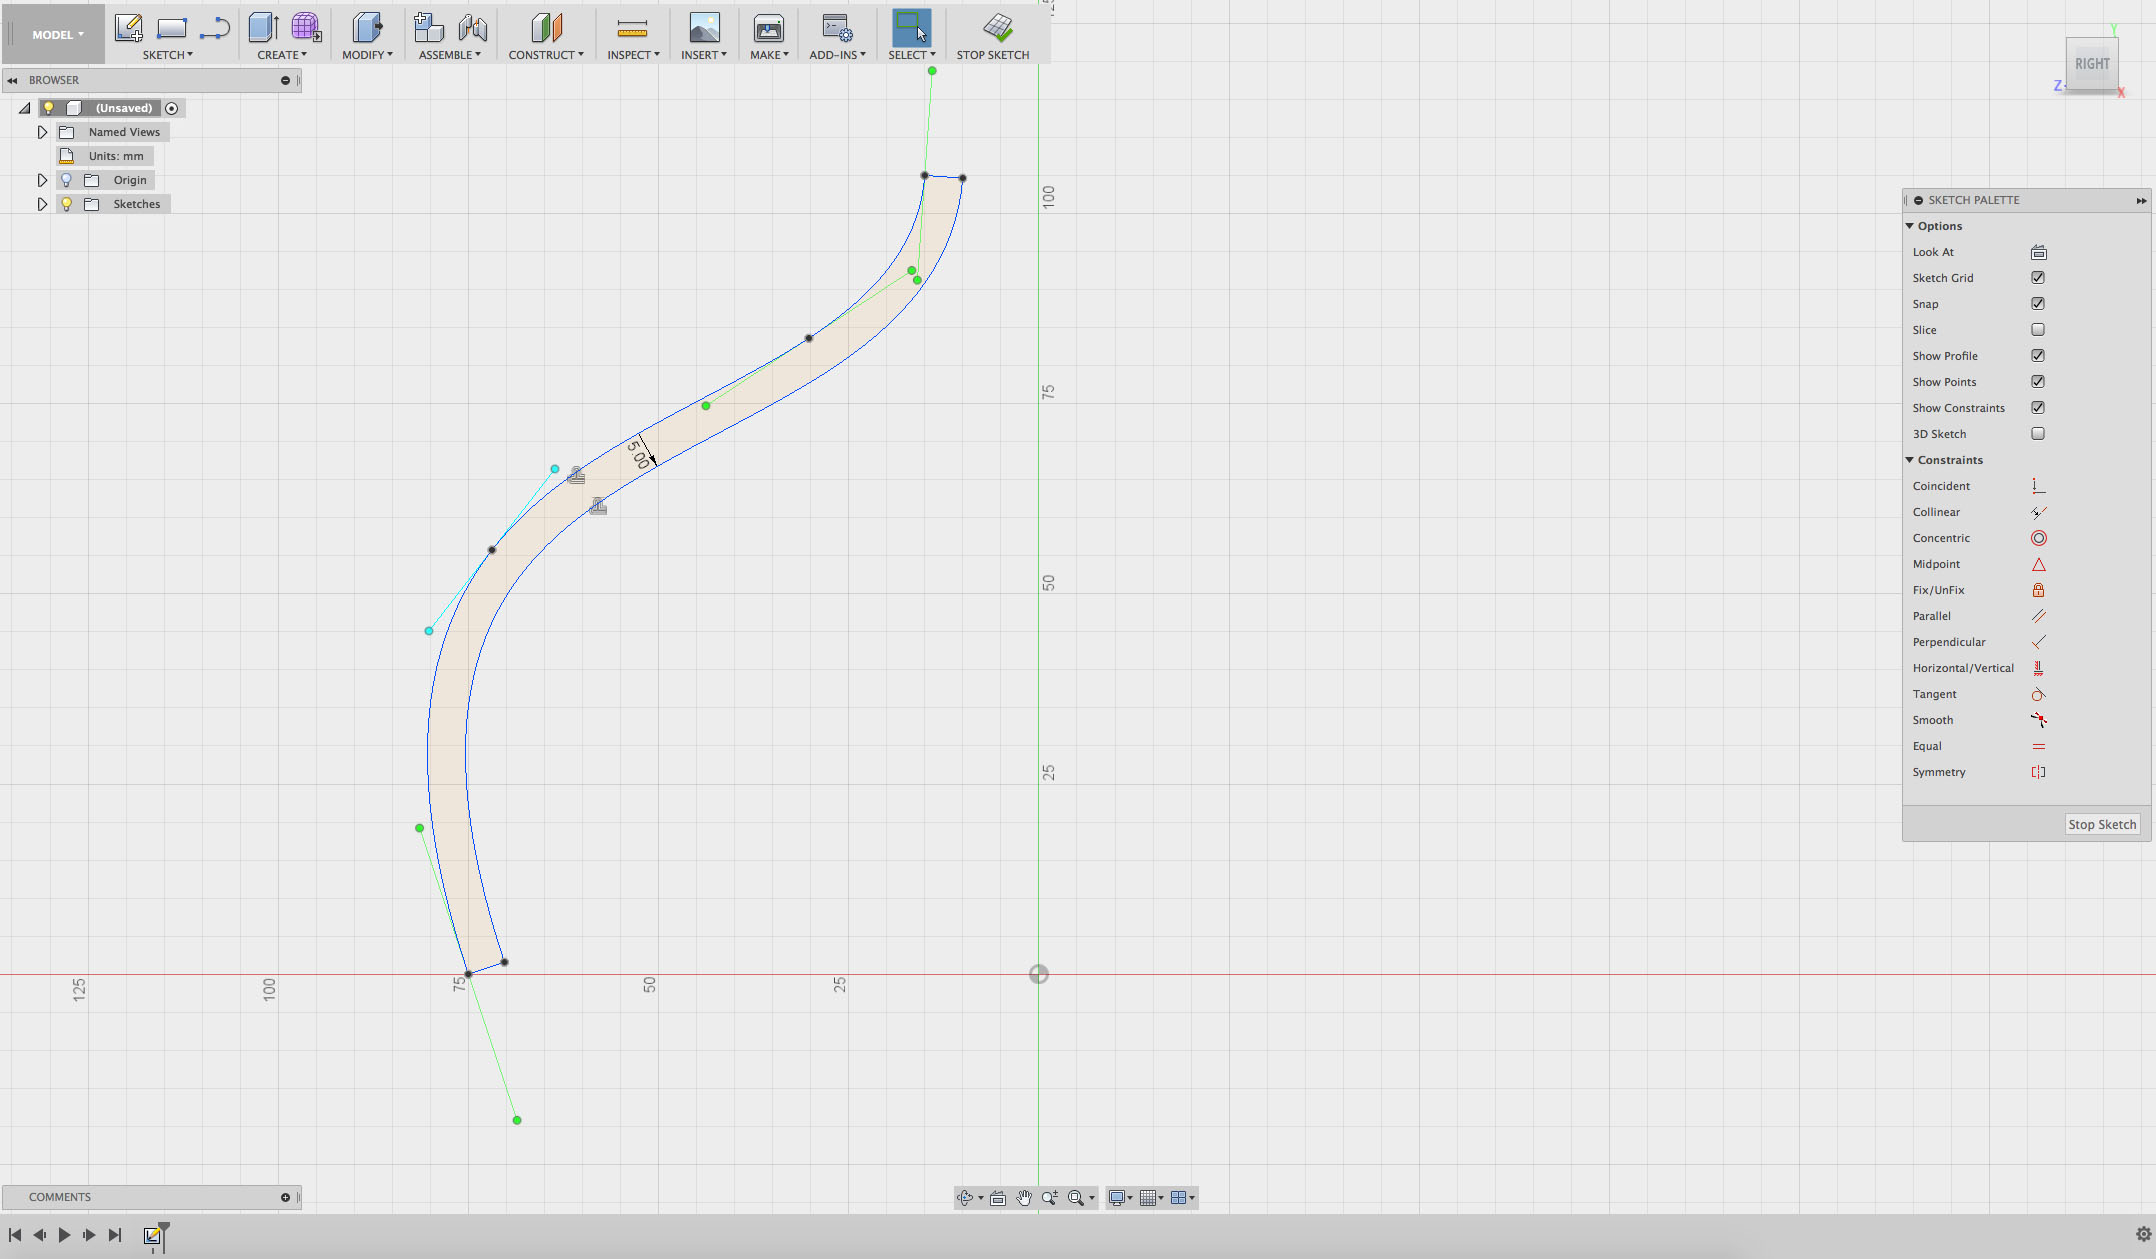
Now that your shape is closed, it should be shaded inside.
Click STOP SKETCH or FINISH SKETCH.
Step 8
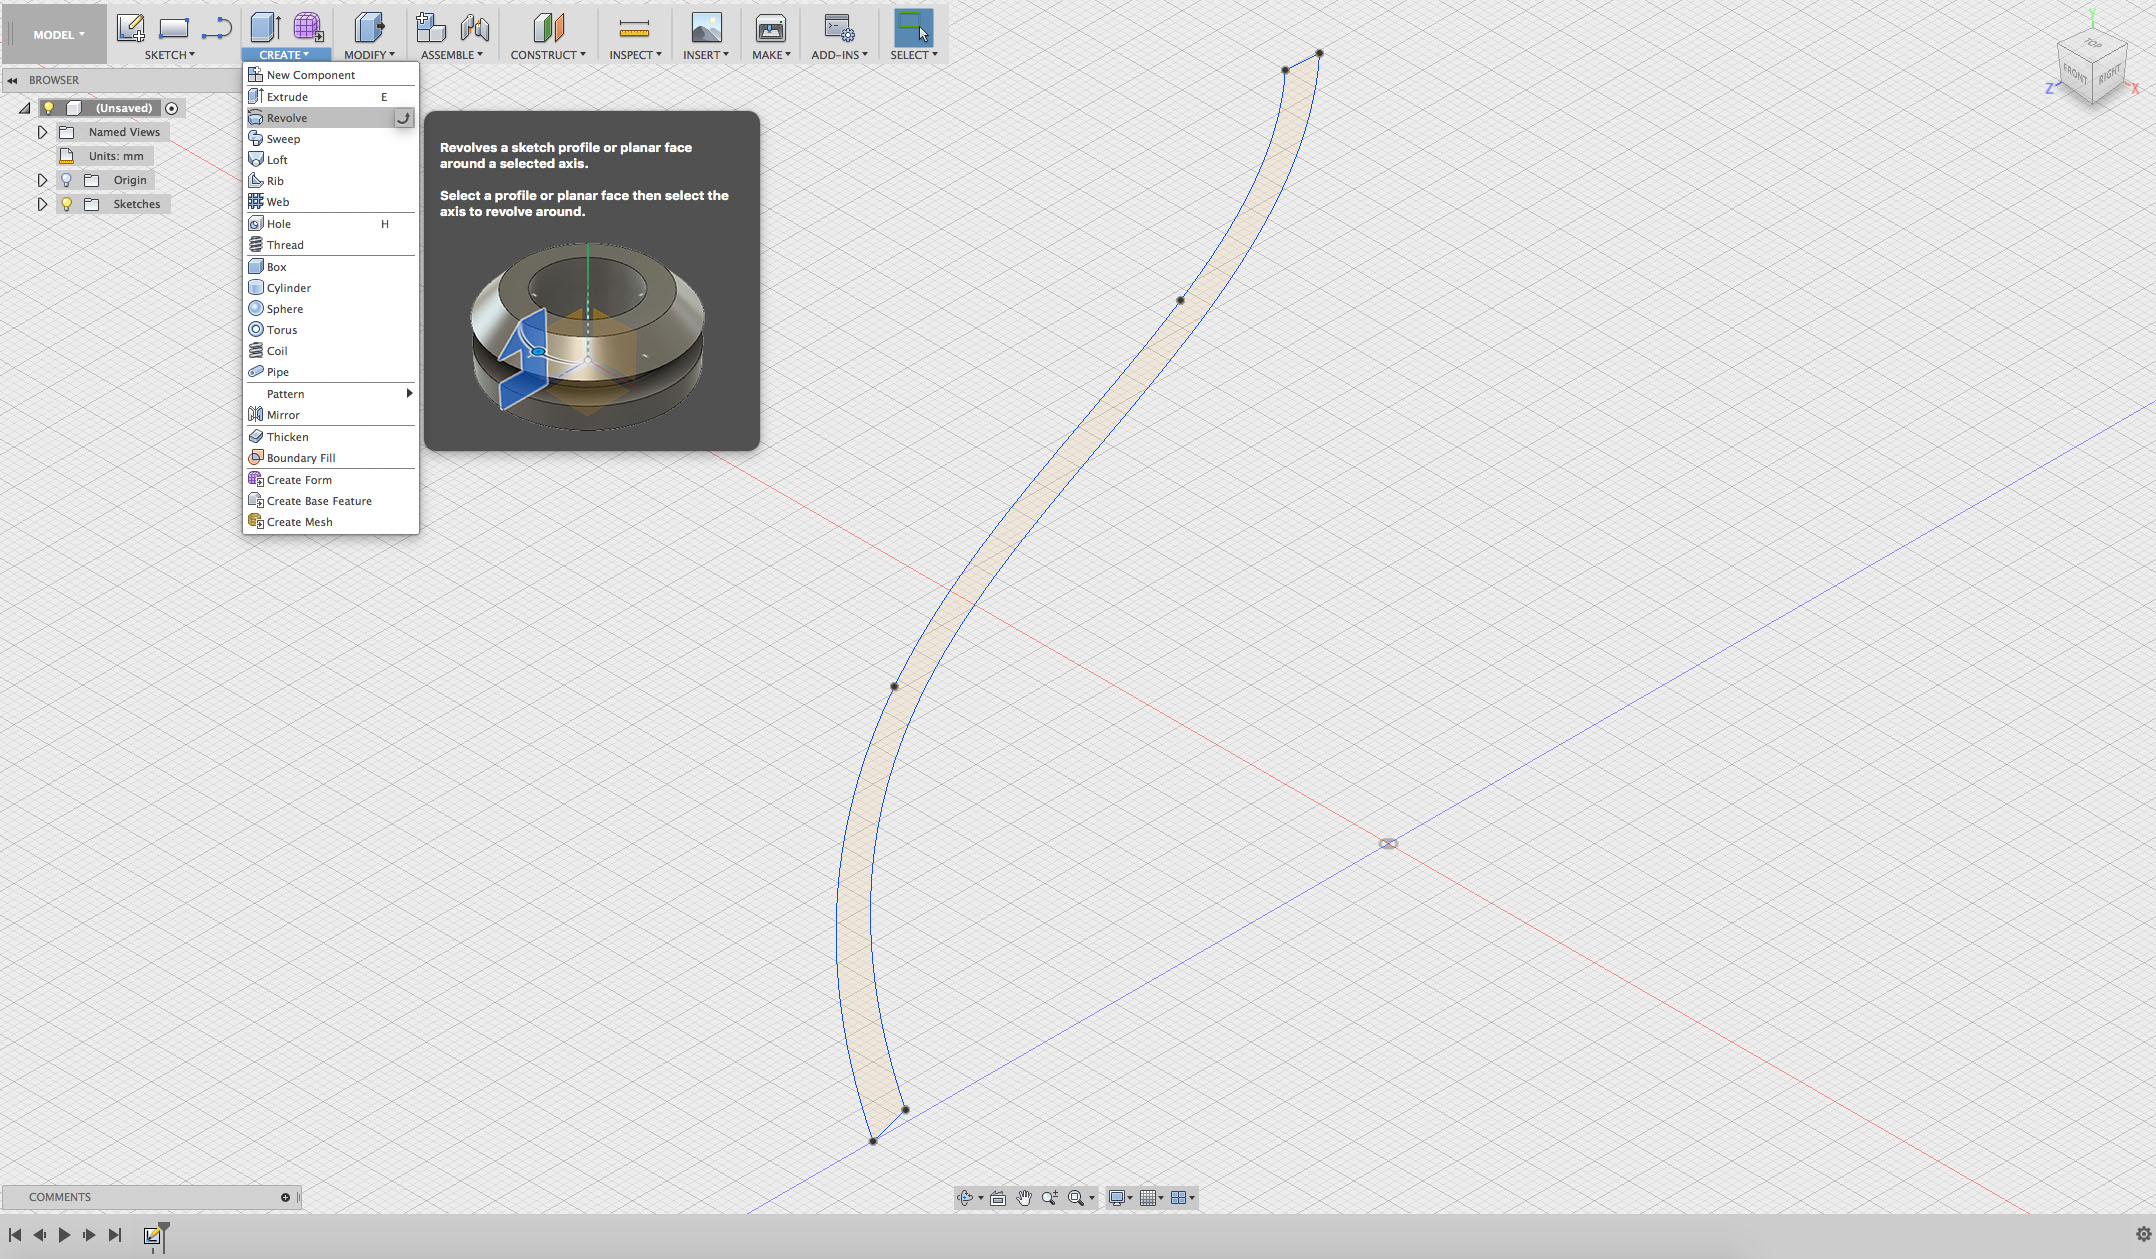
Revolve the profile you’ve just created.
Click on the CREATE menu and select Revolve.
Step 9
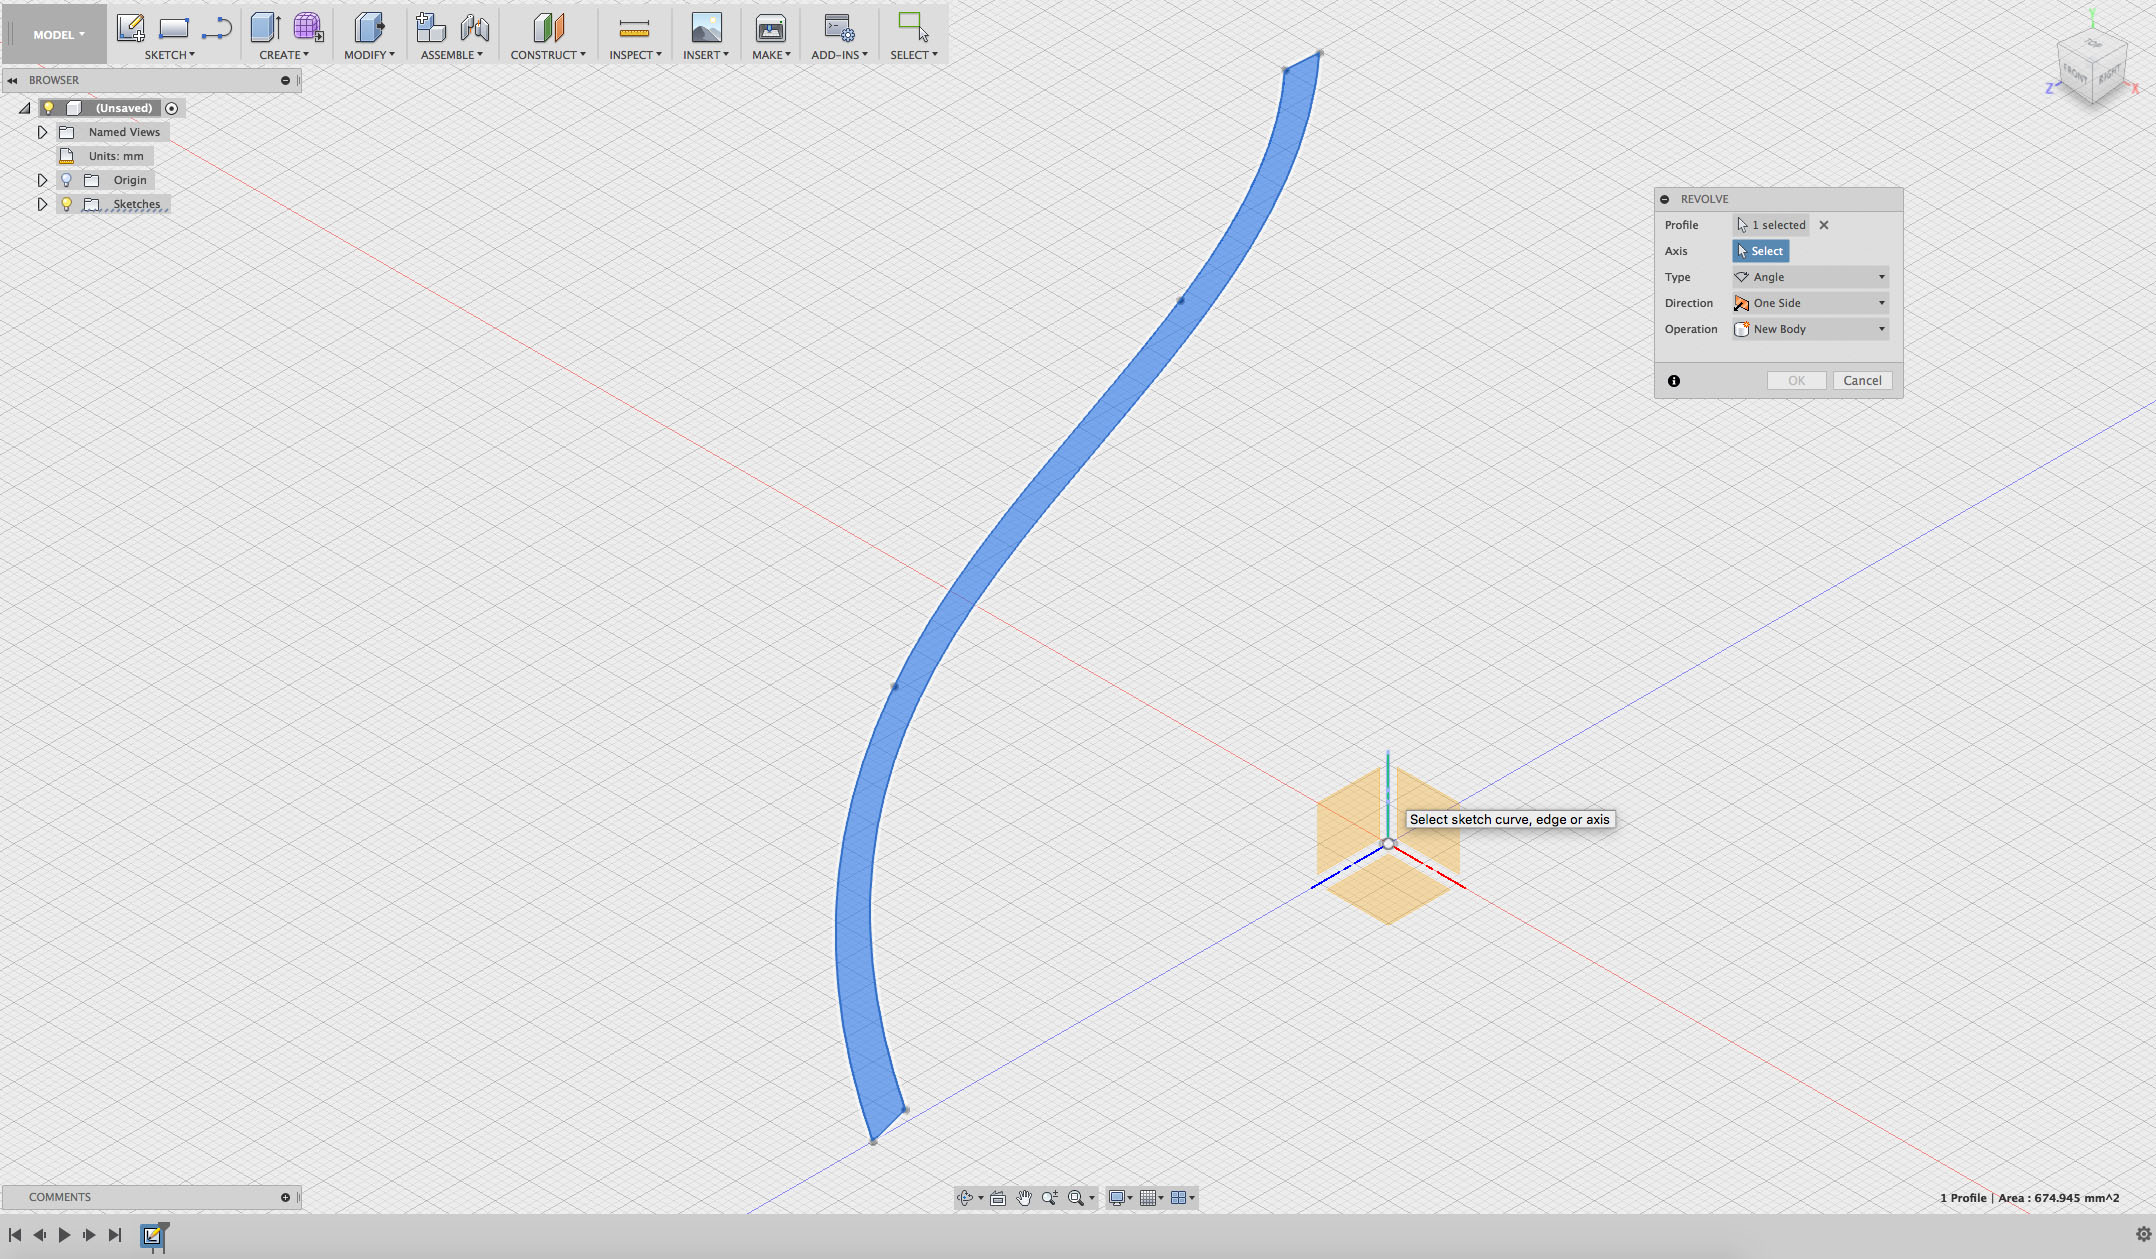
Select your Profile and the green axis to revolve the shape around.
Step 10
Now you have the basic revolved shape of your lampshade!
