Course navigation
Create a Circular Pattern
Step 1
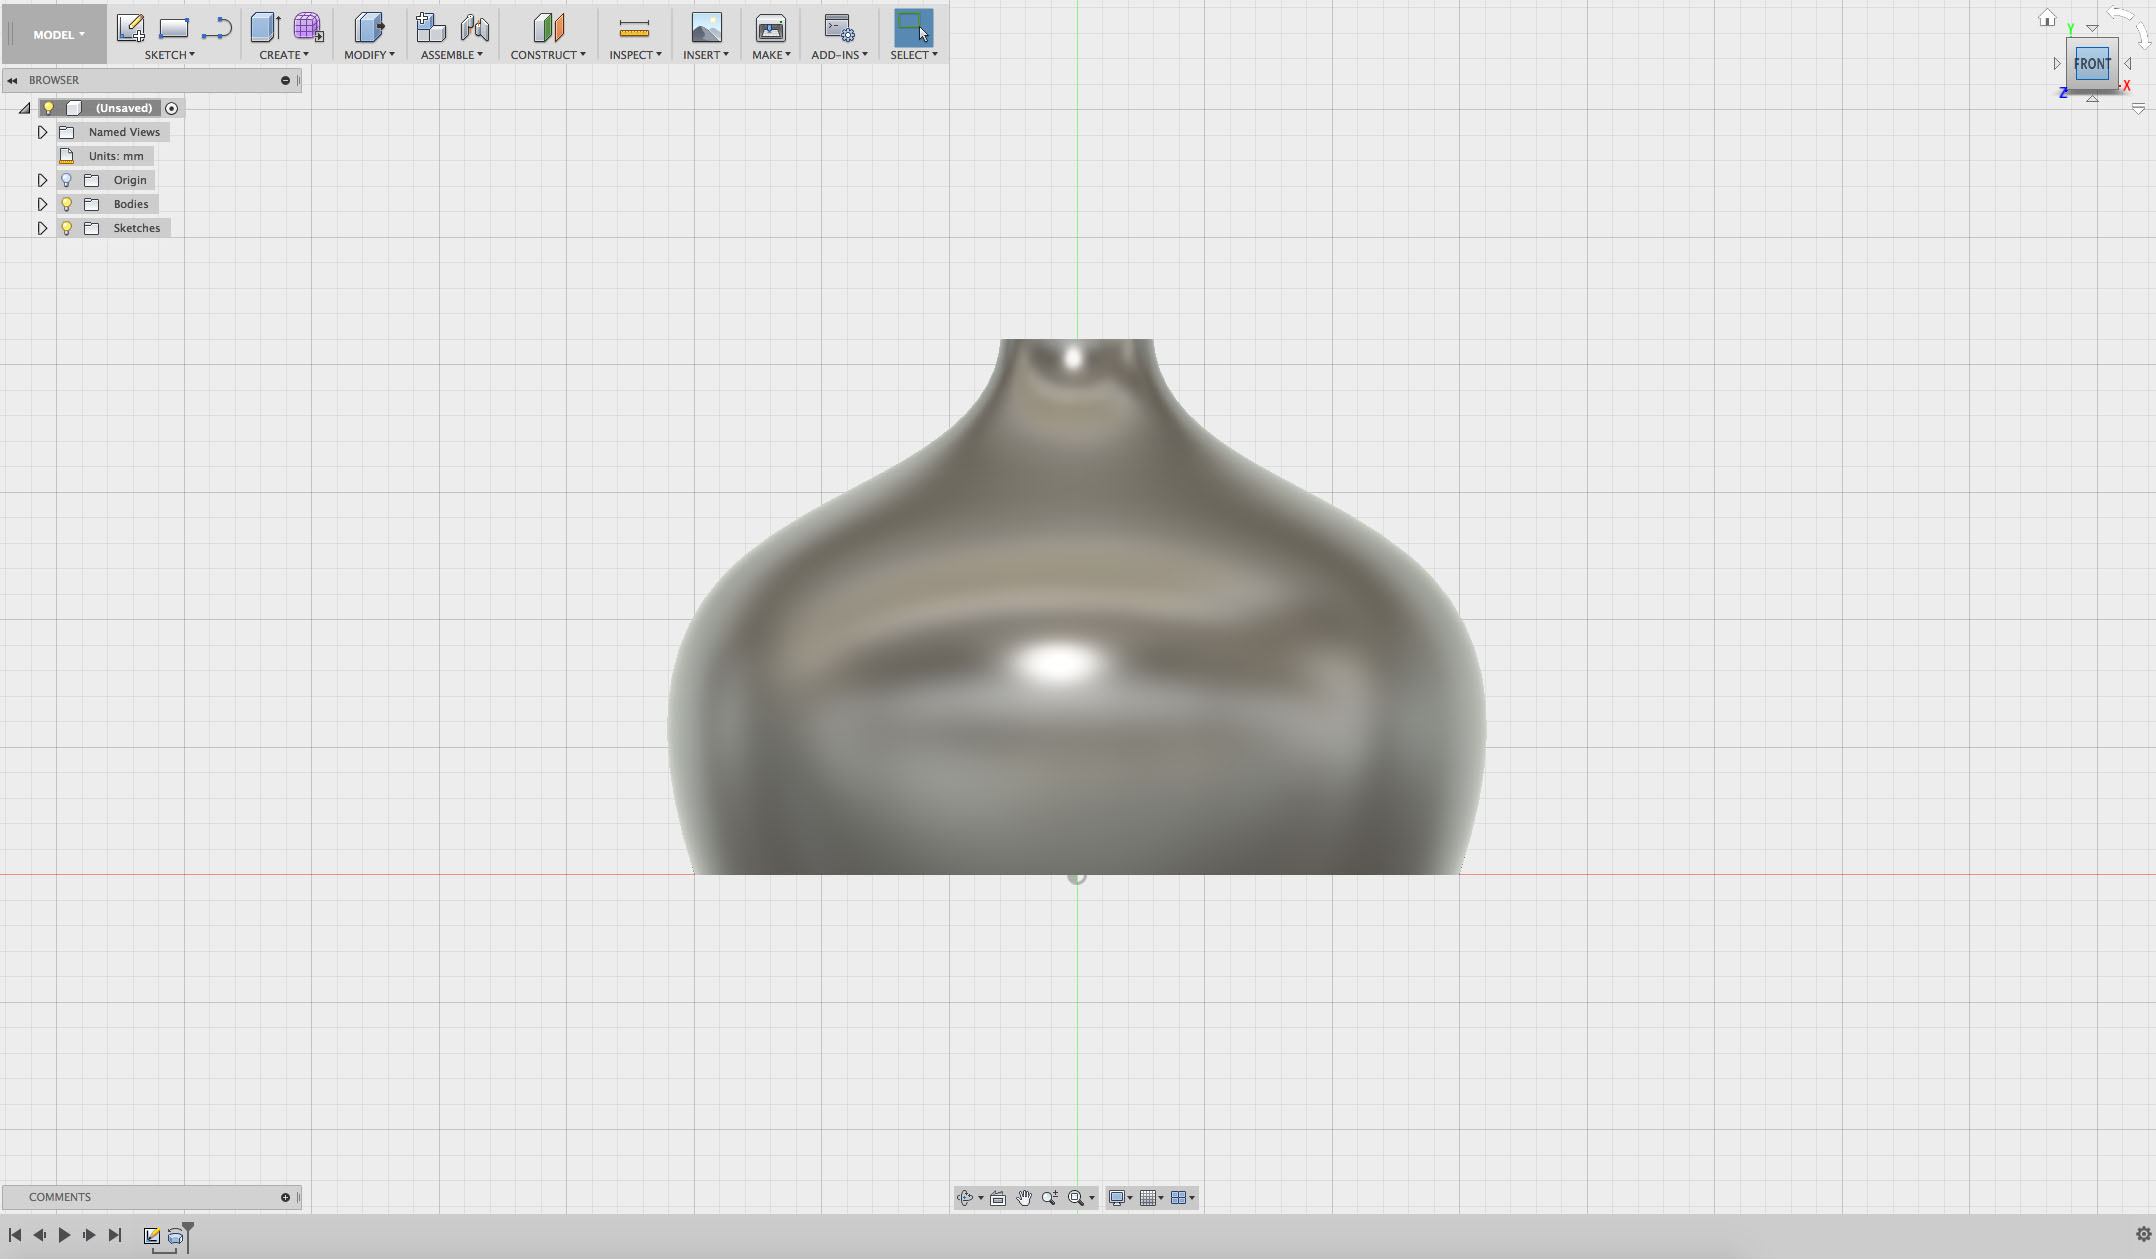
Create a new sketch on a vertical plane against your revolve.
Use the right-hand cube to rotate your shape until you are looking at it in the Front view.
Step 2
Start a new sketch and select the Right Vertical plane. Select the Line tool and create a closed shape that cuts across your revolved shape.
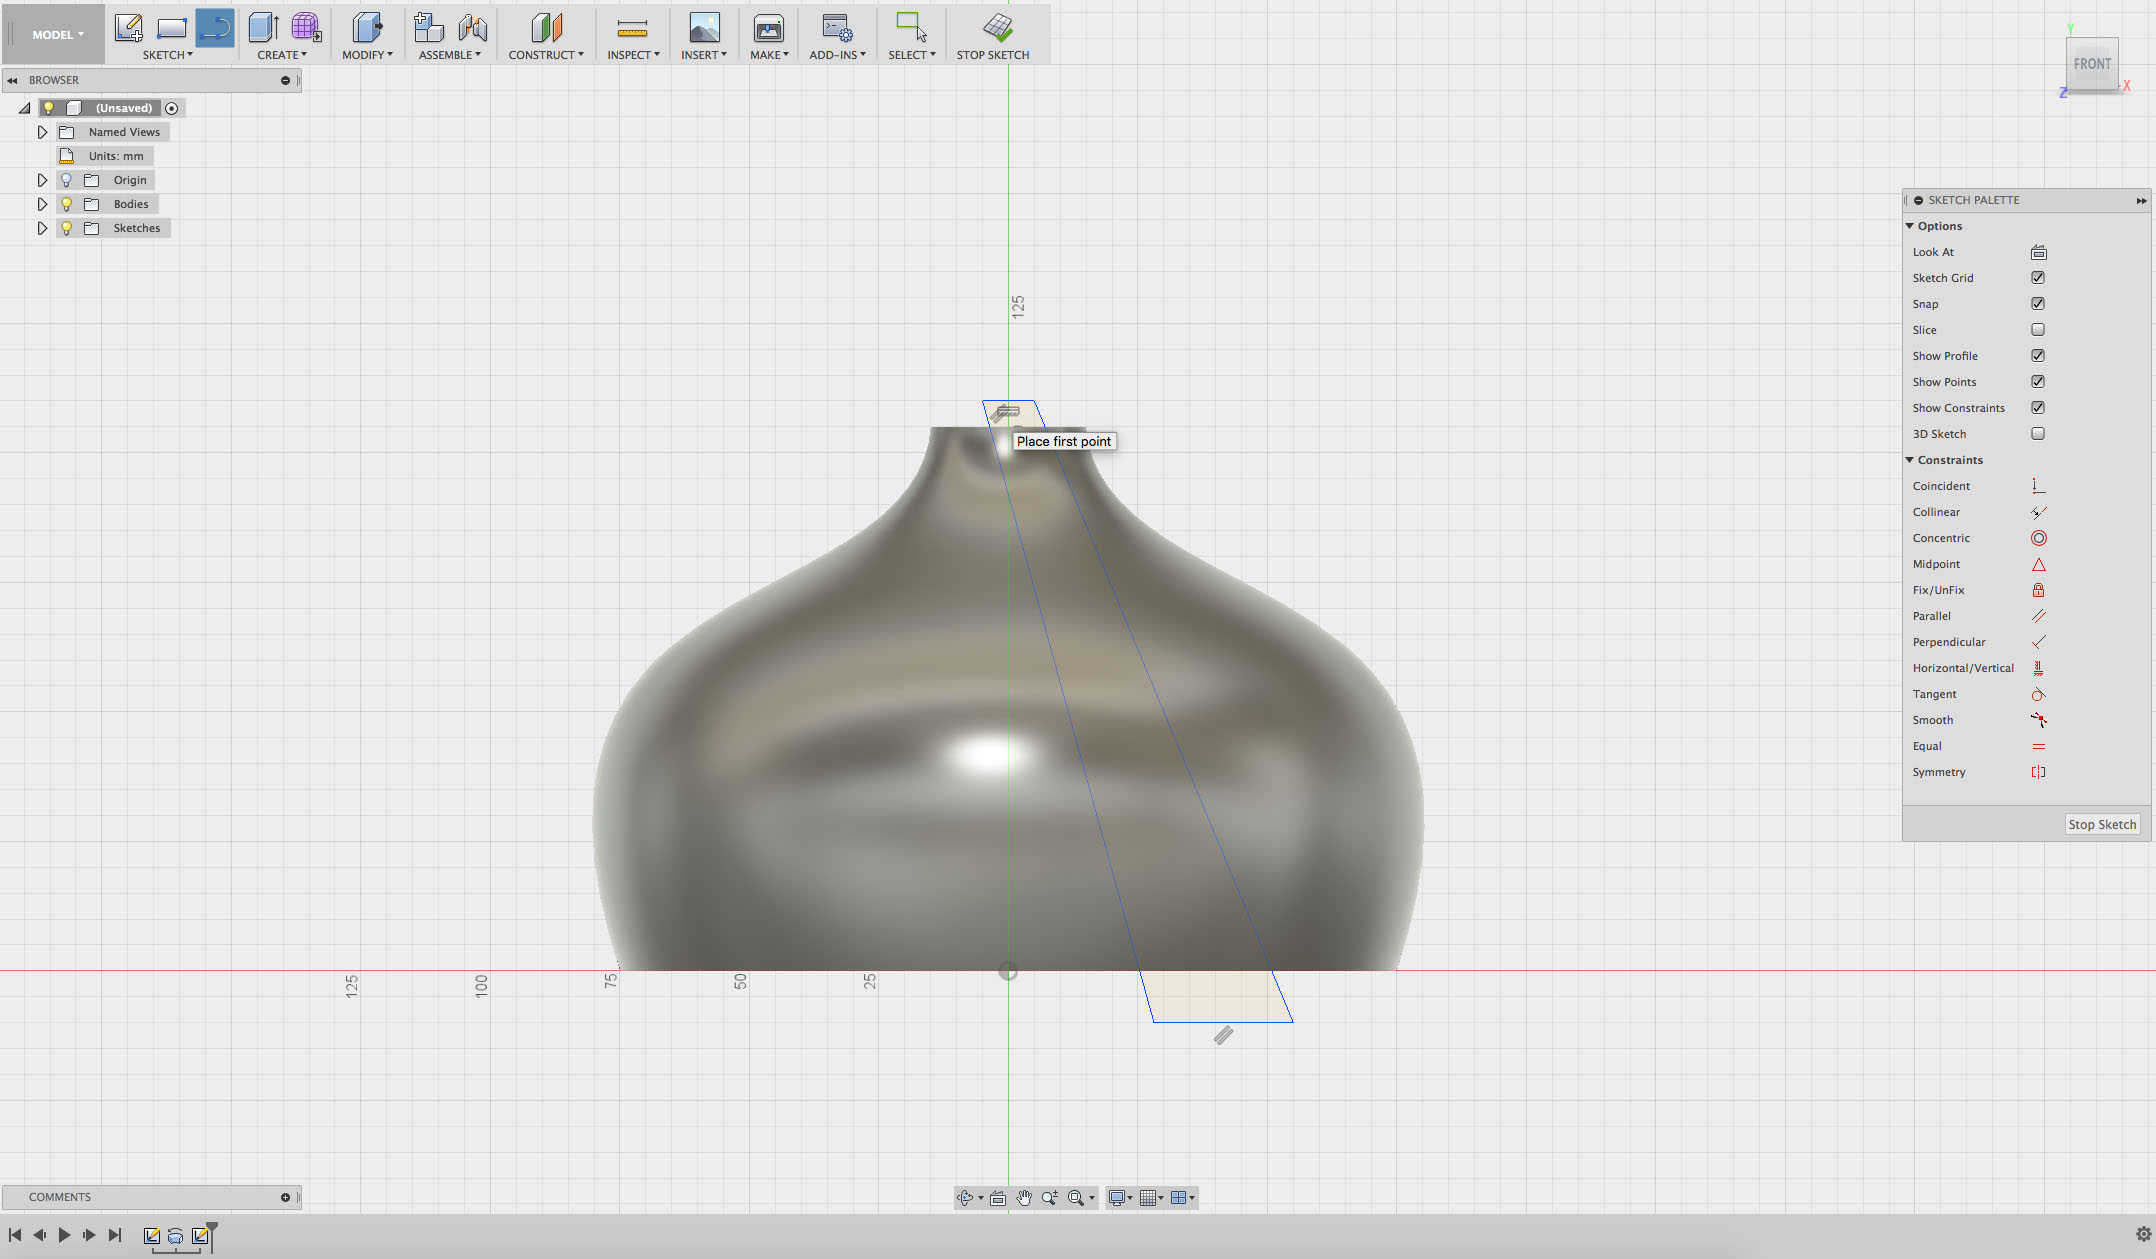
Click STOP SKETCH or FINISH SKETCH.
Step 3
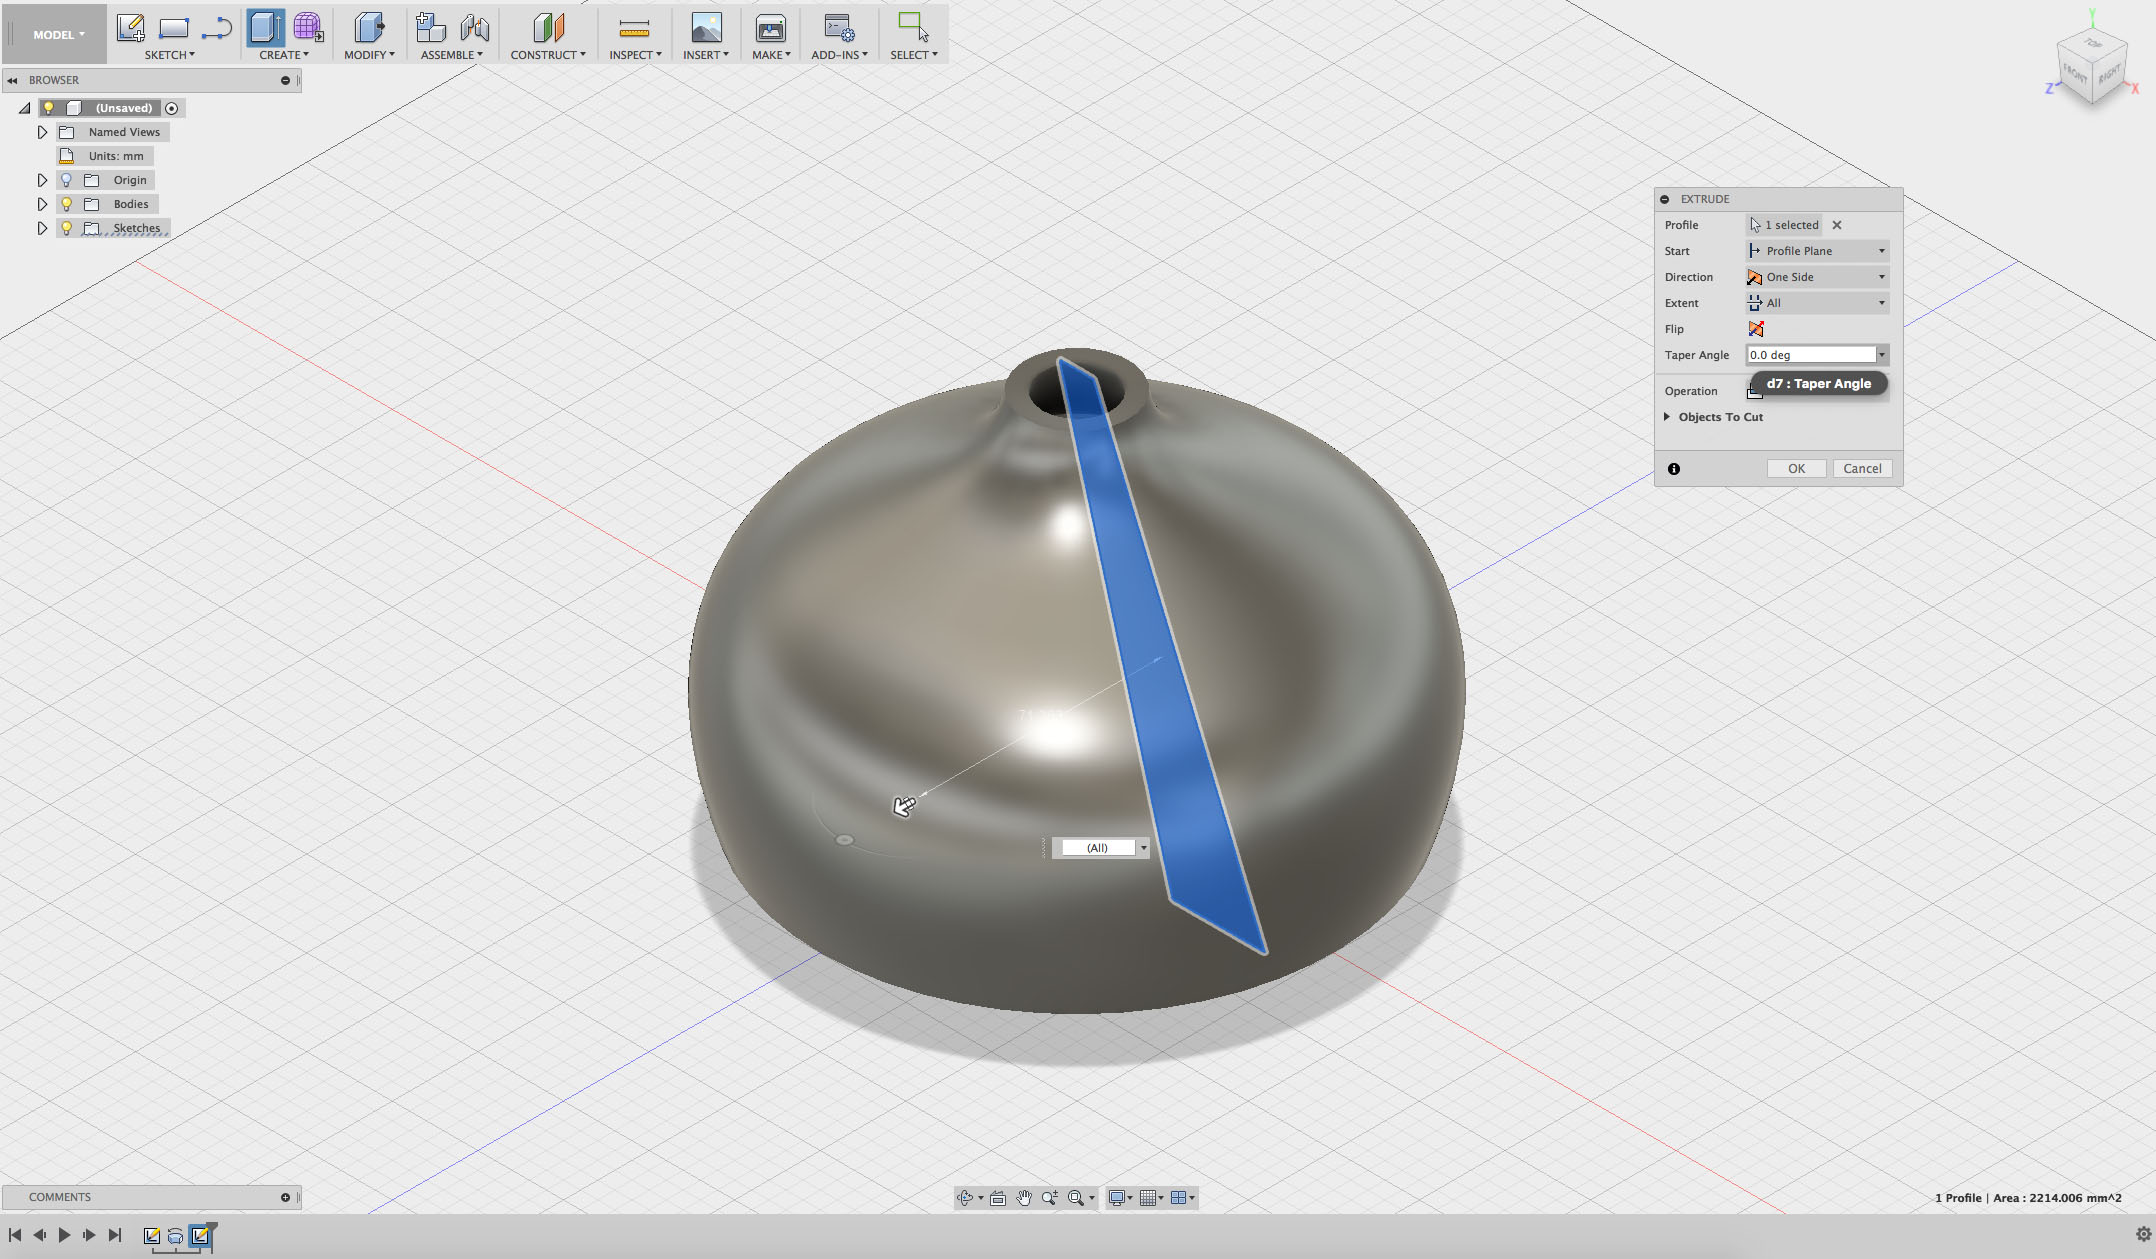
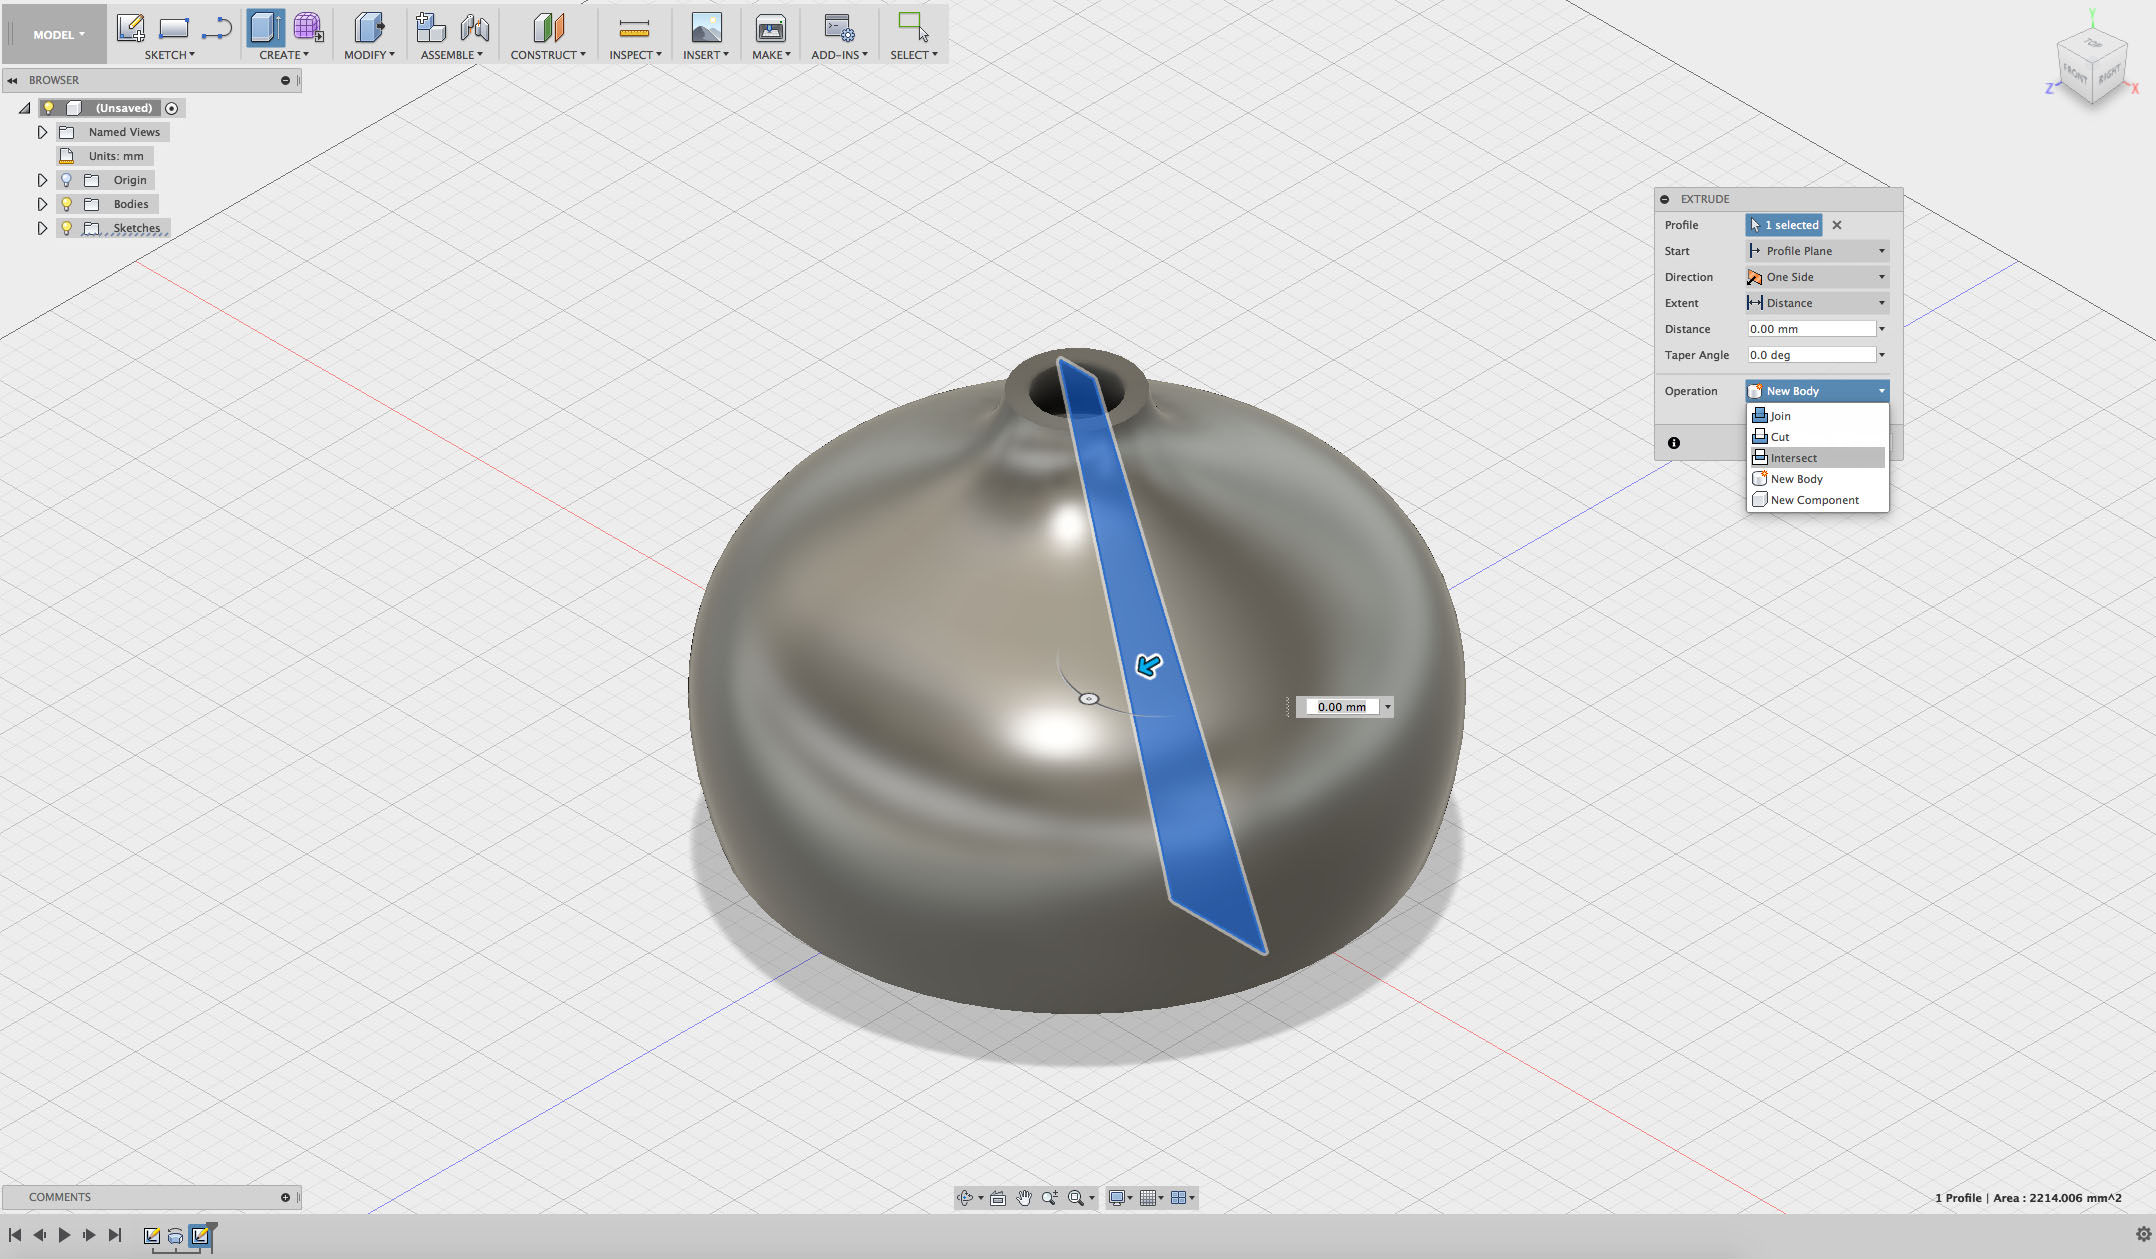
In the CREATE menu, select Extrude and select the profile of your new shape.
Step 4
In the Extrude dialogue box, change the operation to Intersect then select All in the Extent drop-down menu.
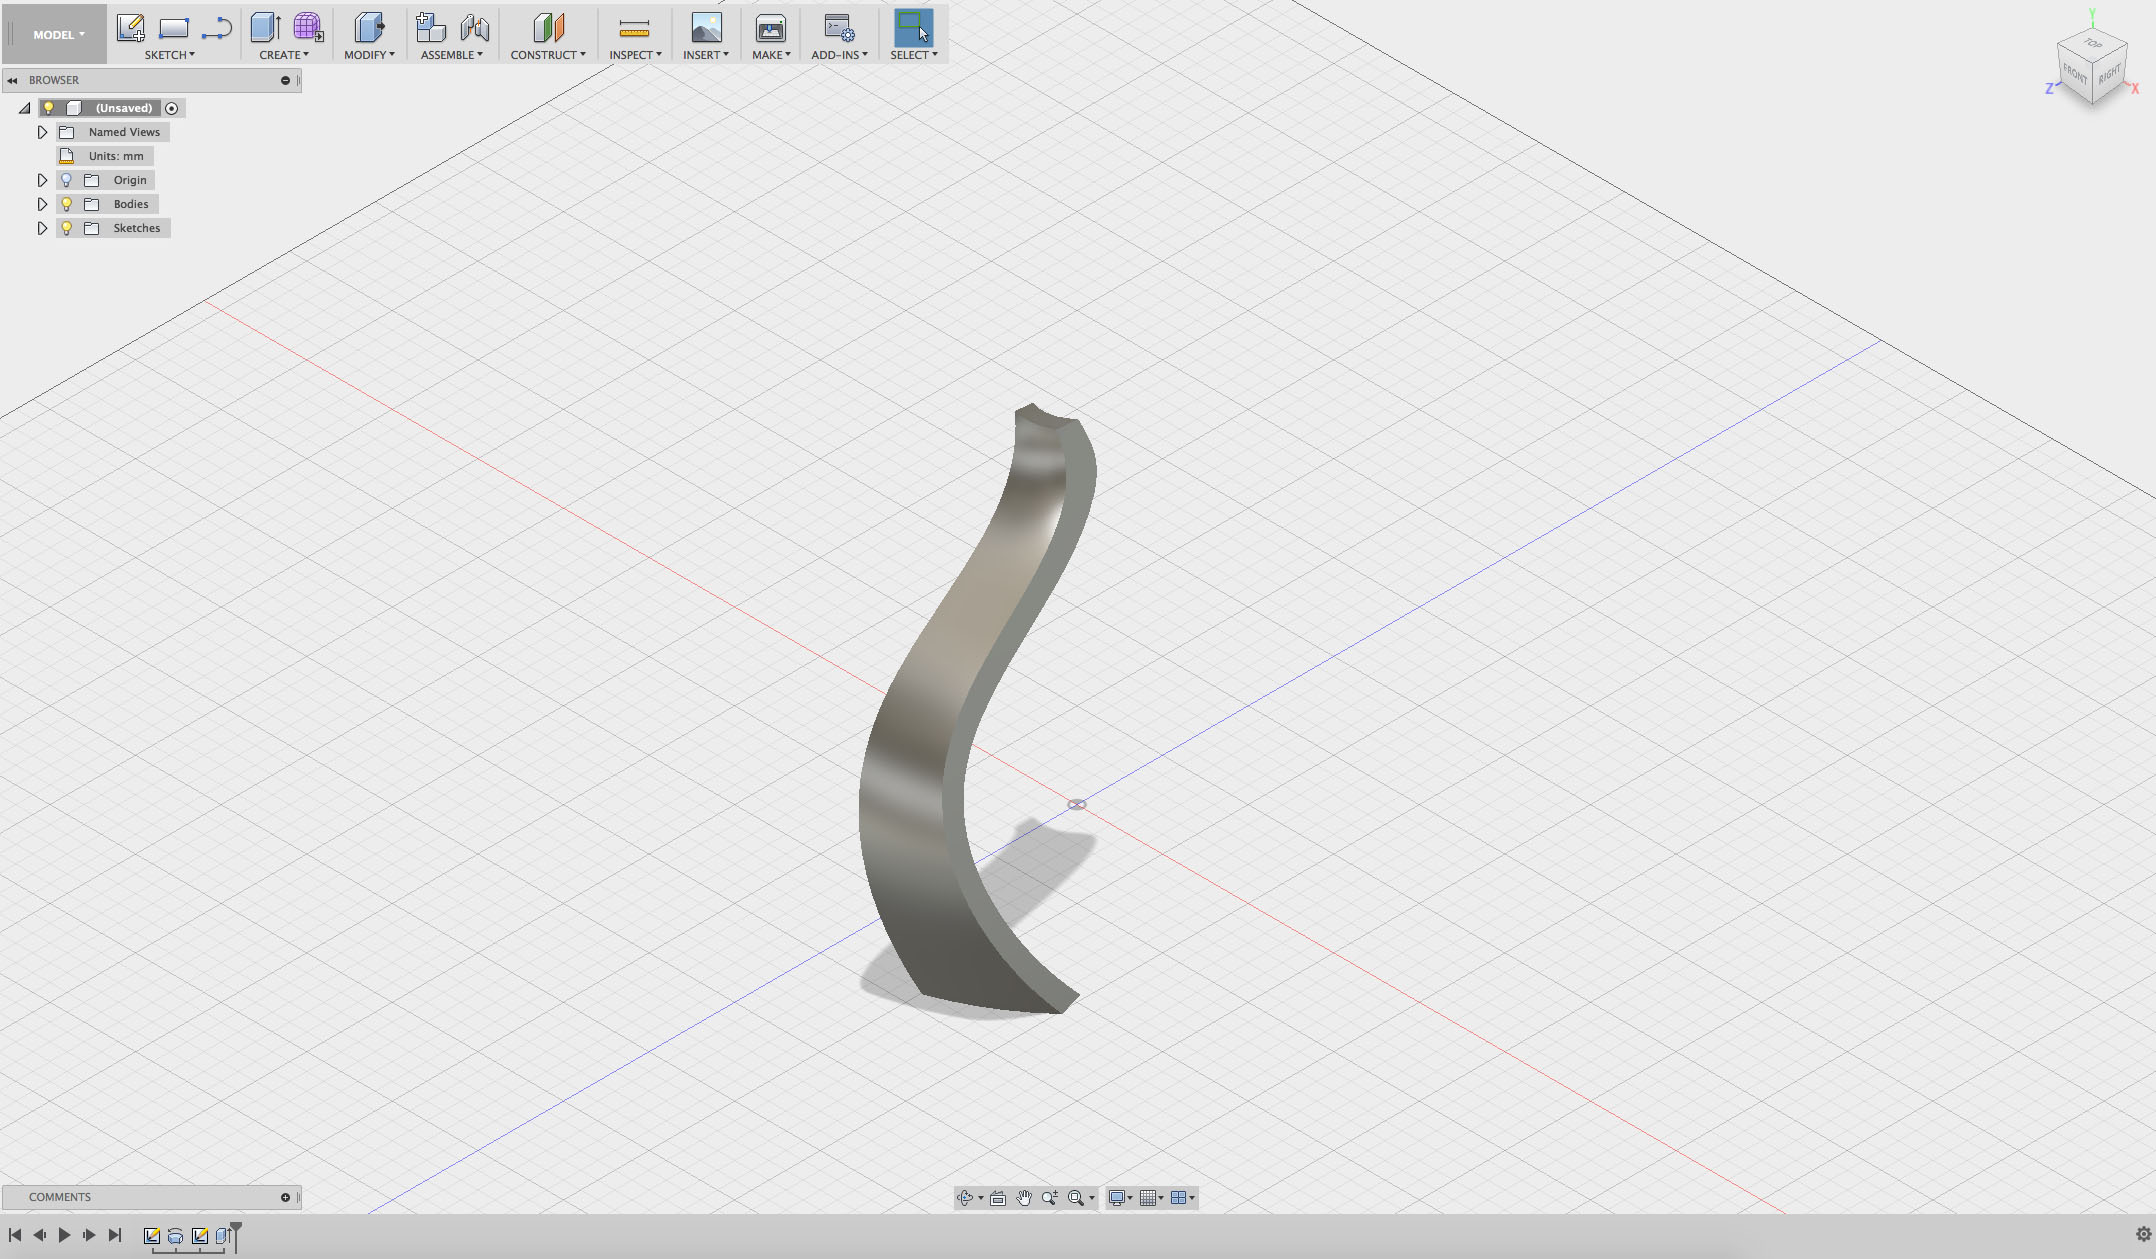
Step 5
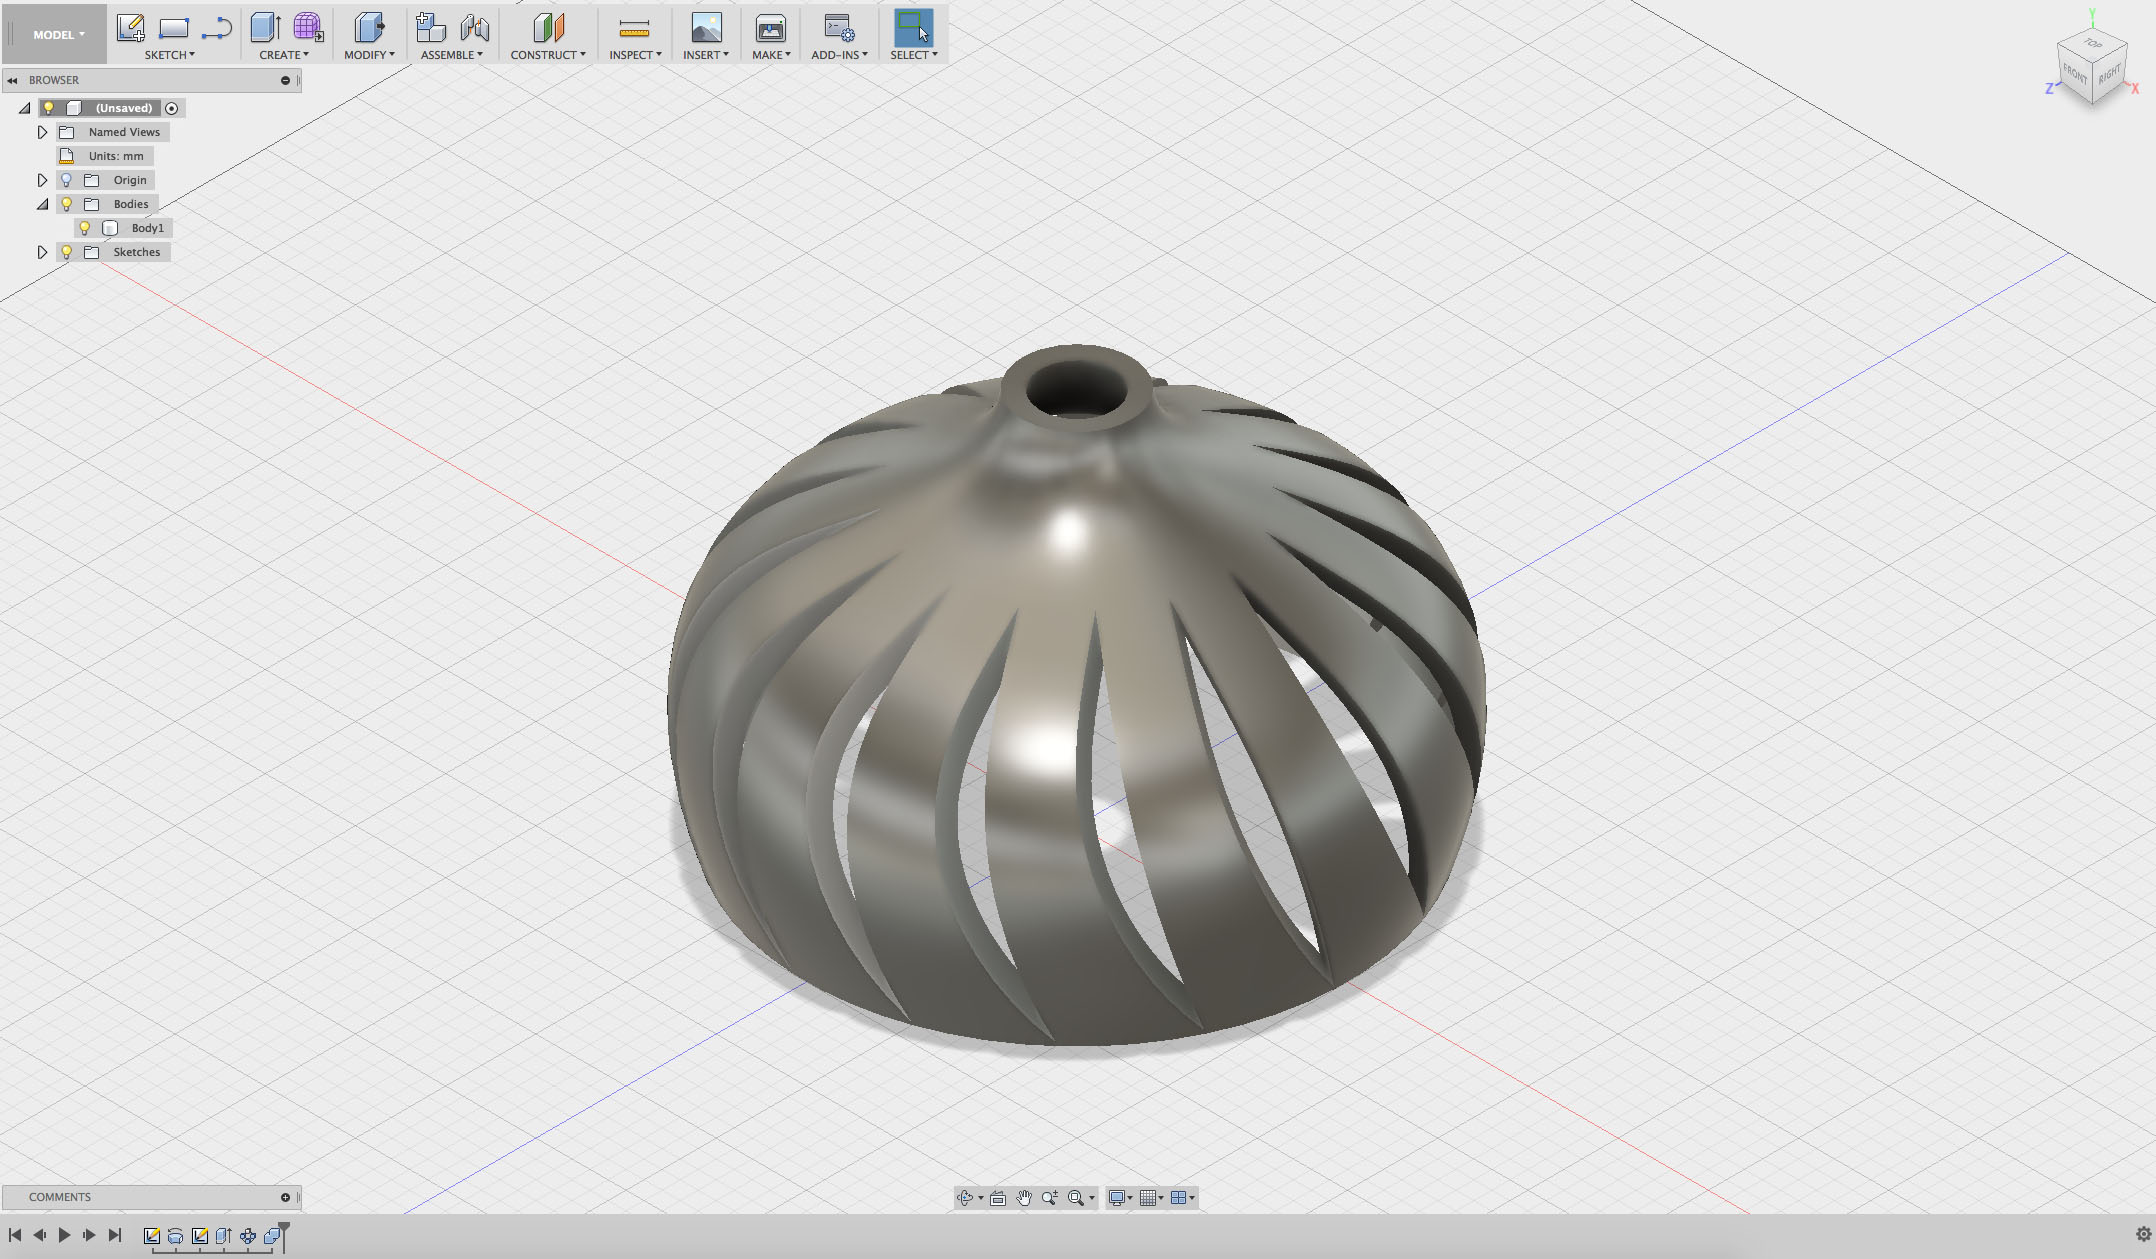
Click OK and you should be left with something like this:
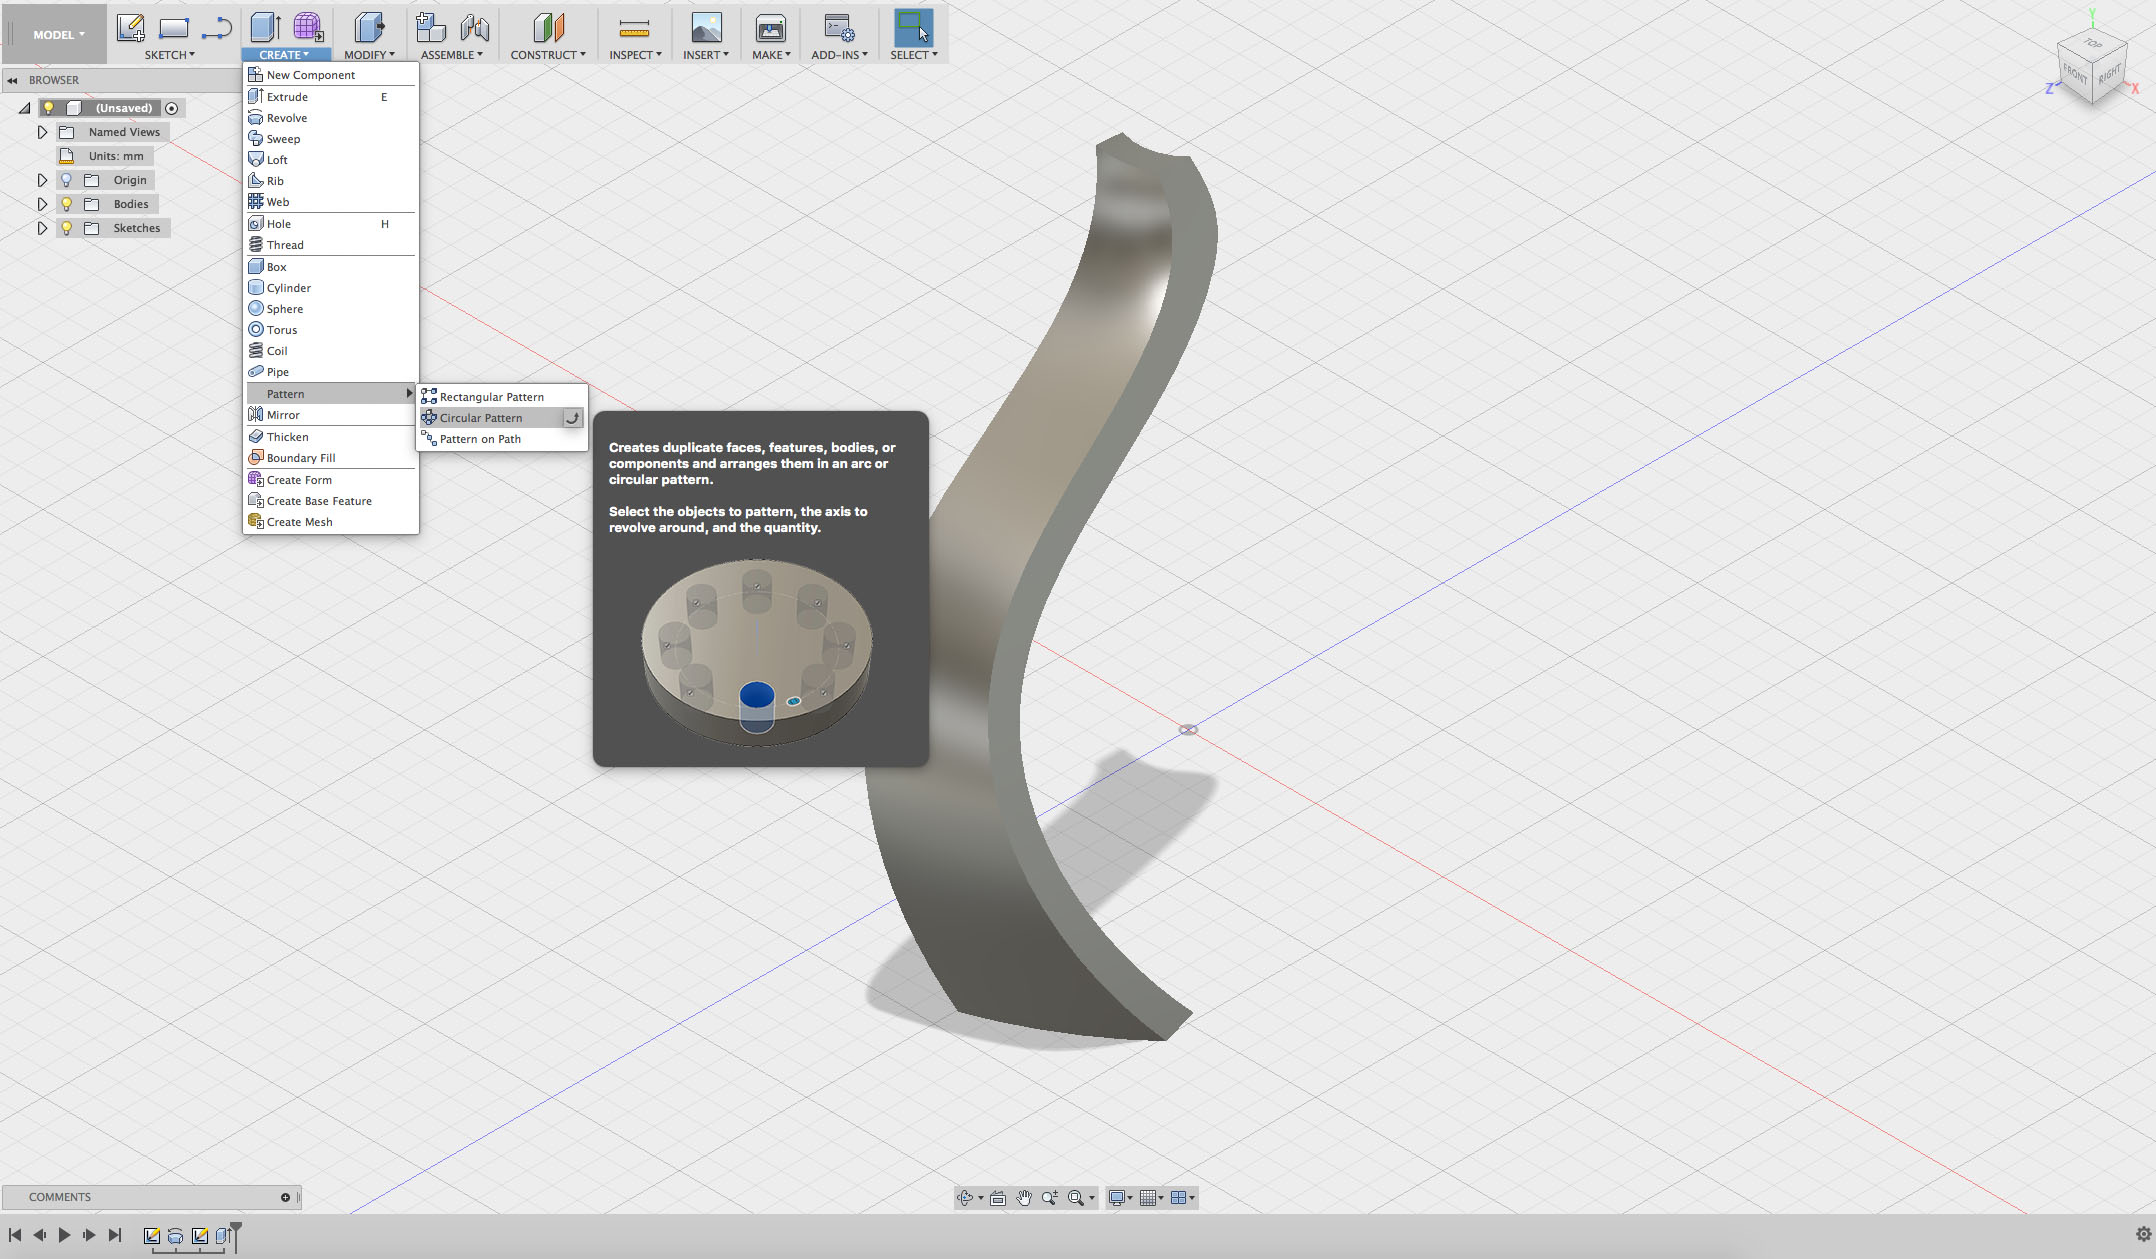
Step 6
Go to the CREATE drop-down menu and in Pattern, select the Circular Pattern tool.
Step 7
Make sure the Pattern Type is set to bodies.
Select your object and select the green axis to rotate it around.
Decide how many times you want to repeat your object.
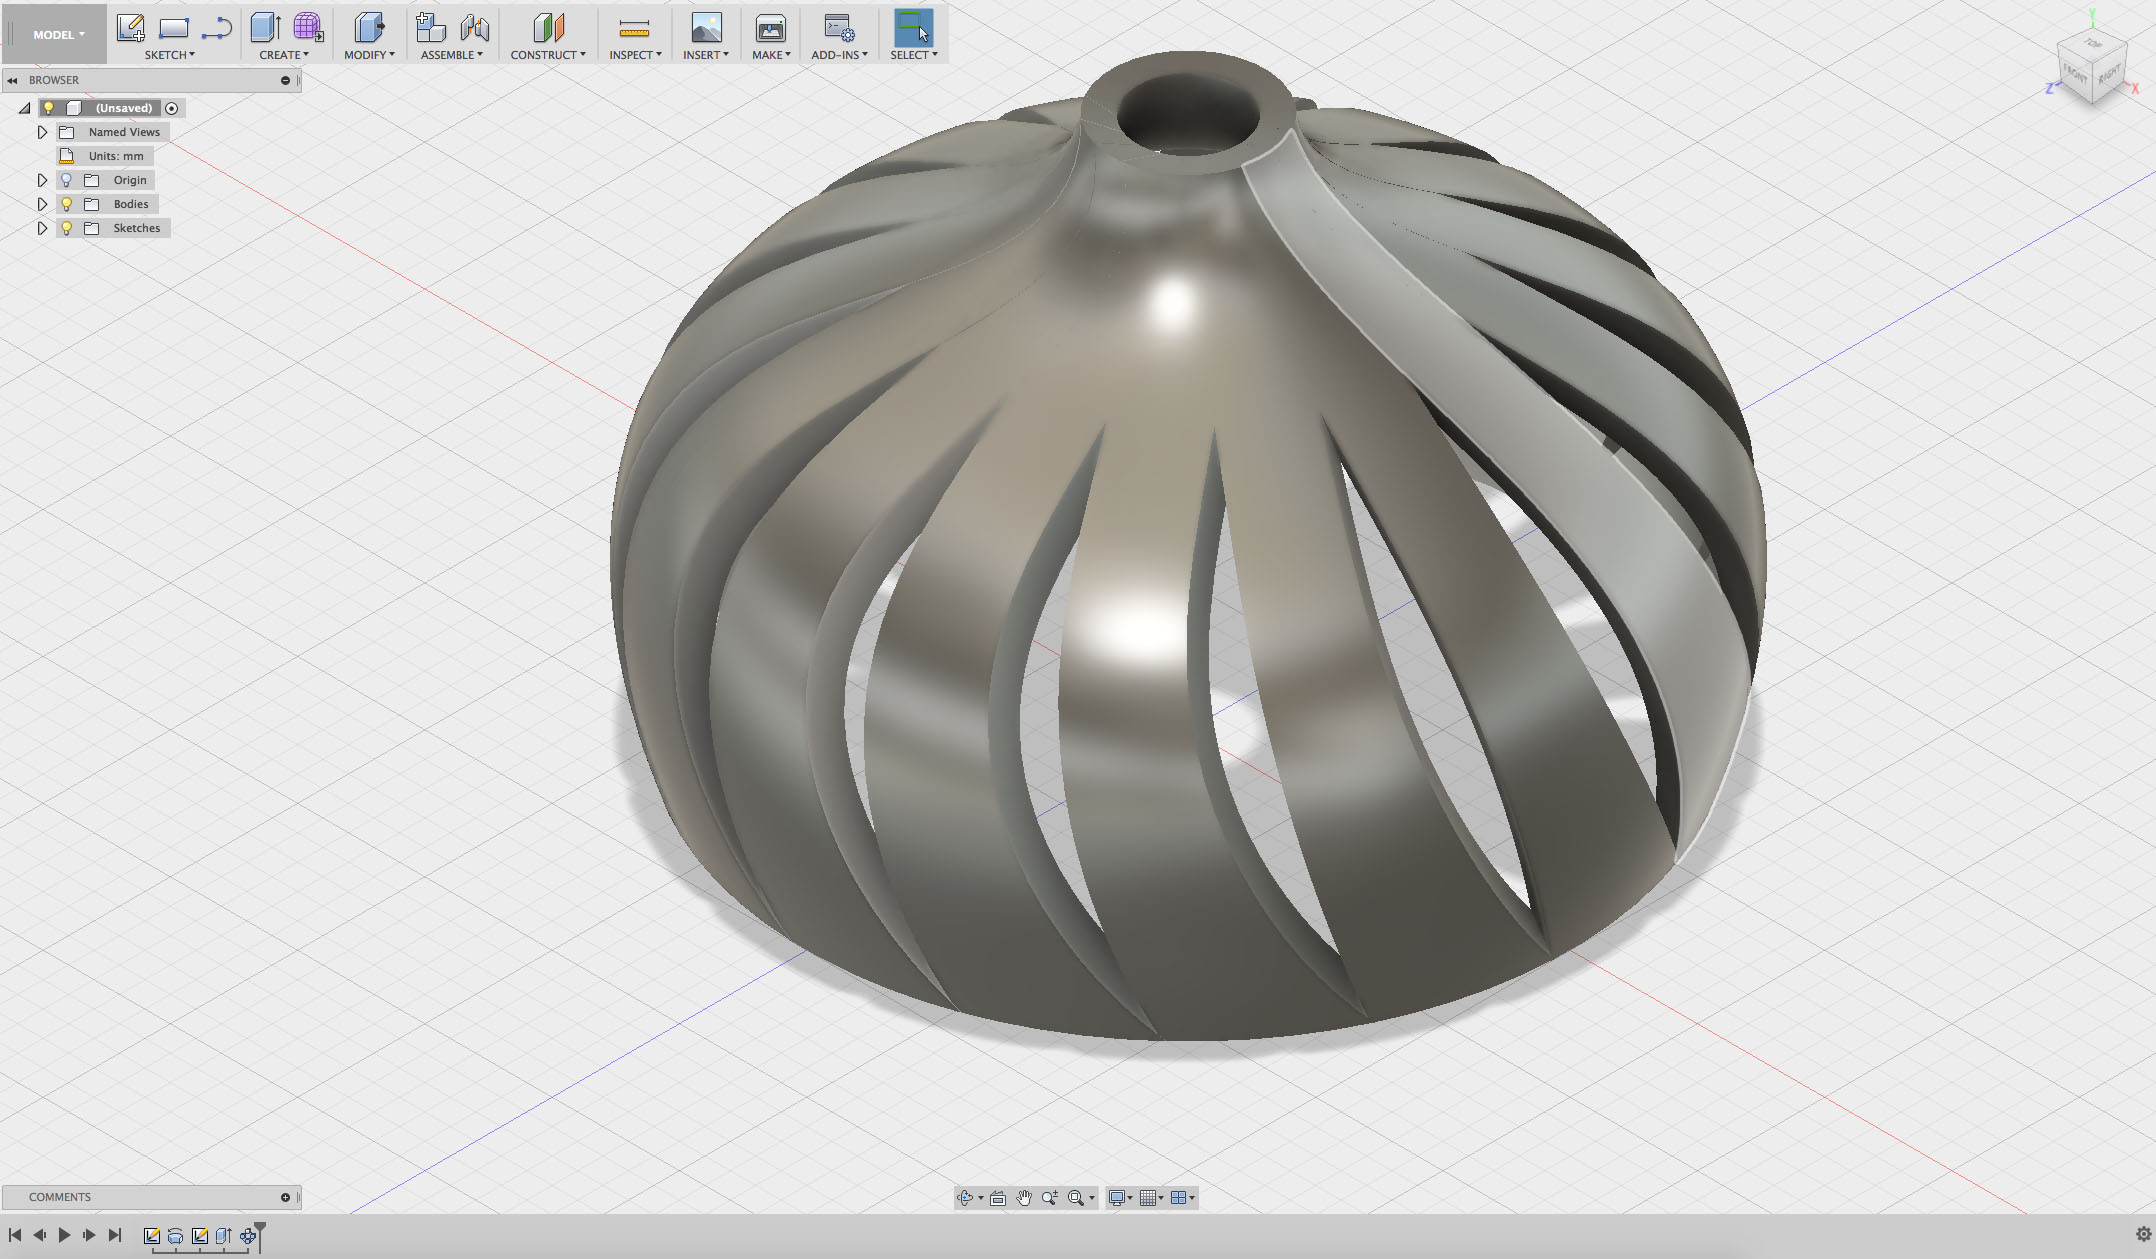
(Hint: the more repetitions you have of your object, the closer they get together and start to overlap.)
Step 8
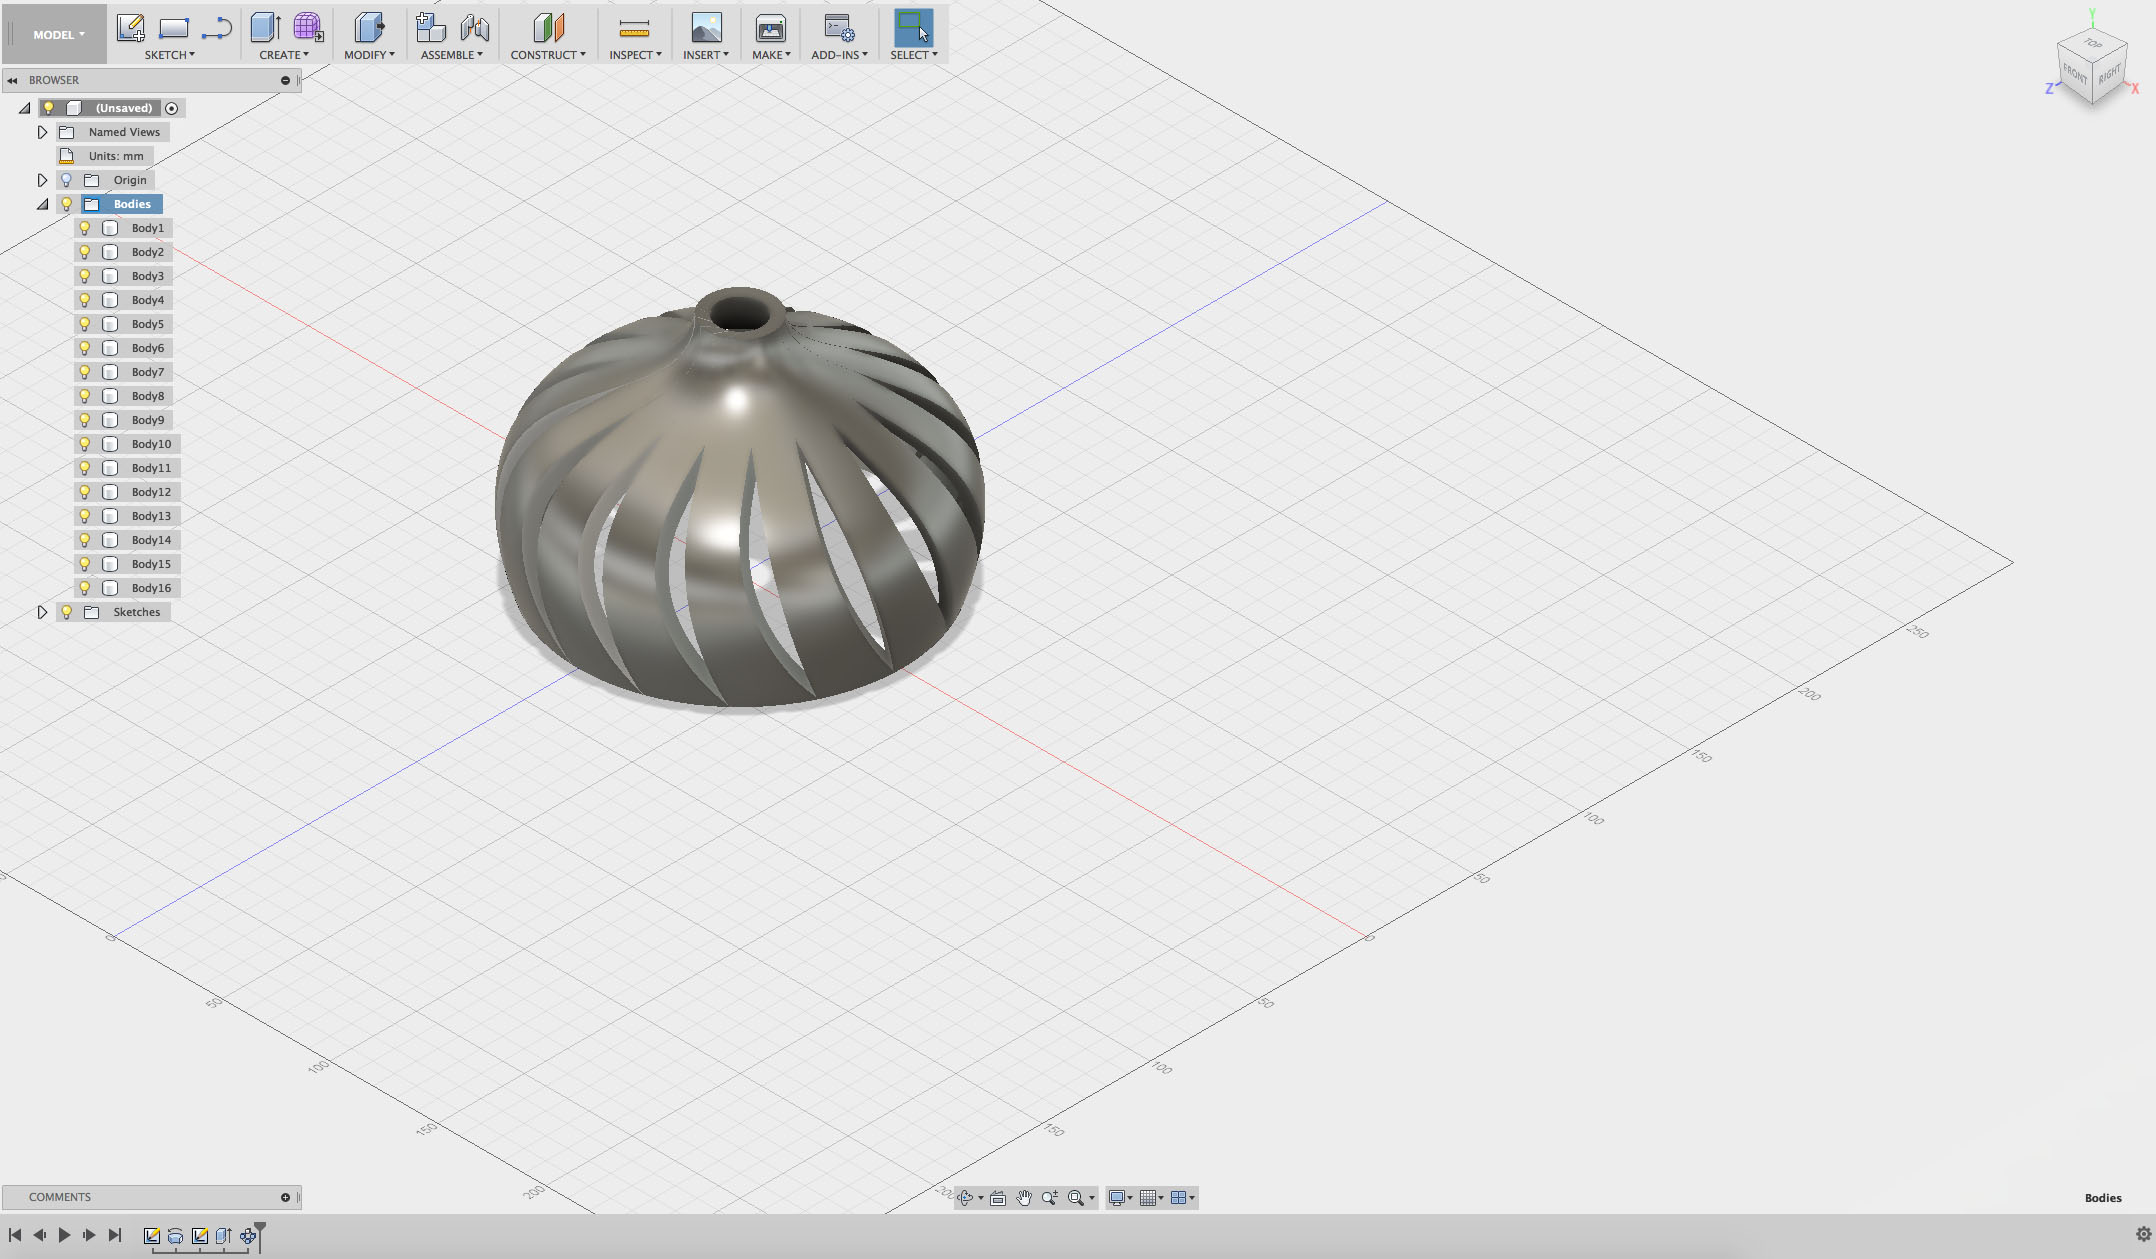
For now, your shapes are all still separate bodies that are not connected.
If you want to check how many bodies you have in your work plane, you can select the drop-down menu on the left-hand side of your screen.
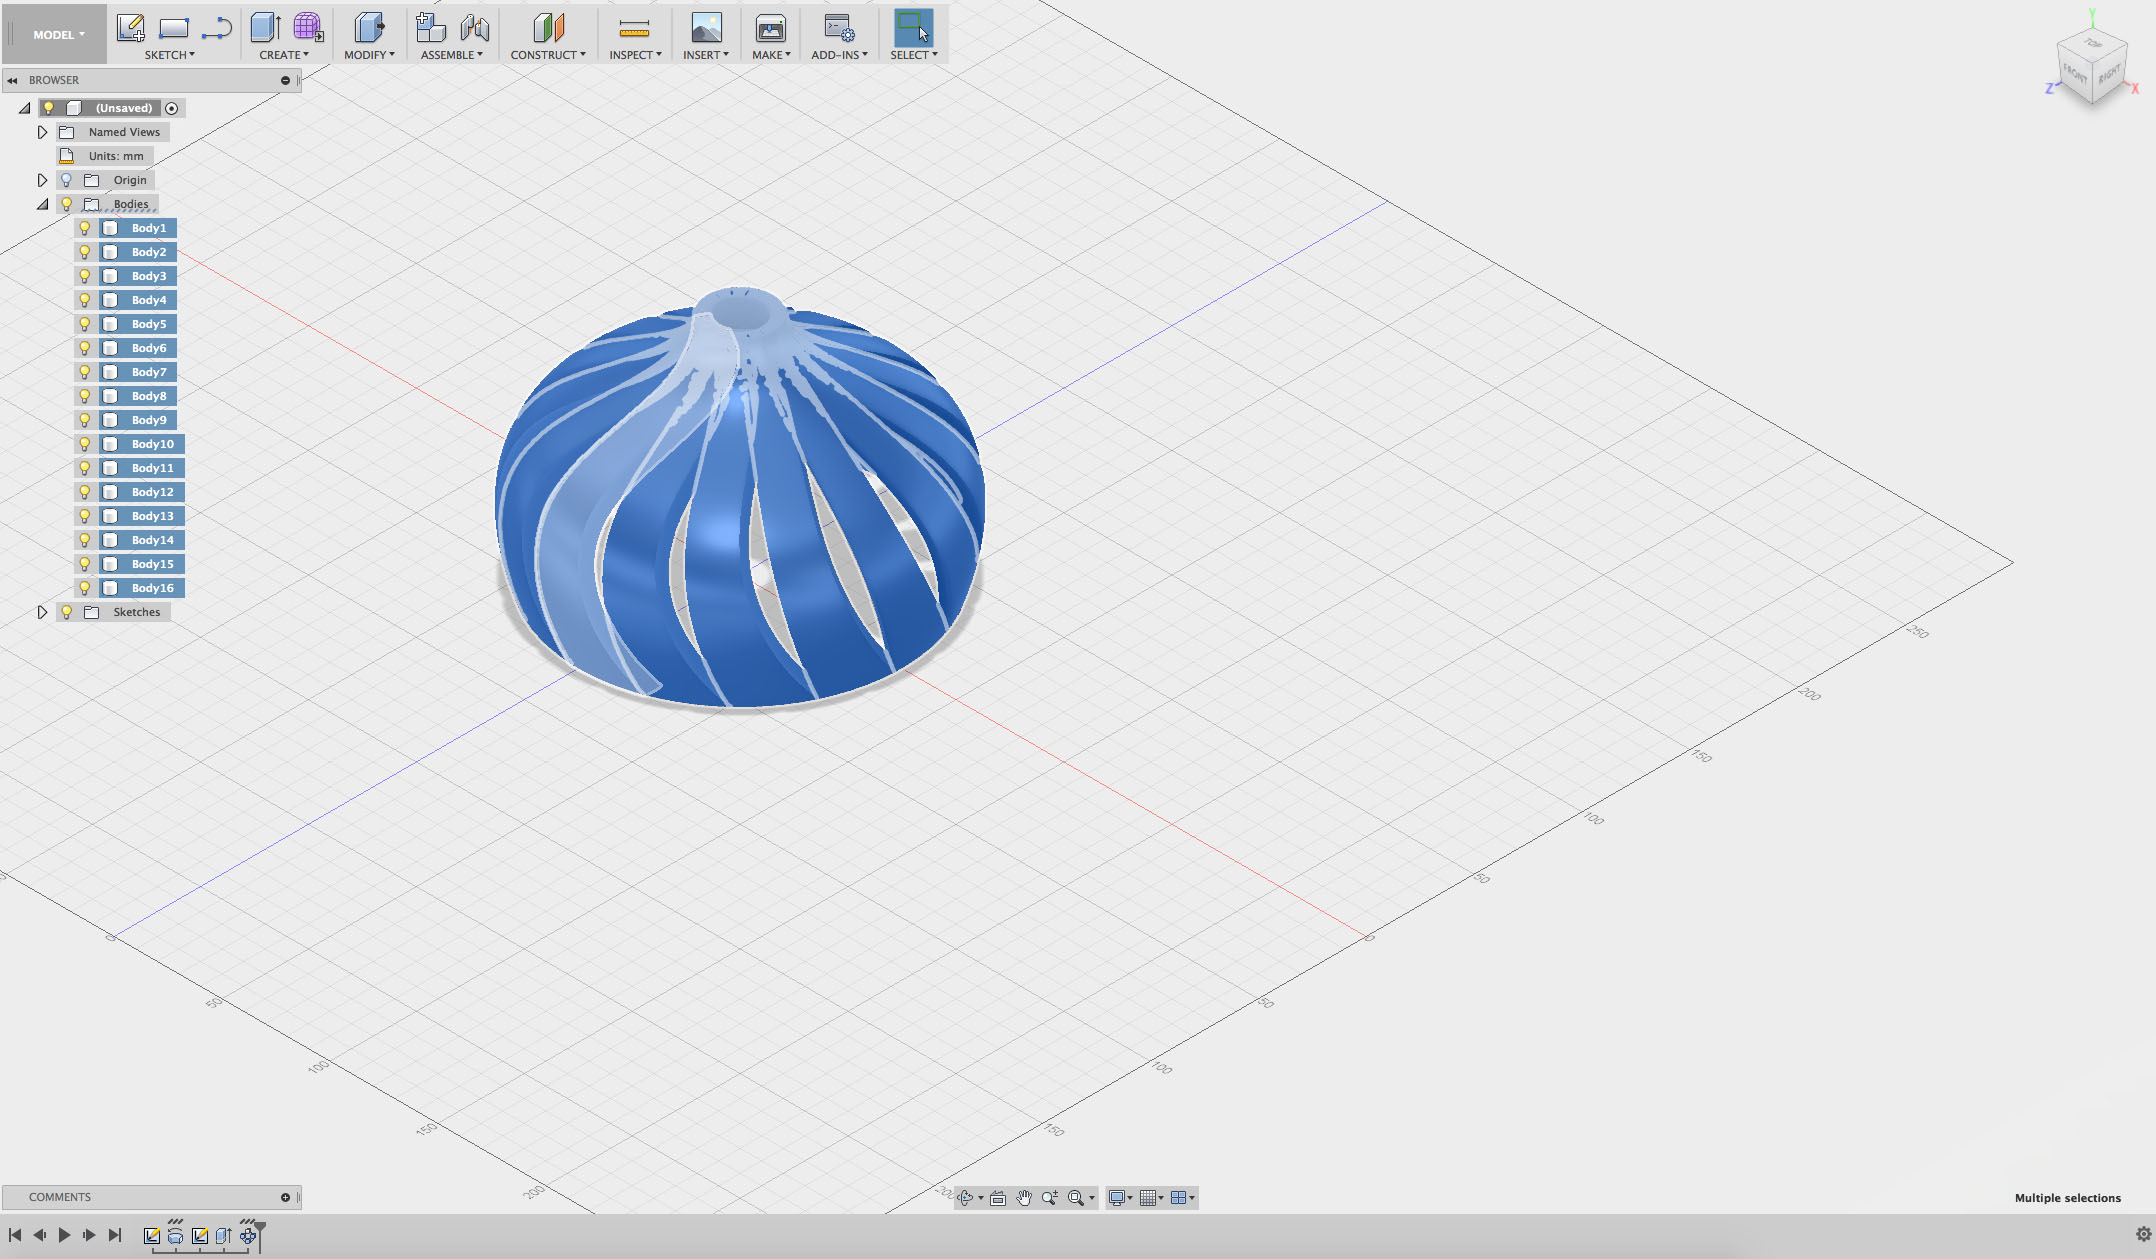
Step 9
Select all the bodies by clicking and dragging your mouse over all the shapes.
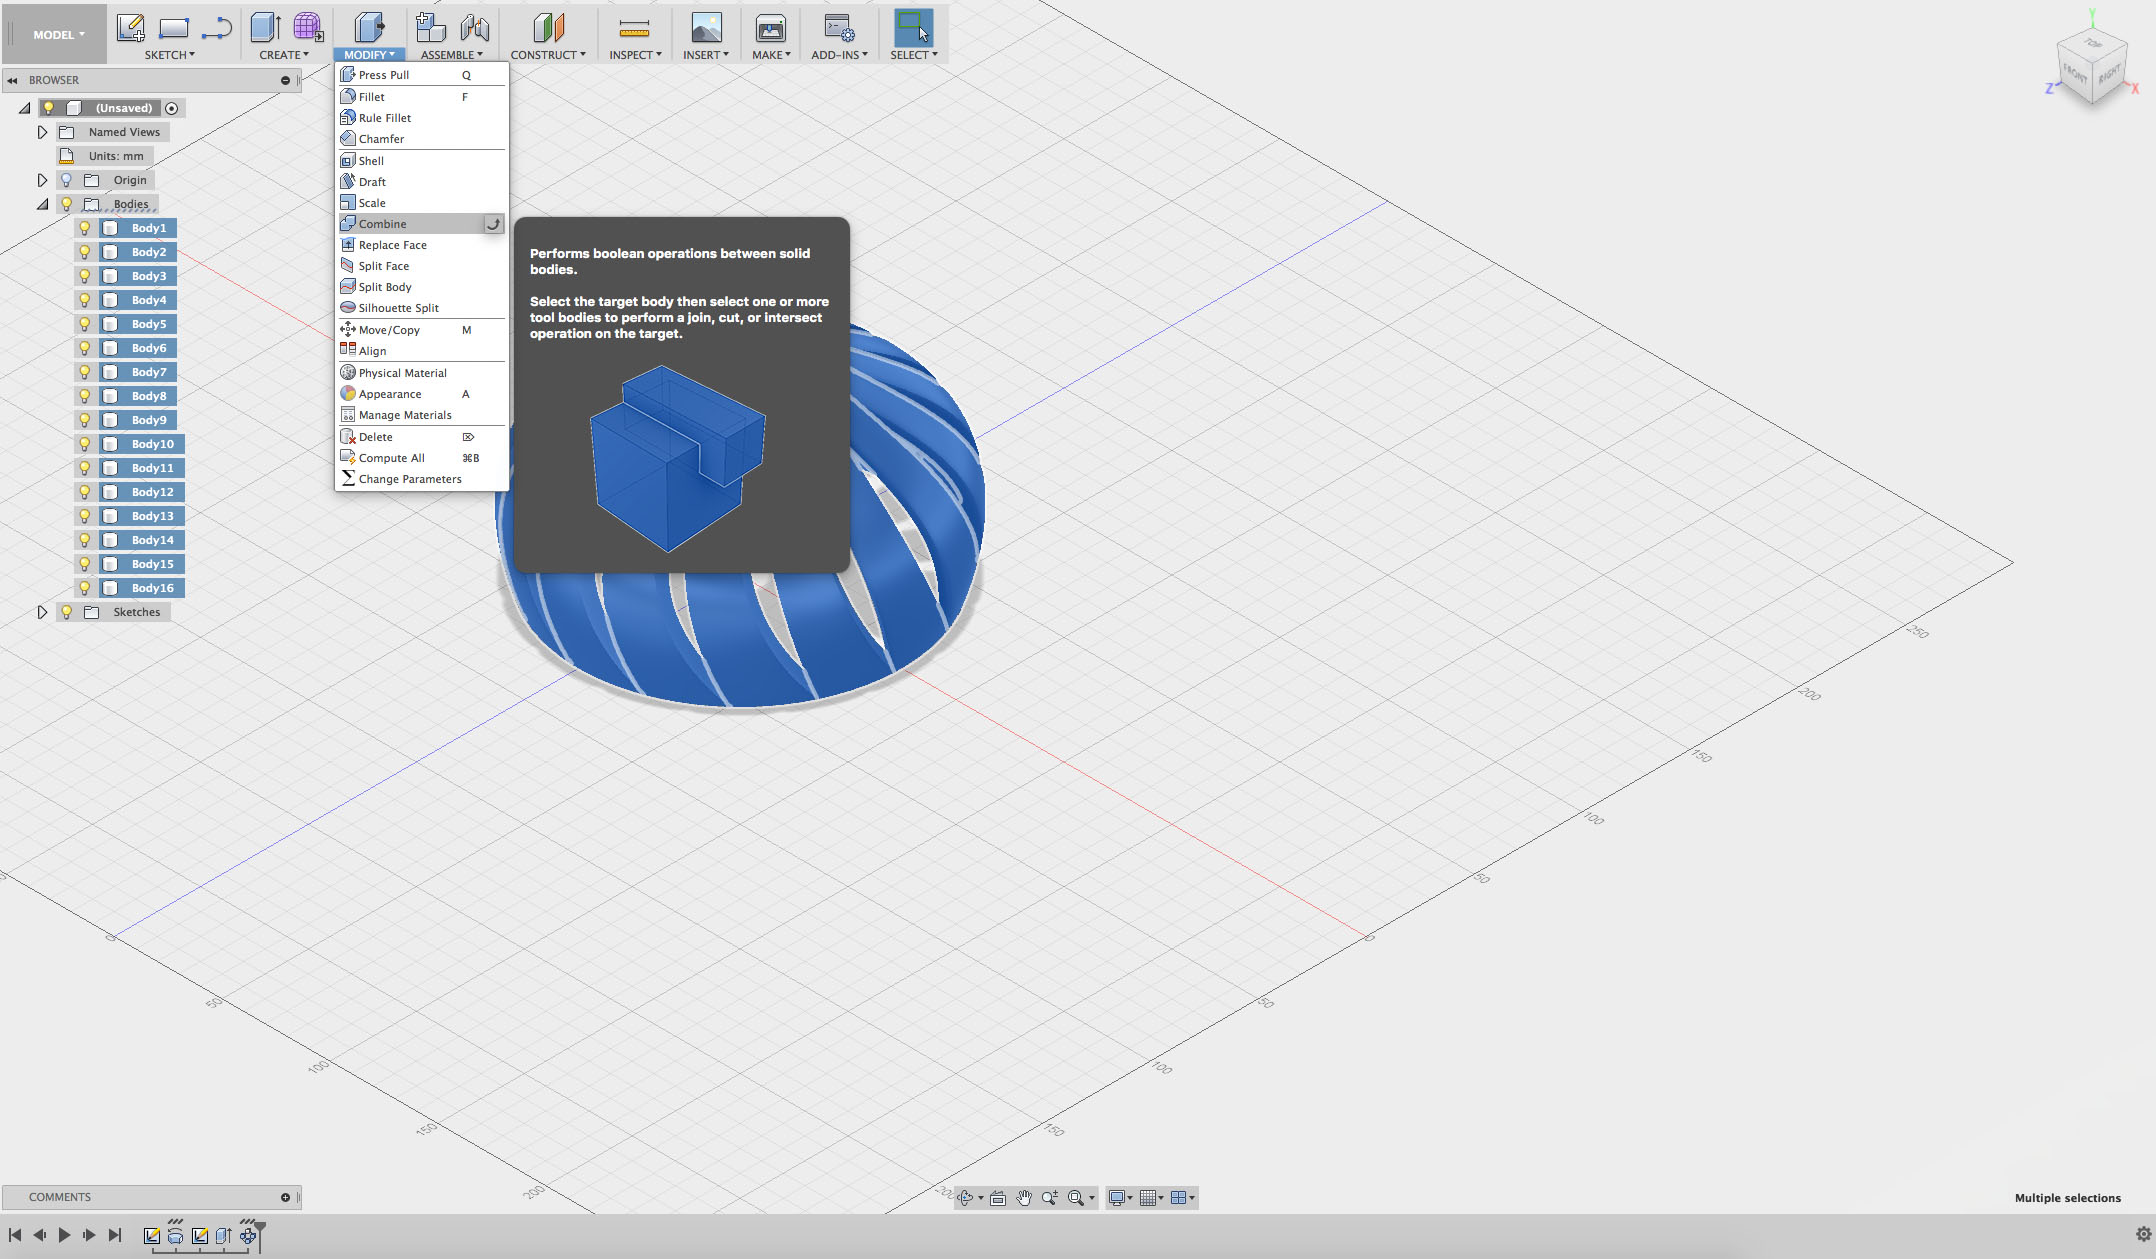
Step 10
Click on the MODIFY drop-down menu and select Combine.
In the Combine dialogue box, make sure your bodies are all selected and the operation is set to Join.
Click OK.
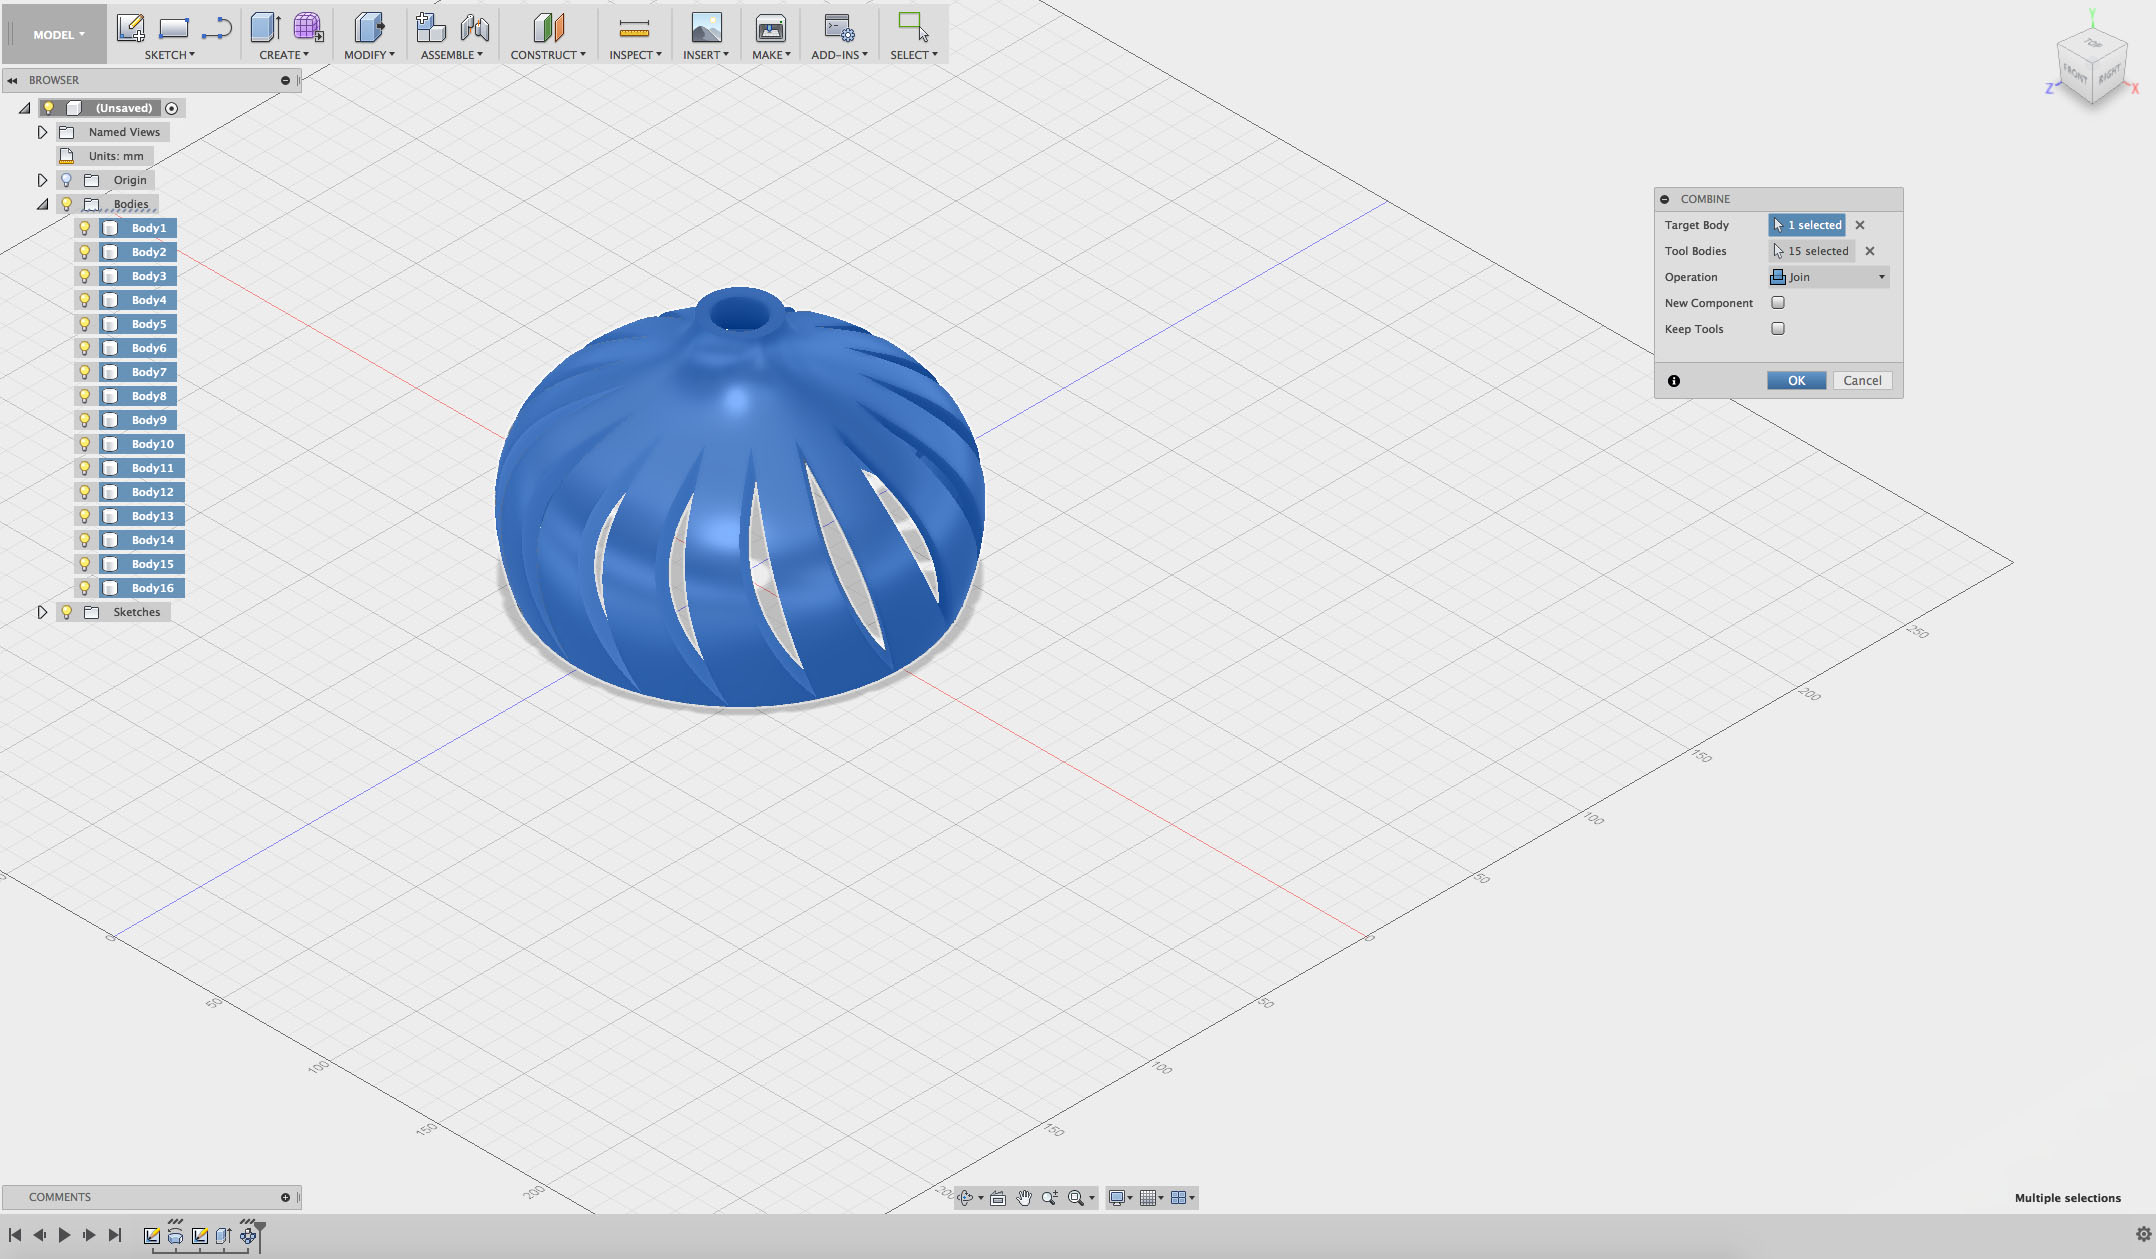
Step 11
You should now have one single body ready to be exported for 3D printing.
(Hint: check the number of bodies in the drop-down list on the left.)