Course navigation
Complete Your Design
Step 1
To complete a design, it is important to explore the aesthetic finishes which can show that a design has been truly considered. This can often mark the difference between a rough prototype and a finished model.
To improve your design, you may want to consider how you finish your edges. You have two options, which are to finish your edges with either a chamfer (a bevelled edge that connects two surfaces) or a fillet (a rounded edge that connects two surfaces).
Start by adding a chamfer to your wheel spokes.
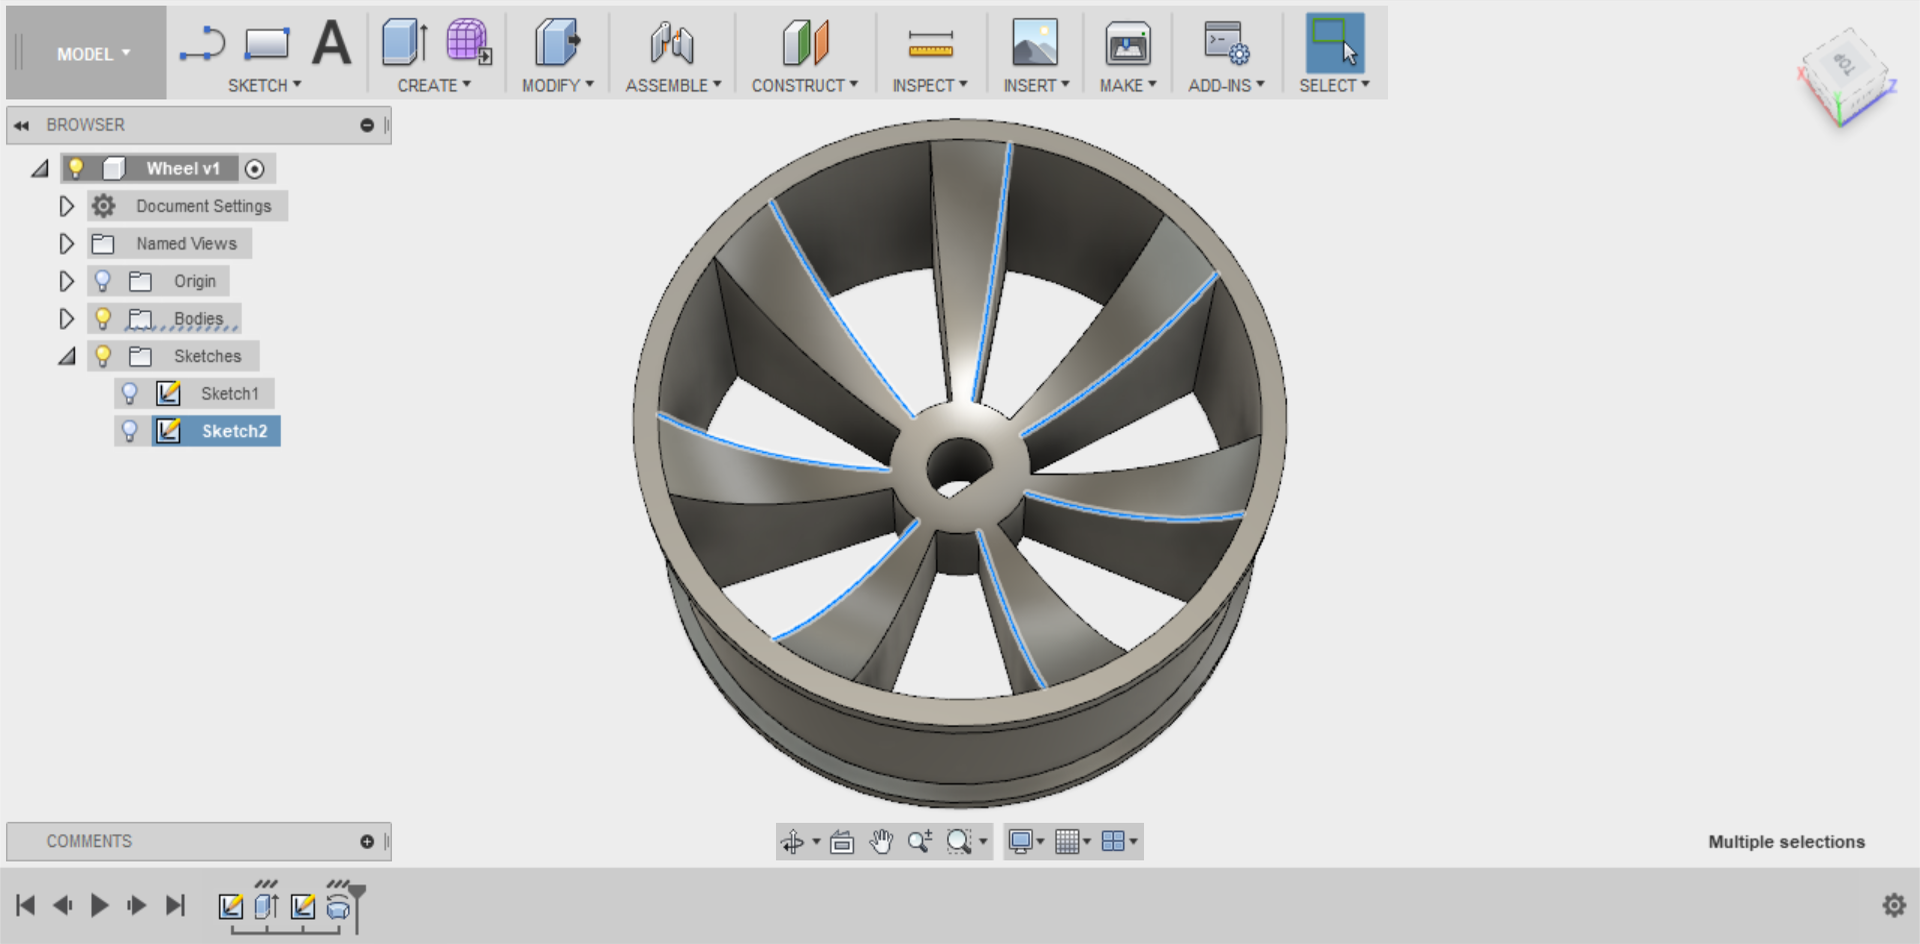
Select all the right-hand edges of your spokes going clockwise.
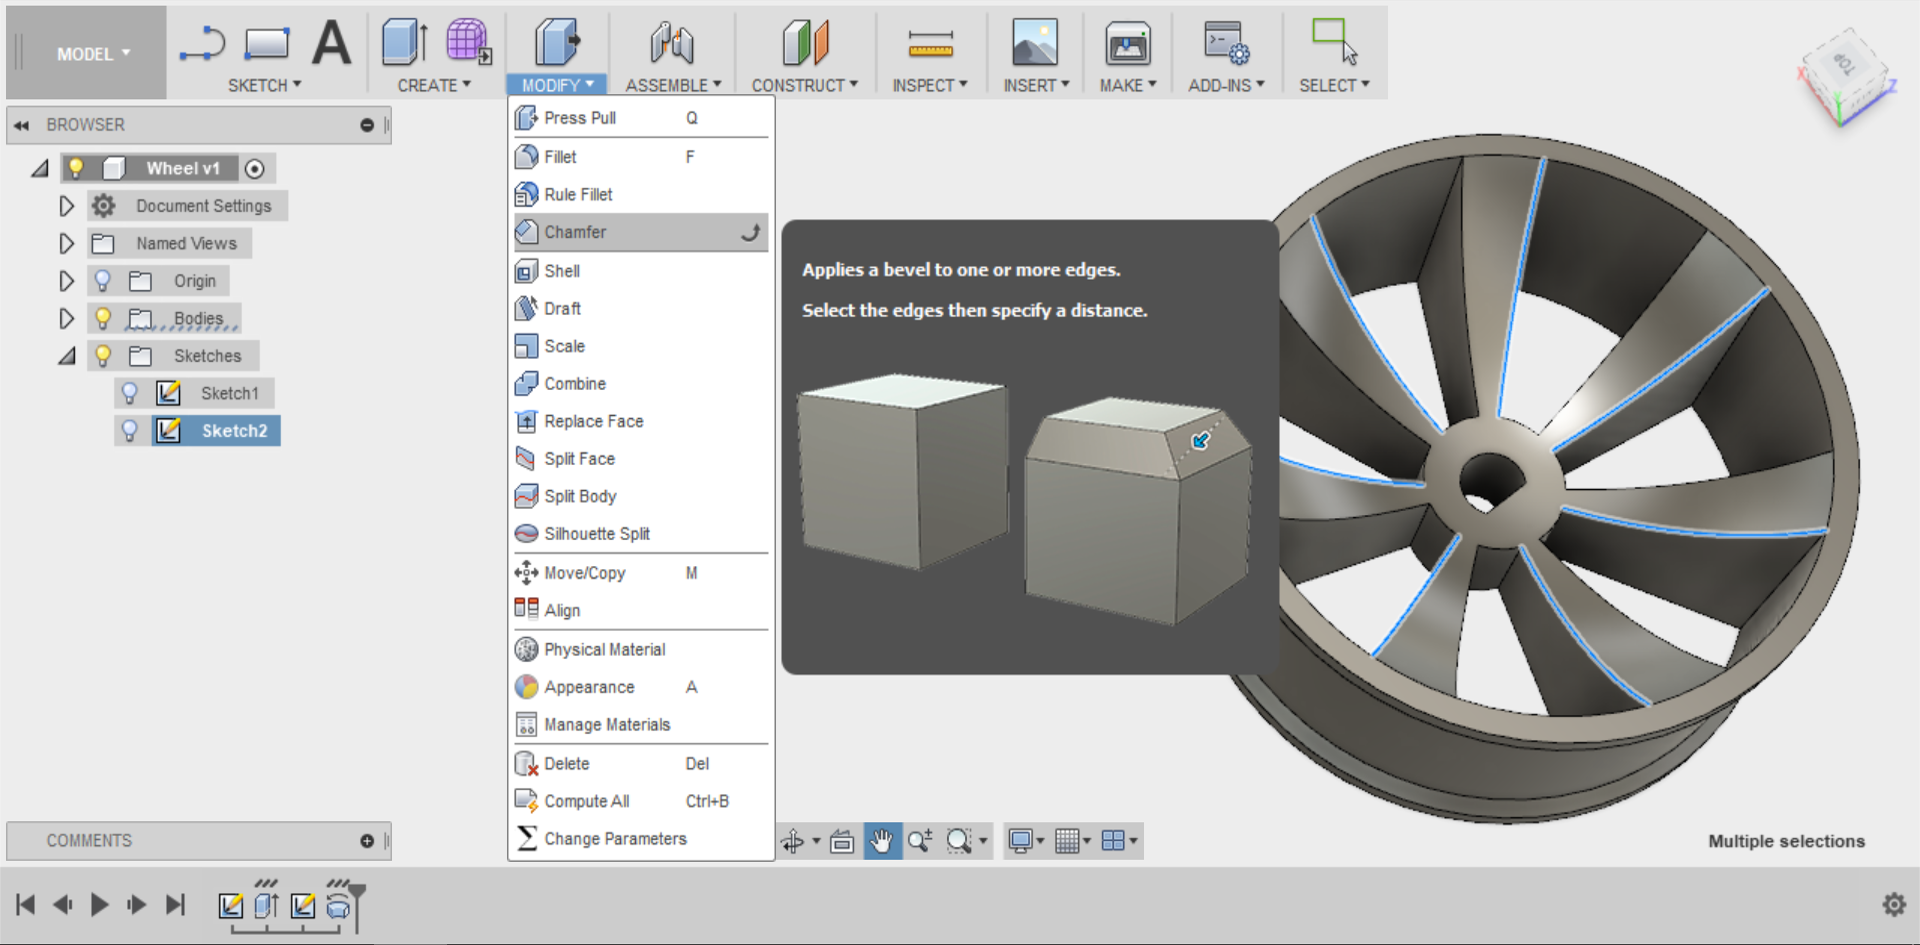
Go to the MODIFY menu and select Chamfer.
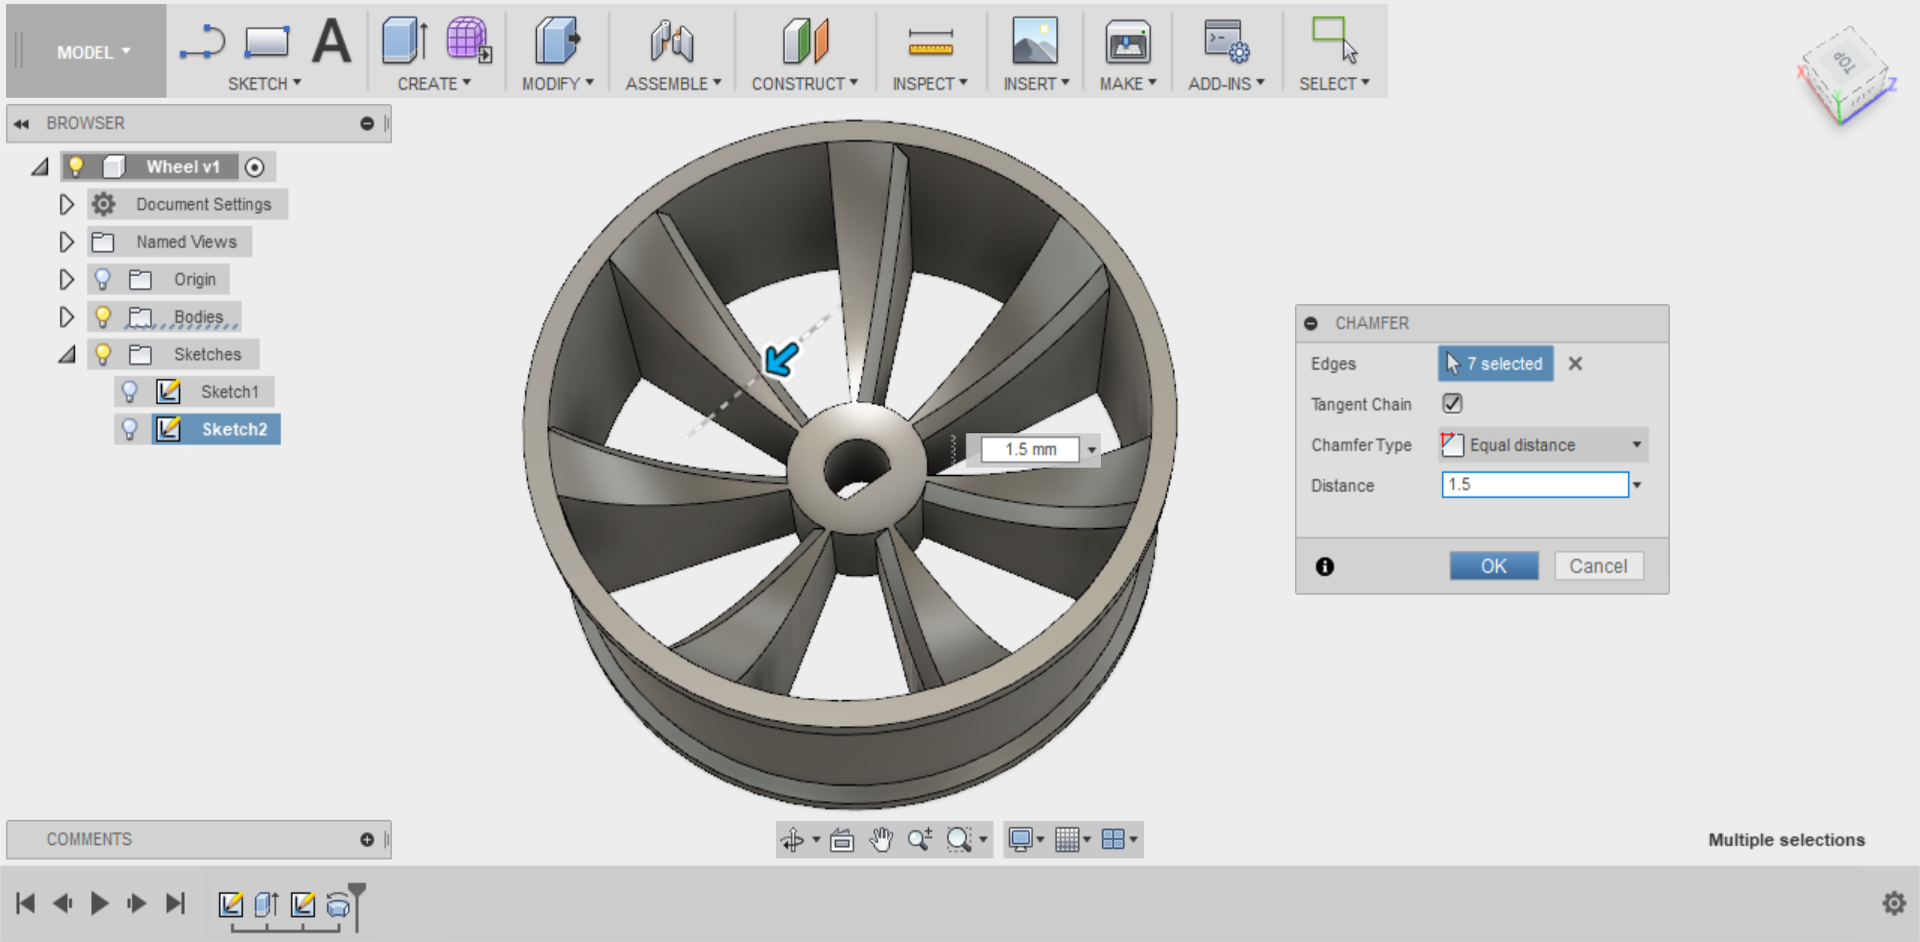
In the Chamfer dialogue box, set your Distance to 1.5mm then select OK.
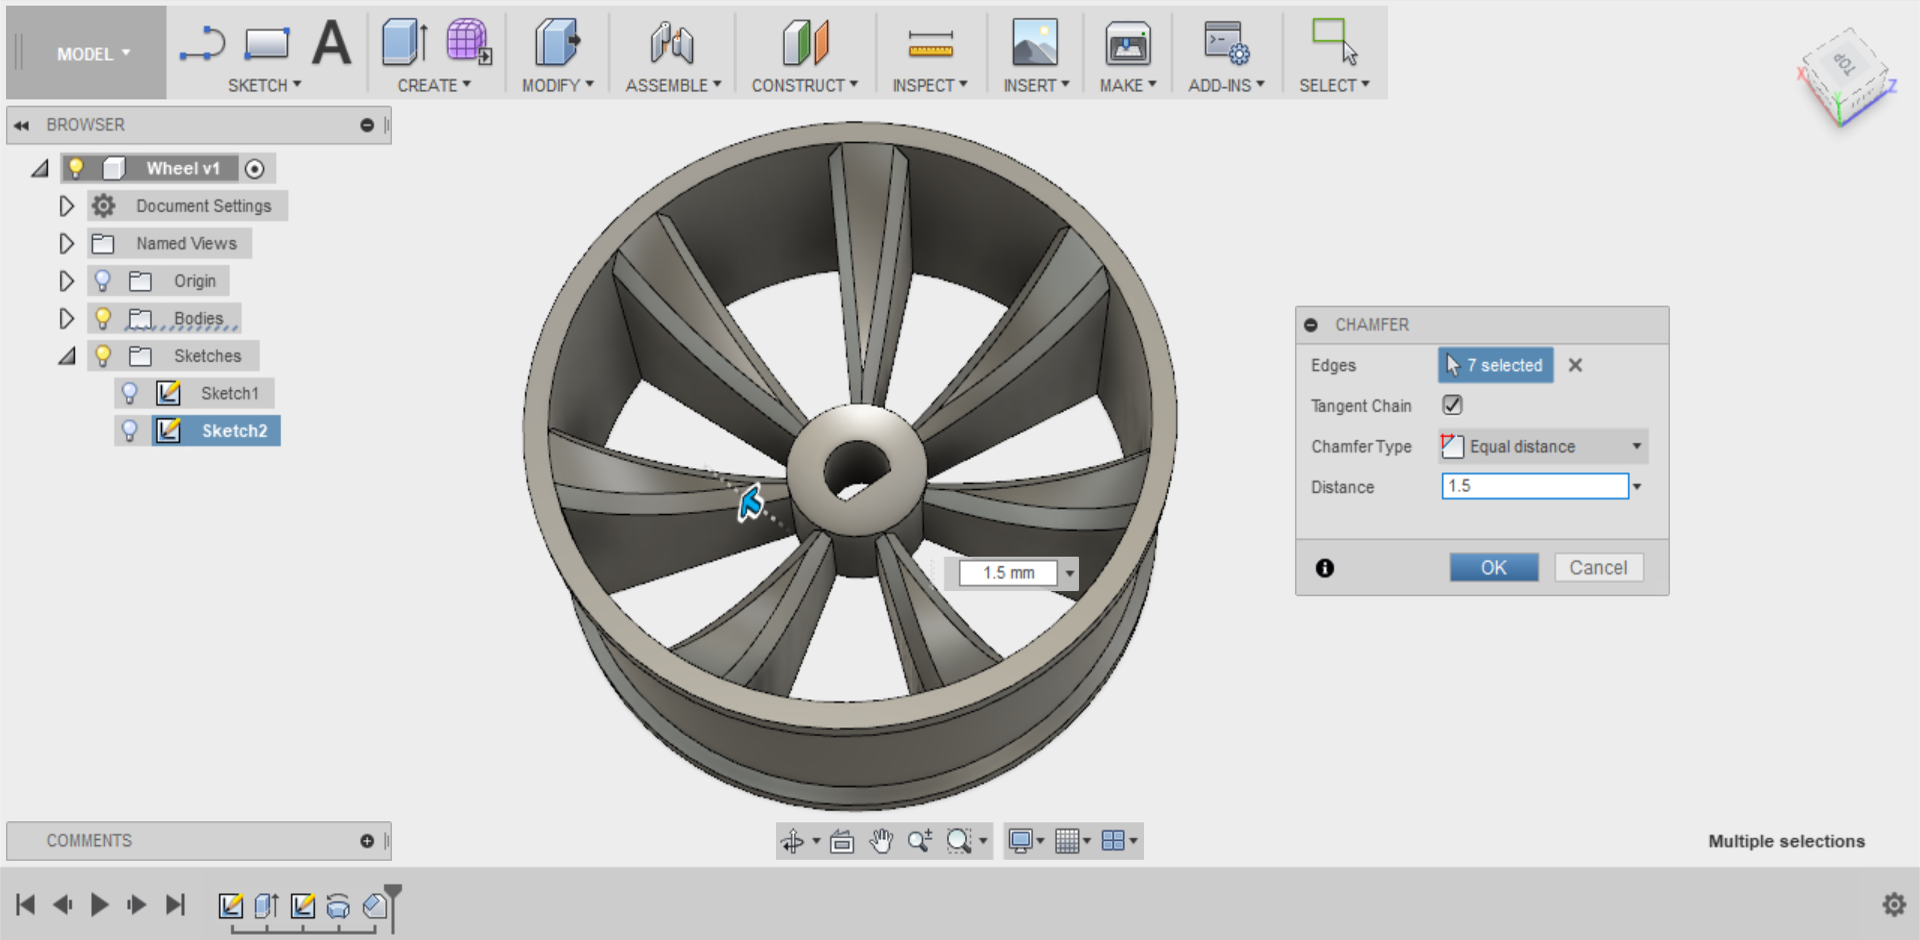
Select all the left-hand edges of the spokes and repeat the same 1.5mm chamfer.
Step 2
If you wish to modify the settings on your Chamfer, you can do so using the Timeline tool at the bottom of your screen.
The Timeline tool lists all the operations performed on your design. You can use the arrows or drag the marker left or right to change your position in the timeline. If you wish to change settings you can right-click on operations in the timeline to make changes using Edit Feature.
Find the Chamfer icon in the Timeline at the bottom of your screen.
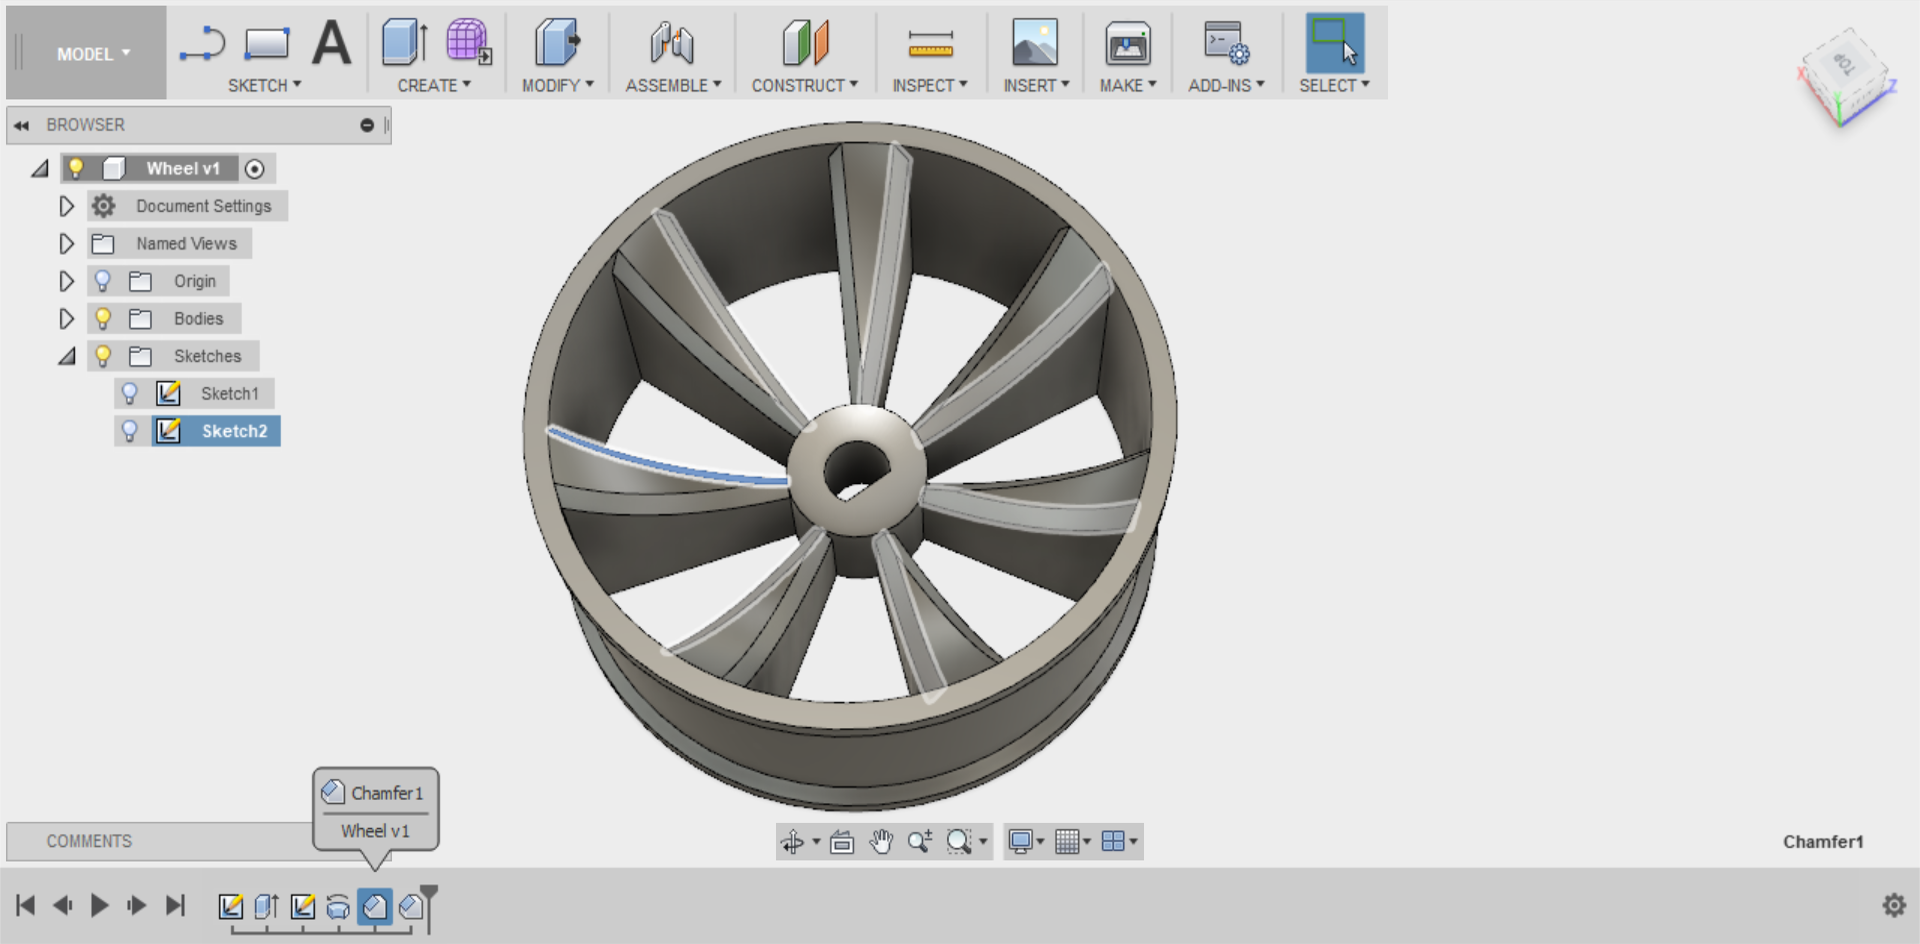
Double-click on it to open the Chamfer dialogue box and edit your settings until satisfied with the results.
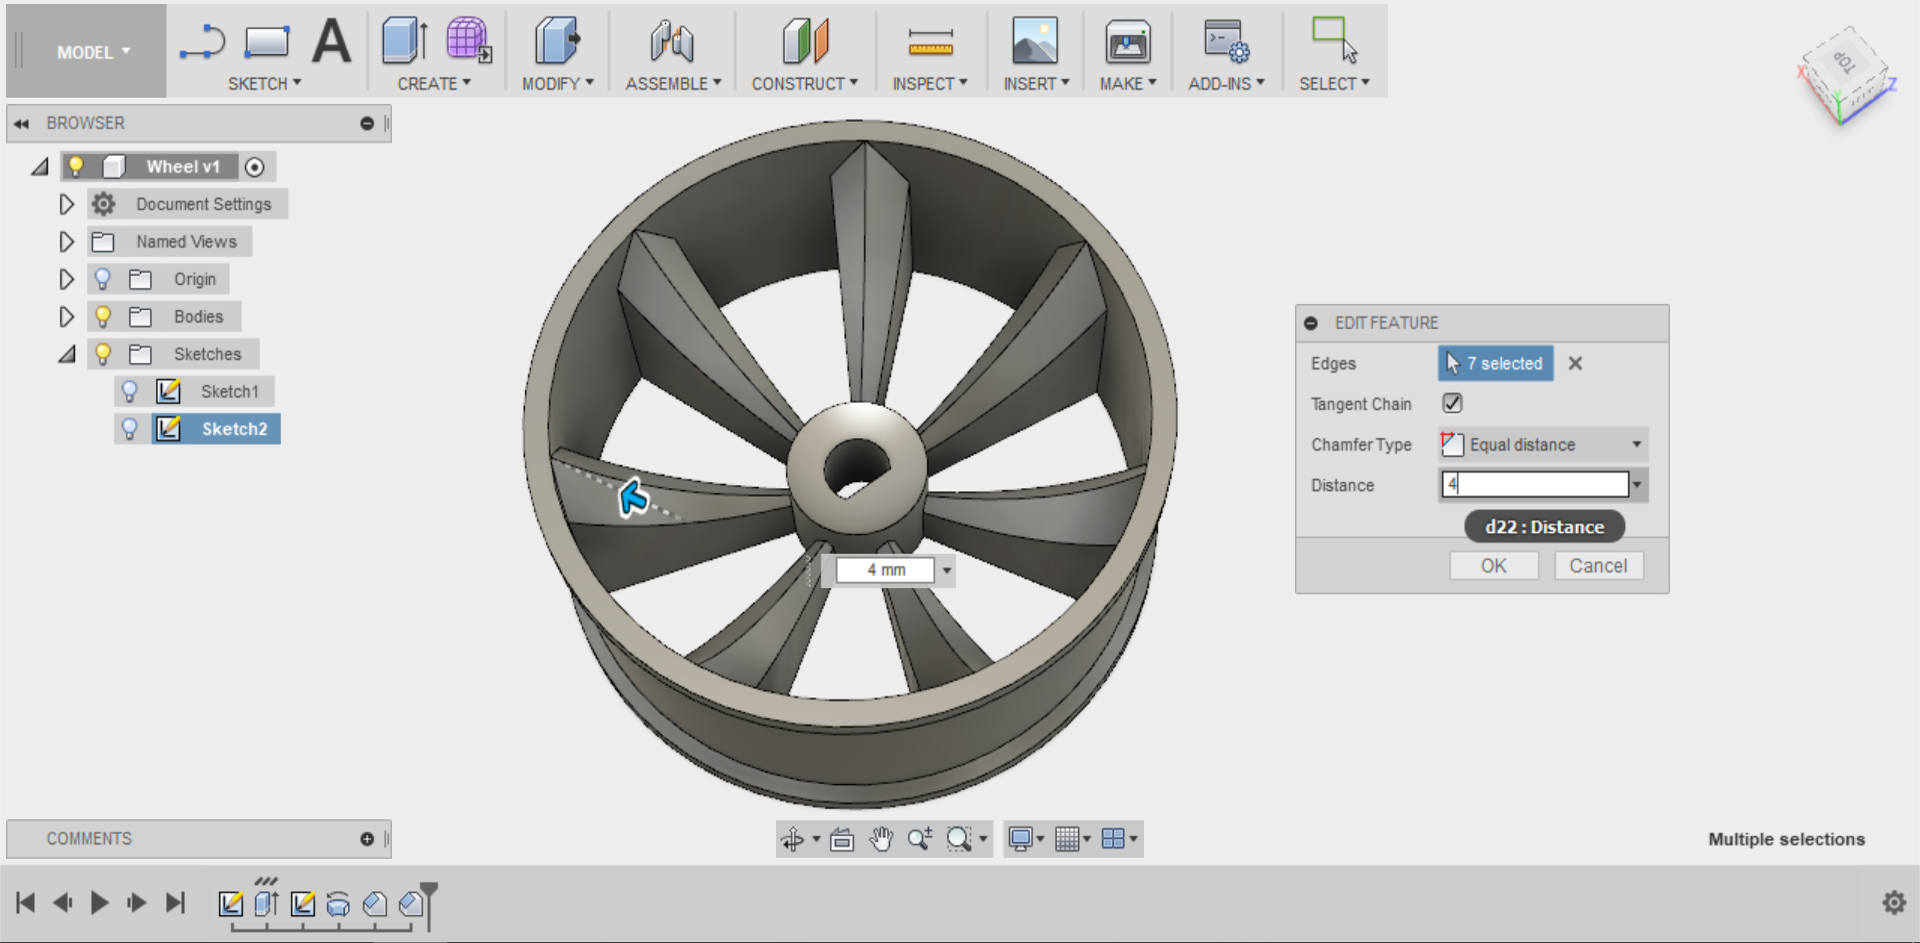
Step 3
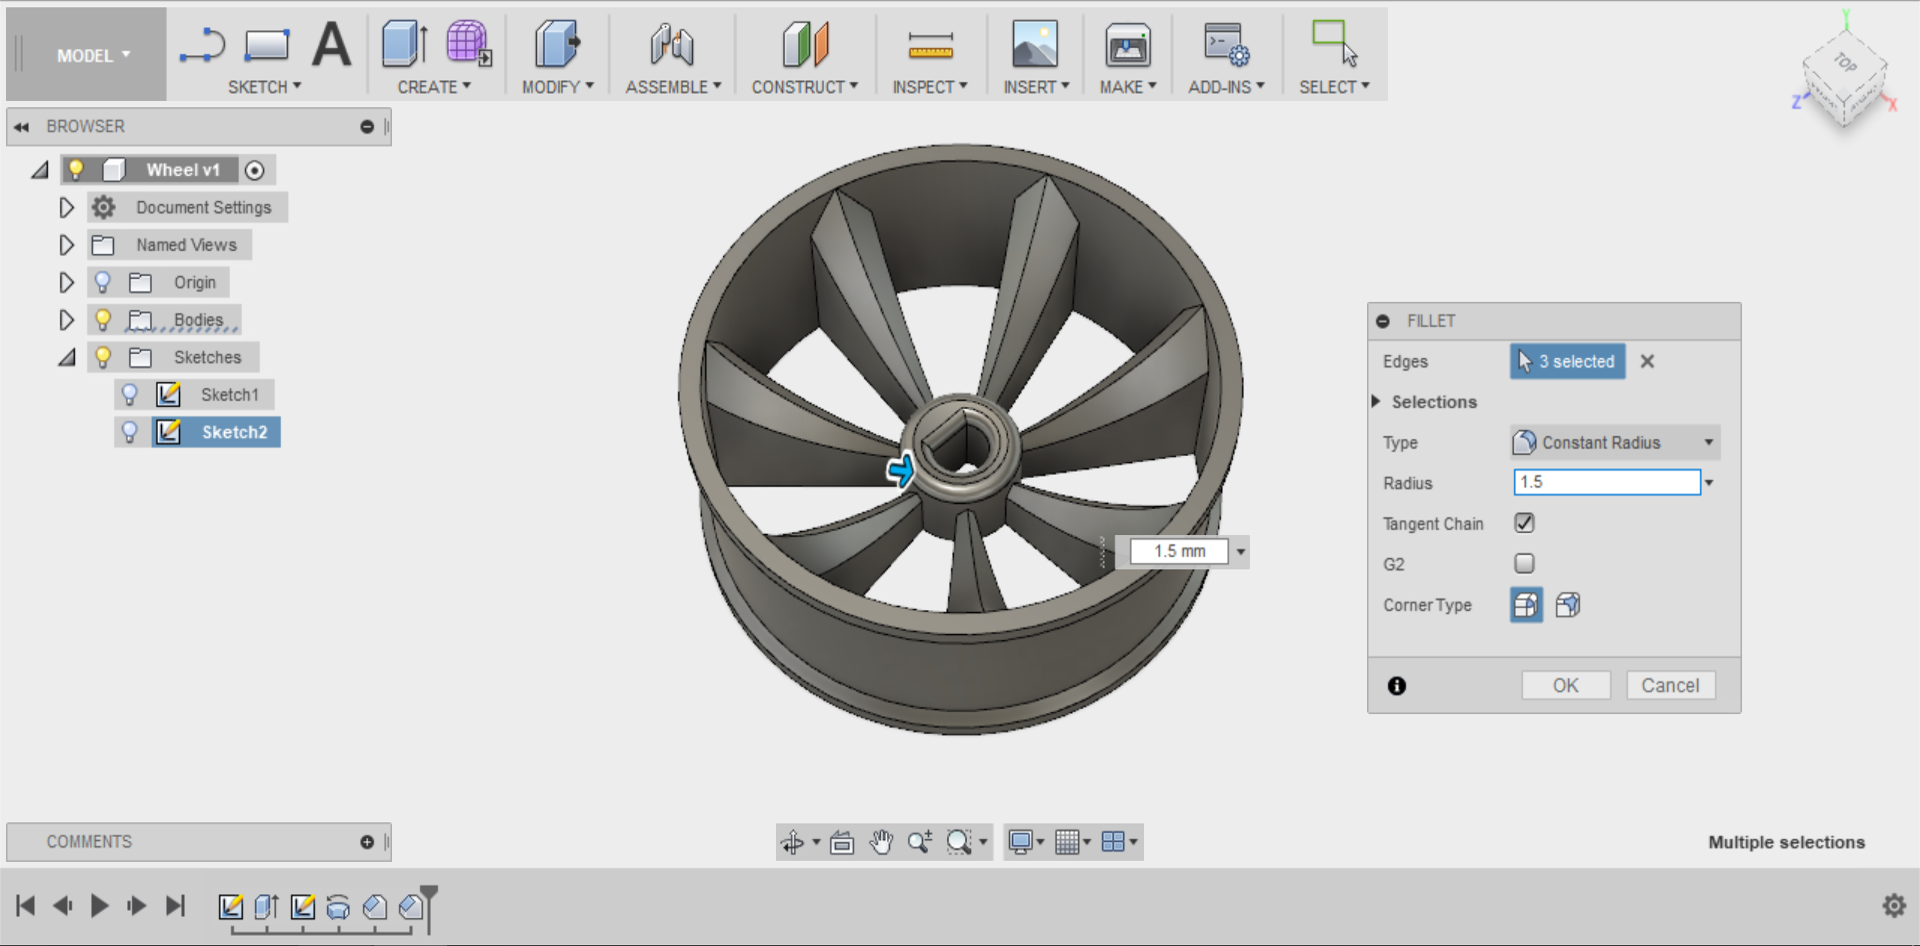
Practise creating a Fillet.
Select the edges of your wheel’s inner rim.
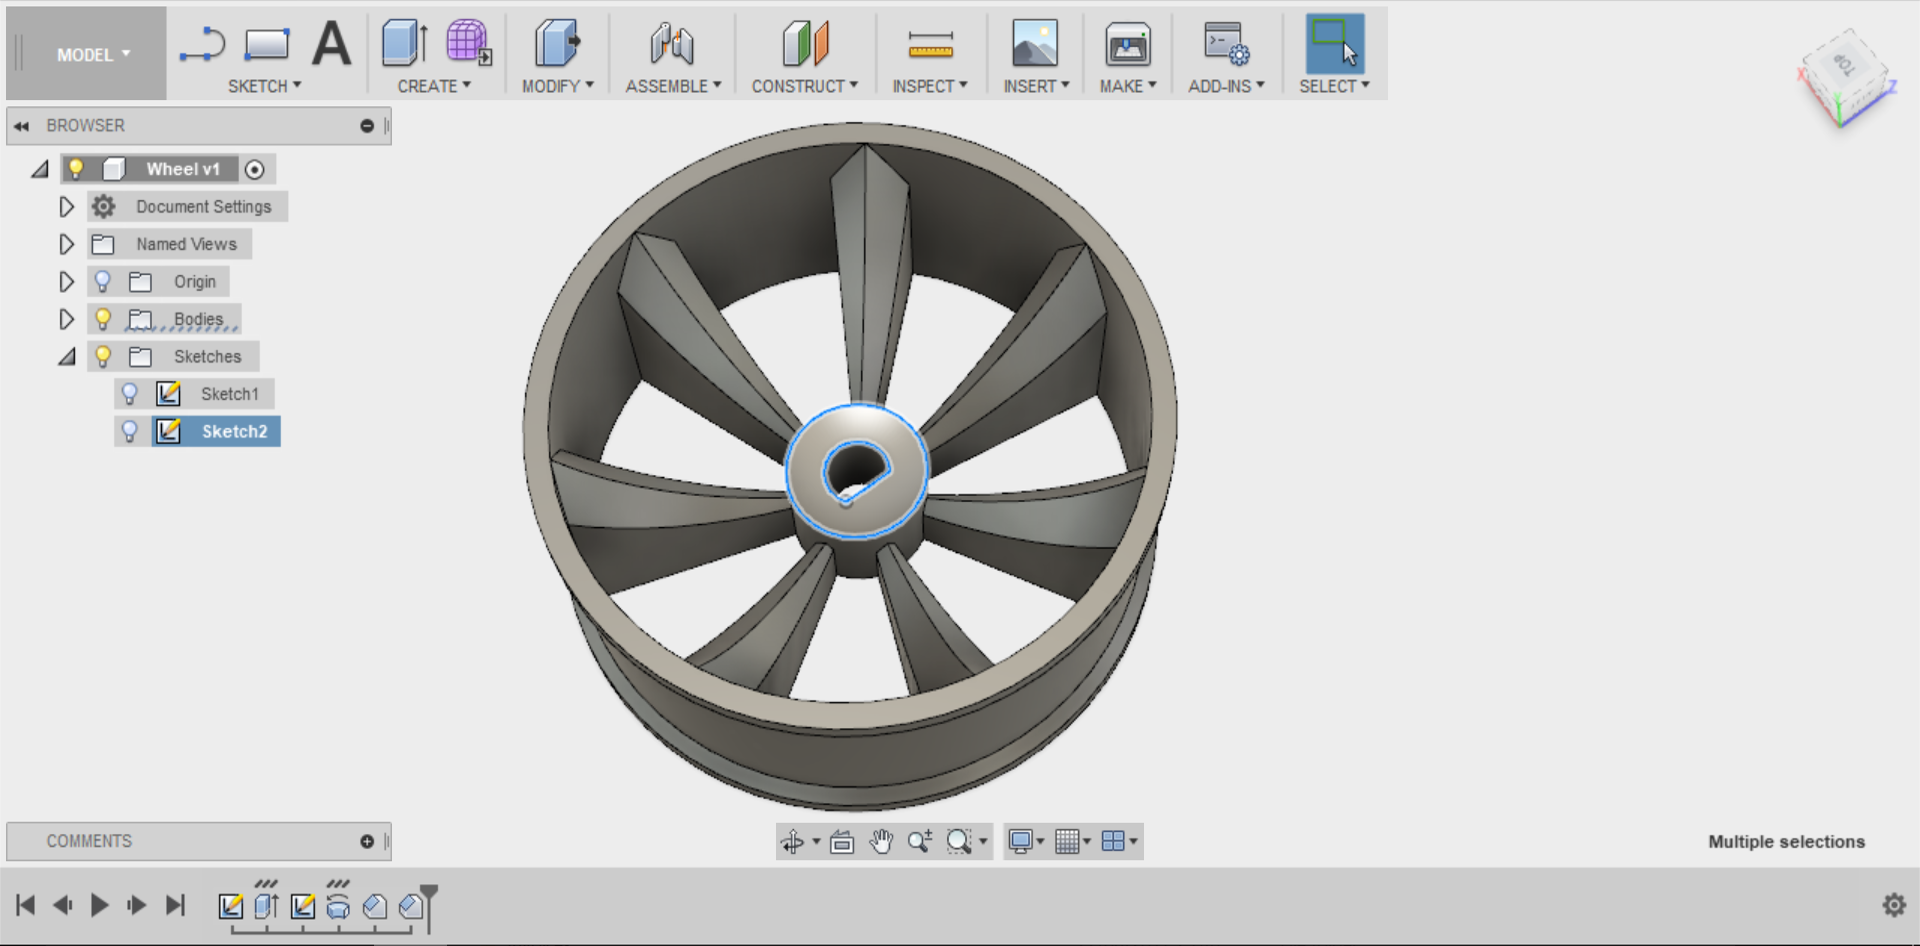
Select Fillet in the MODIFY menu.
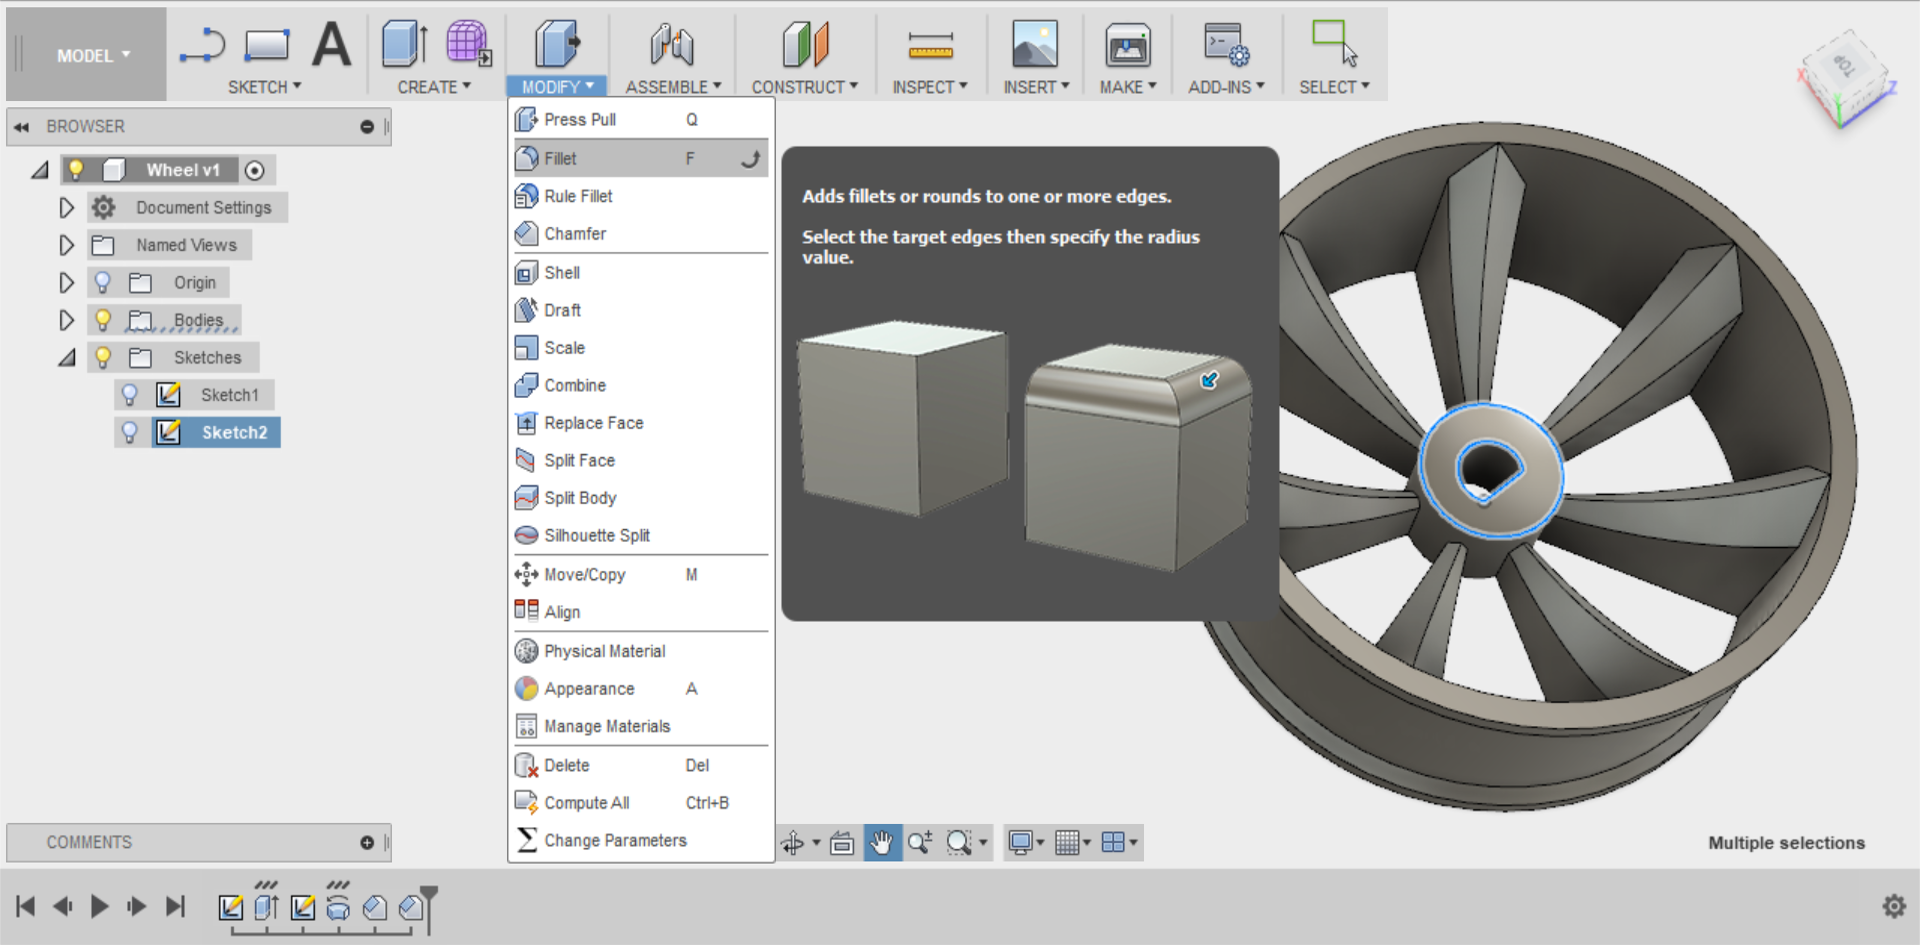
Set your Fillet Radius to 1.5mm and click OK.
Step 4
Congratulations, you’ve created your first fillets and chamfers!
Your file is now ready to export for 3D printing.
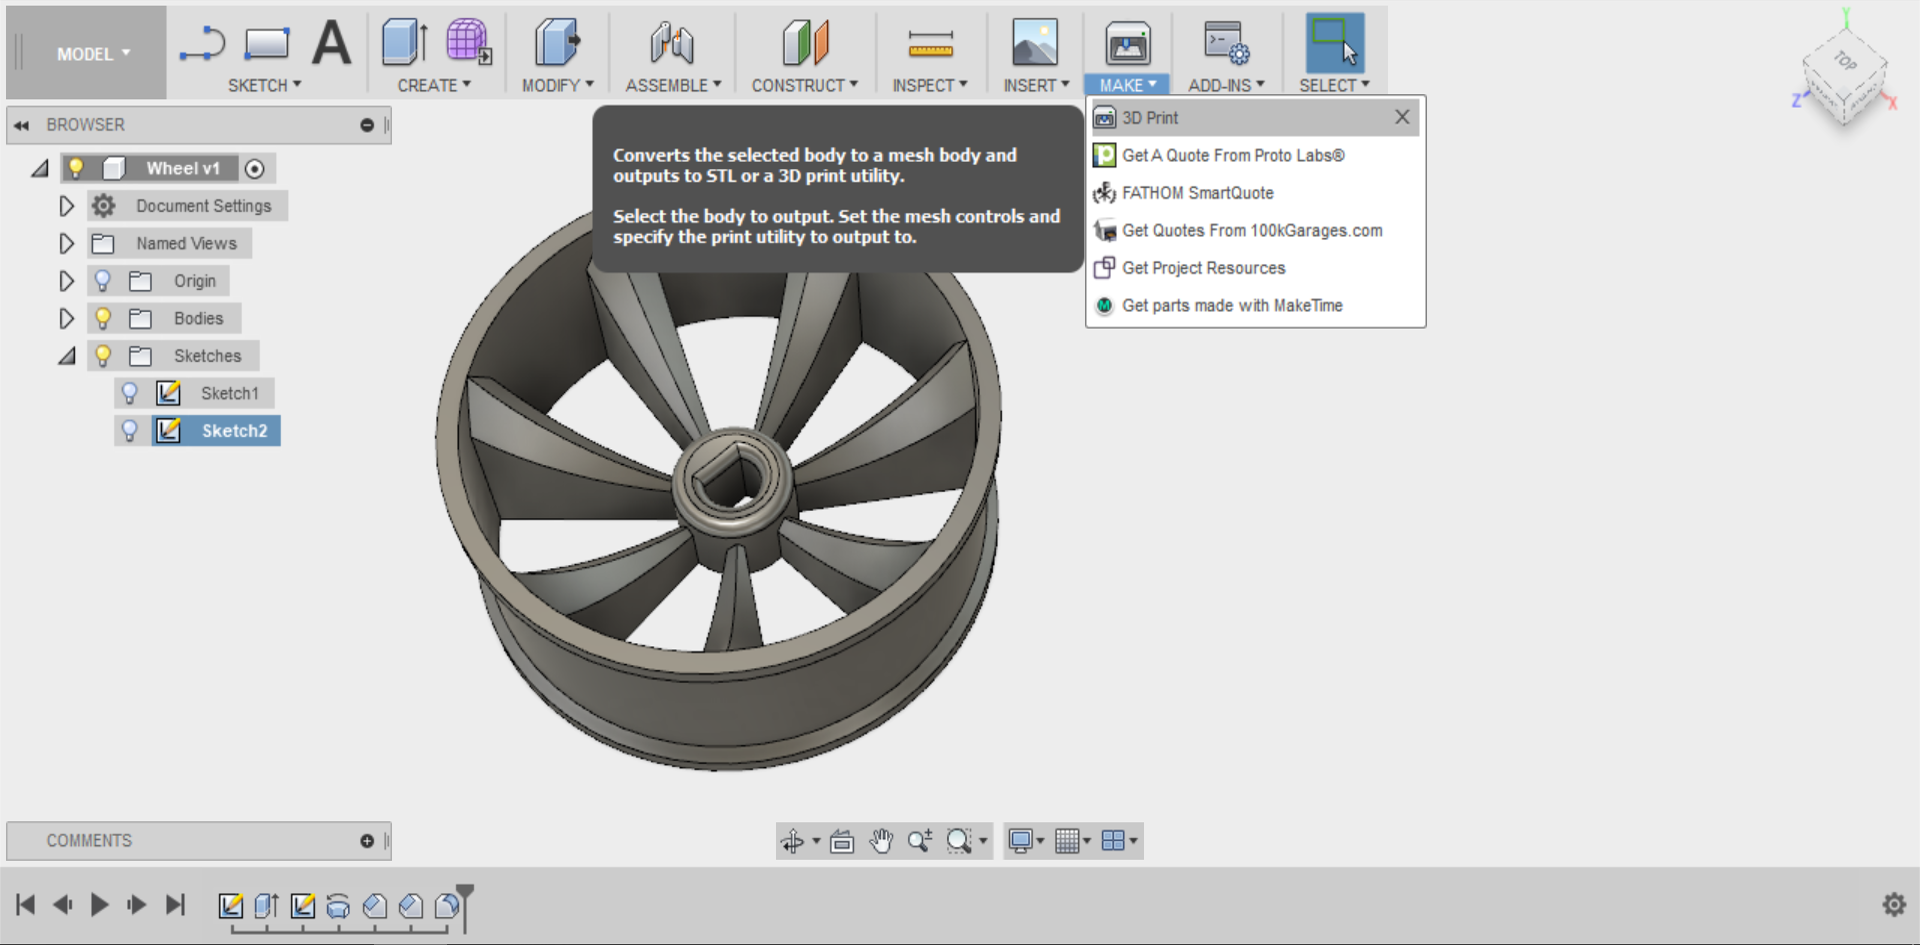
Go to MAKE in the top menu bar and select 3D print.
This dialogue box always defaults to Send to 3D Print Utility, so you will need to un-tick it. Select Preview Mesh and set the Refinement threshold to Low.
Select your 3D model in order to preview your mesh.
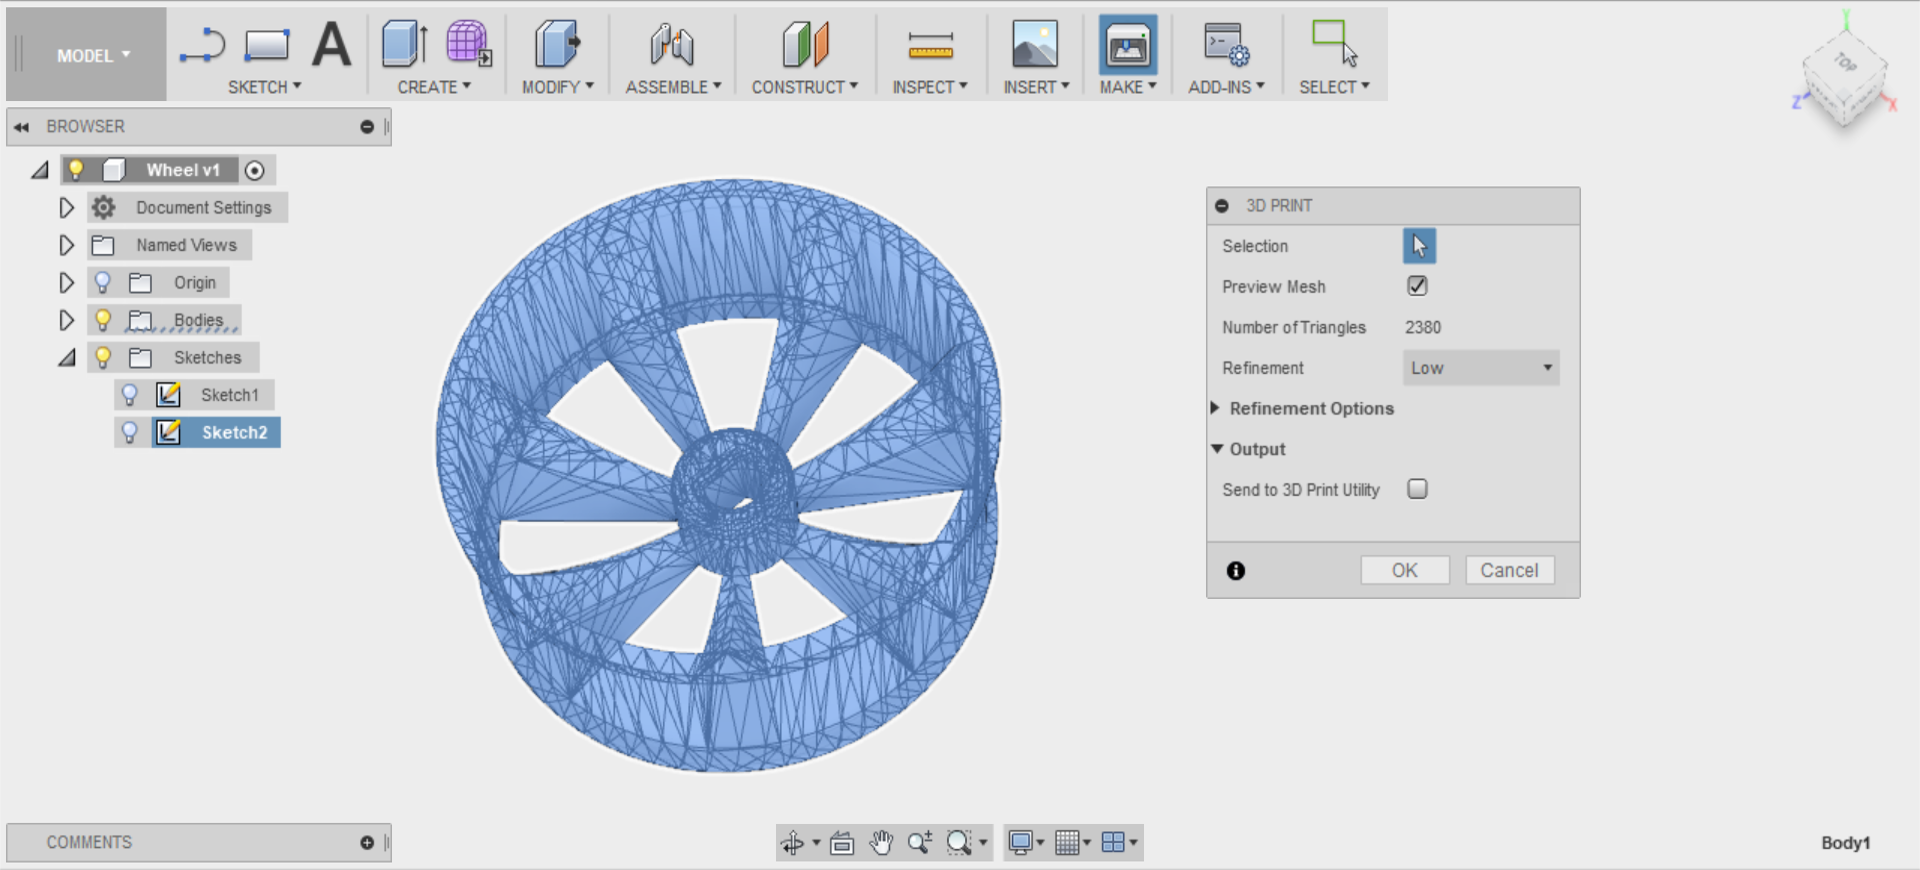
Save your file as a .stl with a memorable name on the desktop.