Course navigation
Create a 2D Sketch
Step 1
You and your team have been selected to design a 3D printed remote controlled mobile robot on four wheels.
Having divided up the tasks between yourselves, you’ve been put in charge of designing the first prototype for the wheels.
To complete this challenge, you must first create a prototype wheel rim to set dimensions, then you’ll need to propose different options for tyre treads to find out which will give you the best grip.
To start working on your design, look on your desktop for the Fusion 360 icon.

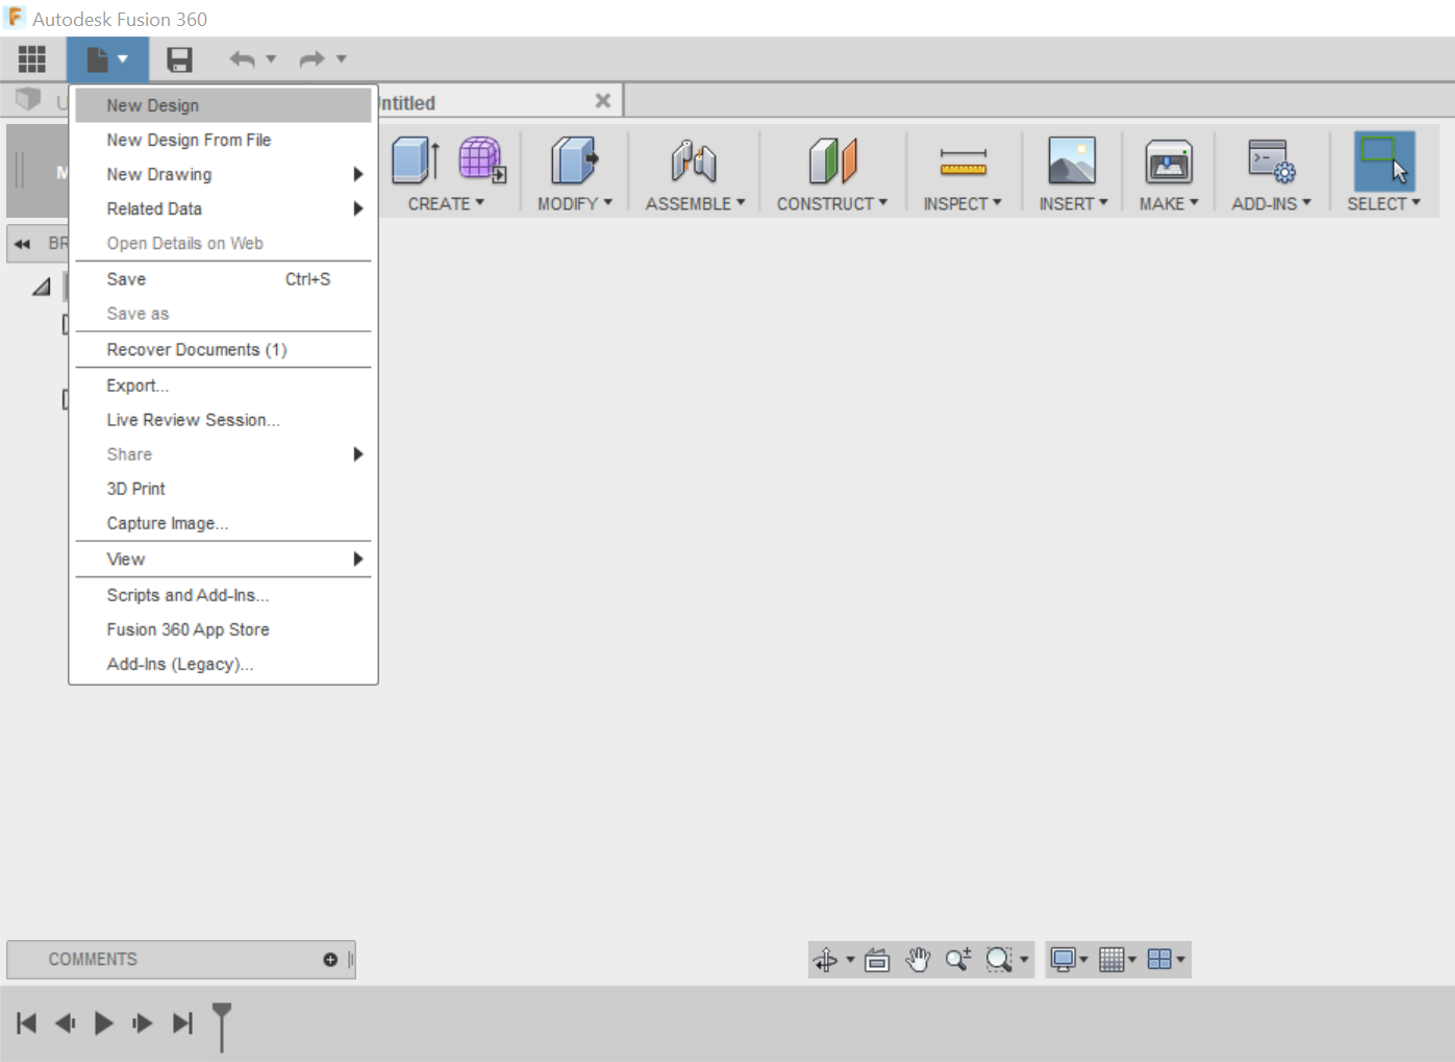
Once the program opens, start with a New Design.
Step 2
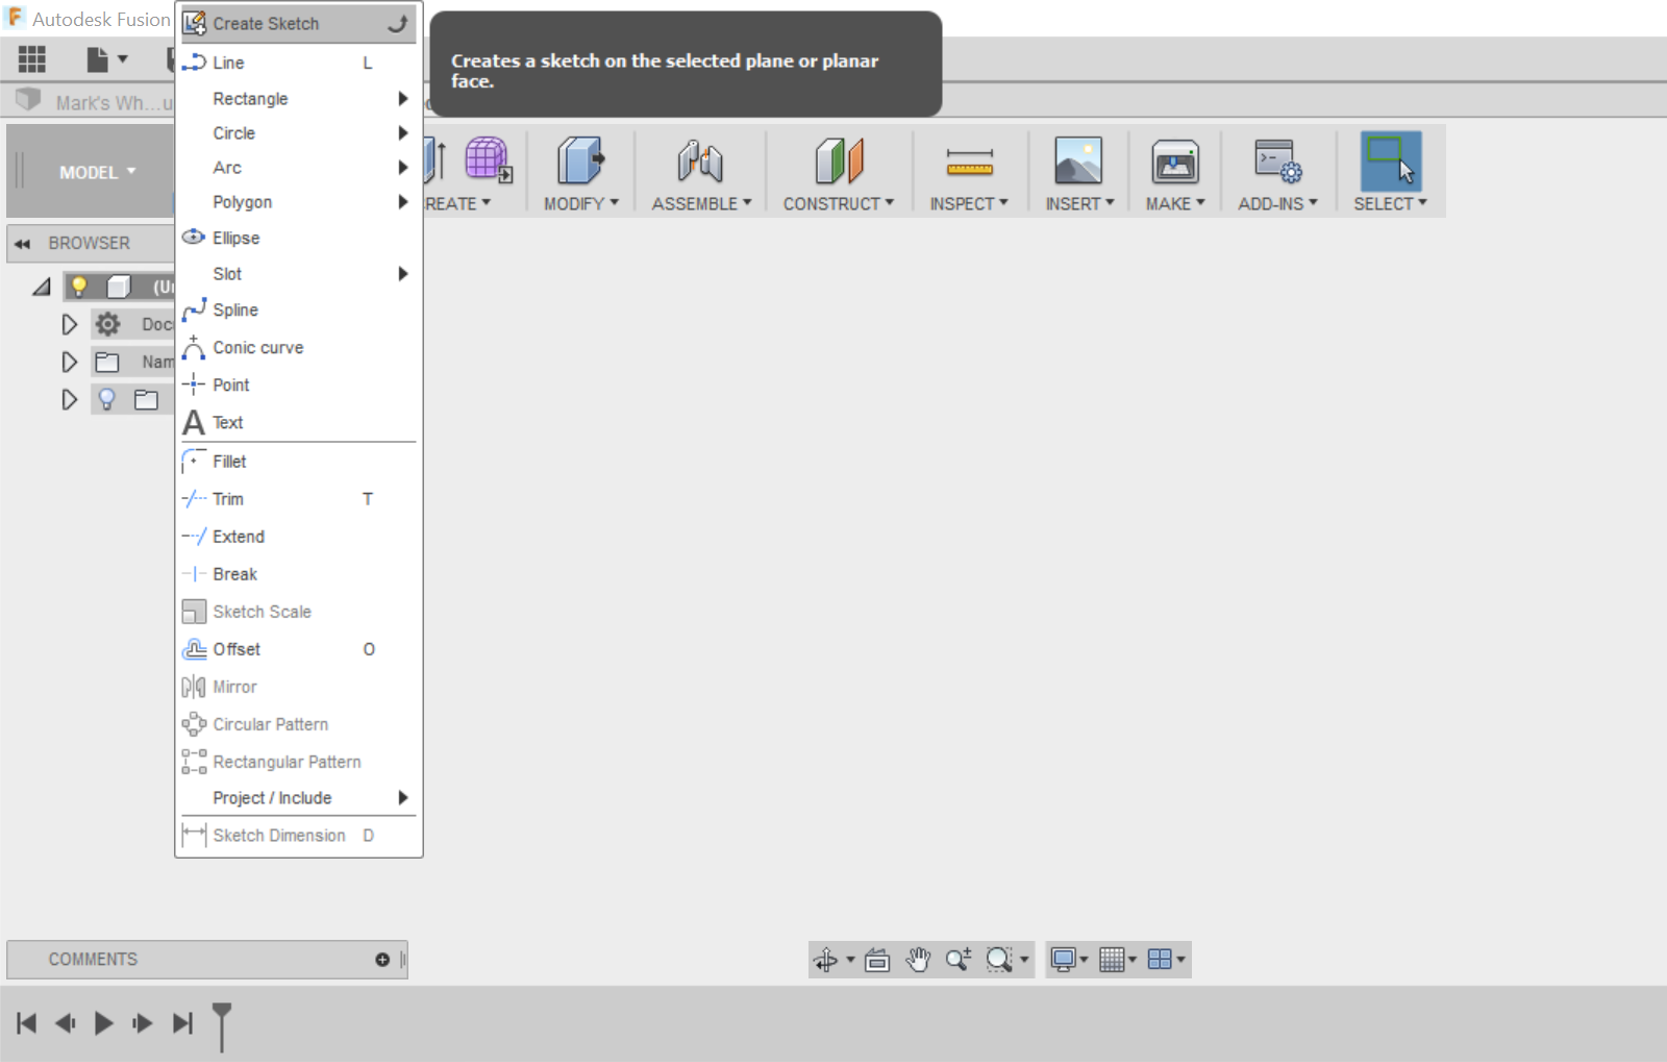
Start by drawing a 2D sketch to set out all the important measurements for your design. Go to SKETCH in the top menu and select Create Sketch.
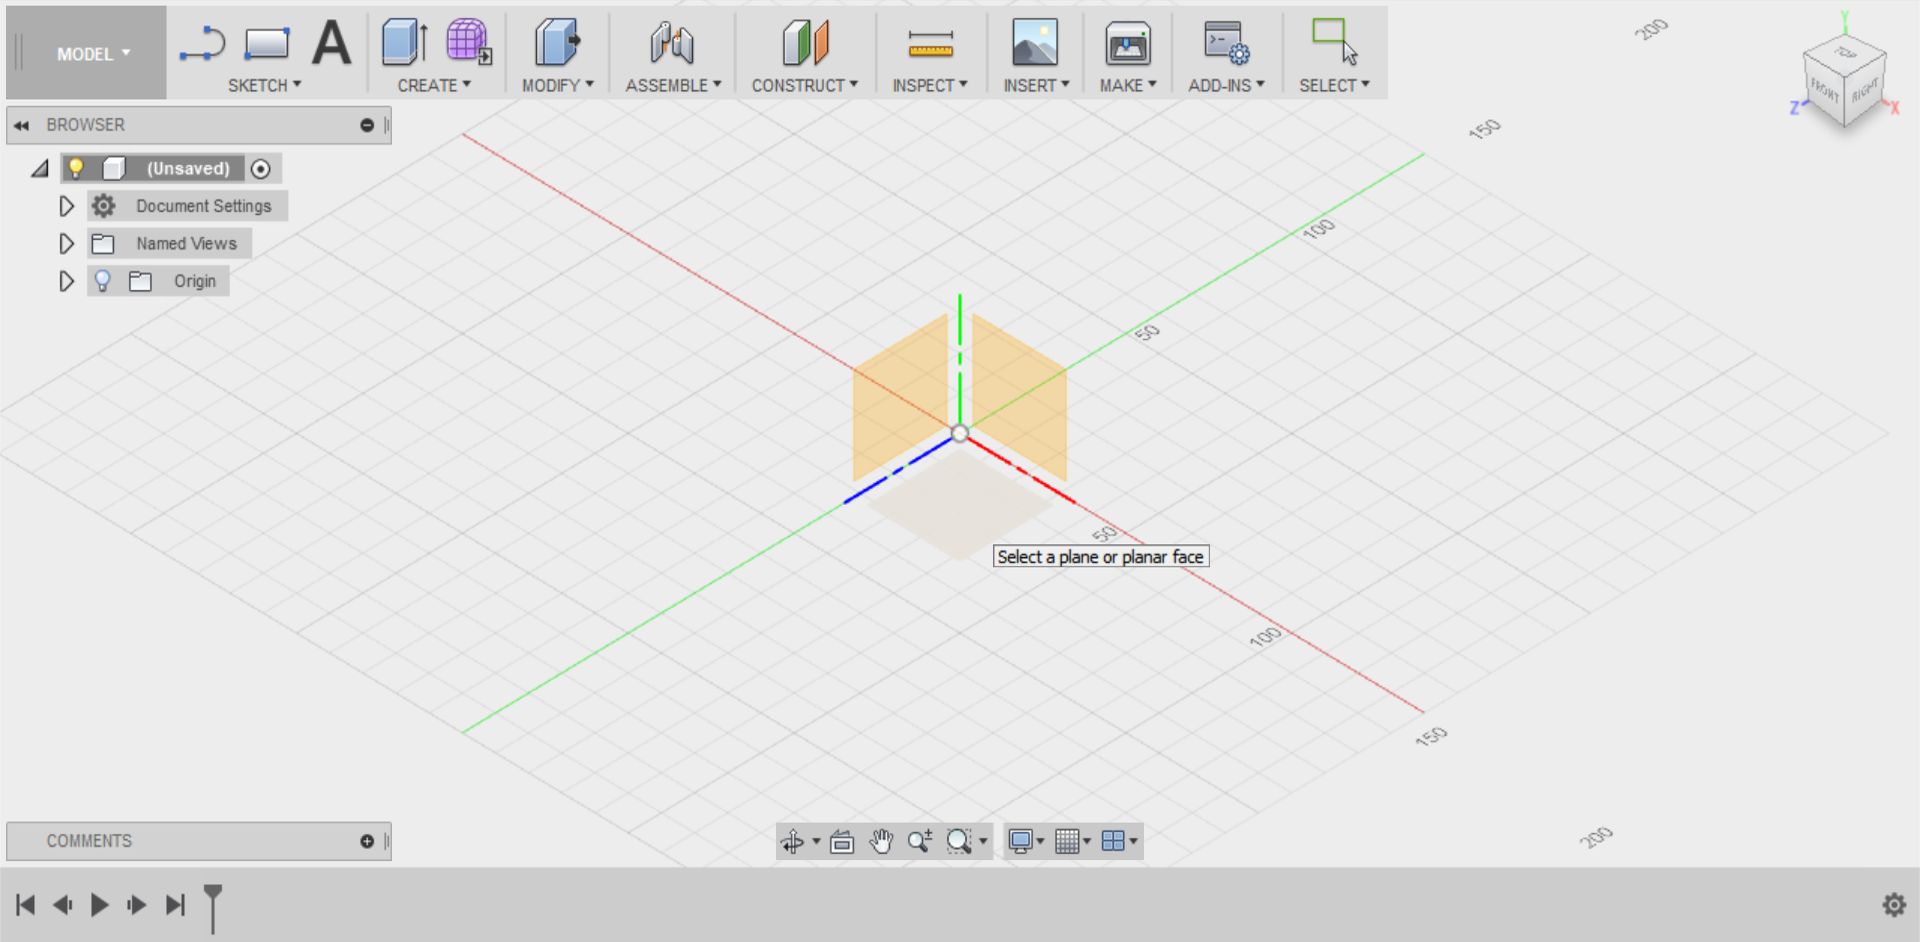
You will be prompted to select a sketch plane; this is the flat surface within your 3D space in which you will create your 2D drawing.
Which plane you choose depends on the profile of the object you are sketching. Think whether this sketch is of the front, side or bottom of your object. In this case, we will be sketching the bottom of our wheel, so select the horizontal plane.
Step 3
Start by drawing the circle, which will constitute the outer diameter of your wheel.
Go to the SKETCH menu and select Centre Diameter Circle.
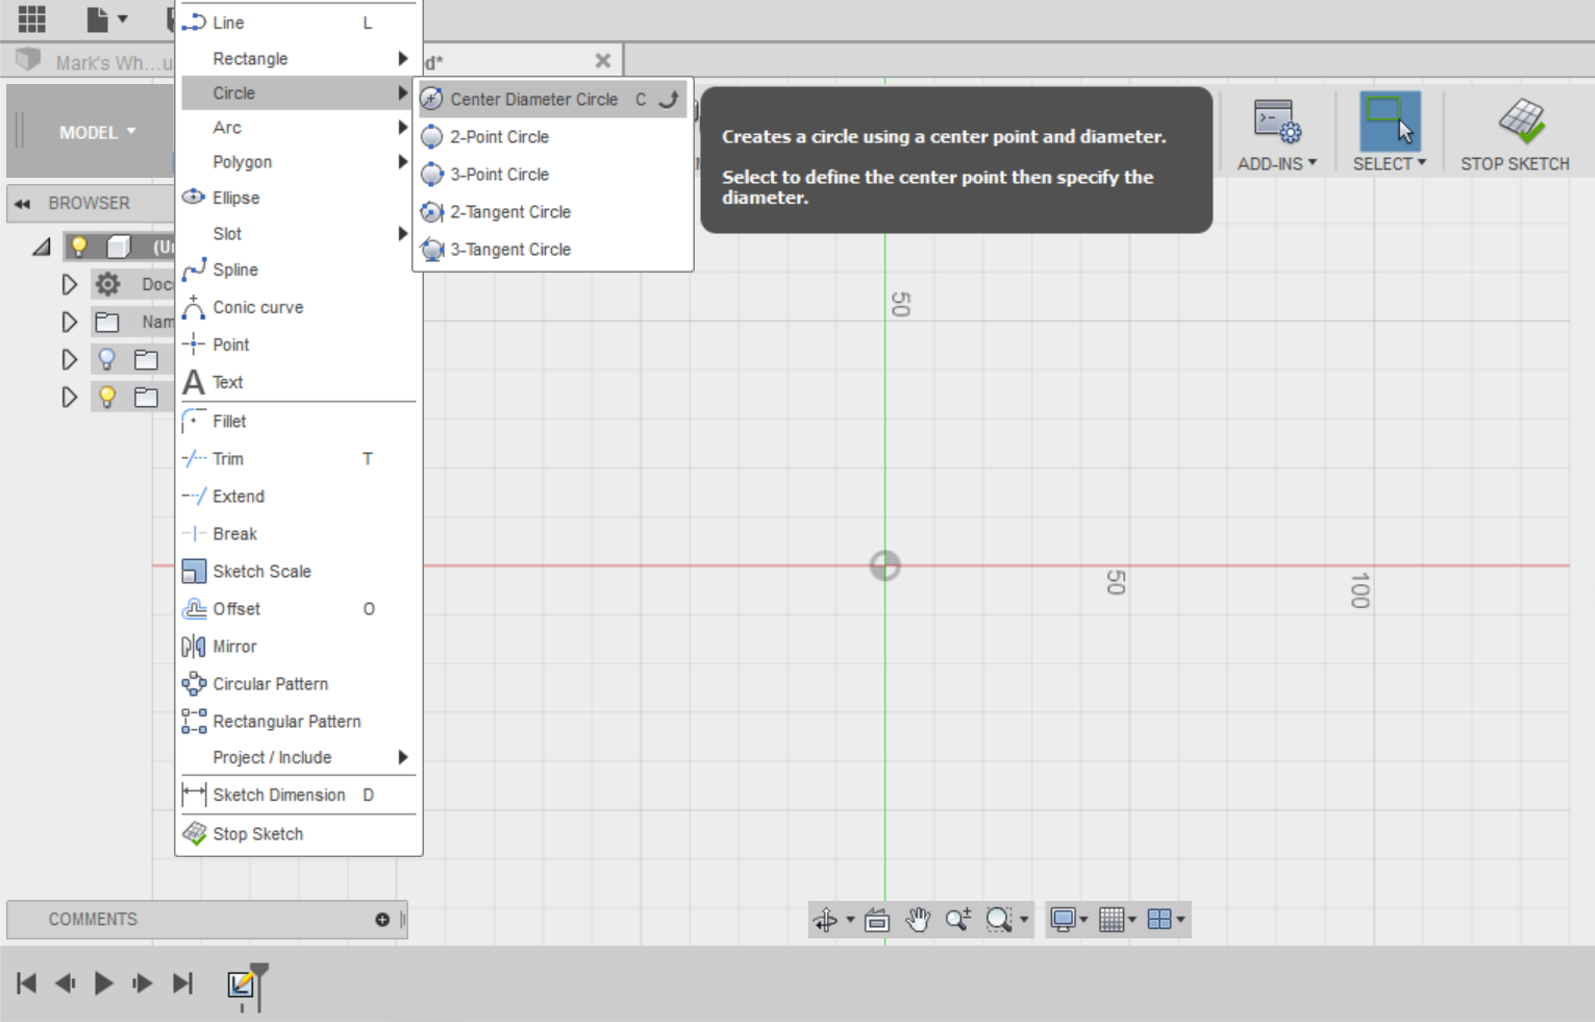
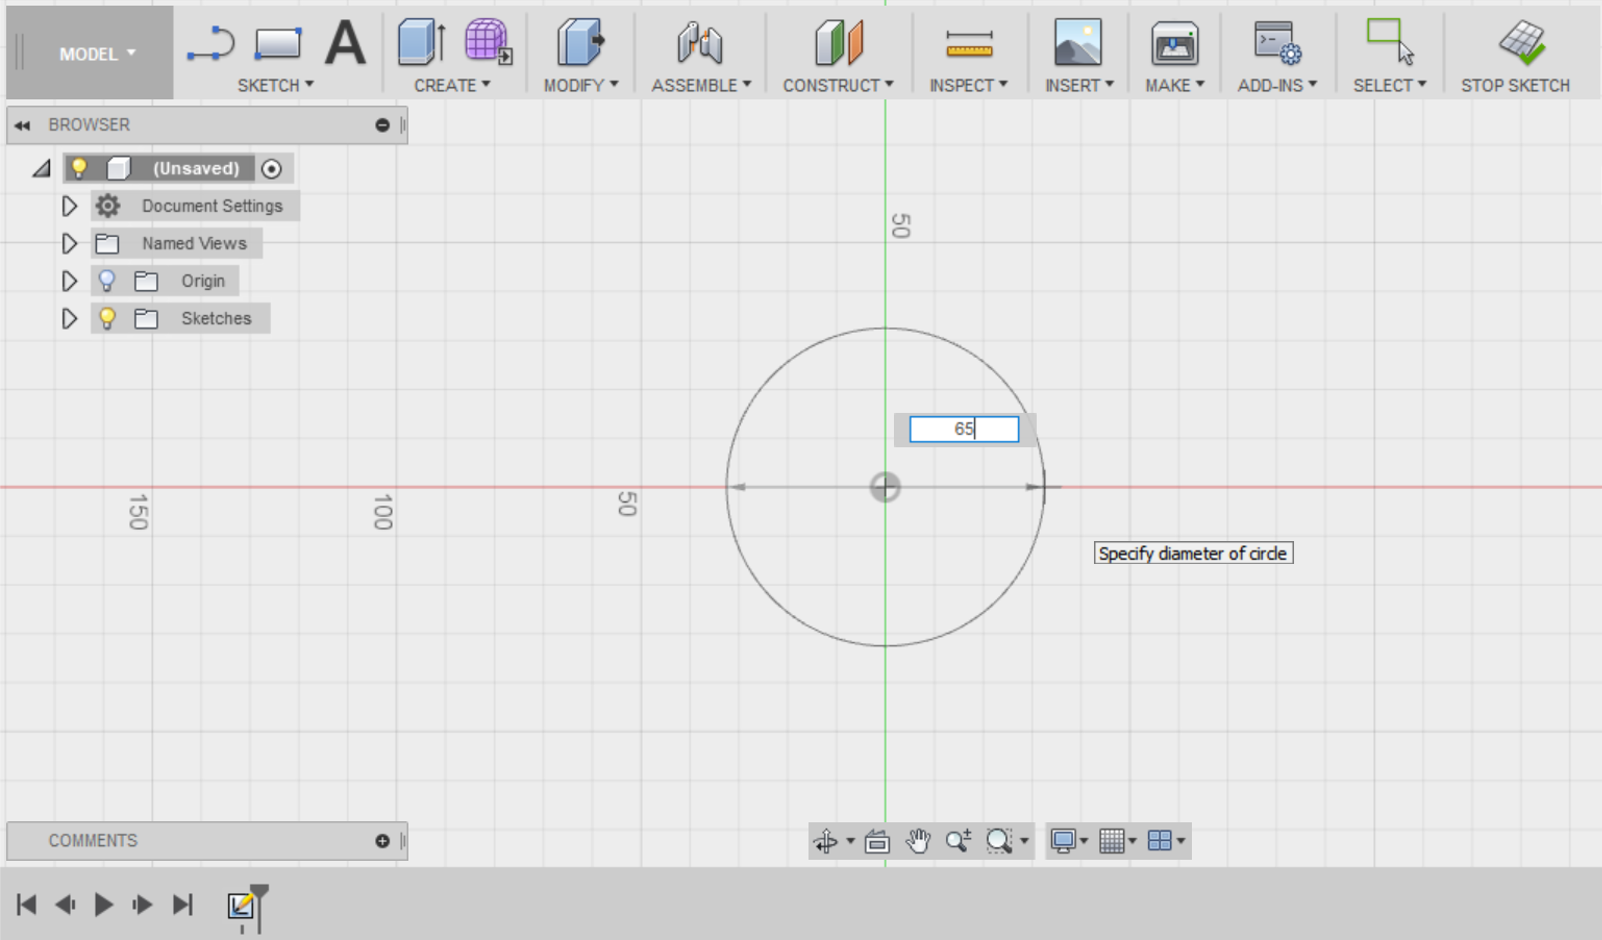
Click on the Origin (where the x- and y-axes intersect) to set it as the centre of your circle. Drag your cursor to enlarge your circle. In the dimensions box, set your diameter to 65mm and click enter twice to create your circle.
Step 4
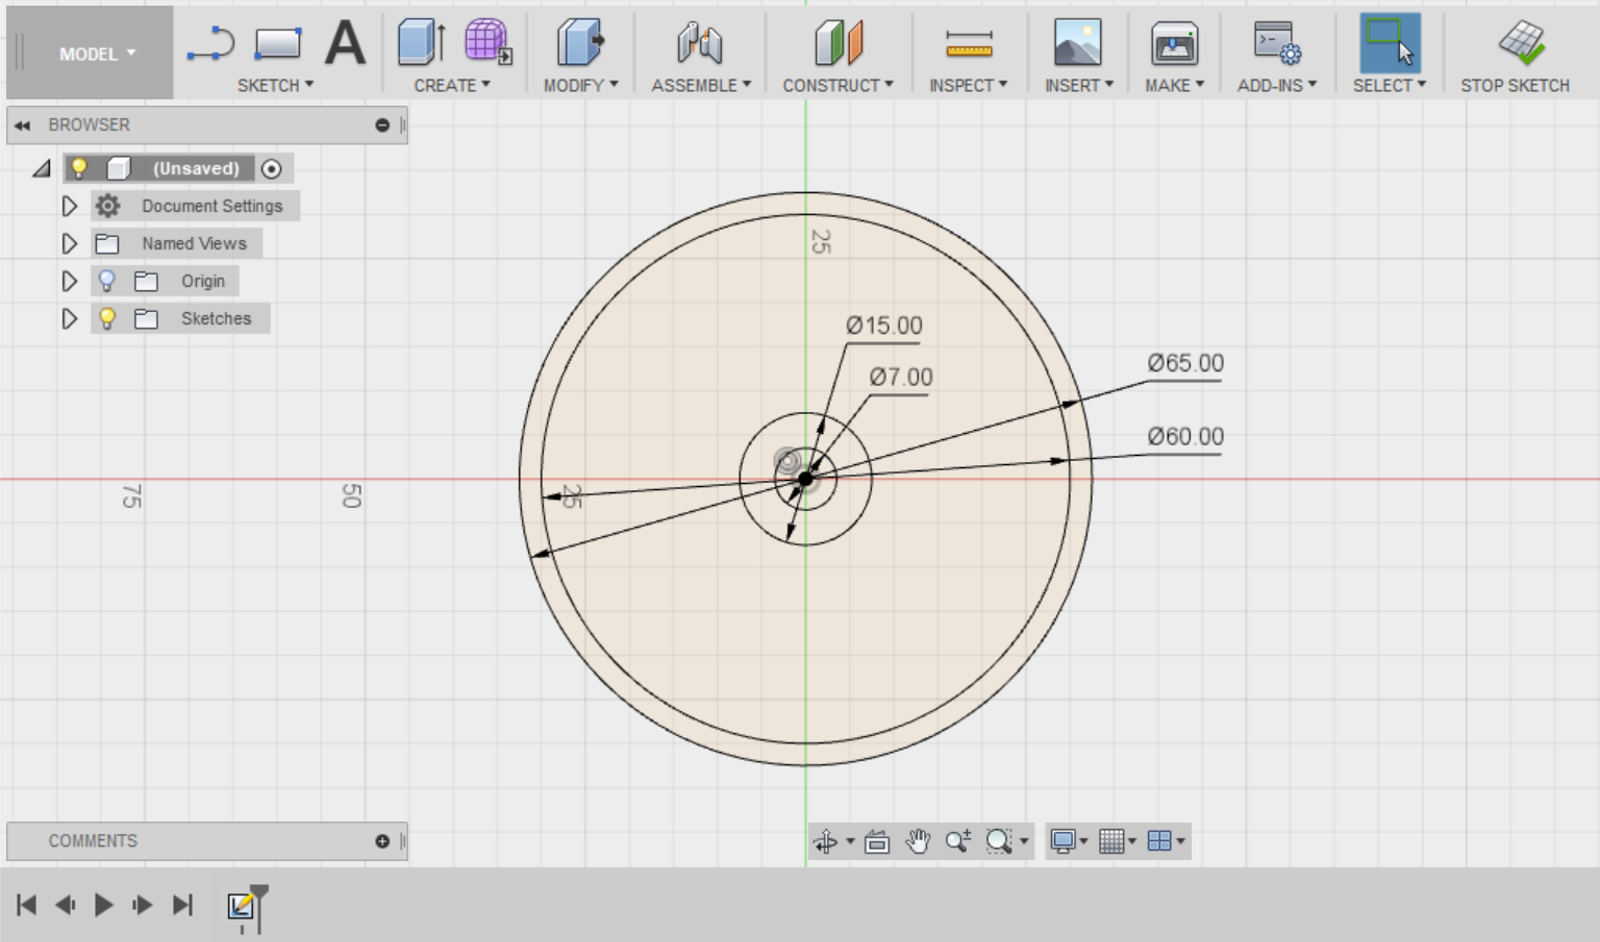
Repeat the same command and create a 7mm, 15mm and 60mm circle using the Origin as your centre point.
Step 5
Go to the SKETCH menu and select the Line tool.
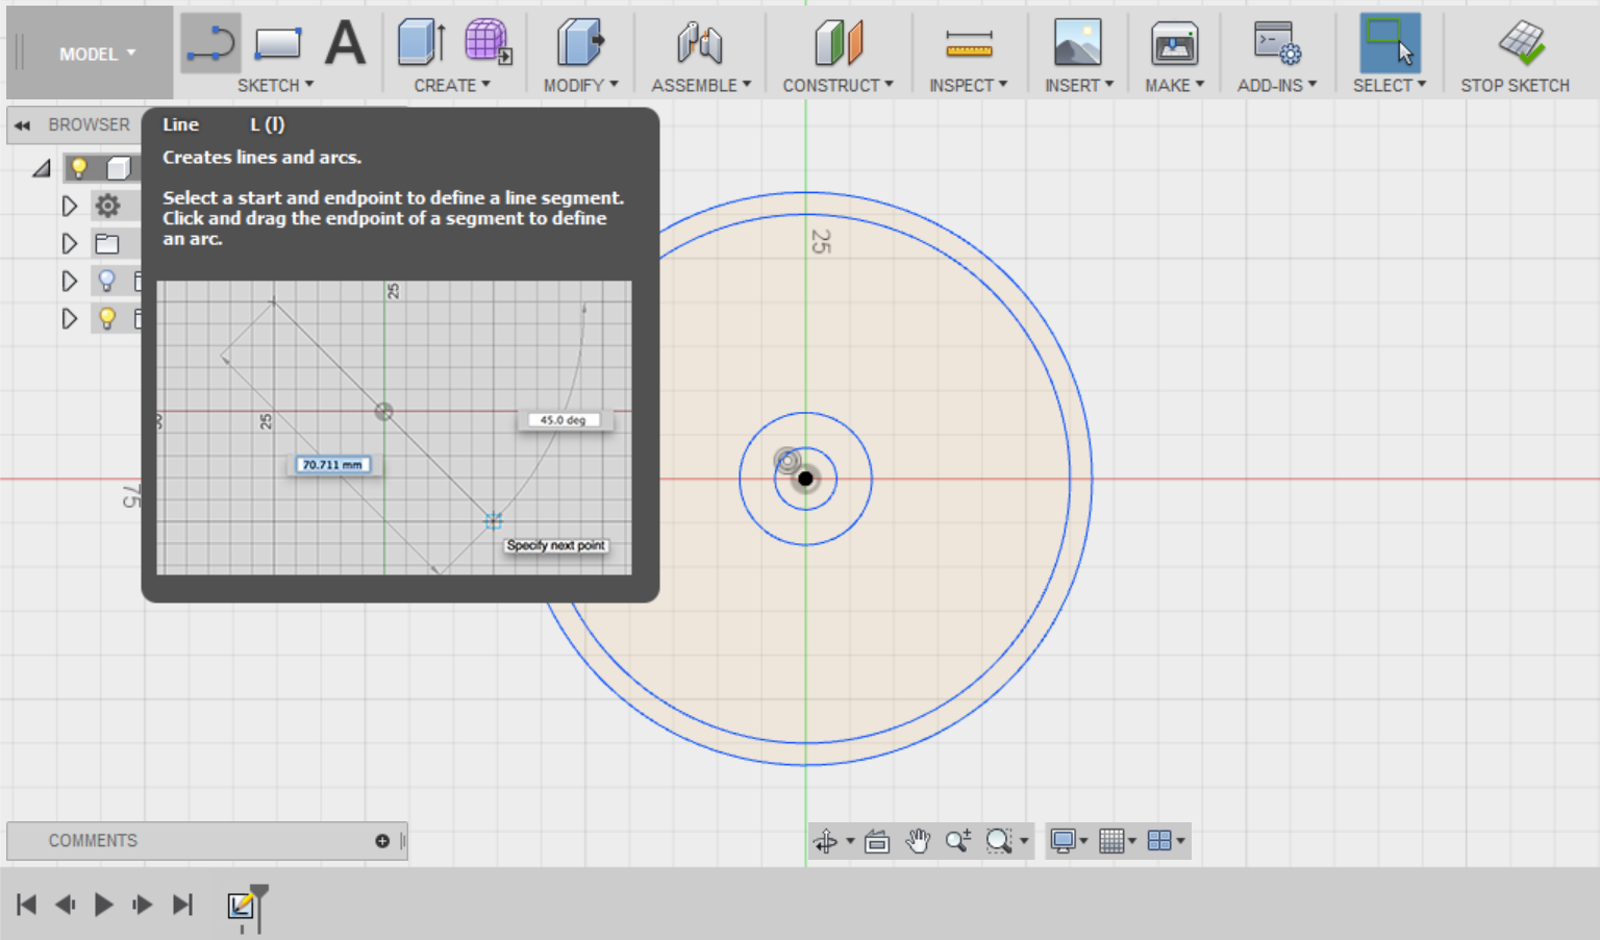
Draw a line from the 65mm outer circle to the Origin point, then a second line at a 35 degree angle back to the outer circle.
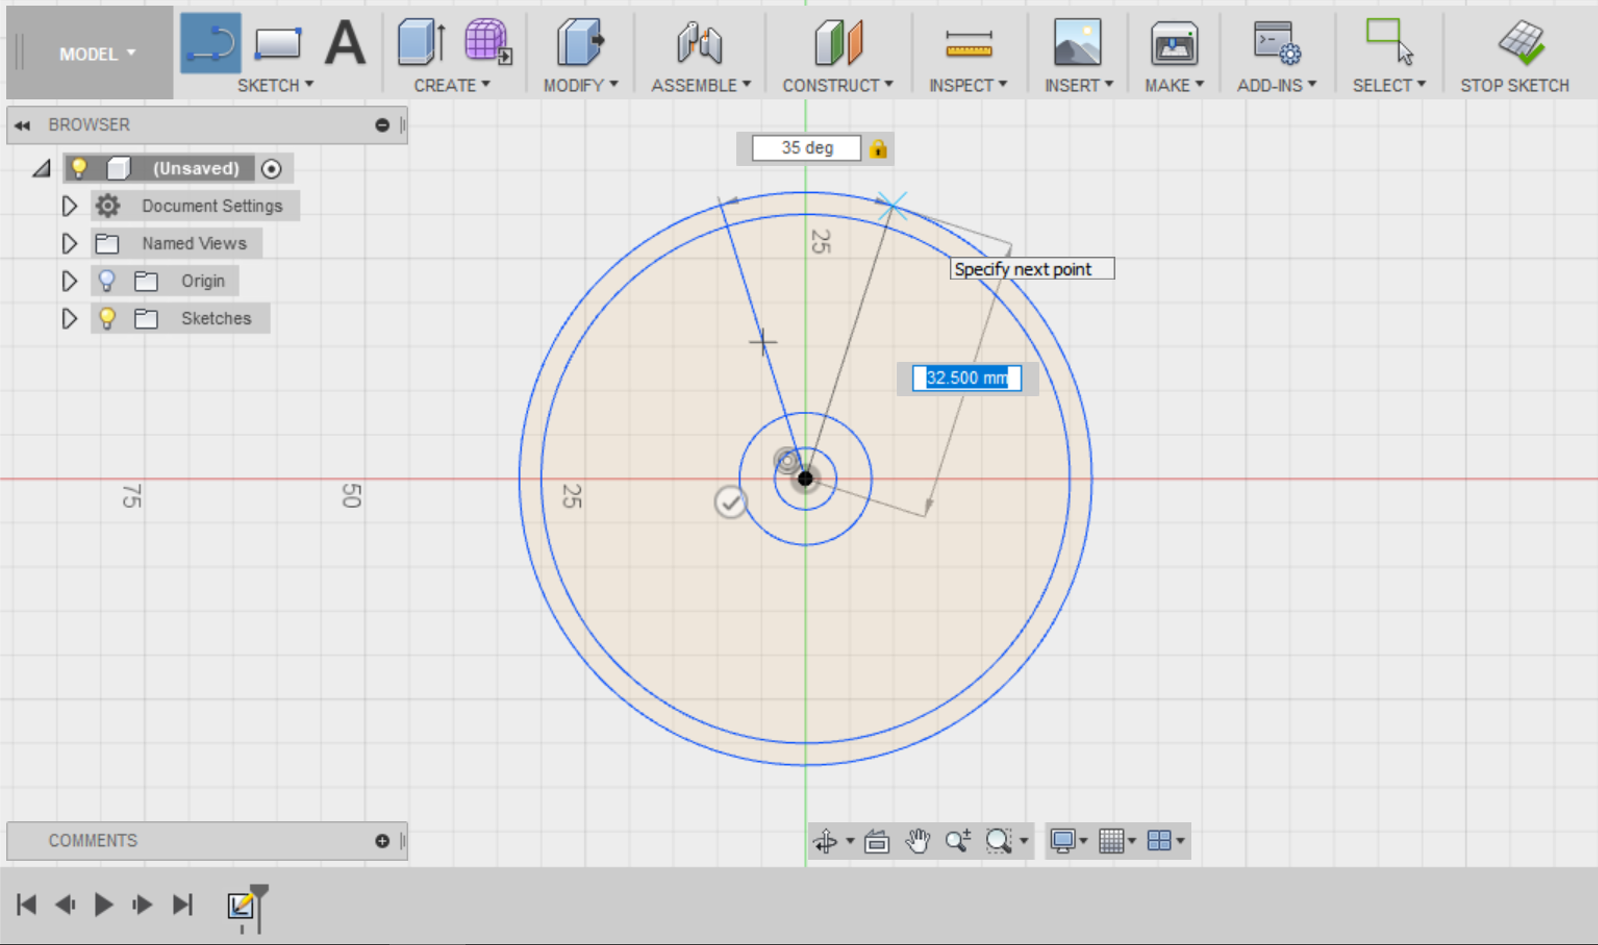
(Hint: Type in 35 in the angle dimensions box and press Tab to lock the dimension.)
Step 6
In the SKETCH menu, select the Trim tool. This tool allows you to trim away any unnecessary lines, keeping your sketches neat and tidy.
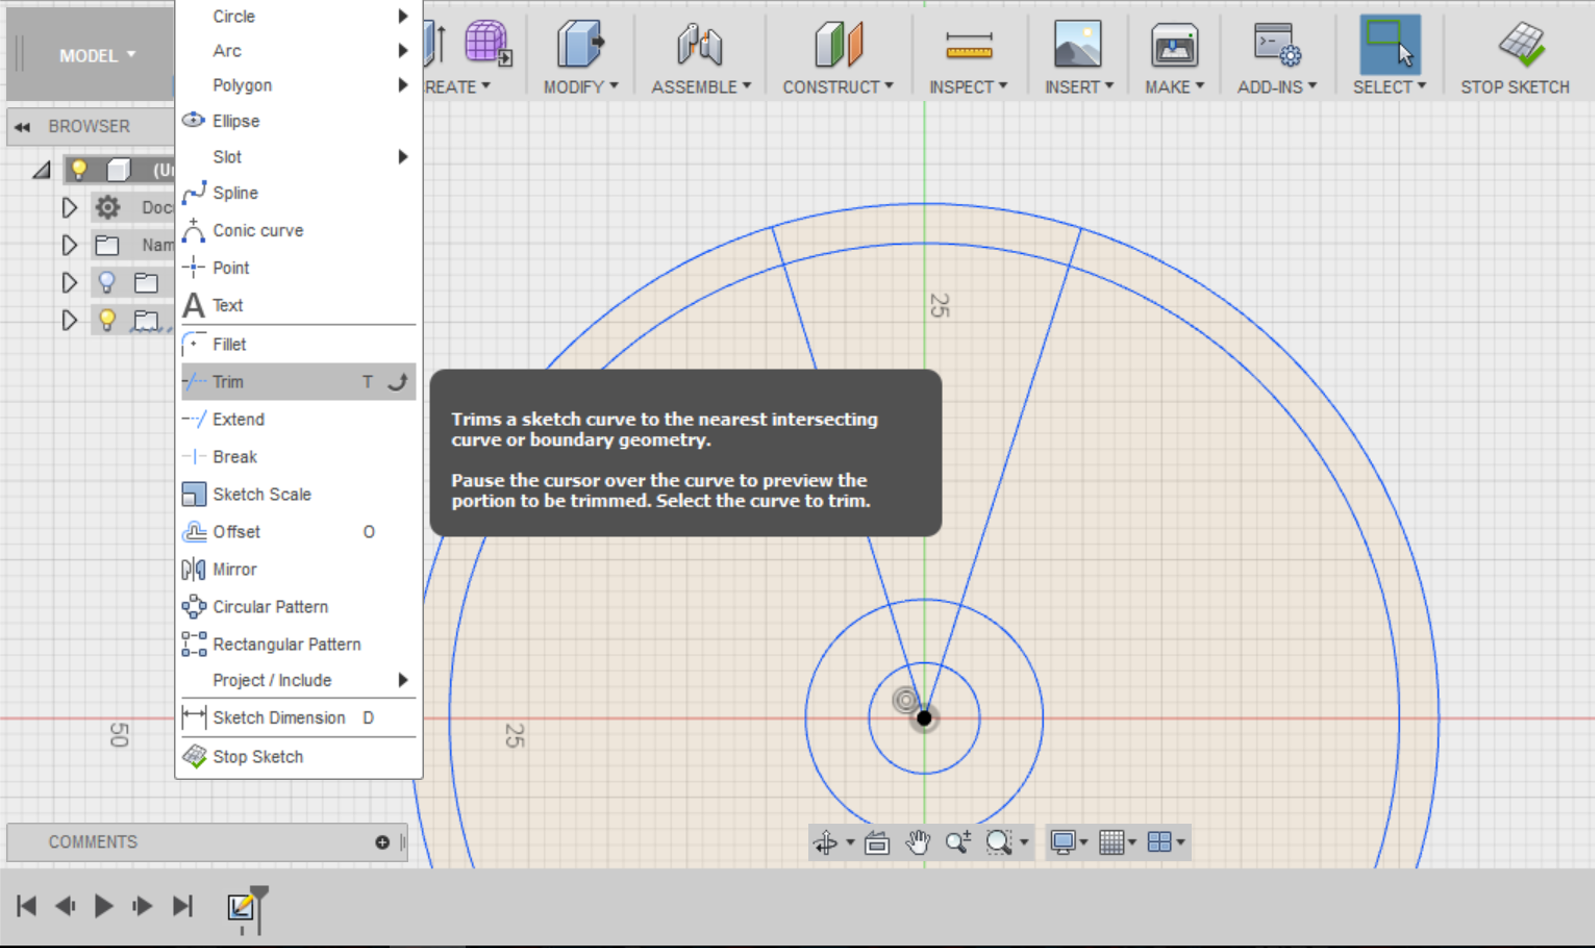
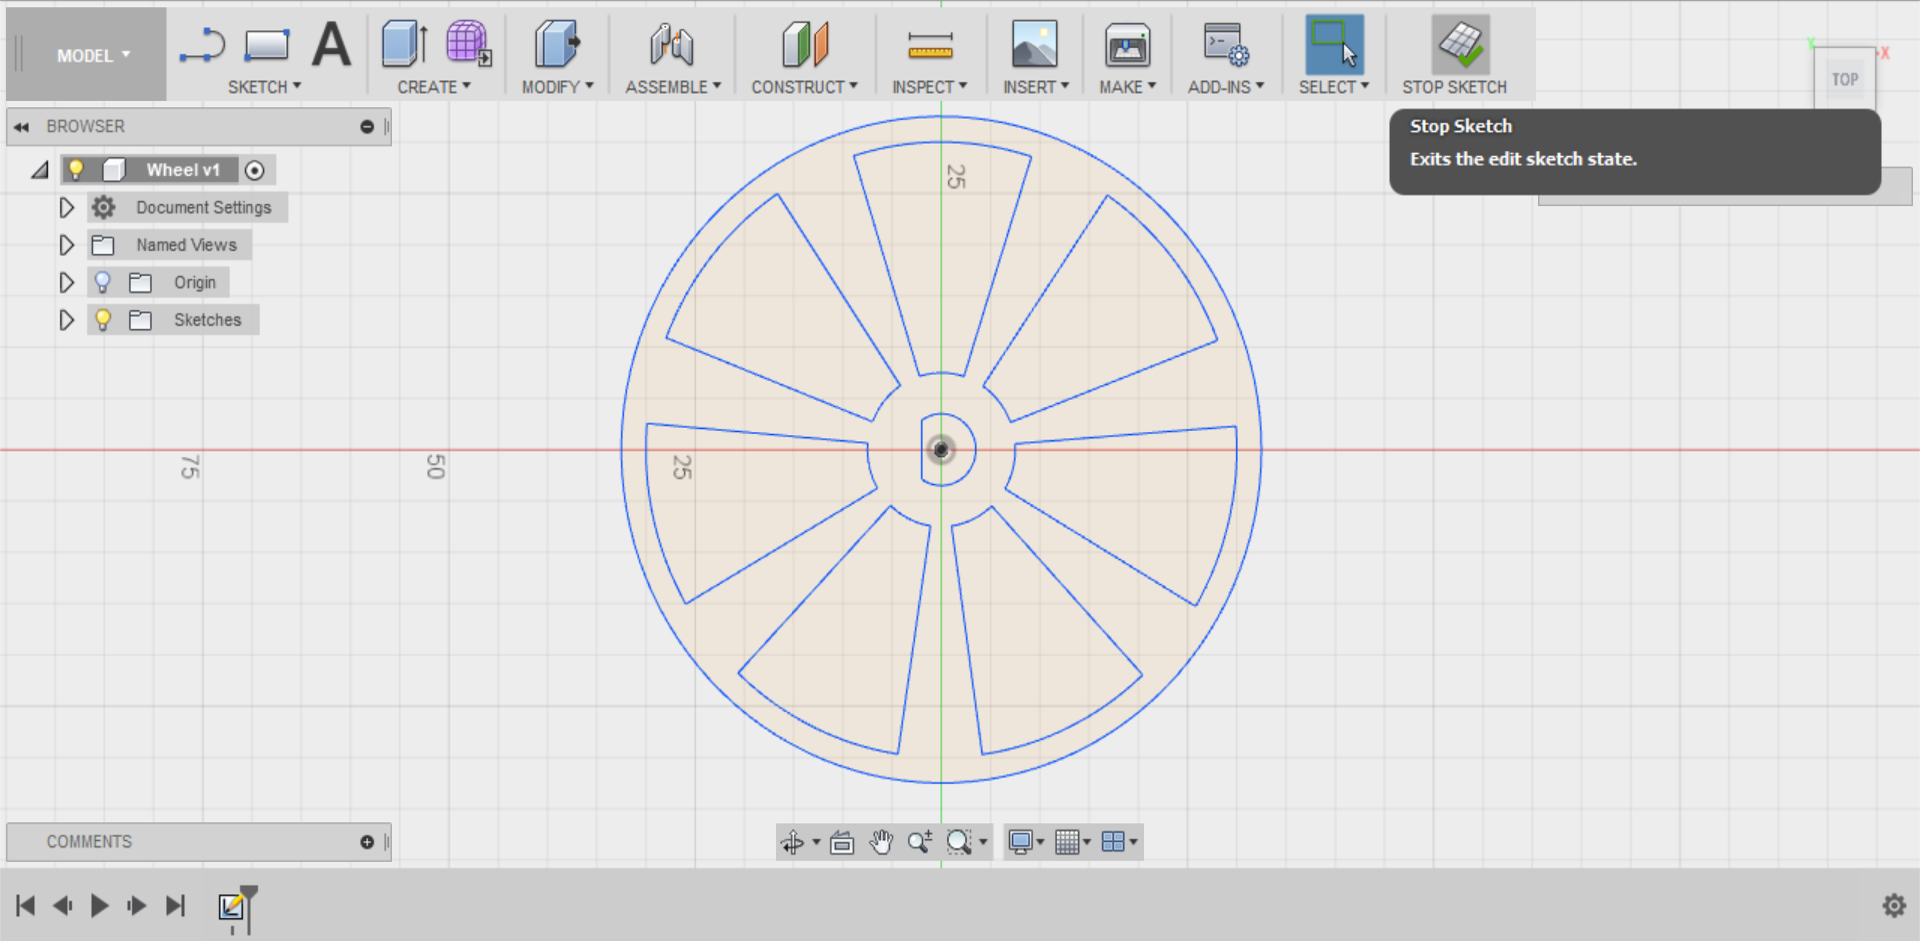
Trim away all unwanted lines until you end up with the following design:
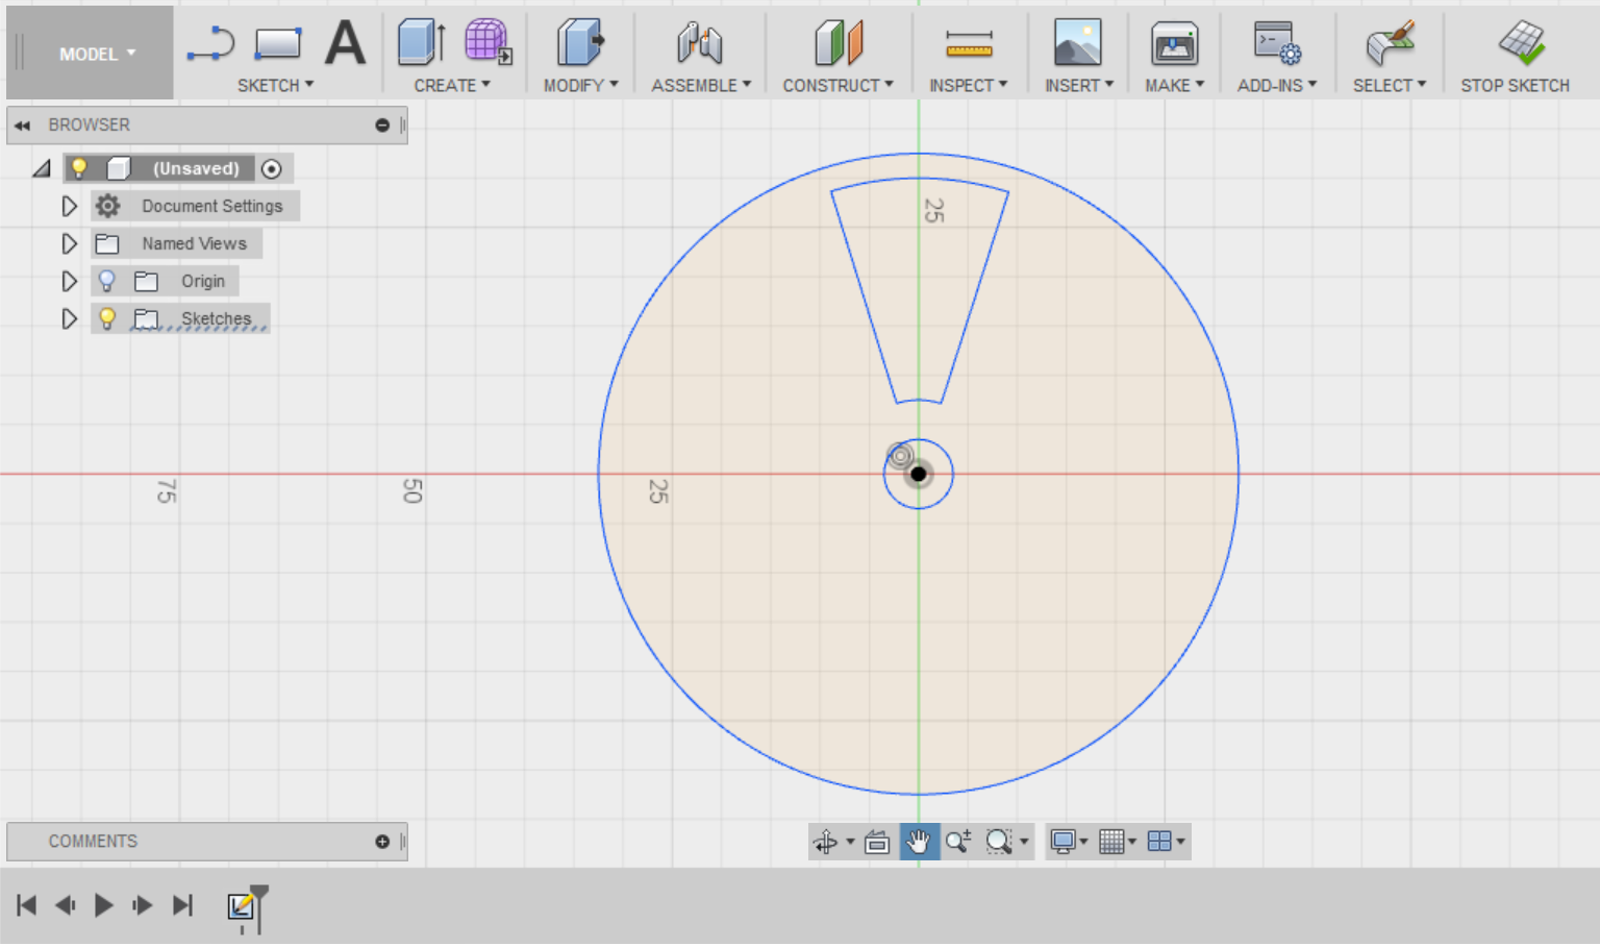
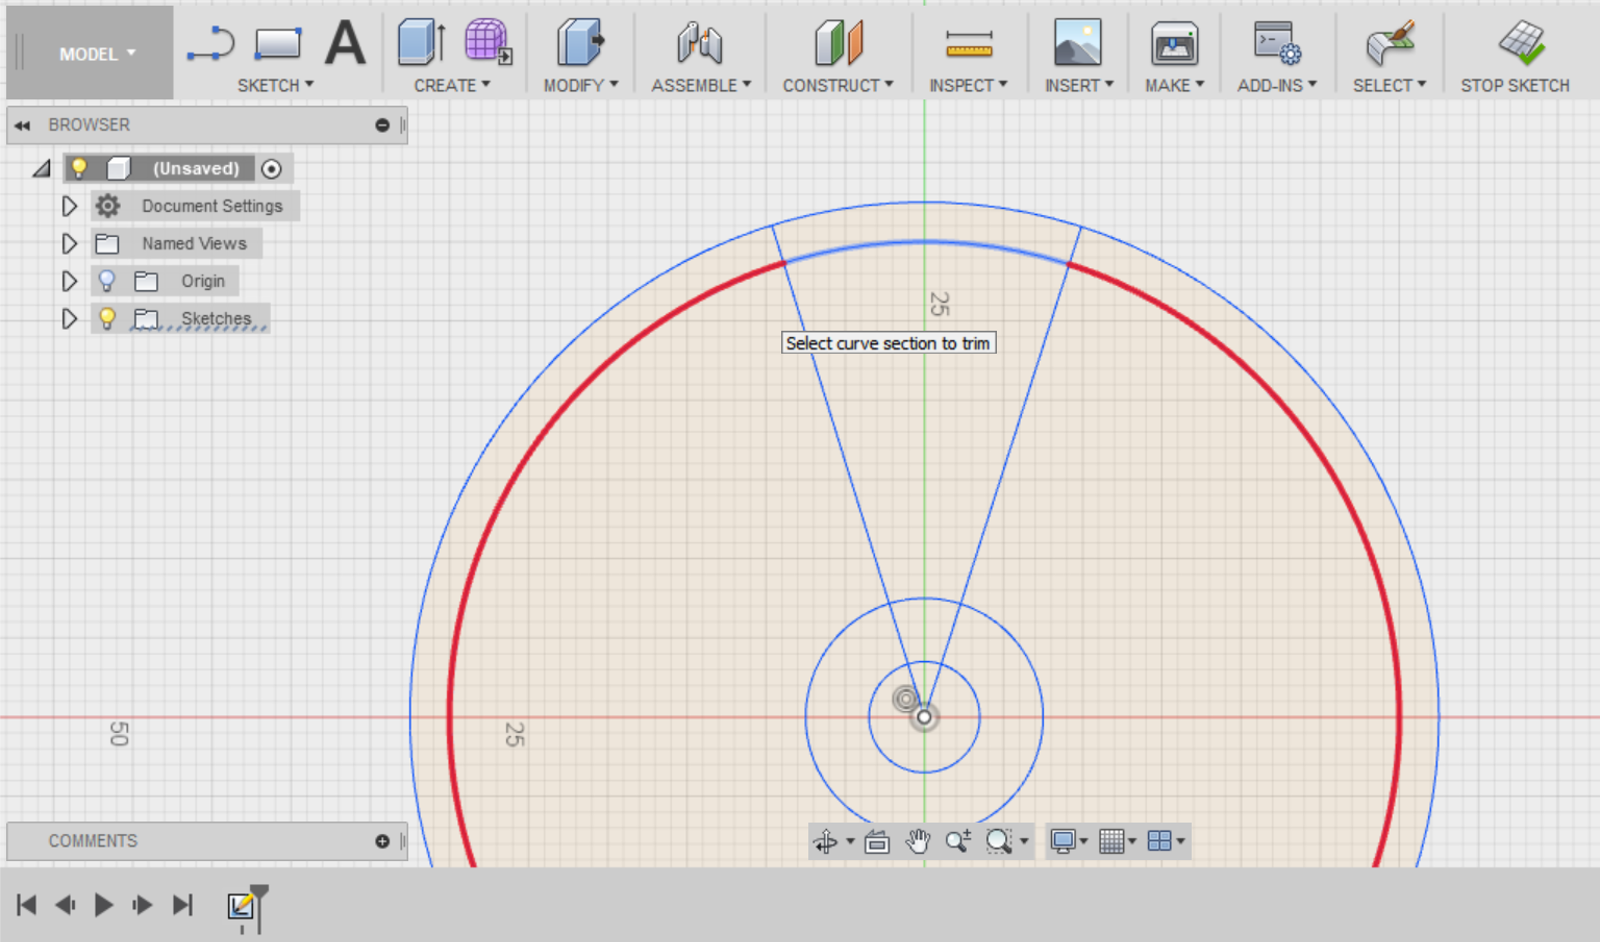
(Hint: Lines should highlight in red when you hover over them with the Trim tool so you can make sure to select the correct lines to trim.)
Step 7
Use the scroll wheel on your mouse to zoom in on your 7mm circle.
Once you’ve got a clear view, go to Rectangle in the SKETCH menu and select Centre Rectangle.
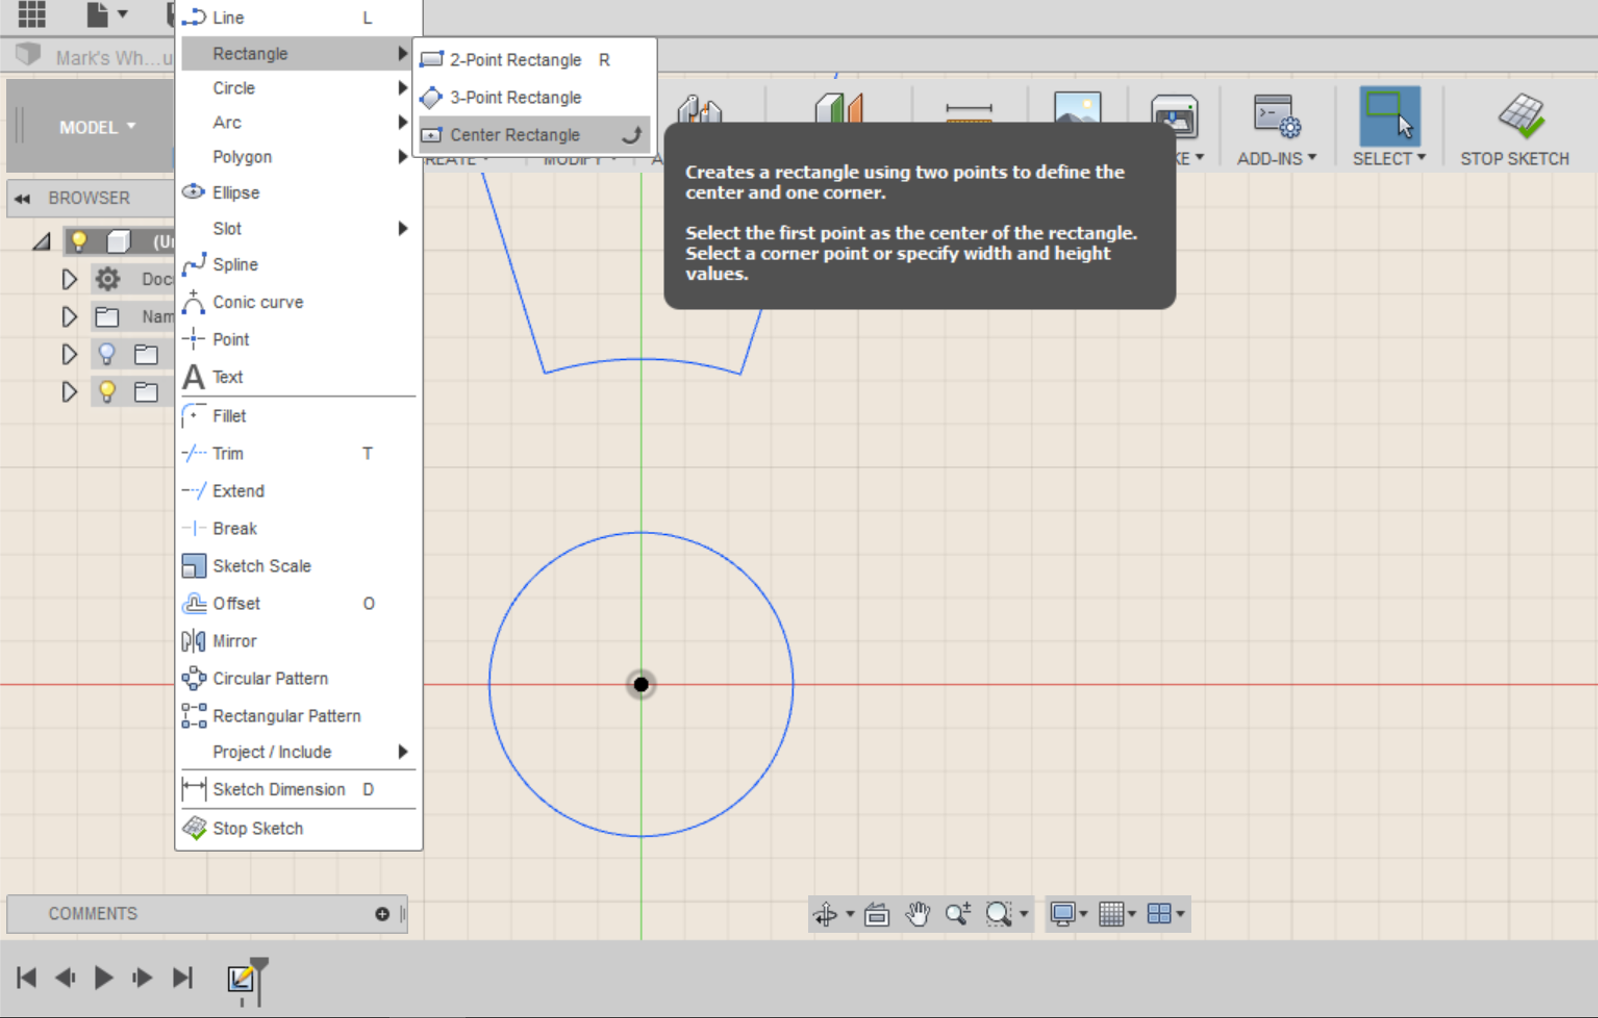
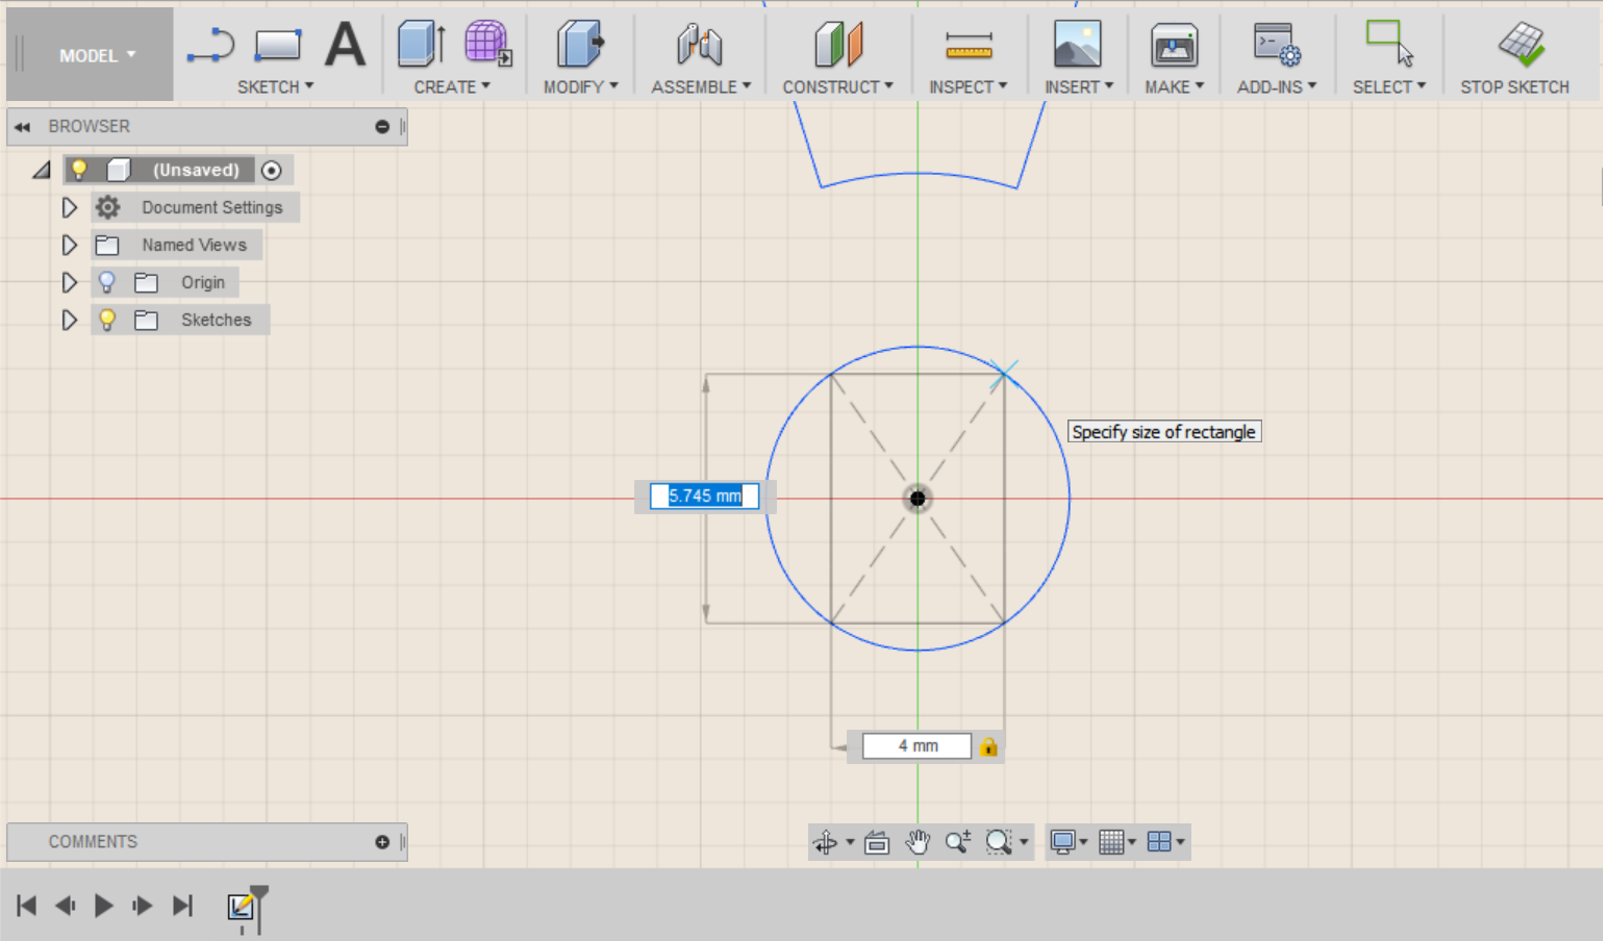
Select the Origin as the centre of your rectangle, type 4mm for the width then press Tab.
Drag the rectangle until the height intersects with the 7mm circle and left-click to set it in place.
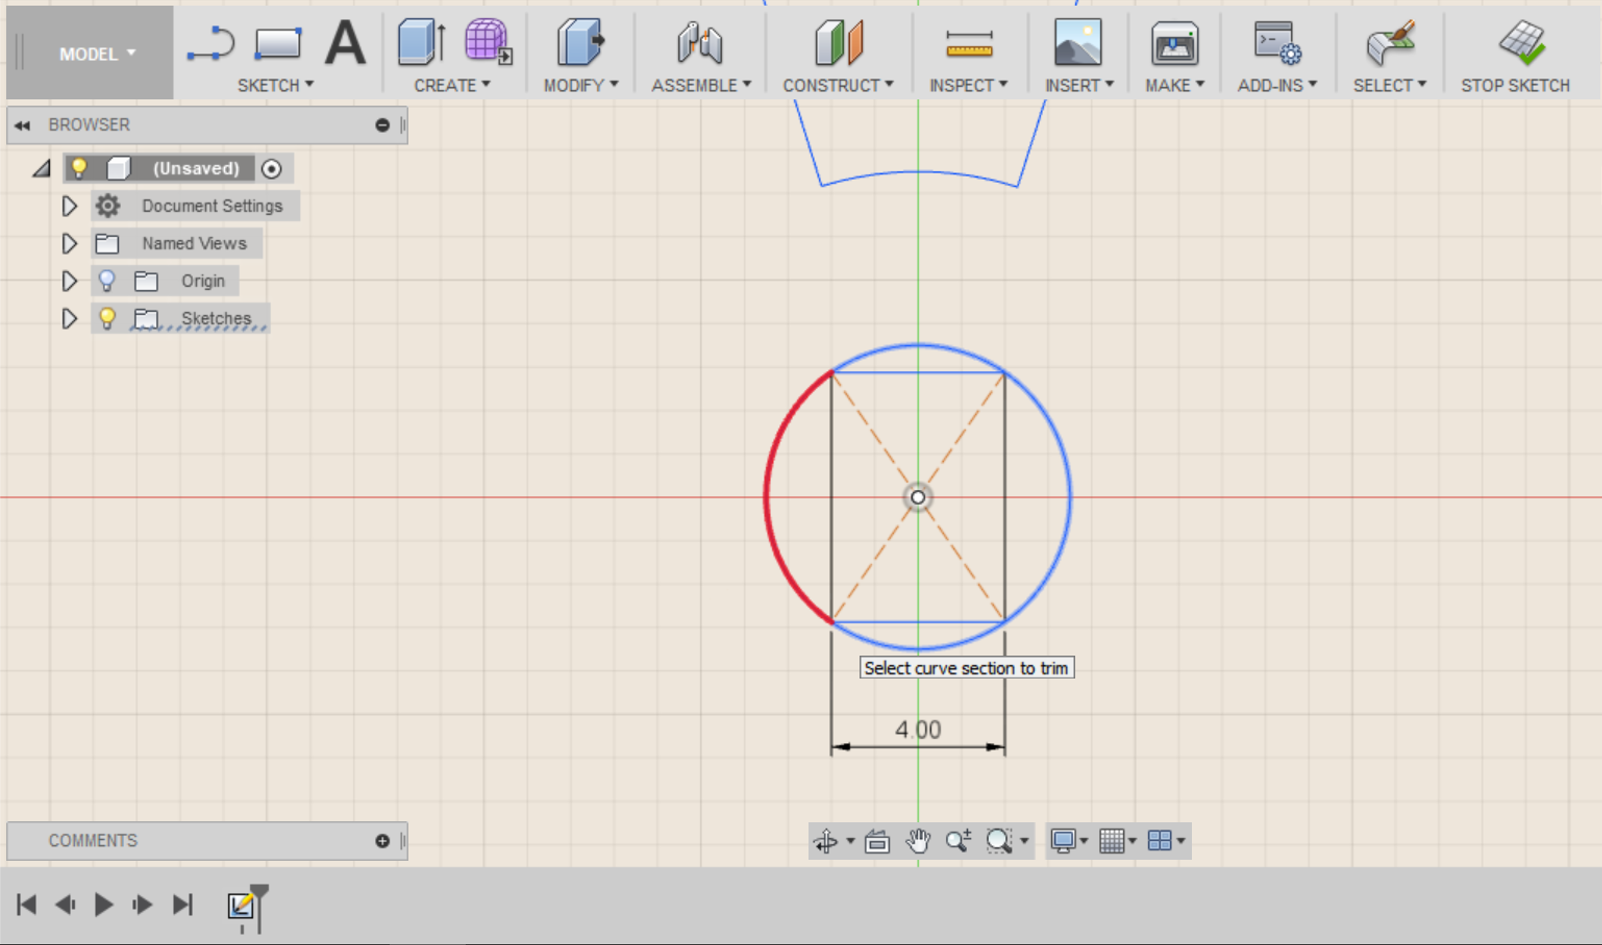
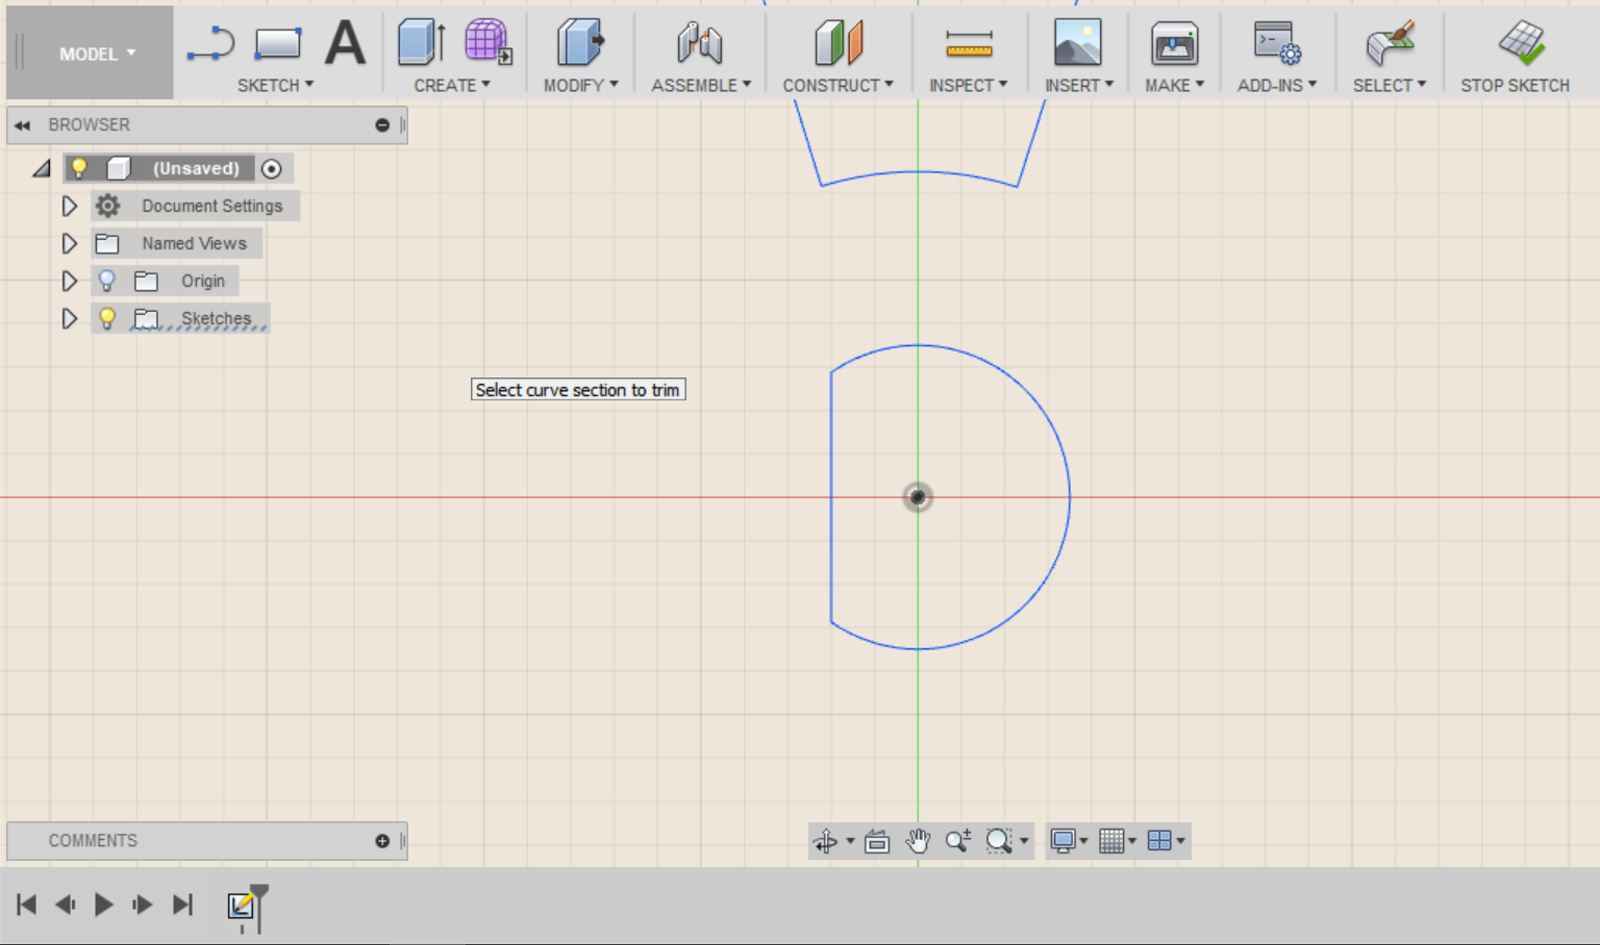
Go to the SKETCH menu and select the Trim tool, then trim away any unwanted lines until you are left with a D shape.
Step 8
Select Circular Pattern from the SKETCH menu. This allows you to copy and repeat a selected shape along a circular pattern.
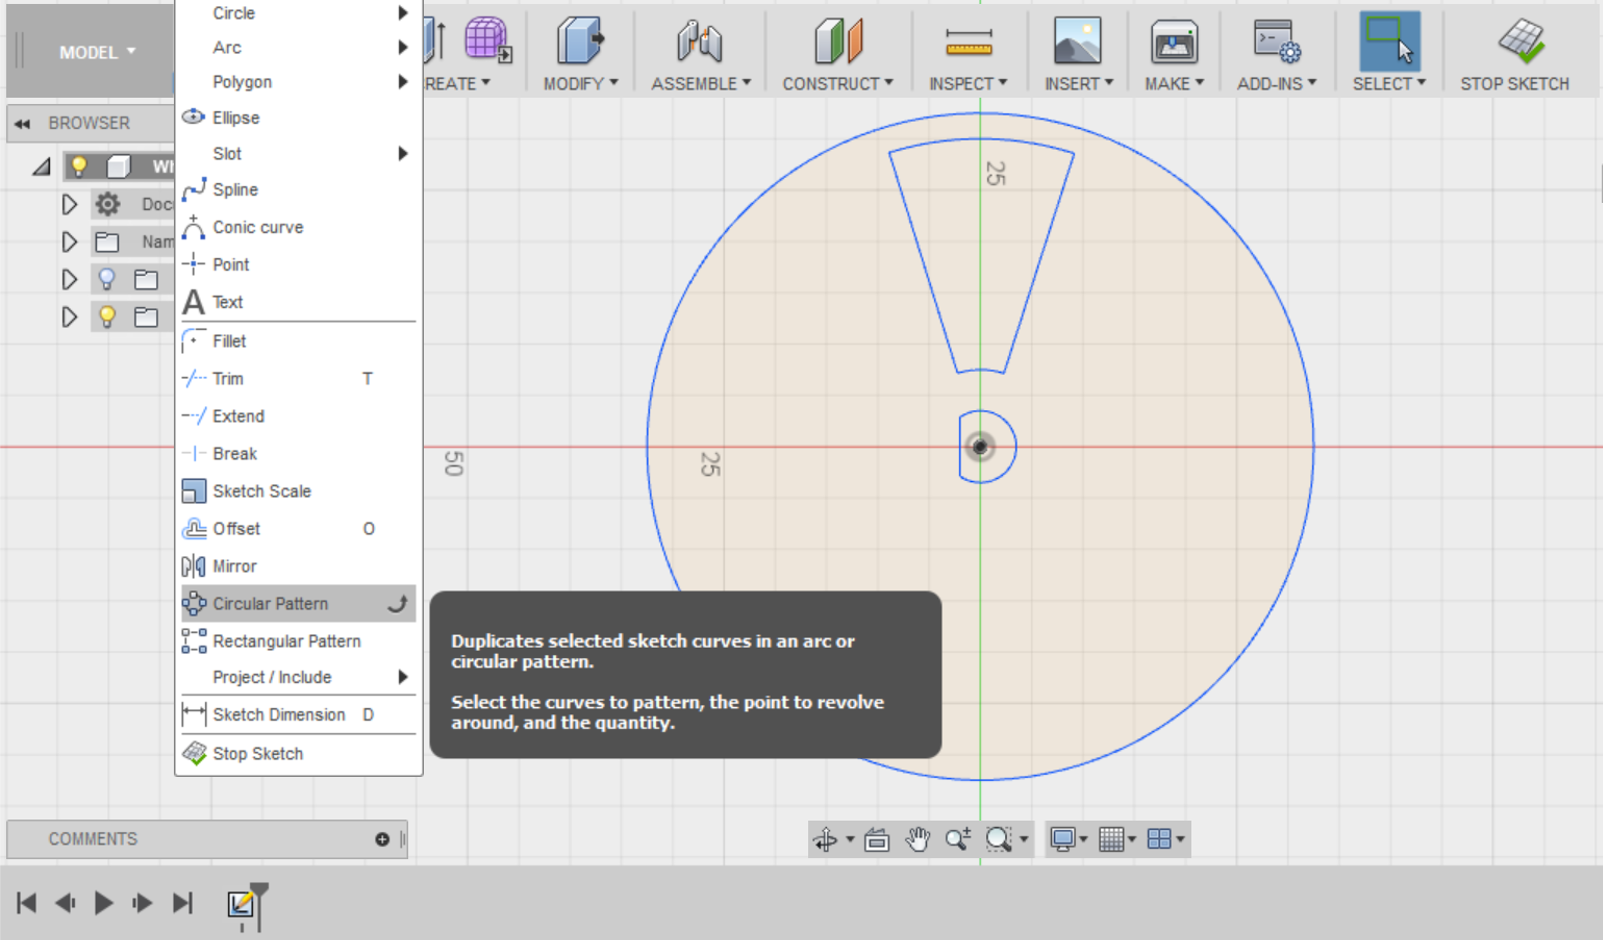
In the Circular Pattern dialogue box, select all the lines of the pattern you wish to repeat to create the gap between your spokes. Select the Origin as your centre point.
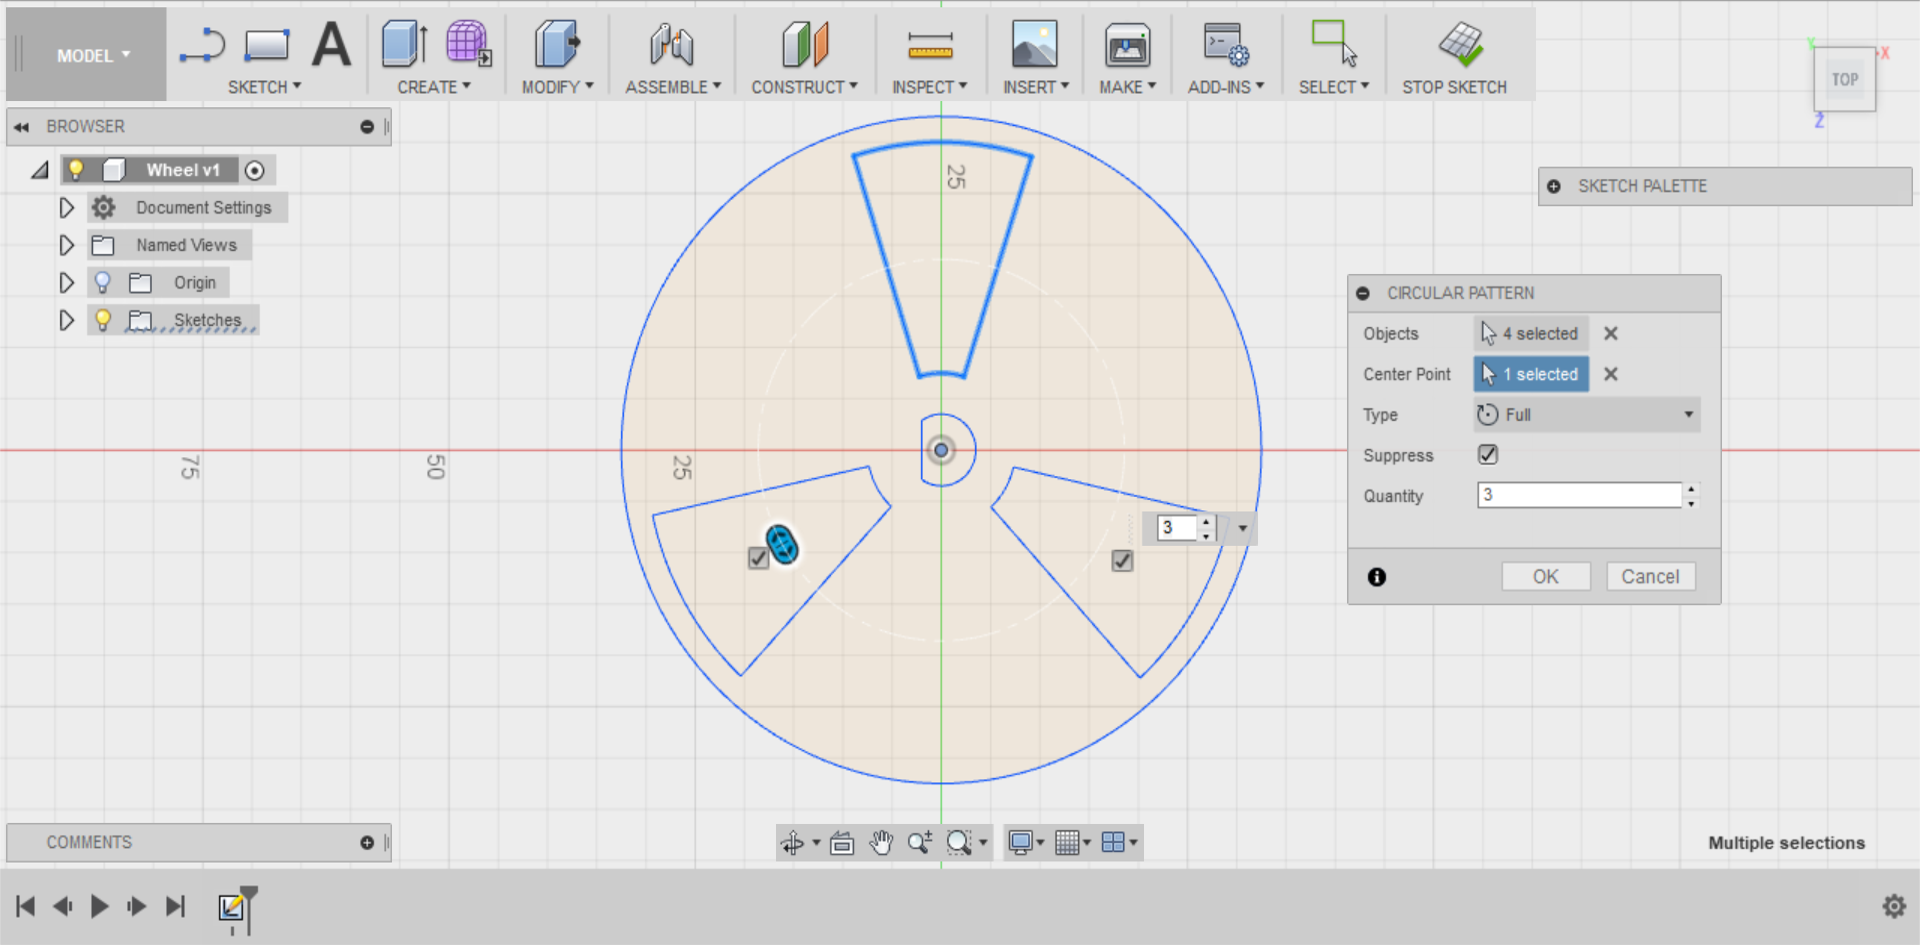
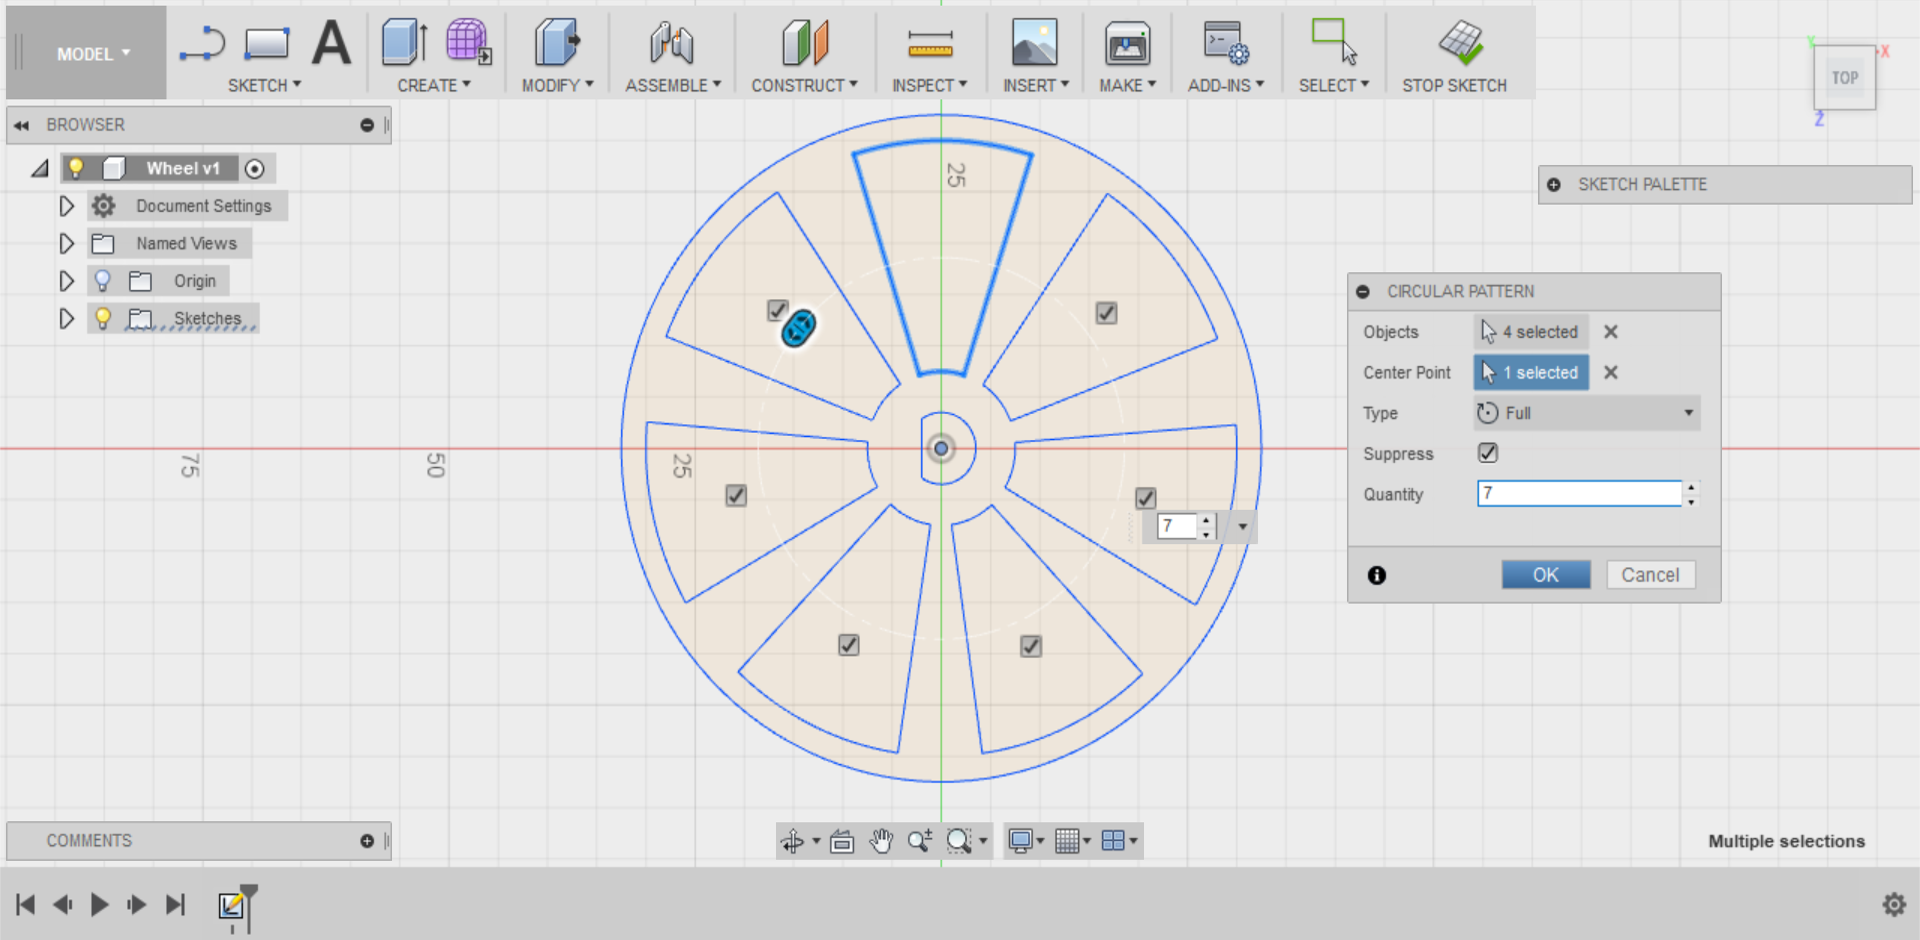
Increase the Quantity in your circular pattern until you’re satisfied (make sure to avoid any overlaps), then click OK.
Step 9
Select STOP SKETCH in the top menu to exit the sketch mode and return to the Model workspace.
