Course navigation
Tread Pattern Template
Step 1
Open a new design in Fusion 360.
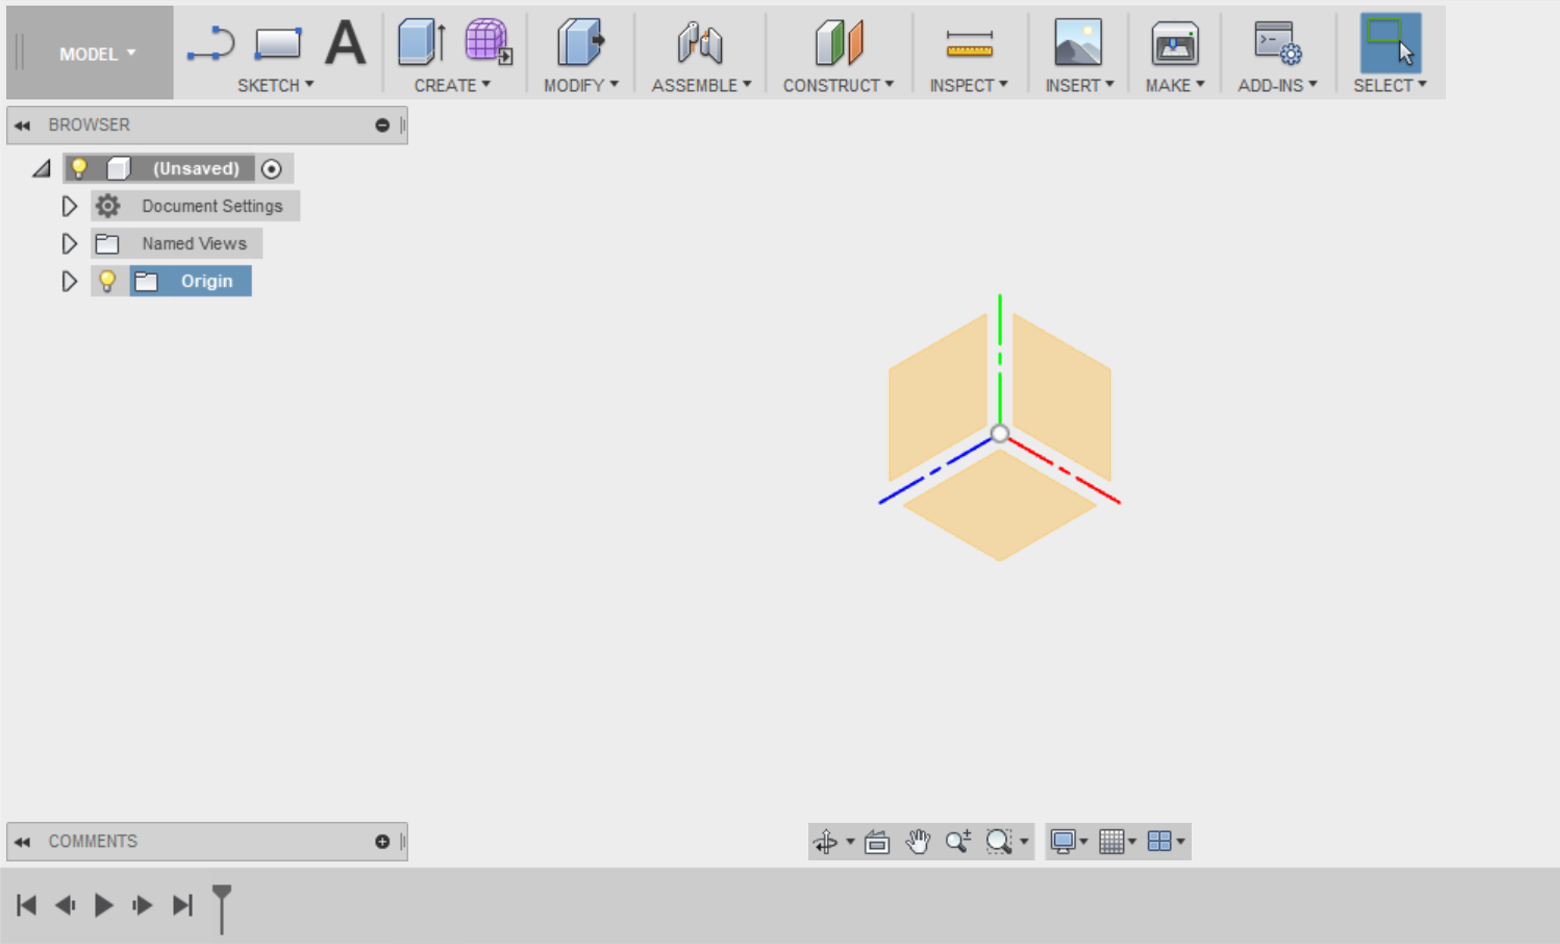
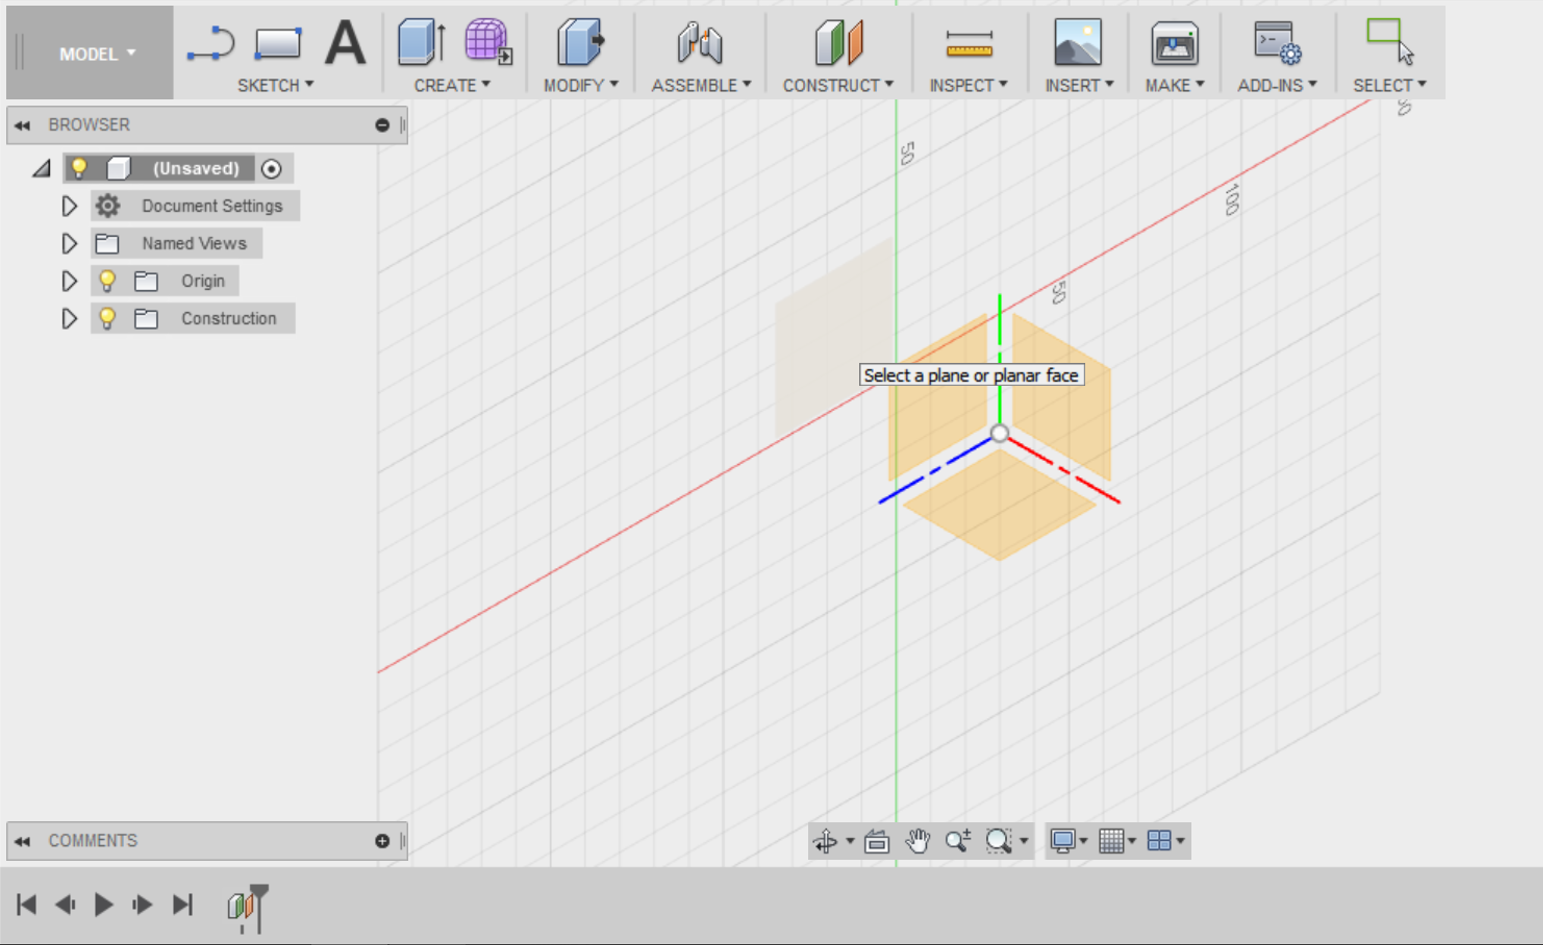
In the left-hand menu, switch on the lightbulb next to Origin to the three standard planes and their Origin.
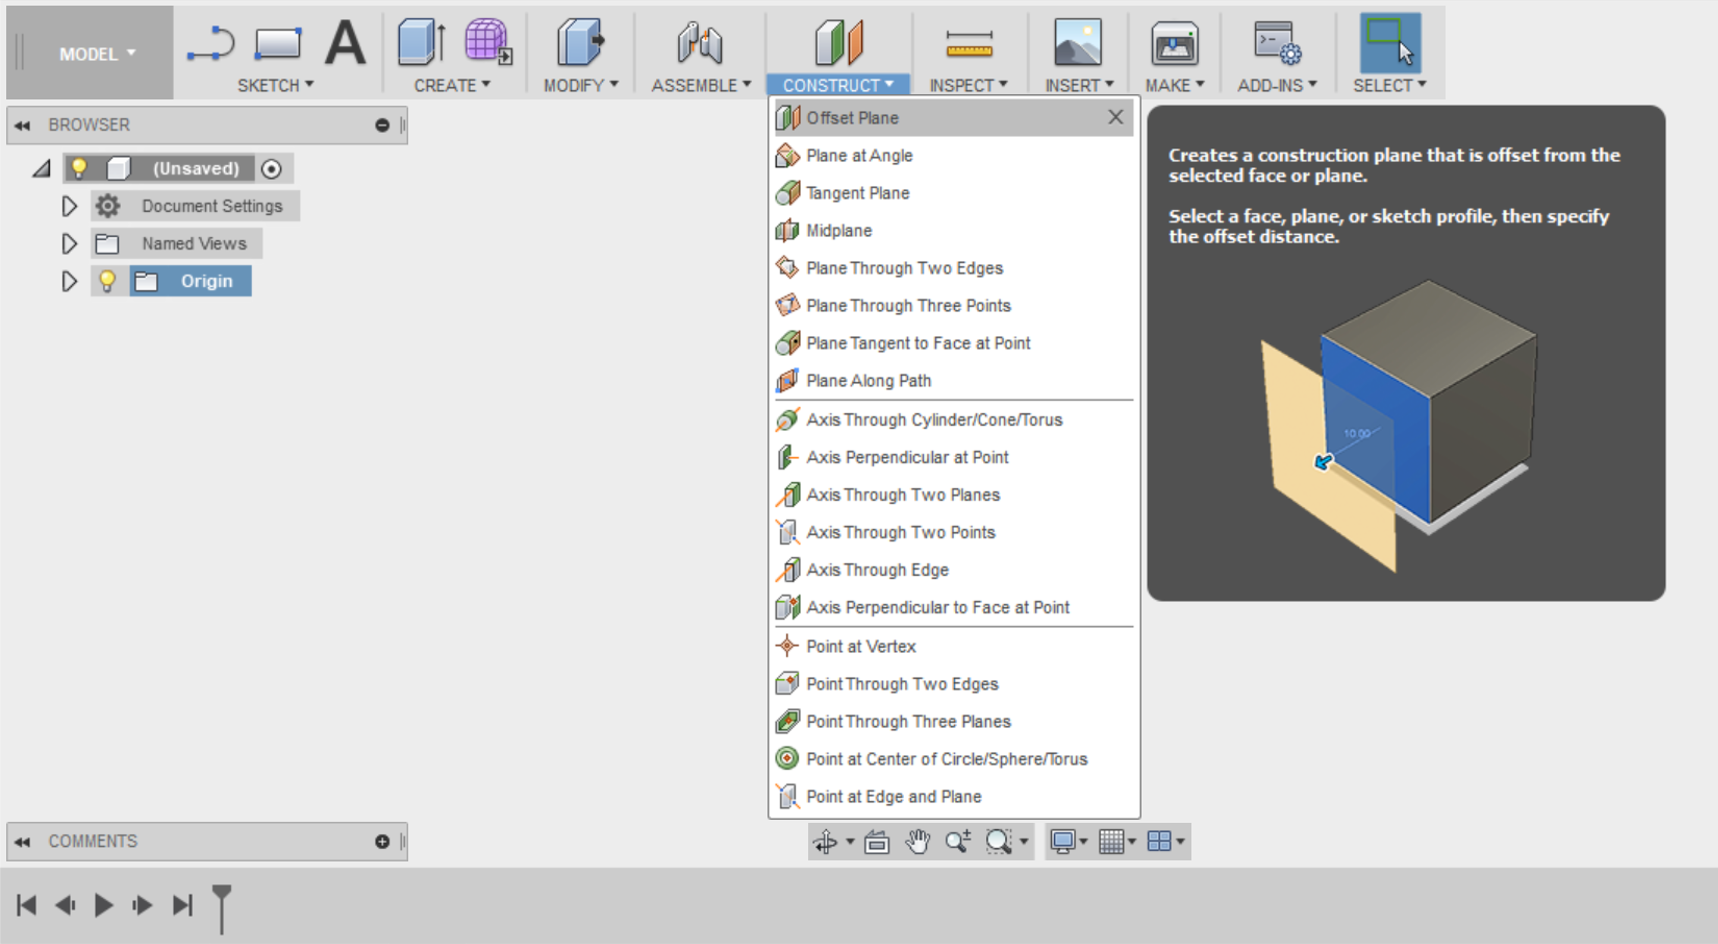
Go to CONSTRUCT in the top menu and select Offset Plane.
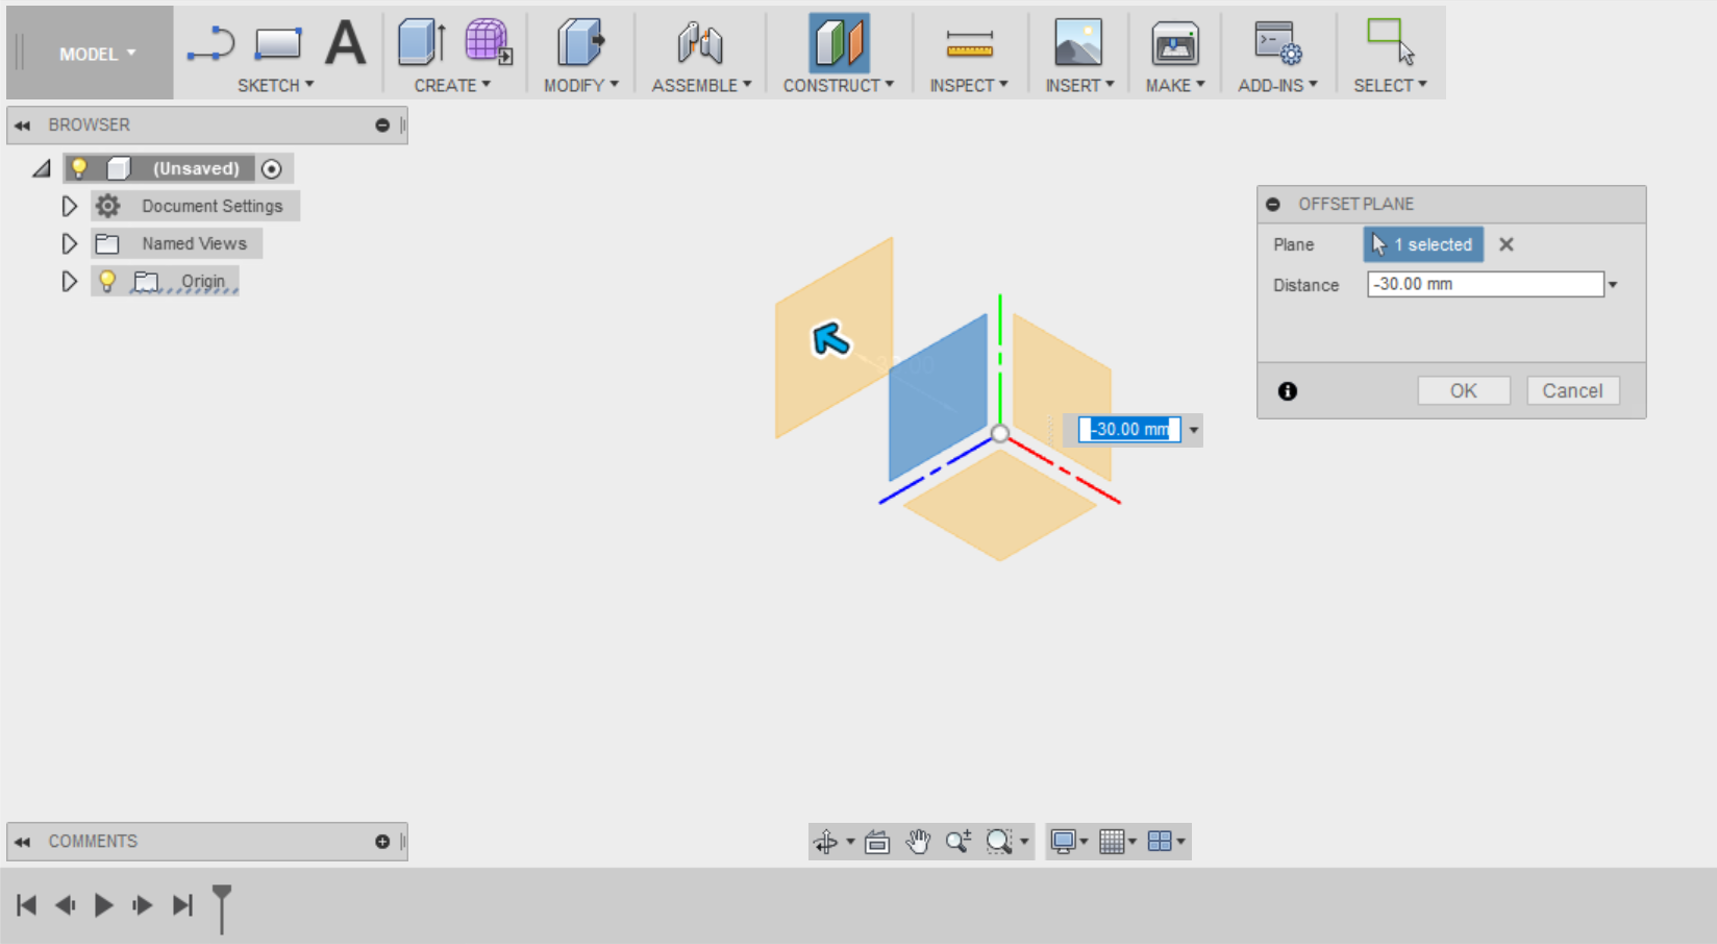
Select the left vertical plane and offset it by 30mm. You have now created a new plane to design your sketch in.
Step 2
Go to the SKETCH menu and select Create Sketch. Select the new plane you've just created.
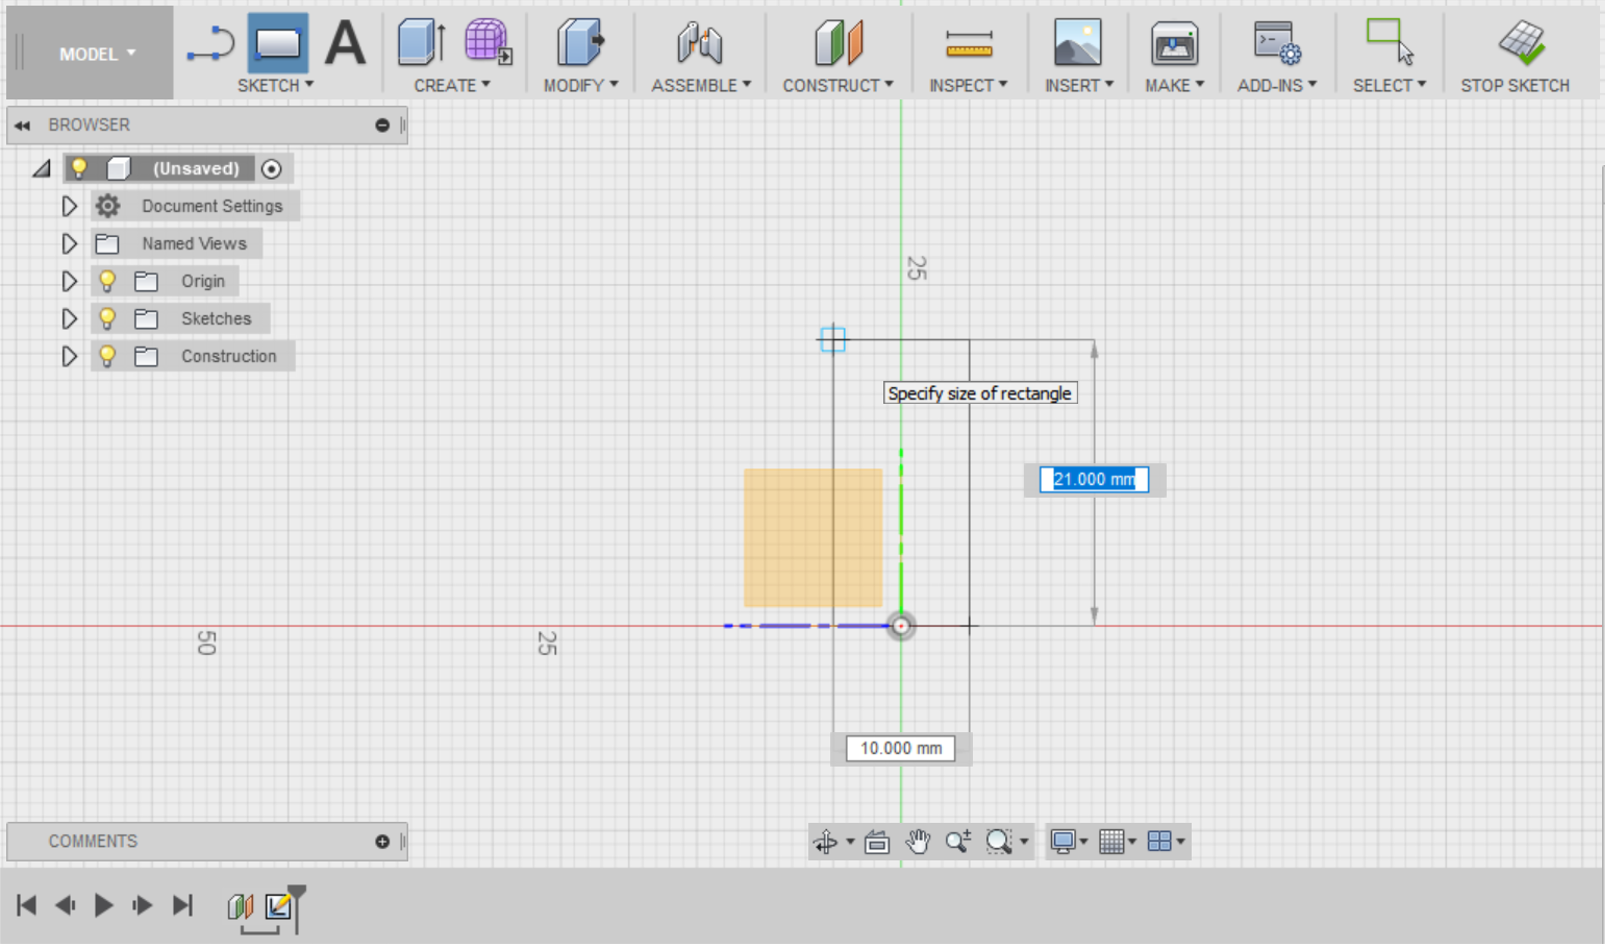
Select the 2-point rectangle in the SKETCH menu and draw a 10mm x 21mm rectangle with the green axis running through the centre of its width.
Step 3
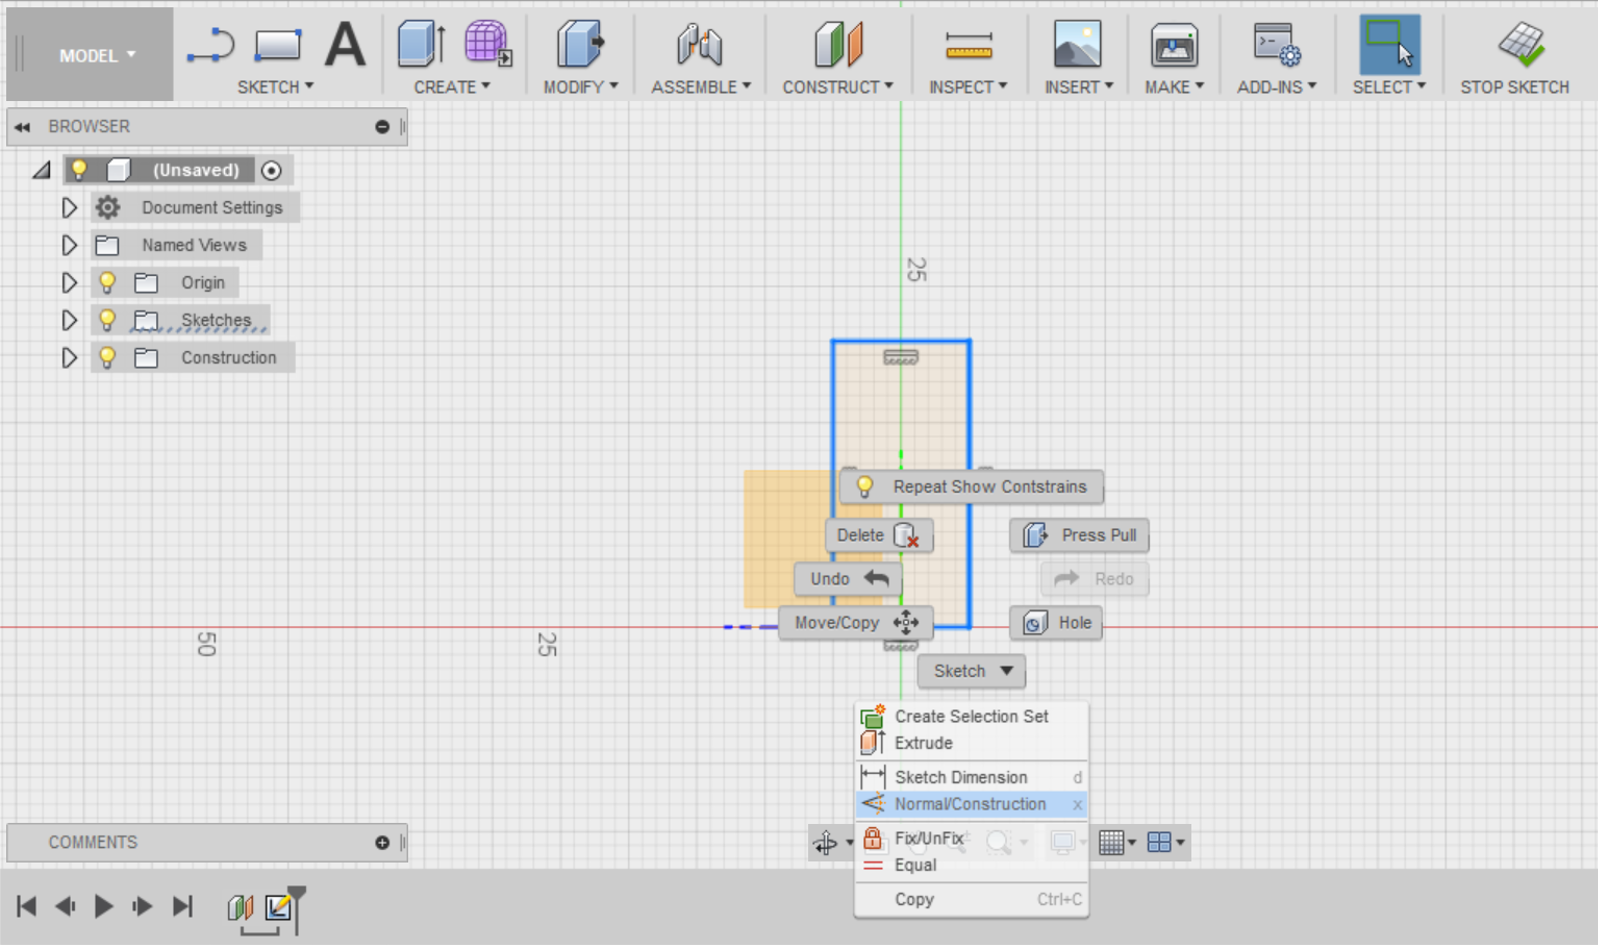
Right-click on all fours sides of the rectangle to turn it into a construction line.
You need a couple more construction lines. Select Offset in the SKETCH menu and offset the length of the rectangle by 5mm and its width by 10.5mm.
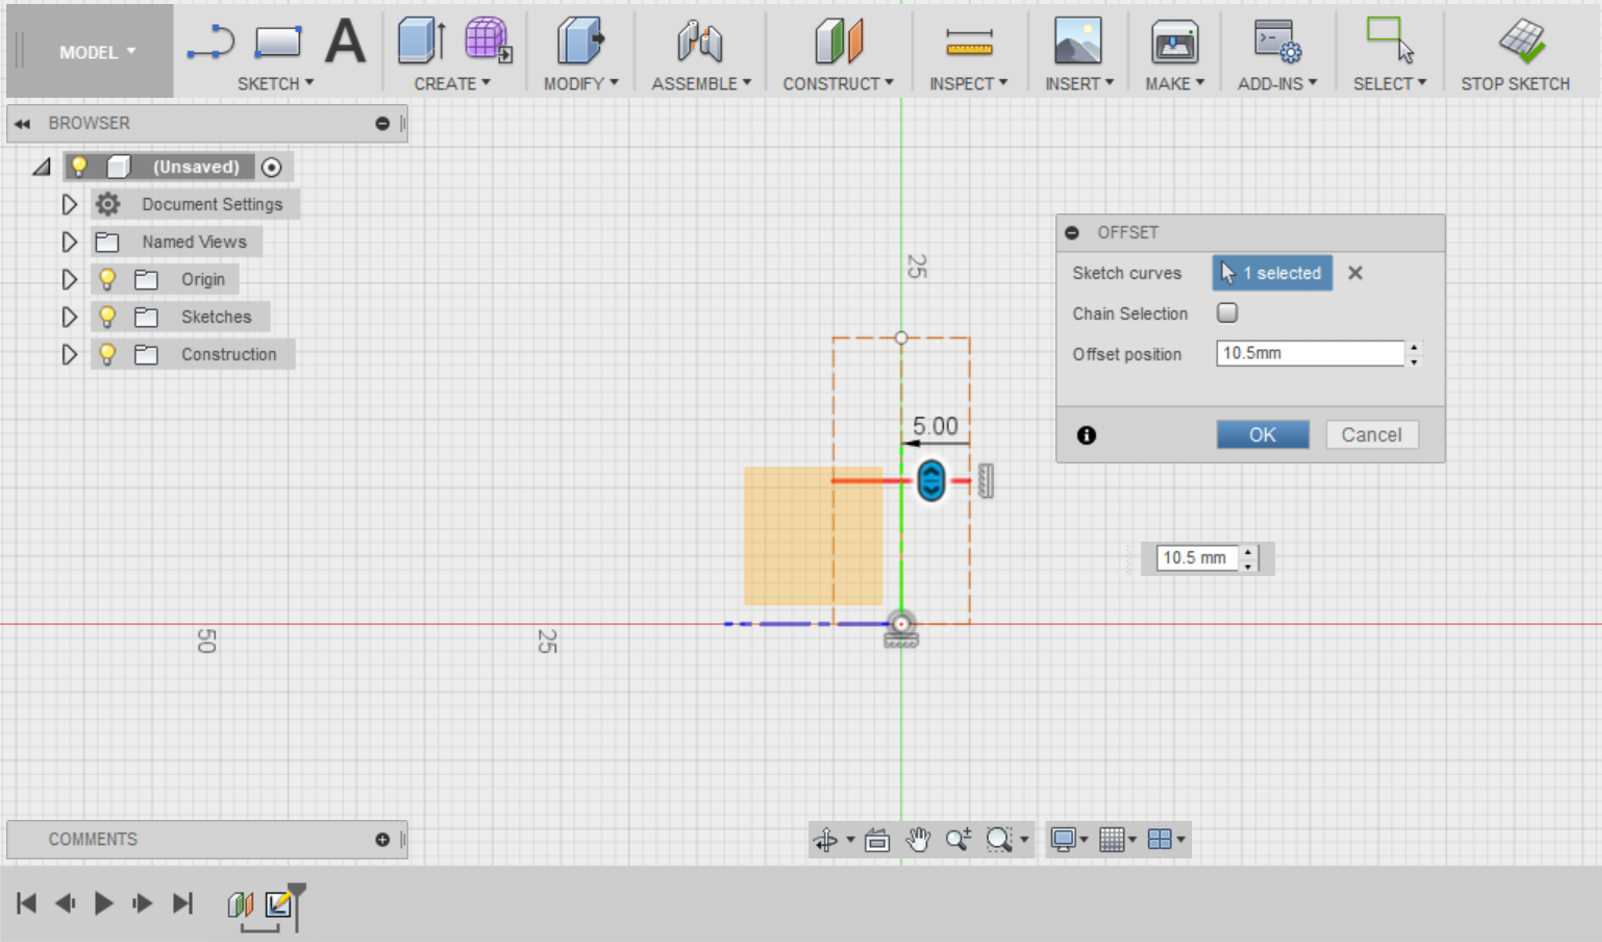
(Hint: These new construction lines should now be intersecting in the centre of your rectangle.)
Step 4
Select the Line tool to draw an arrow profile as per below.
Make sure to use your construction lines as your points of reference.
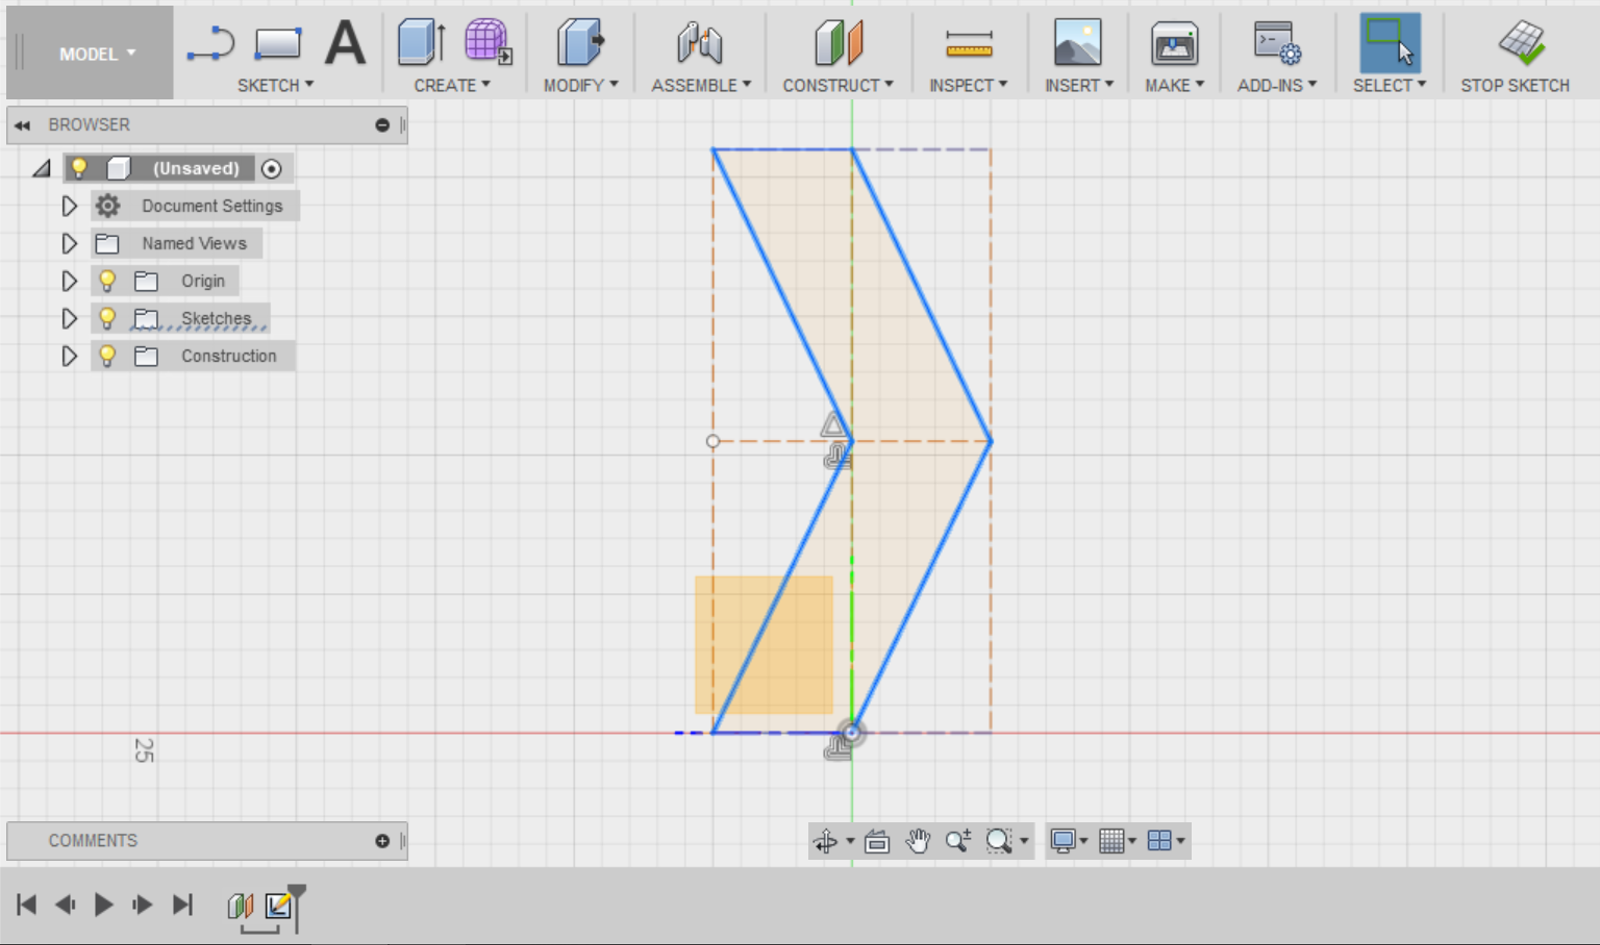
Stop your Sketch to return to the Model workspace.
Step 5
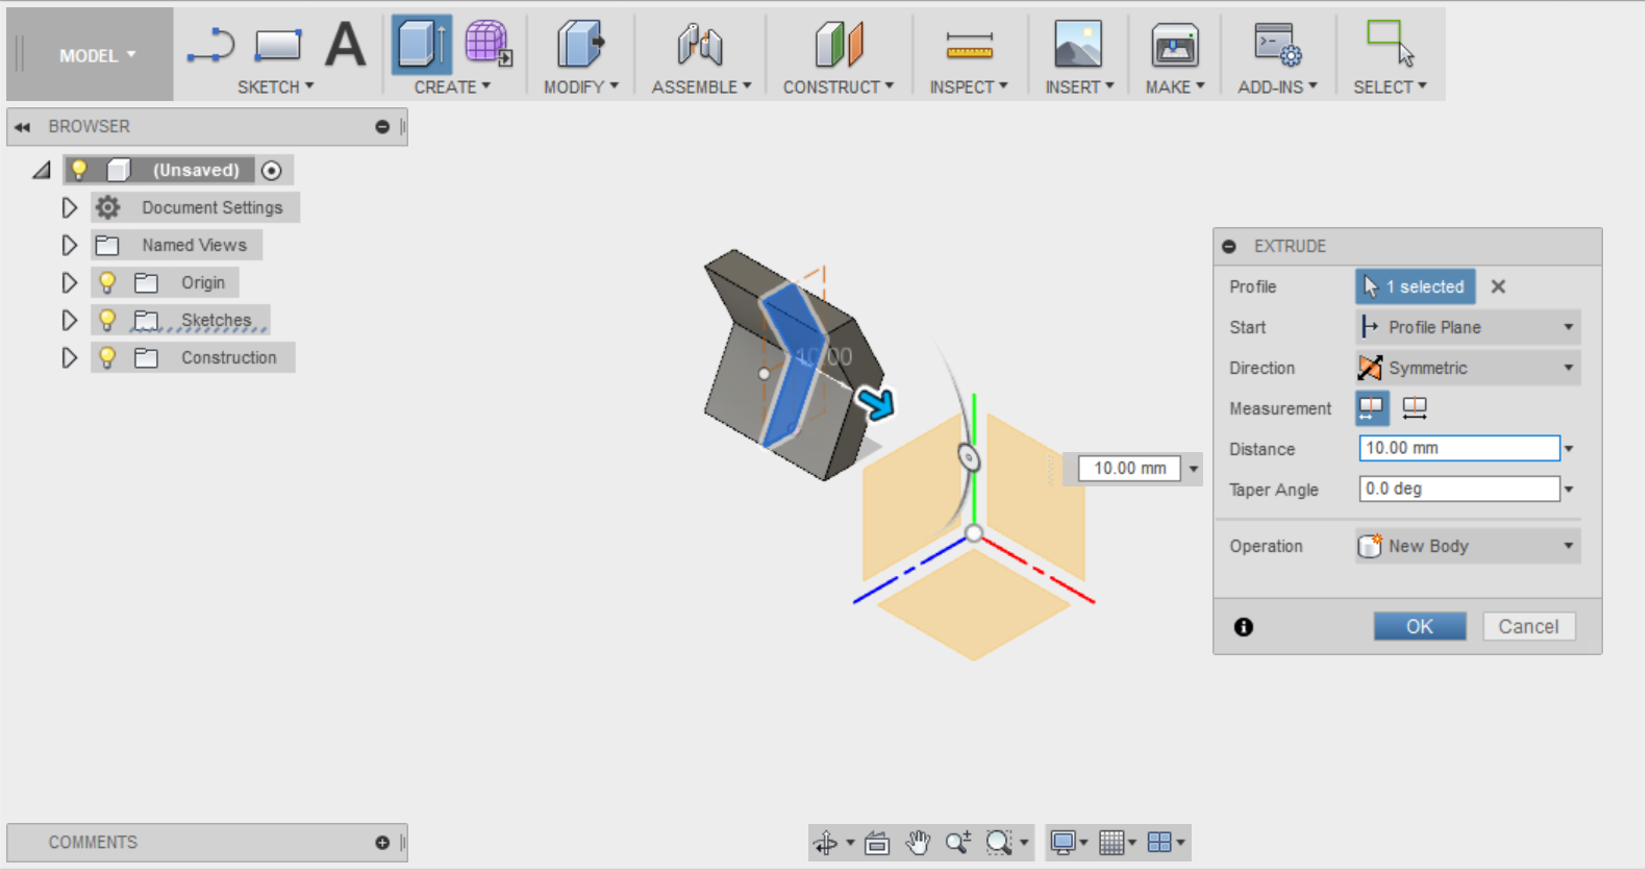
Extrude the arrow profile you’ve drawn in 3D.
Select Extrude from the CREATE menu. Select your arrow profile, set the Direction to Symmetric and set the distance to 10mm.
You’ve learned previously to create circular patterns using a sketch. You can now create a circular pattern using a body instead.
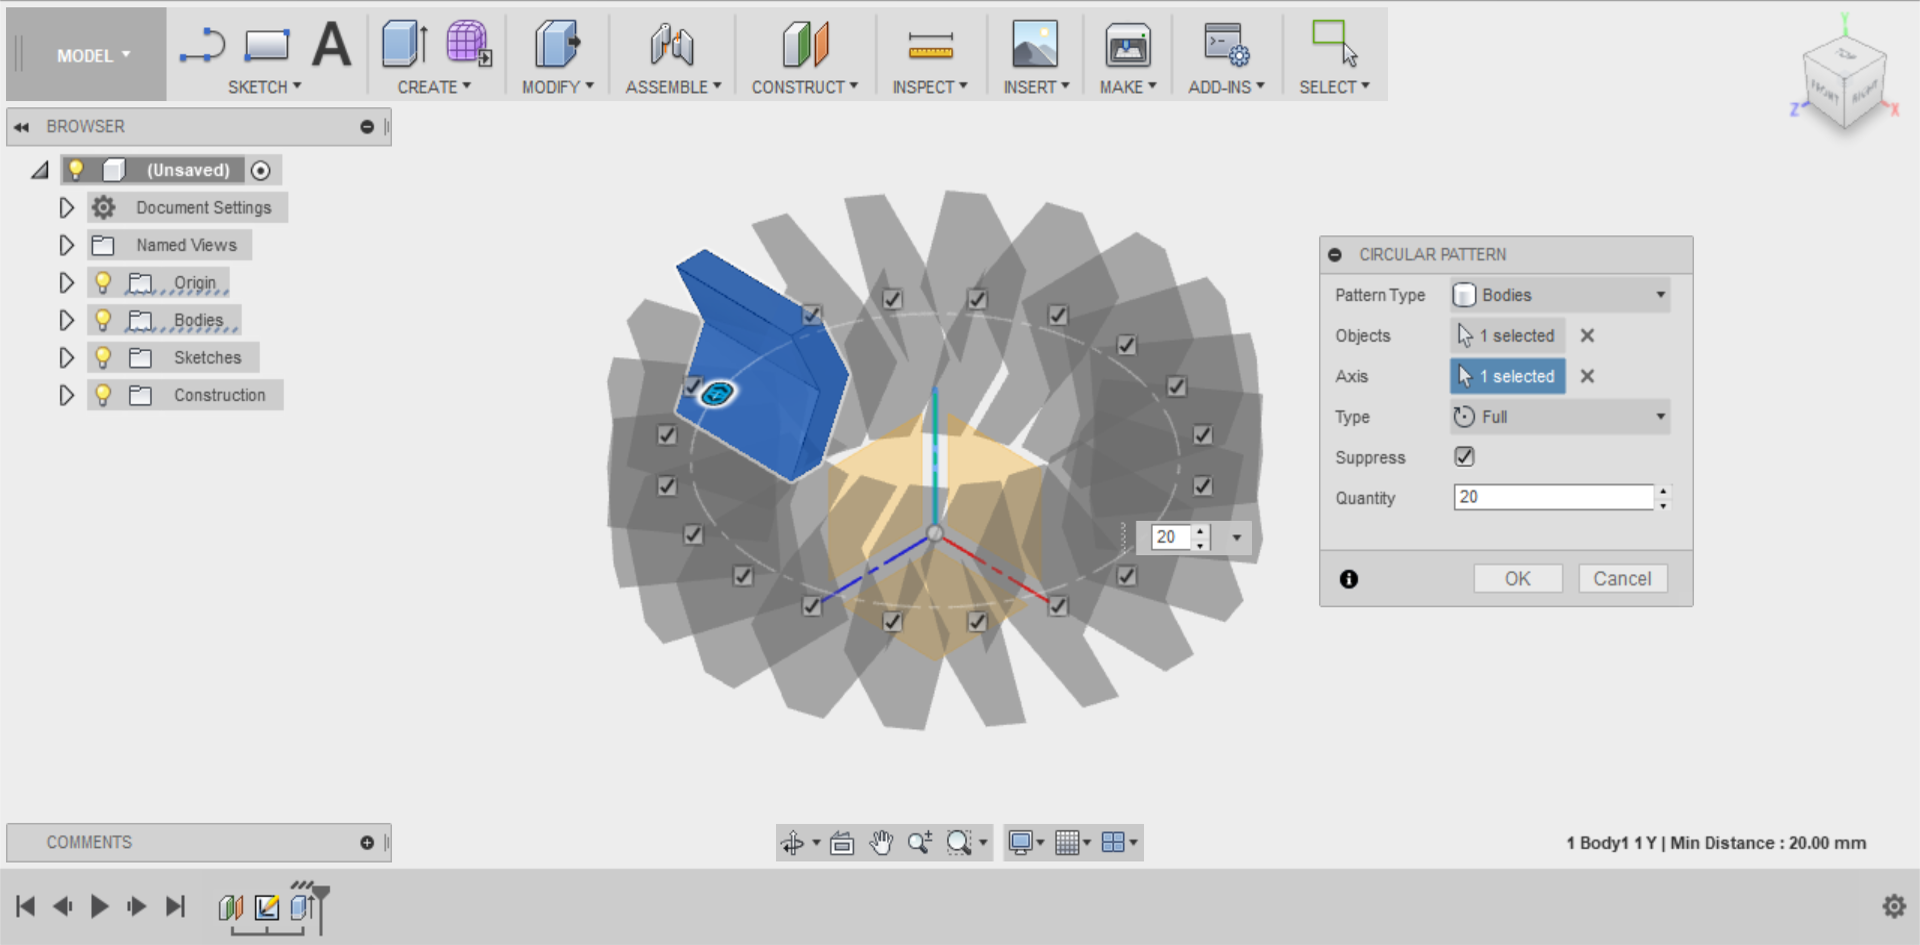
Go to Pattern in the CREATE menu and select Circular Pattern.
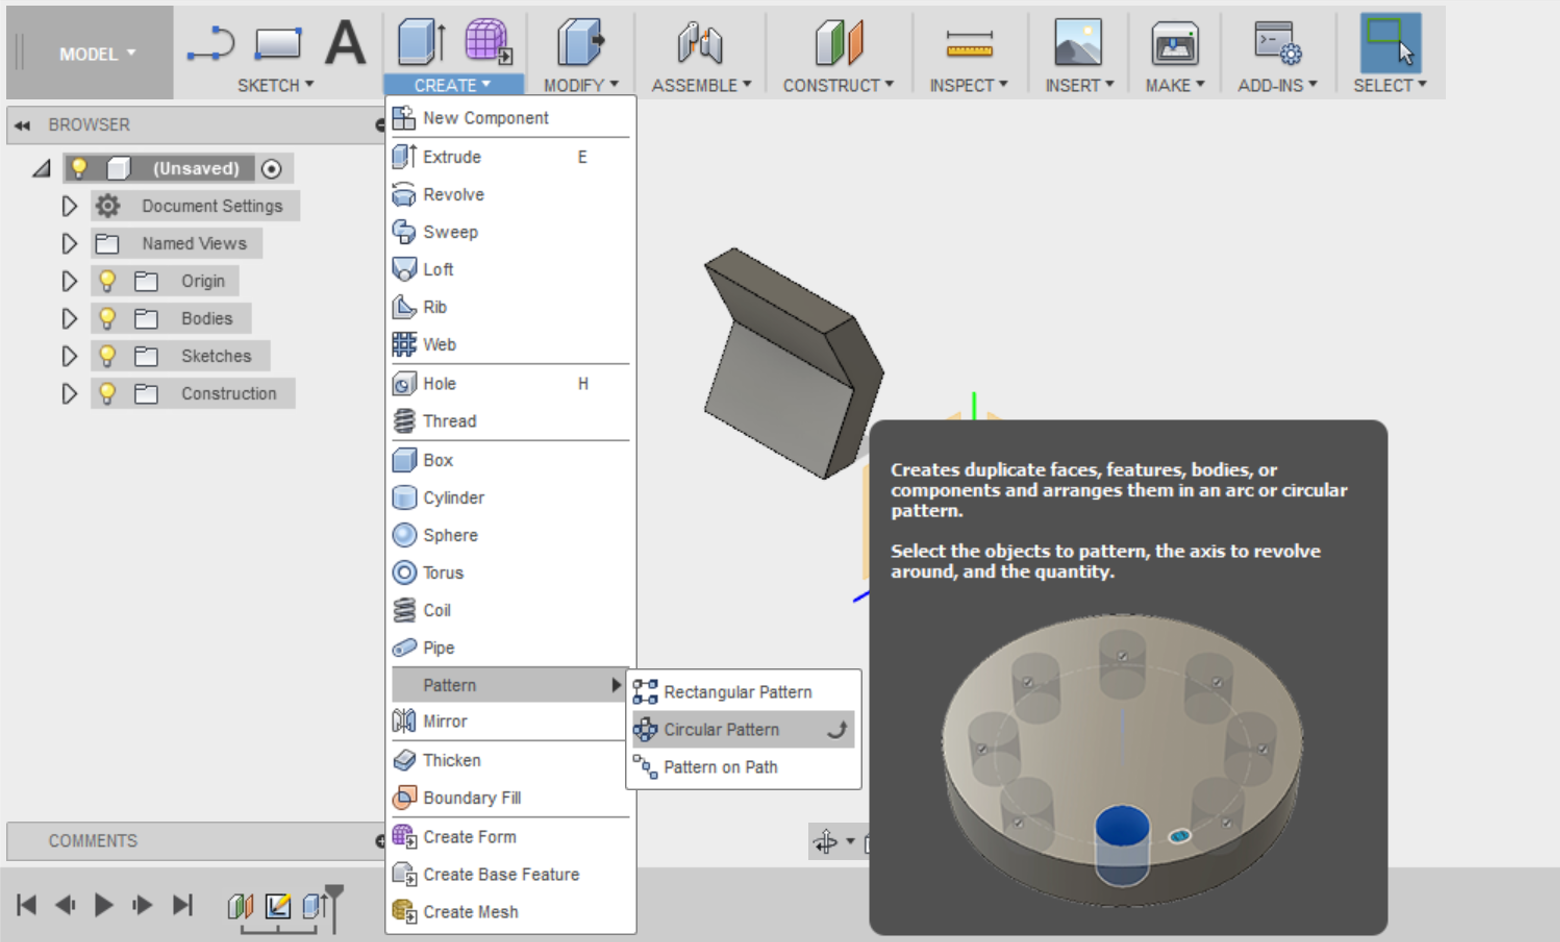
Set the Pattern Type to Bodies, select your arrow extrusion as the Object and set the Axis as the green axis line. Increase the quantity until you have a tight pattern, but without overlaps.
Click OK when you’re satisfied with your pattern.
