Course navigation
Create a Negative Profile
Step 1
Go to Project/Include in the SKETCH menu and select Intersect.
Select the left-hand plane as your workspace and set the inner rim of your tyre as the Geometry.
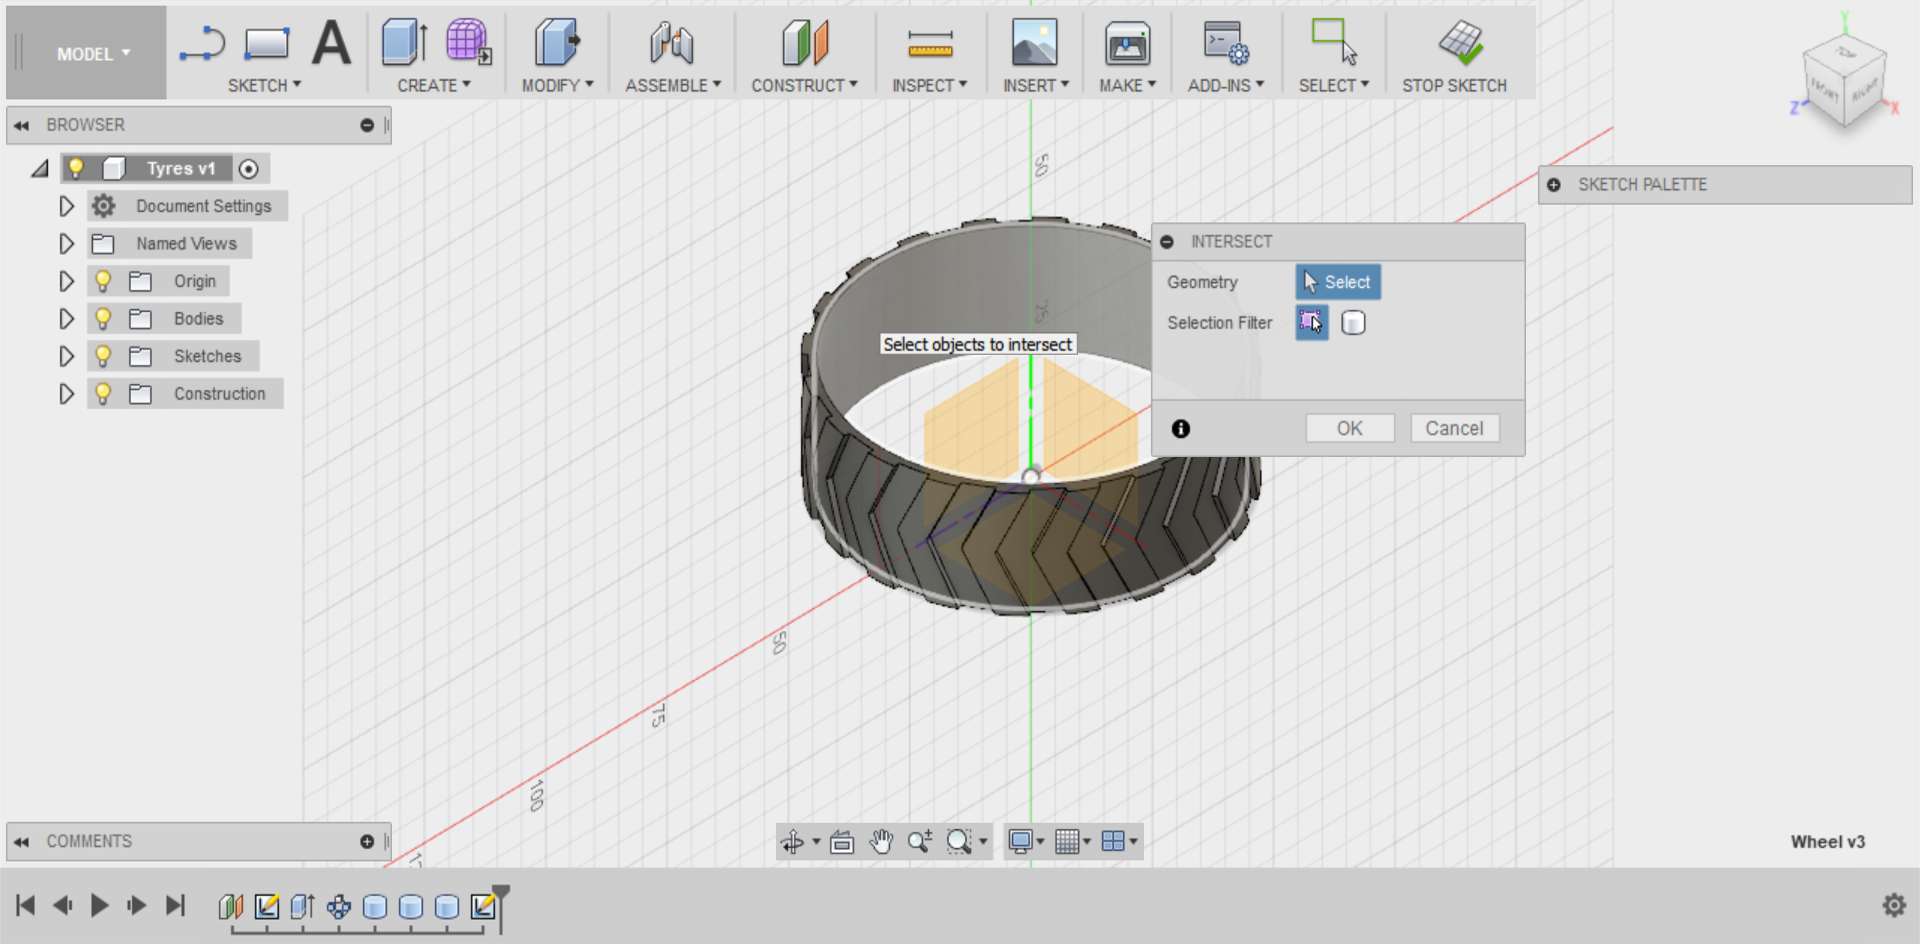
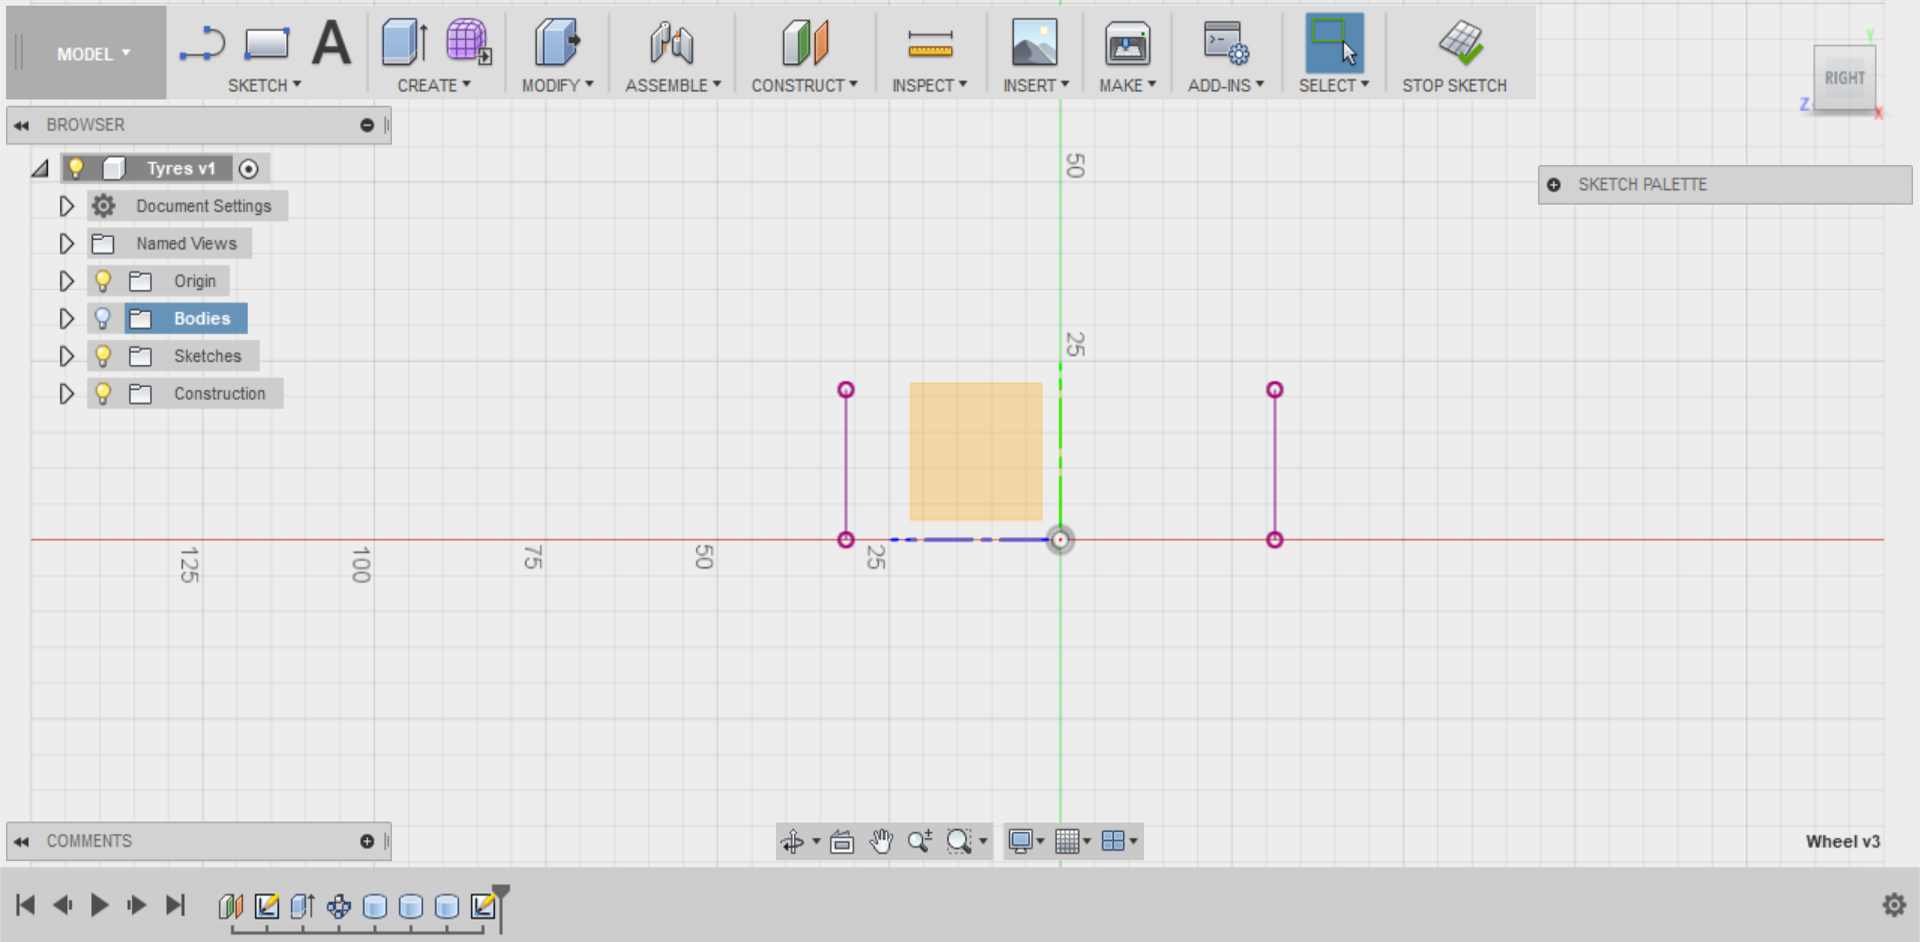
If you turn off your body, you will find that you now have two red lines as guides mapping the inner rim dimensions of your tyre.
Step 2
Turn the left-hand line into a Construction Line and use it to draw a profile that matches the negative of your wheel rim profile using the Line tool.
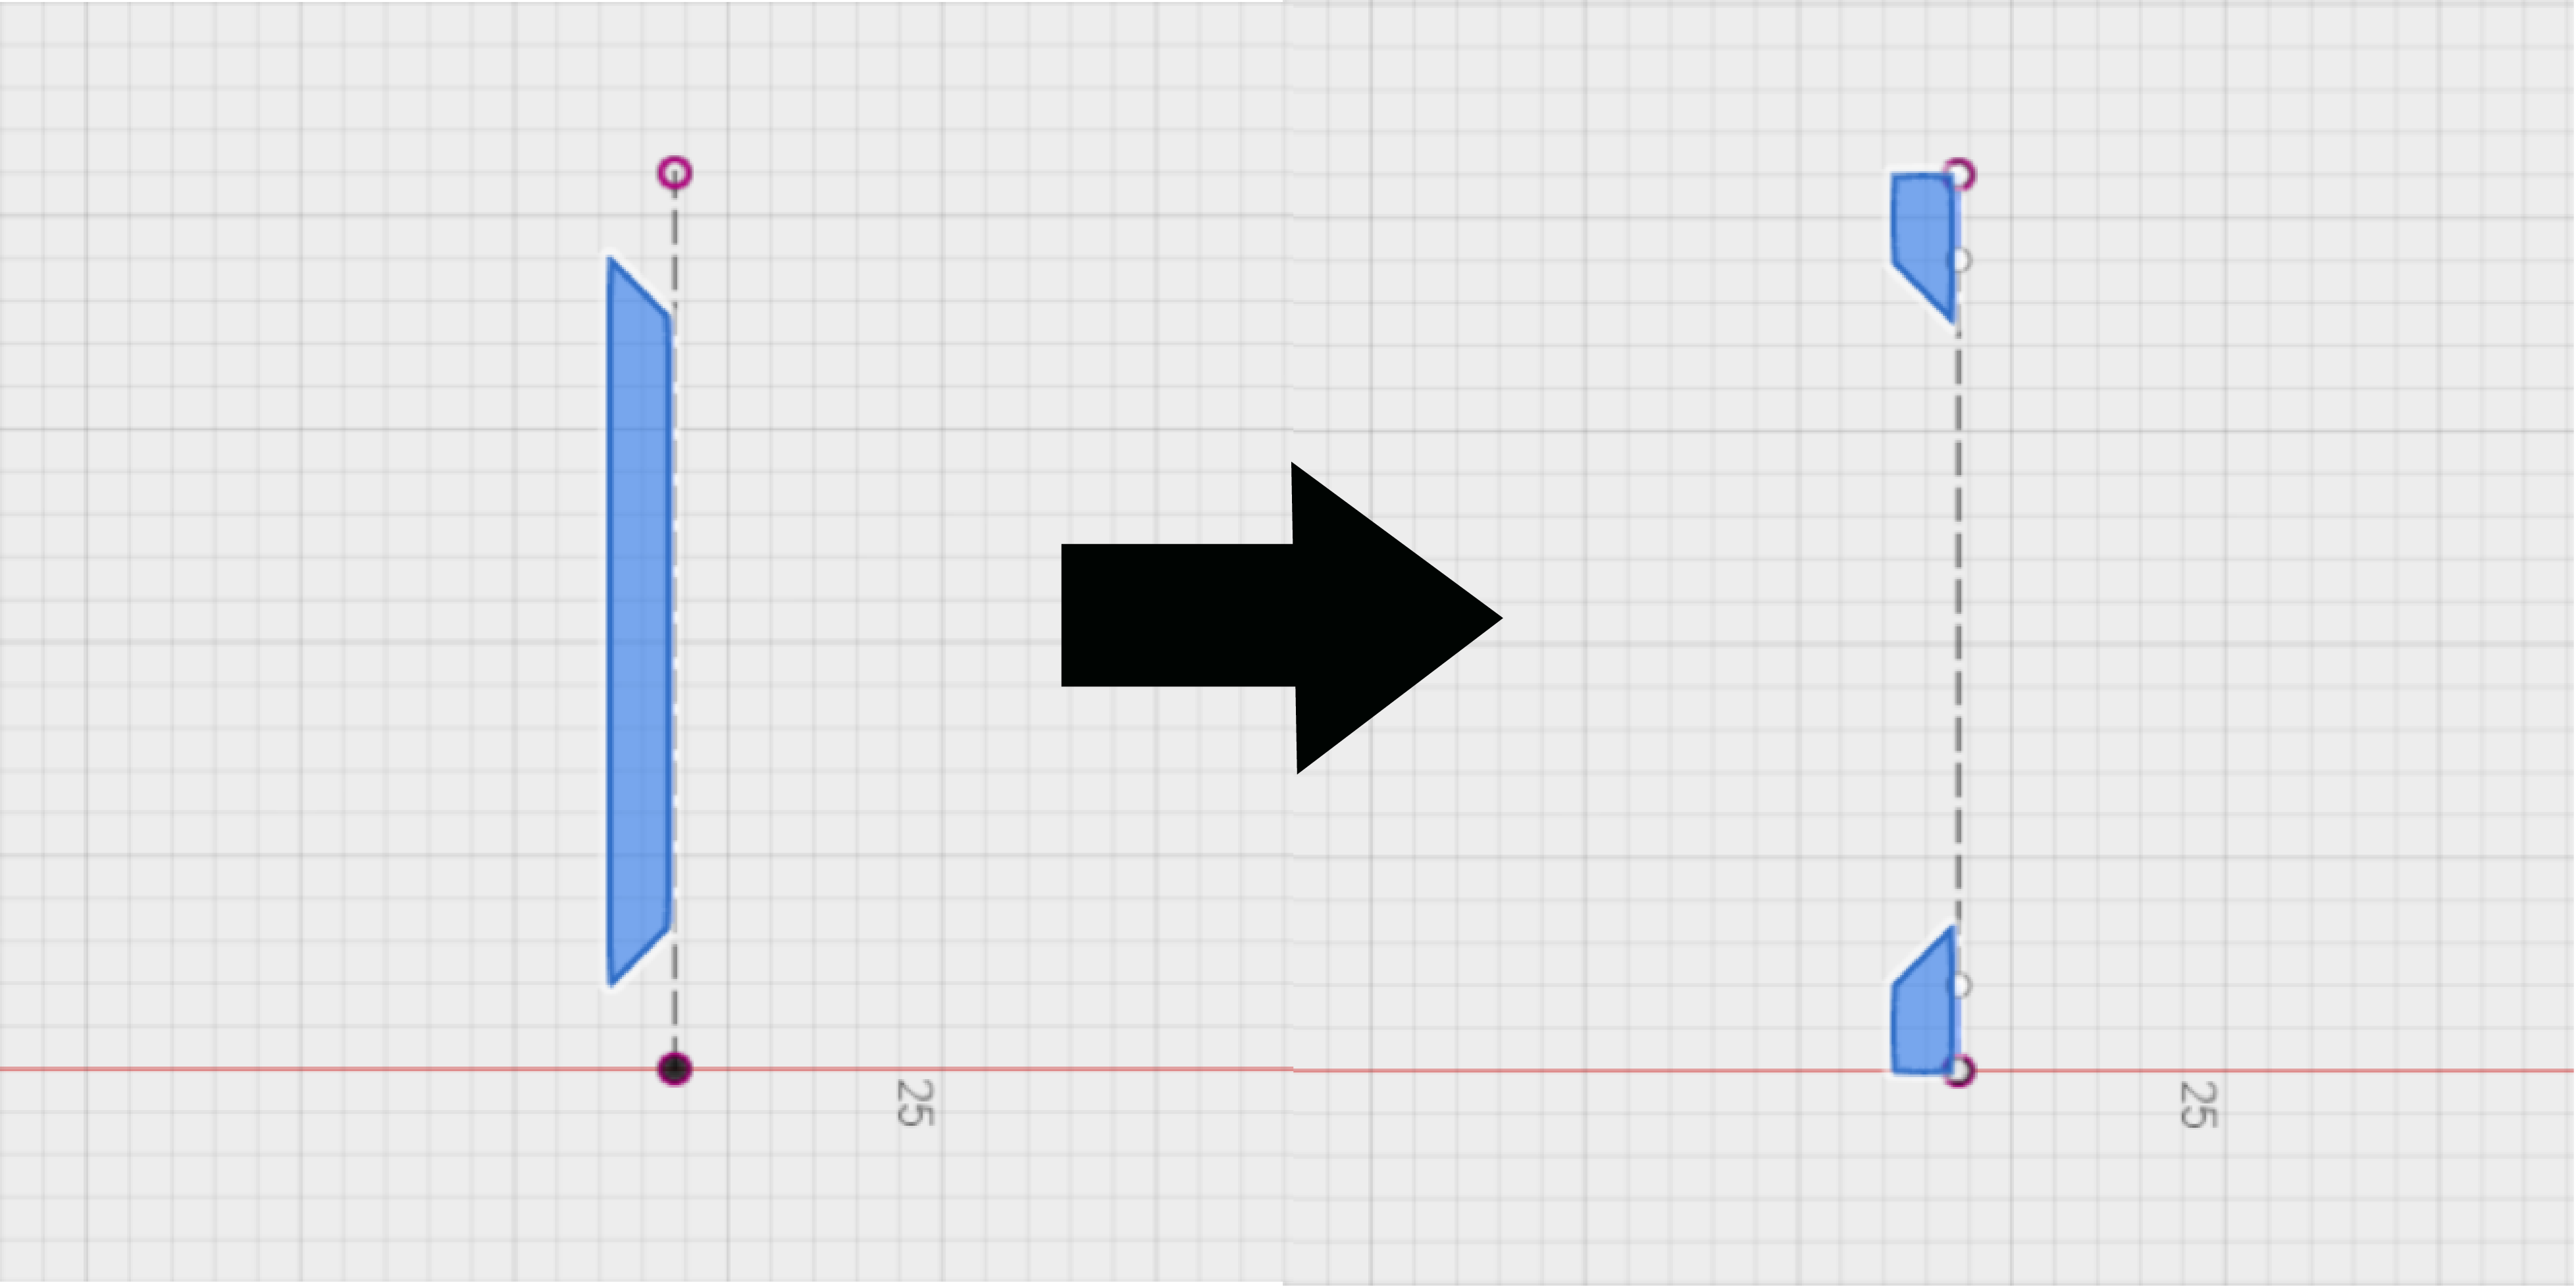
Once you’ve completed your profile, Stop the Sketch.
Step 3
Select your sketch in the Model workspace, and then turn your body back on.
Select the Revolve tool on the CREATE menu and set the Axis to the green axis and the Operation to Cut.
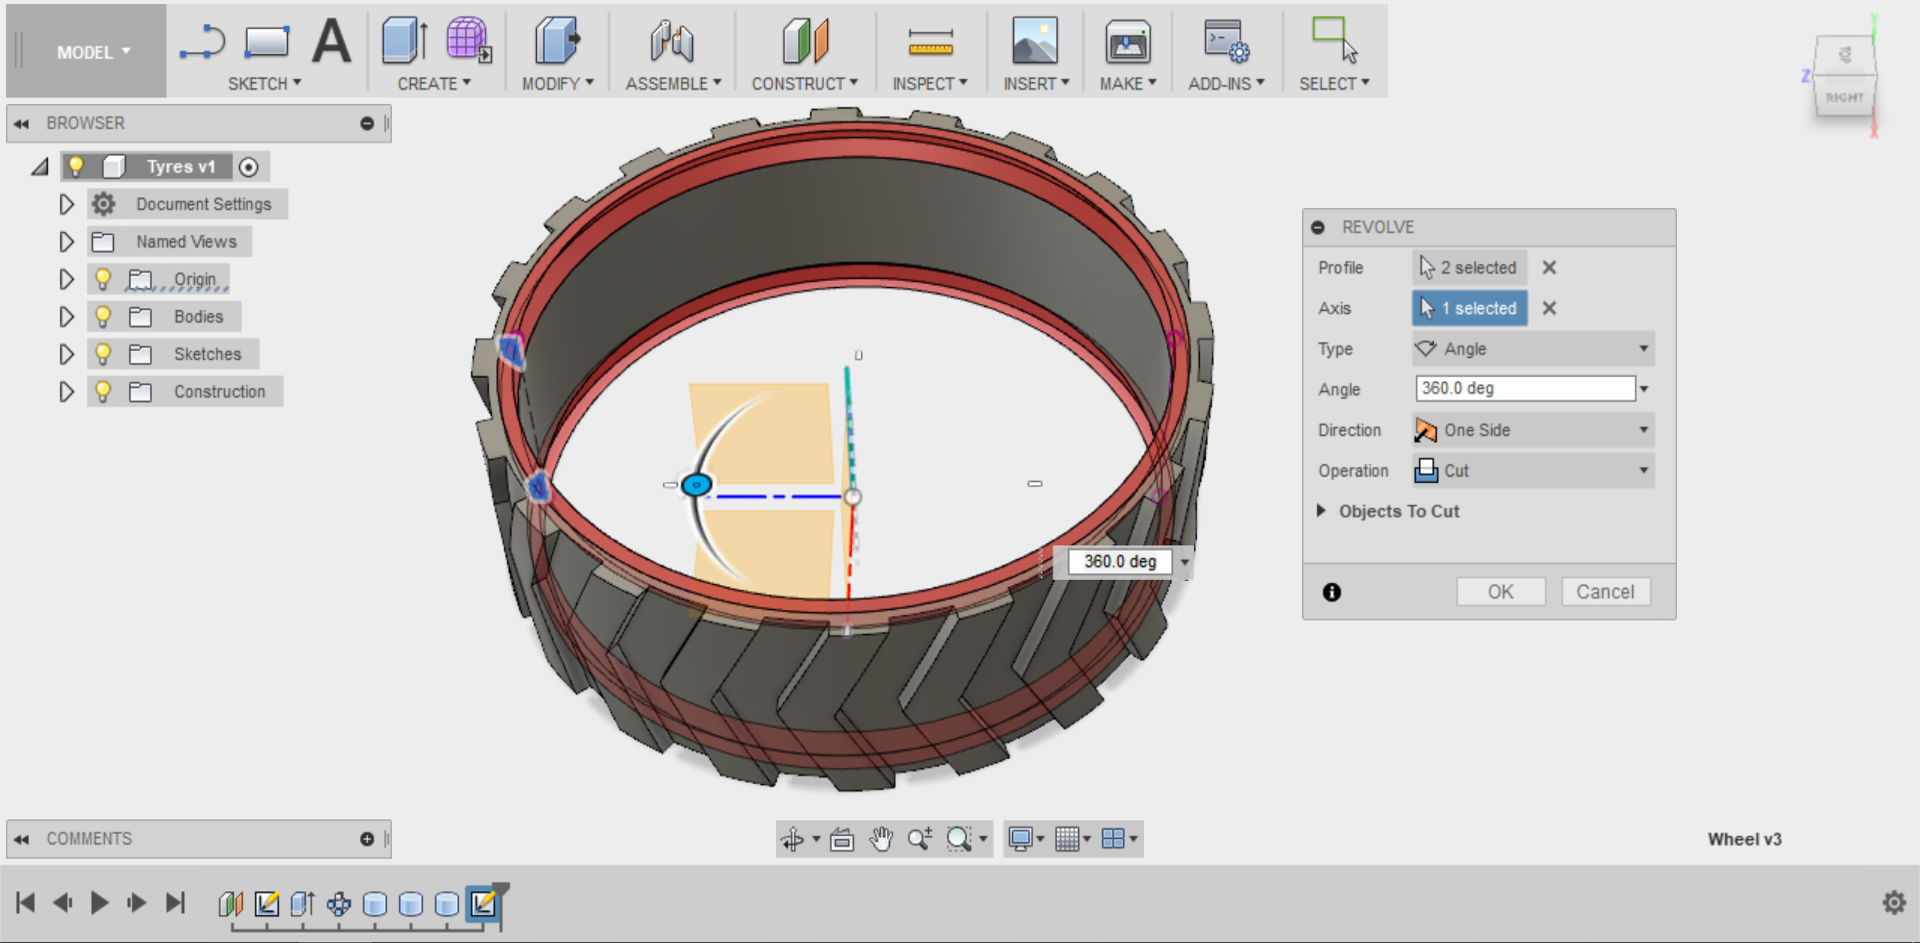
Congratulations! You now have a functional tyre that can fit over your wheel rim.
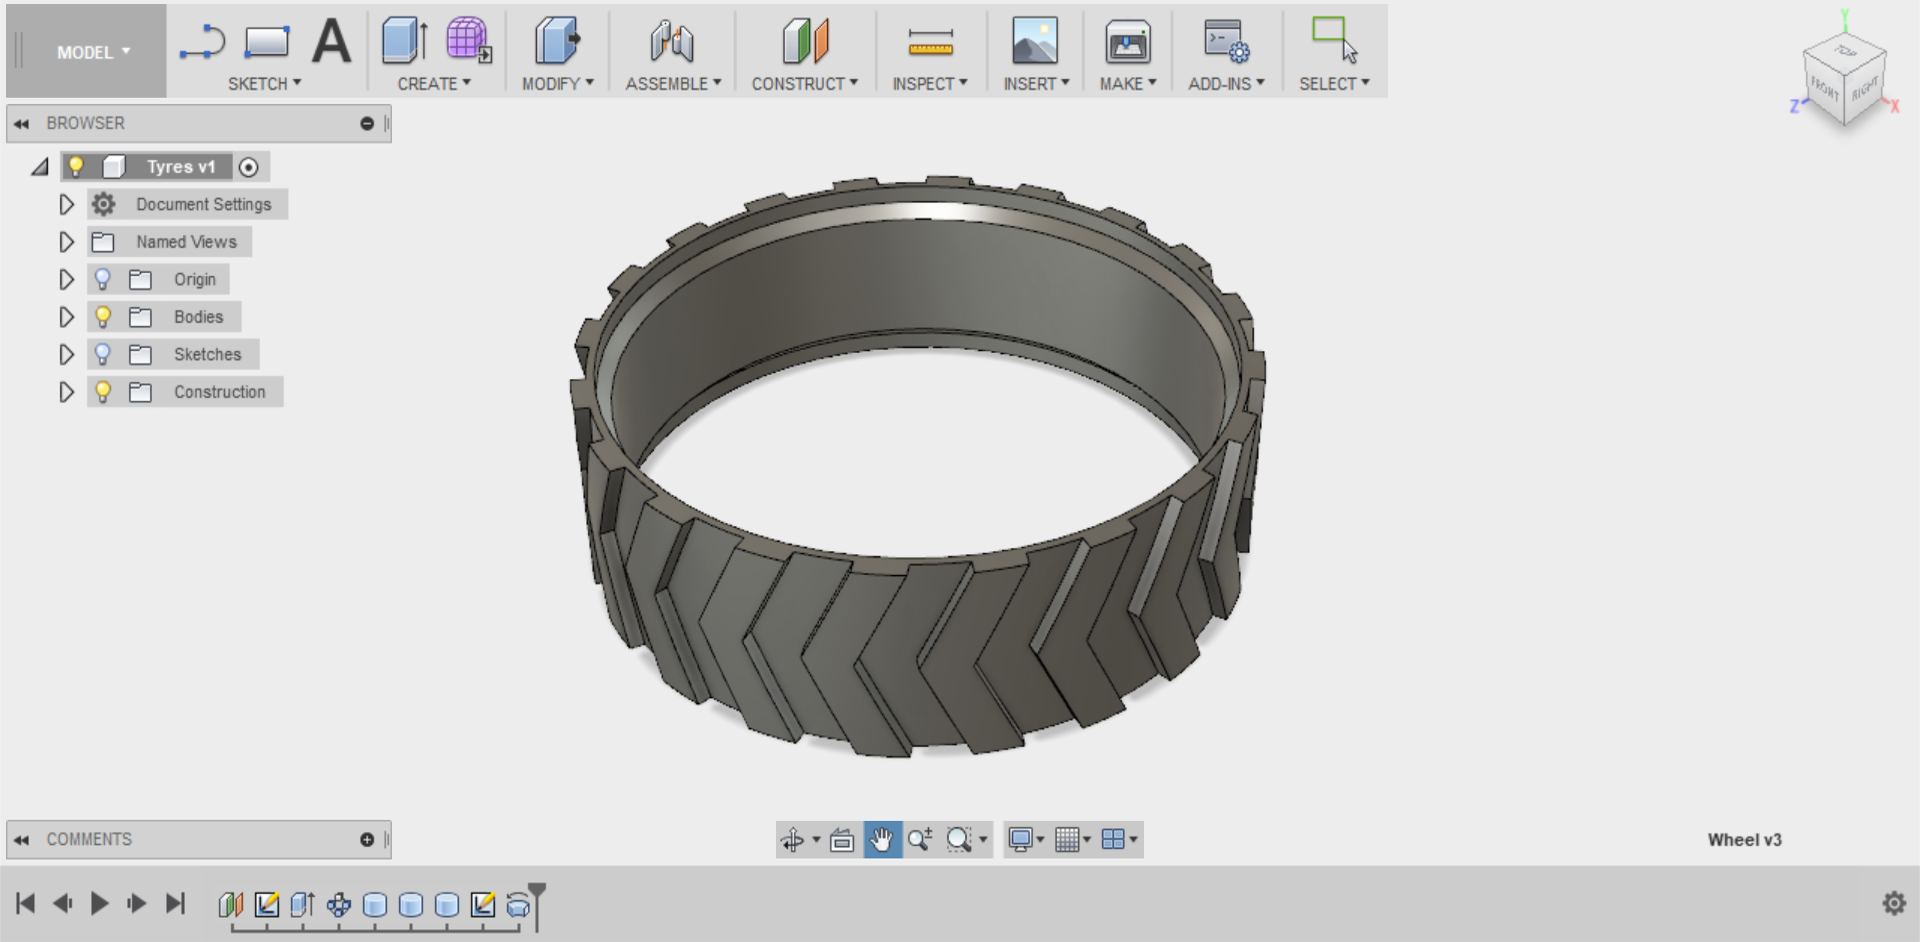
You can now think of what type of material would be suitable for the 3D printing of your prototype. So far, all your 3D prints have been made using standard PLA, however you can also find other materials to give you the flexible properties required for a rubber tyre, such as flexible PLA, NinjaFlex, Soft PLA. Look them up online to see which would be suitable for this type of project.