Course navigation
-
Unit 1 - Introduction to Digital Sewing Machines
Unit 2 - Create a Fabric Pattern
Unit 3 - Assemble a Textile Project
Unit 4 - Introduction to Digital Embroidery Machines
1—Set Up the Digital Embroidery Machine
2—Thread the Digital Embroidery Machine
3—Set up an embroidery hoop
4—Checkpoint!
Unit 5 - Set up a Digital Embroidery File
Unit 6 - Stitch a Digital Embroidery Patch
Set Up the Digital Embroidery Machine
Step 1
The sewing machine you have been using so far also allows you to sew digital embroidery. To do this you need to set-up the machine slightly differently.
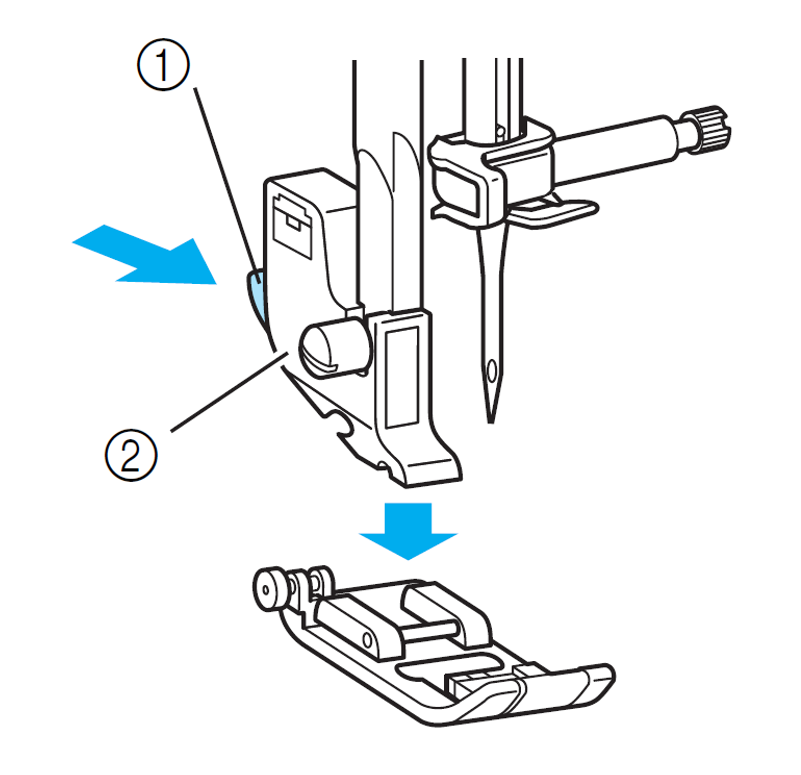
With the sewing machine switched off and the pressor foot up, press and hold the black button on the back of the presser foot holder to detach the foot.
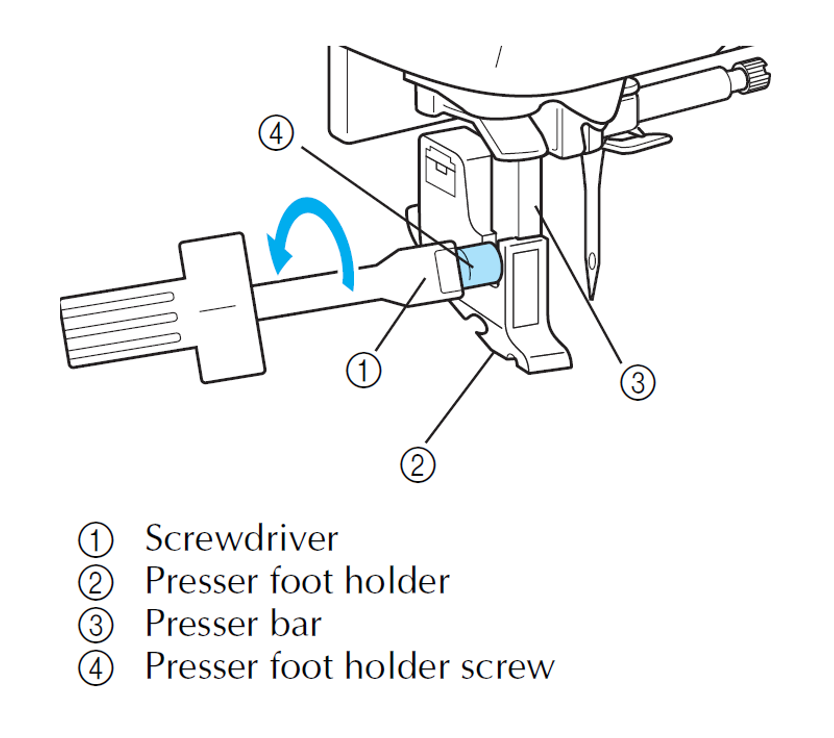
In your accessories box, find the flat-headed screwdriver and unscrew the presser foot holder.
Store the presser foot and its holder safely in the accessories box.
This will allow you to attach the special components needed for digital embroidery.
Step 2
In your accessories box, find the embroidery foot Q.
[Diagram 4.1.3a]
While pressing the lever at the back of the embroidery foot, fit it onto the presser foot bar.
[Diagram 4.1.3b]
Check that the foot is perpendicular then secure it in place using the screwdriver.
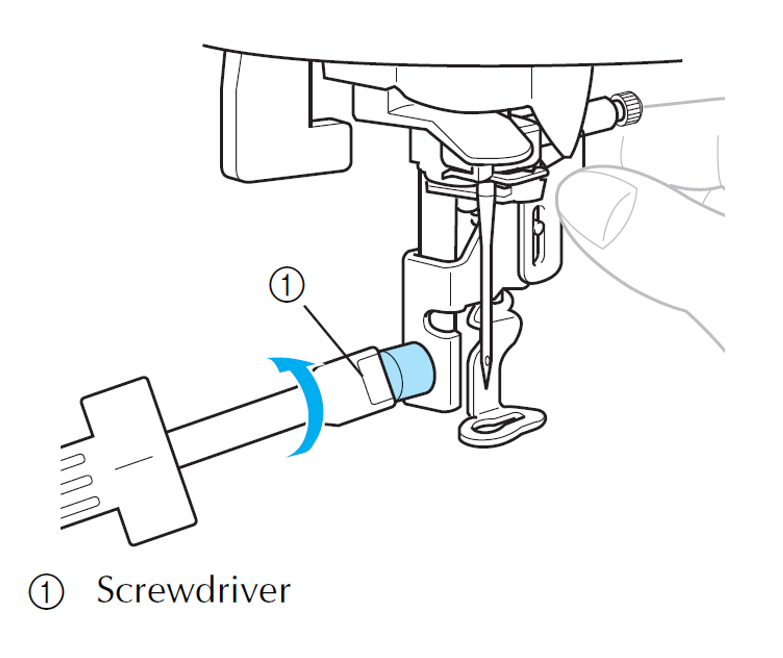
Once the foot is in place, turn the handwheel on the right-hand side counter-clockwise to check that the needle runs free and clear of the embroidery foot.
Step 3
With the machine still switched off, remove the flat bed attachment.
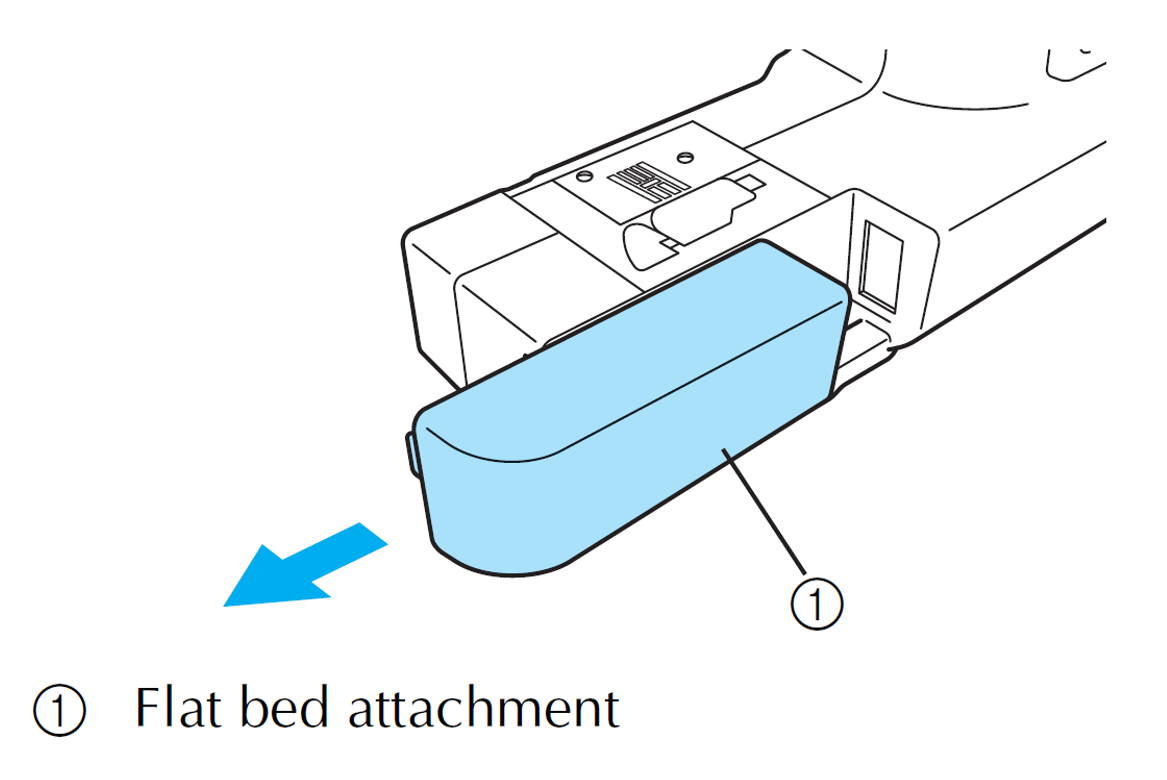
Attach the embroidery carriage by sliding it in until it slots into place.
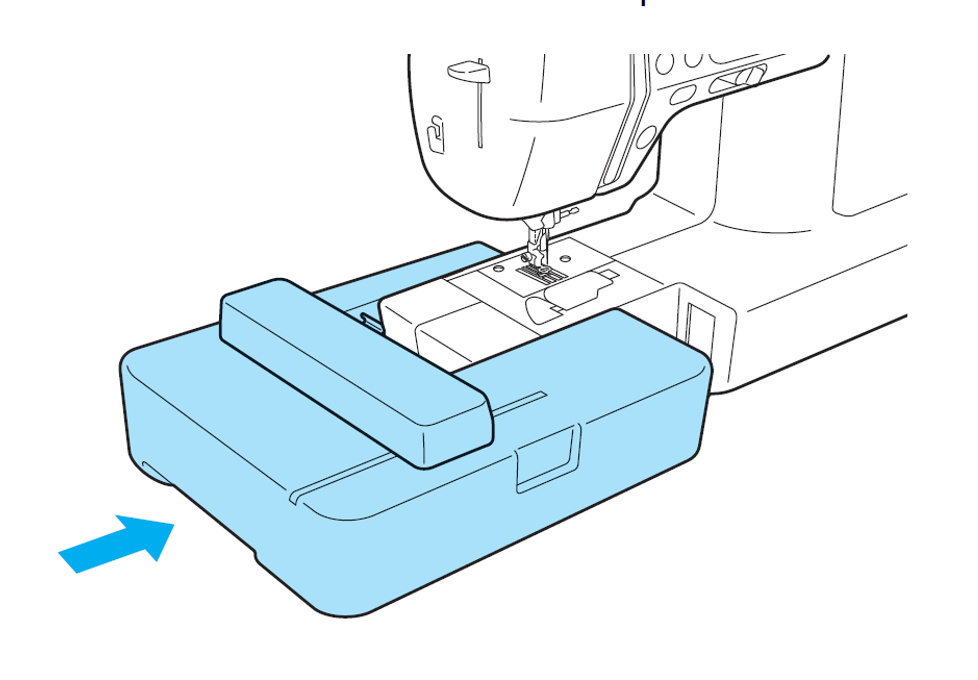
Once the carriage is in place, ensure that there are no tools, fabric or obstacles on the embroidery machine bed and switch on the machine to initialise its programme.
Follow the instructions on the LCD touchscreen display.