Course navigation
-
Unit 1 - Introduction to Digital Sewing Machines
Unit 2 - Create a Fabric Pattern
Unit 3 - Assemble a Textile Project
Unit 4 - Introduction to Digital Embroidery Machines
Unit 5 - Set up a Digital Embroidery File
1—Import Artwork
2—Convert to Embroidery Stitches
3—Export in embroidery file format
4—Checkpoint!
Unit 6 - Stitch a Digital Embroidery Patch
Import Artwork
Step 1
The lesson will introduce to a program called Stitch Era Universal, which allows you to produce digital designs that you can upload onto your embroidery machine to produce in real life.
On your desktop, find Stitch Era Universal and double click to open.
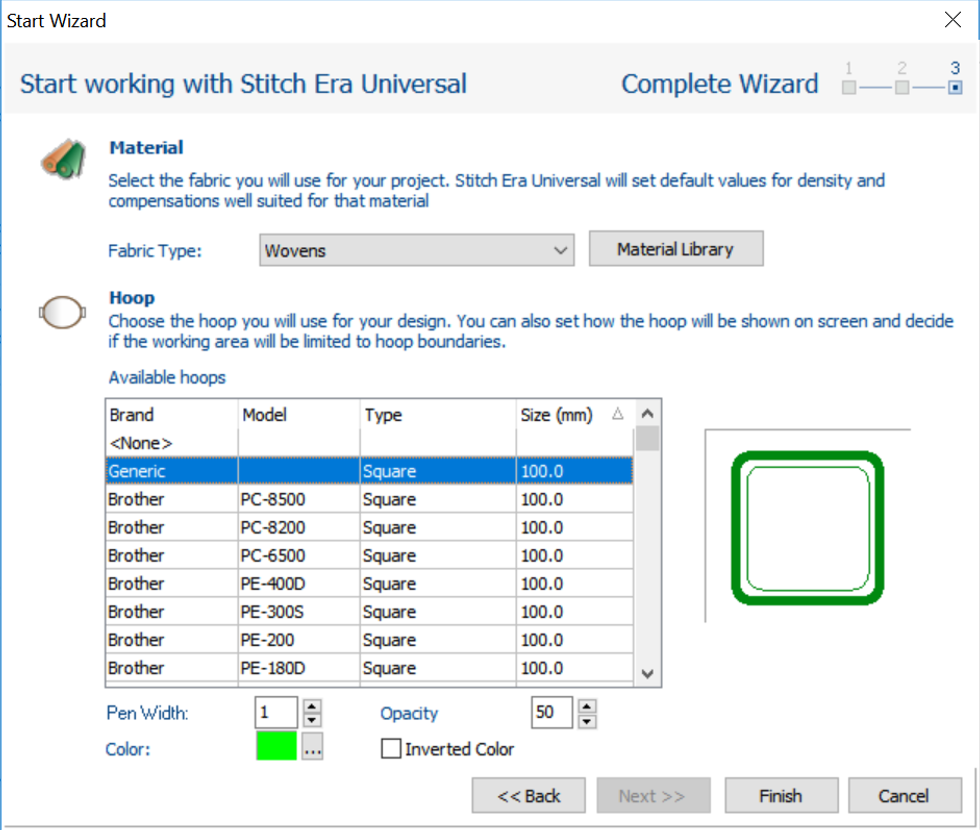
On the home page, select the option Blank Design Using a Simple Wizard.
This will allow you to open a dialogue box and select your material and your hoop size.

Select the type of material you are using (woven for linen, cotton, fleece for felt) in the material drop down menu. If you’re not sure what material you are using, check with the facilitator.
Select Brother – Square – 100mm in the hoop options.
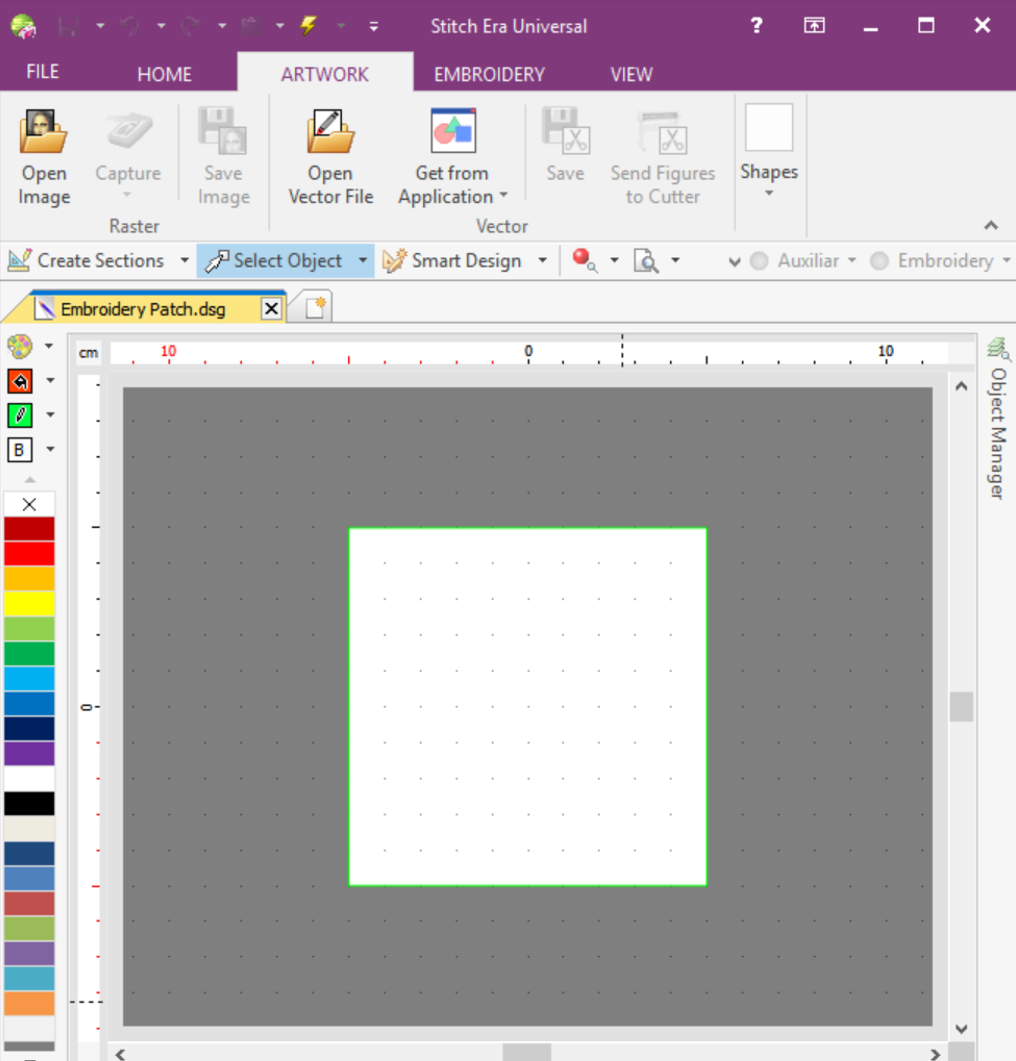
Click finish. This will open a new project page with a designated work area to the size of your embroidery hoop.
Step 2
At the top of the screen, click on the Artwork menu tab.
Then click Open Image to import your artwork.

You can use any artwork, as long as it is saved as a .jpg file.
Make sure your artwork is two-three flat colours, with clear defined lines. If you don’t have an artwork you want to use, you could use graphics from the Noun Project for inspiration.
Step 3
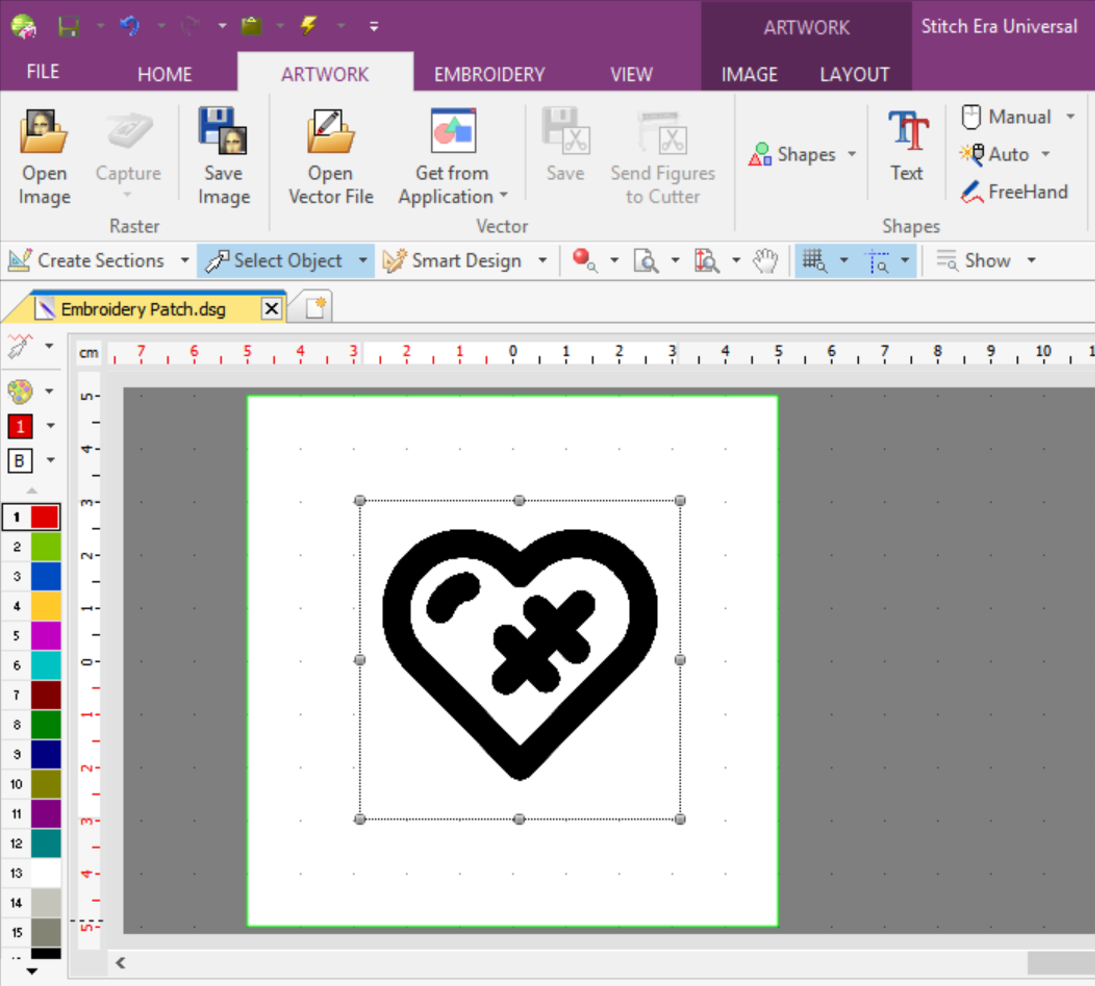
Once your artwork is open, you need to make sure it’s the right size to fit in the centre of your embroidery hoop.
Resize your artwork so it is between 50-60 mm square and position it in the centre of the work area.
