Course navigation
-
Unit 1 - Introduction to Digital Sewing Machines
Unit 2 - Create a Fabric Pattern
Unit 3 - Assemble a Textile Project
Unit 4 - Introduction to Digital Embroidery Machines
Unit 5 - Set up a Digital Embroidery File
1—Import Artwork
2—Convert to Embroidery Stitches
3—Export in embroidery file format
4—Checkpoint!
Unit 6 - Stitch a Digital Embroidery Patch
Export in embroidery file format
Step 1
Once you are happy with your embroidery design file, you need to save it onto a USB so it can be uploaded to the digital embroidery machine.
Make sure that when you save your embroidery file it is saved directly onto the root directory of the USB. Do not create any sub-folders as the digital embroidery machine will not be able to retrieve these files.
Step 2
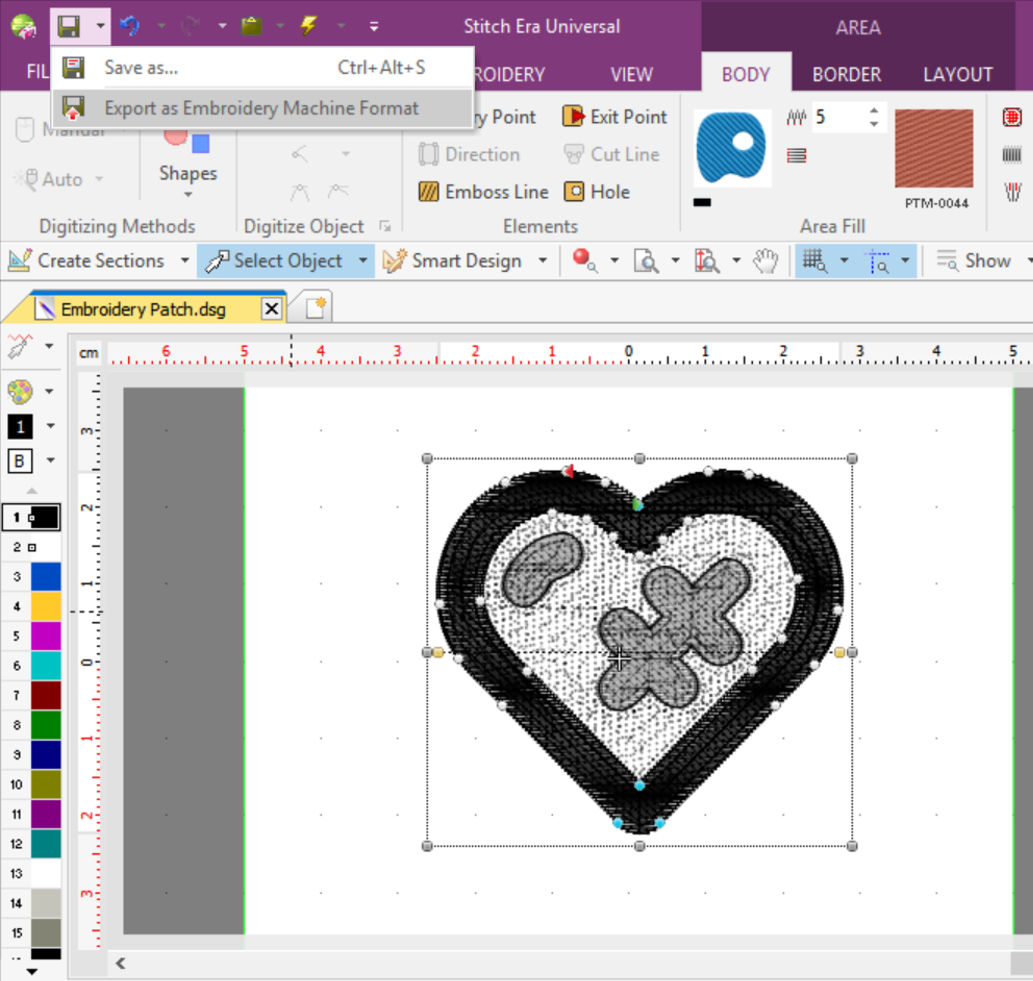
In Stitch Era, go to file and click save as to save the project as a .DSG file. Make sure you give it a memorable name.
Saving your file as a .DSG file means it can be edited again in Stitch Era in the future if you want to change it.
Step 3
Now you need to click on the save button again, and this time select Export as Embroidery Machine Format.

This will allow you to save your embroidery file as a .PES file, which is compatible with the Brother digital embroidery machine. Make sure to give it a memorable name.