Course navigation
-
Unit 1 - Introduction to Digital Sewing Machines
1—Practice Winding a Bobbin of Thread
2—Practise Threading the Machine
3—Practise Sewing Straight and Curved lines
4—Checkpoint!
Unit 2 - Create a Fabric Pattern
Unit 3 - Assemble a Textile Project
Unit 4 - Introduction to Digital Embroidery Machines
Unit 5 - Set up a Digital Embroidery File
Unit 6 - Stitch a Digital Embroidery Patch
Practise Sewing Straight and Curved lines
Step 1
Now that your sewing machine is threaded, you’re ready to start sewing. To begin with, you’re going to practice sewing straight and curved lines on a piece of plain fabric.
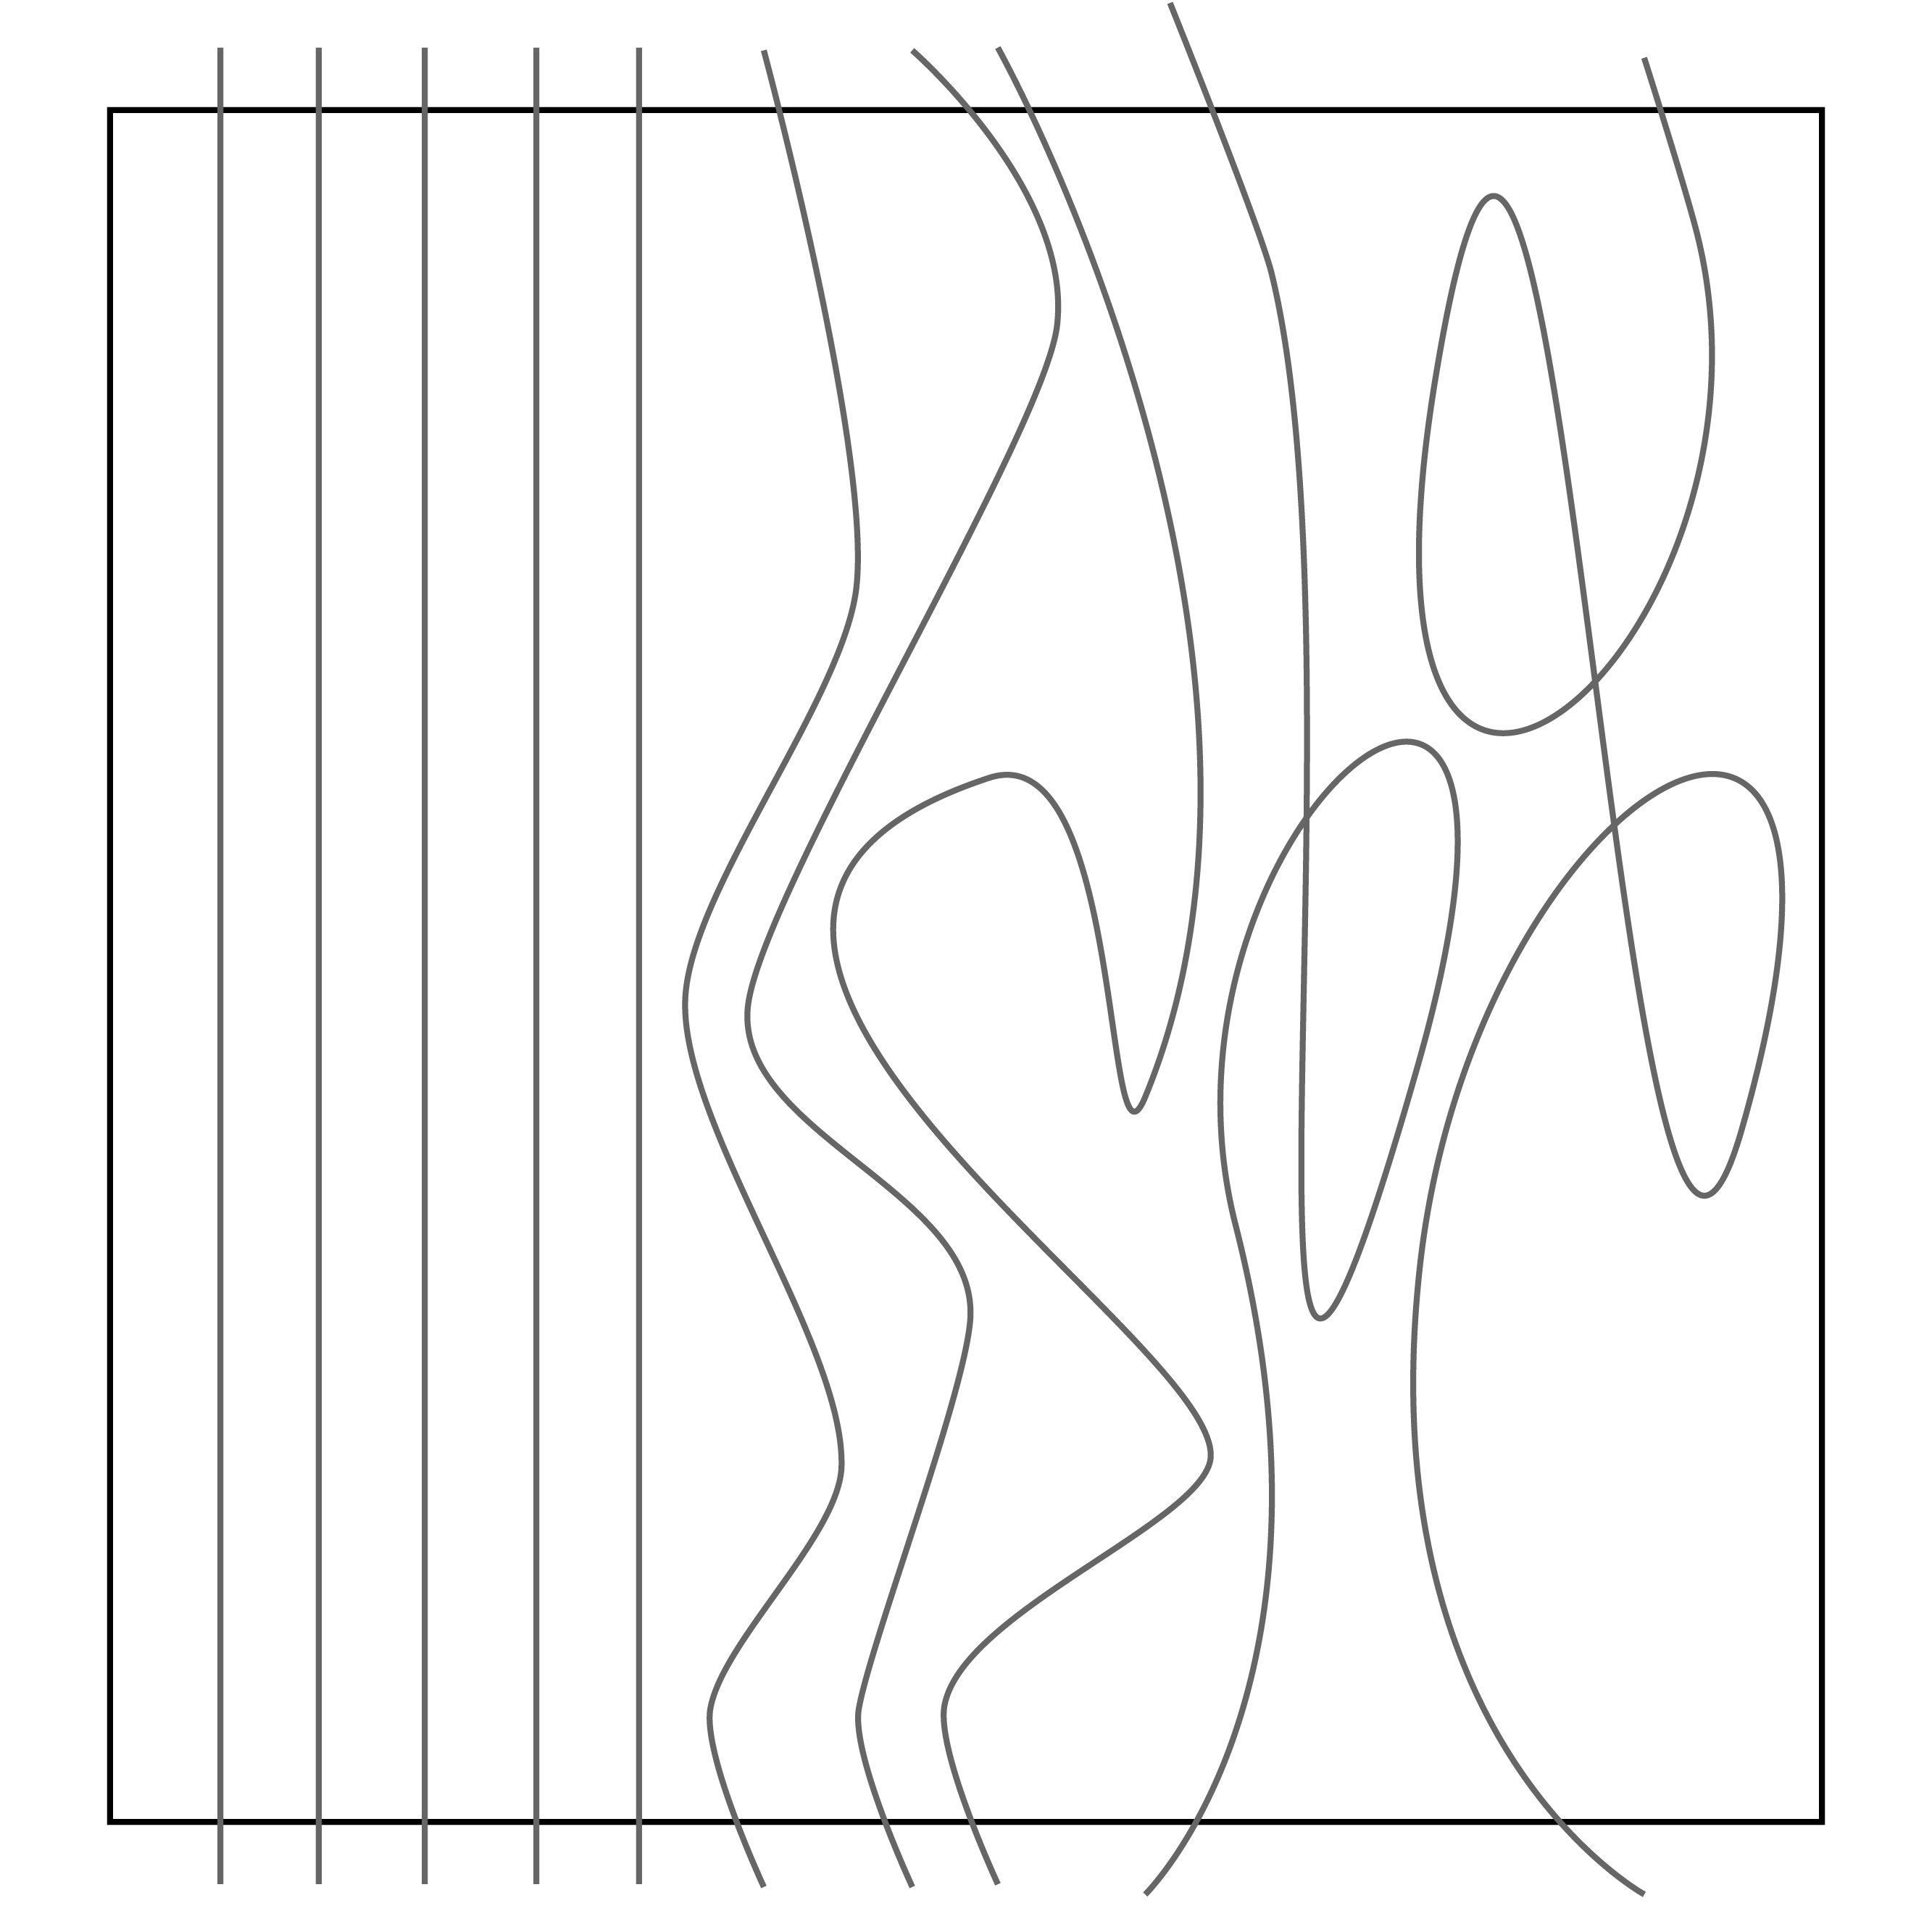
Take a square of white cotton fabric (20cm x 20cm) and use a pencil to draw five straight lines and five curved lines.
Step 2
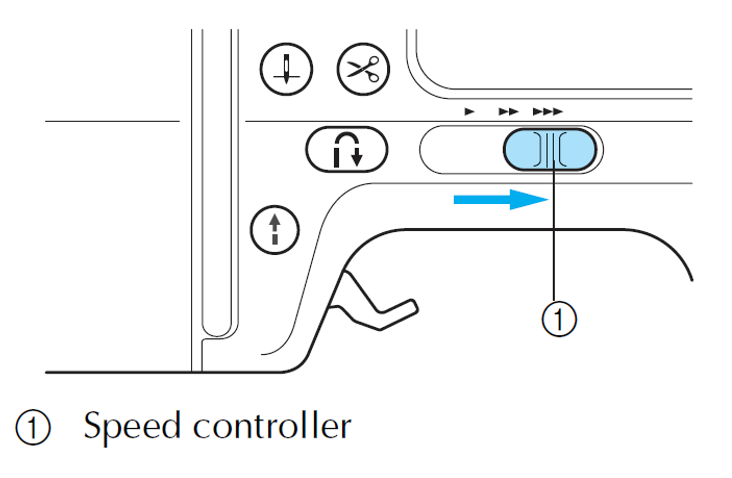
Adjust the sewing speed controller to its slowest setting.
Carefully slide your fabric between the presser foot and the metal plate beneath it.
Position your fabric so that the needle is in line with your first straight line and use the handwheel at the right-hand side of the machine to lower the needle through the fabric.
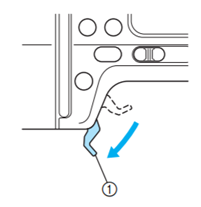
Lower the presser foot lever to secure the fabric in place.
Hold the fabric gently in both hands and carefully press down the foot pedal to start sewing.
Gently guide the fabric using your hands to keep sewing in a straight line. (Note: you shouldn’t need to push or pull the fabric through as it is moved by little feet in the bottom plate of the machine.)
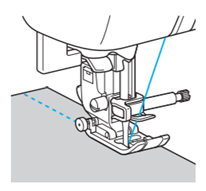
Gradually increase the speed until you find a level at which you’re comfortable sewing straight.
When you get to the end of the line, stop sewing.
Use the handwheel to raise the needle up out of the fabric.
Lift the presser foot up and gently pull the fabric out from the machine.
Cut the threads using the thread cutter on the side of the machine.
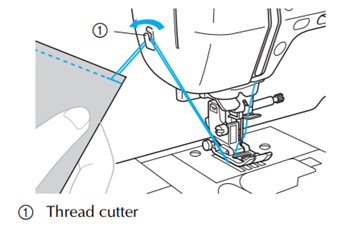
Repeat the same instructions for sewing three straight lines and three curved lines. Adjust speed as required.
Step 3
Now that you’re comfortable sewing straight and curved lines, you’re going to practise securing your stitching using the reverse button.
When we use a sewing machine, we use reverse stitching rather than knots to secure threads in place.
To do this, line up your fabric and lower the needle into place.
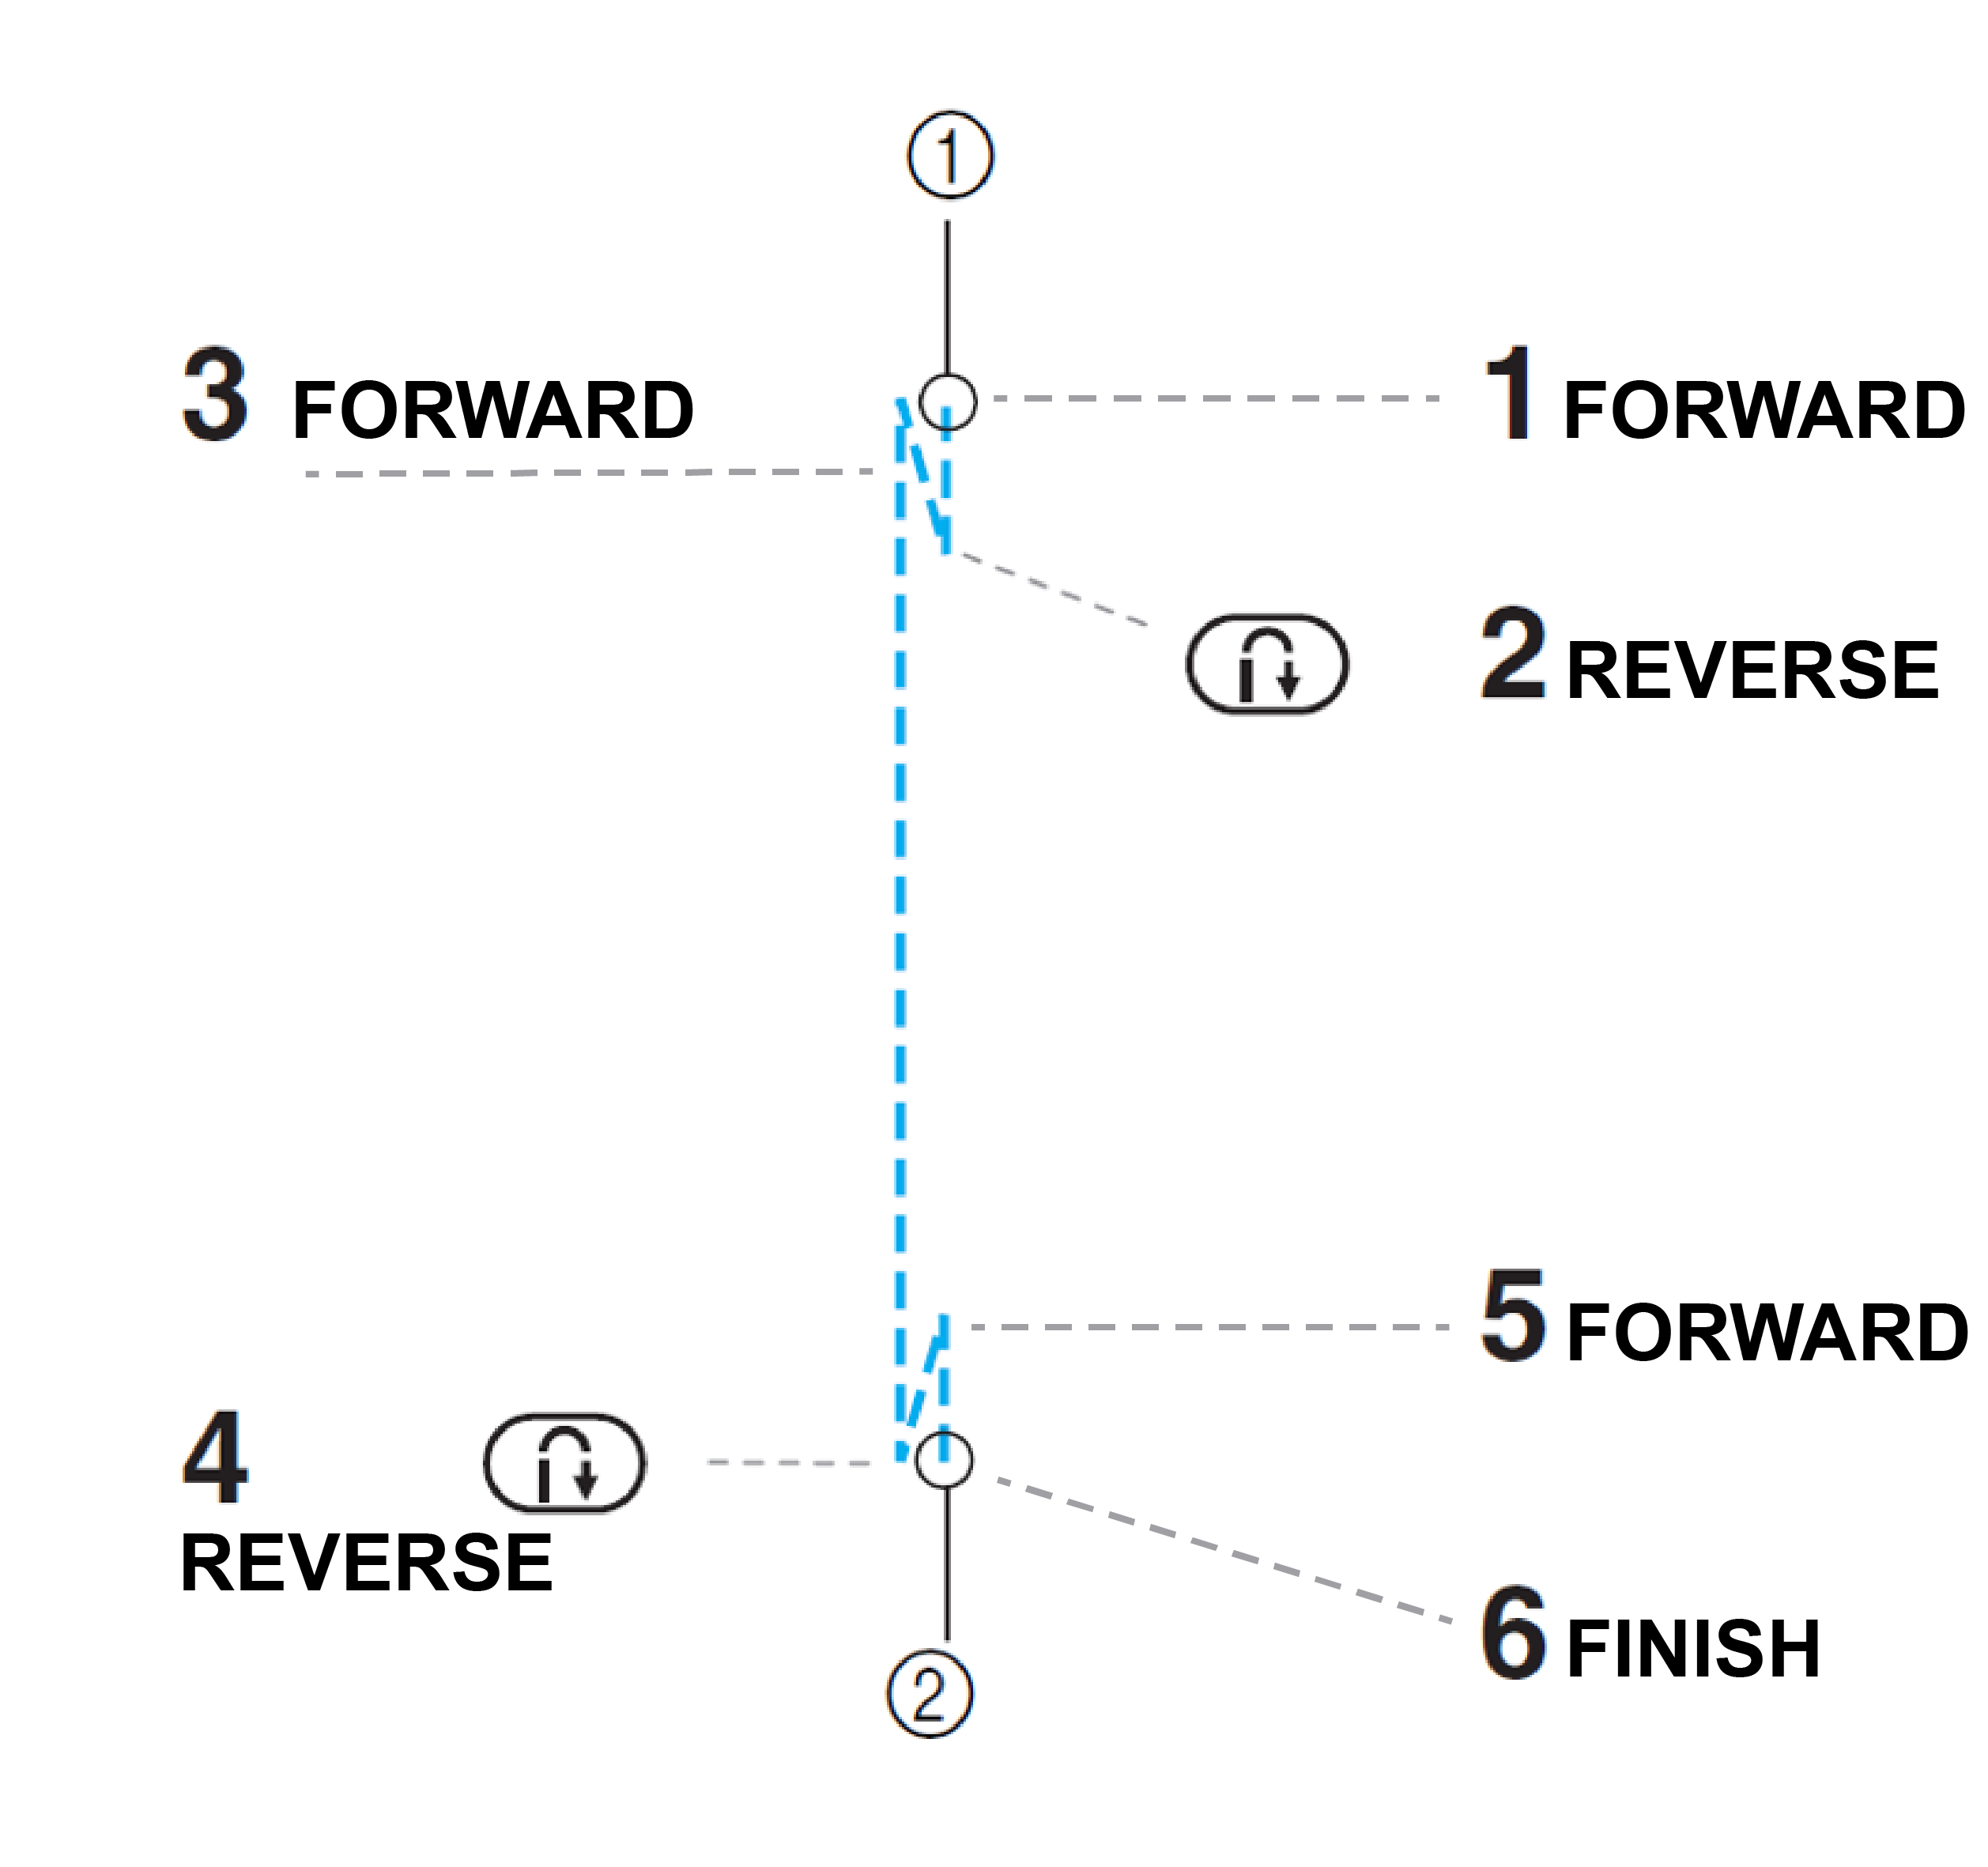
Use the foot pedal to sew three or four stitches, then press the reverse button to go back for three or four stitches. This secures your thread.
Sew forward along your line until you get to the end.
At the end of the line, press the reverse button and go back three or four stitches. Then go forward three or four stitches again to the end of the line.
