Course navigation
Preparing Your File for Laser Cutting
Set up your file following the laser cutting conventions appropriate to your laser cutter and save it in the correct file format.
Step 1
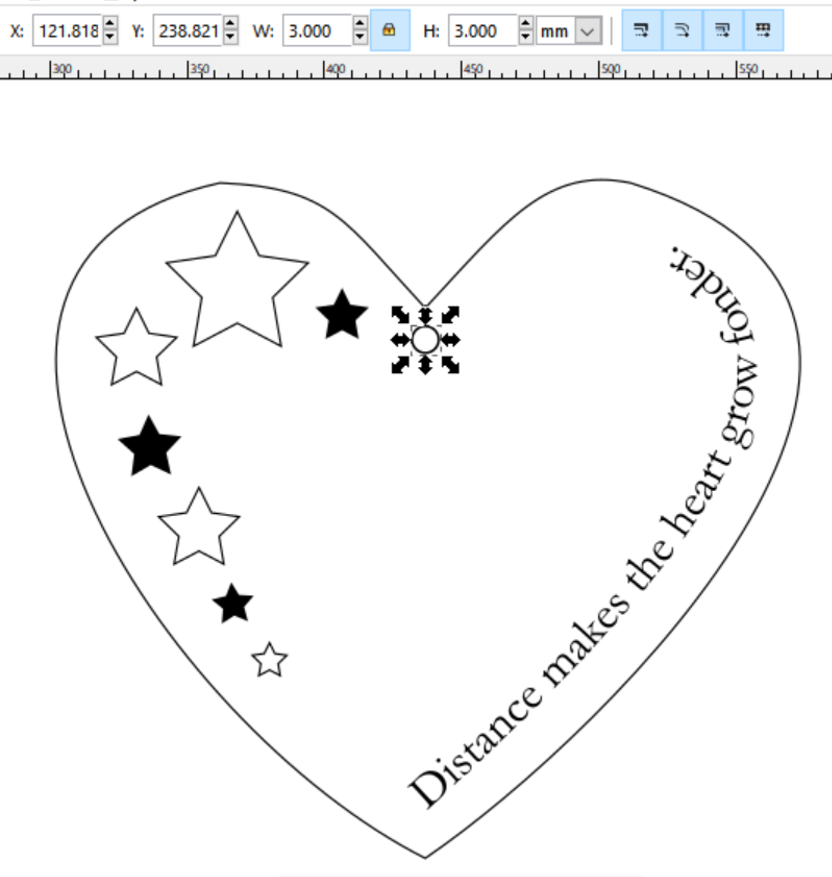
Check that your ornament is set to the size at which you would like to have it cut using the dimensions tool.
Make sure to select all the parts of your design to scale them proportionately. The ideal size is between 60-80mm.
To ensure that you can hang your ornament once cut, make sure to add a 3mm x 3mm circle at the top of your ornament.
Step 2
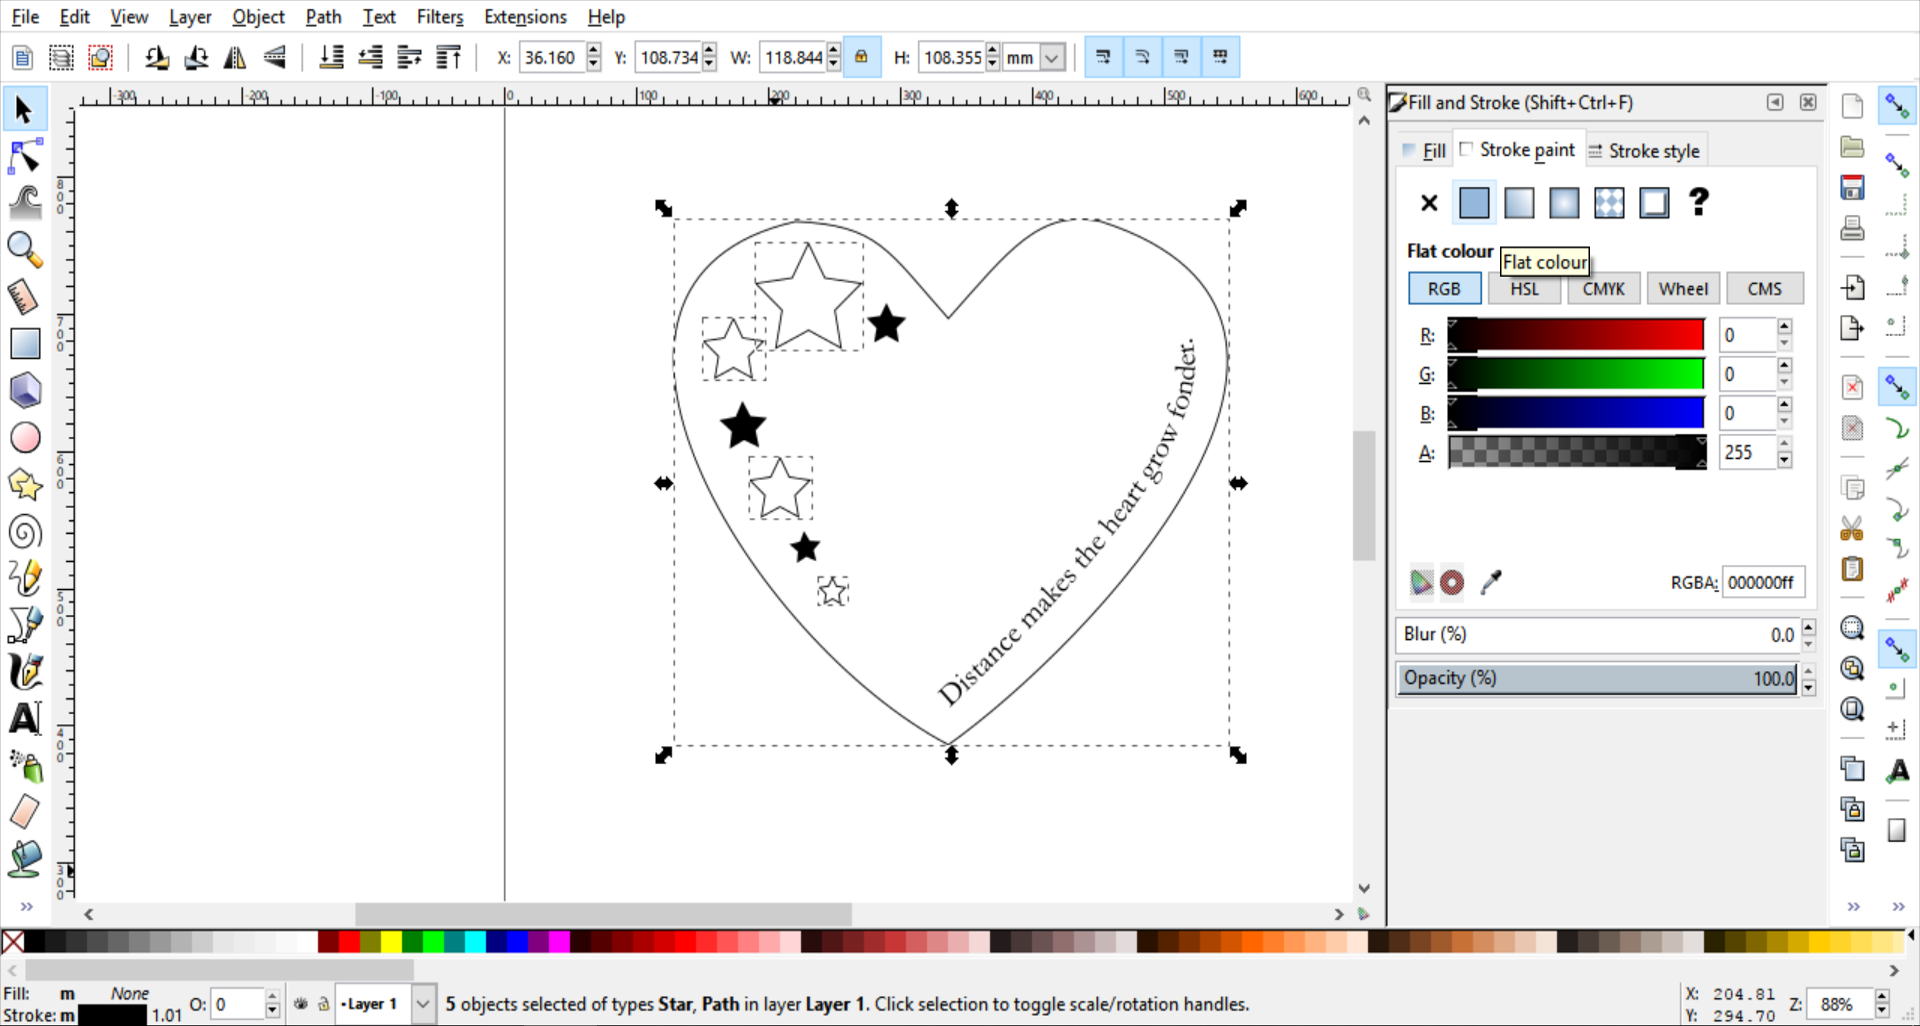
Decide which parts of the design will be cut through and which parts will be surface etched.
Using the Fill and Stroke dialogue box, select any parts of your design to be cut through and set them as No Paint in the Fill Menu and Flat Colour, RGB Black (R0, G0, B0) in the Stroke Paint menu.
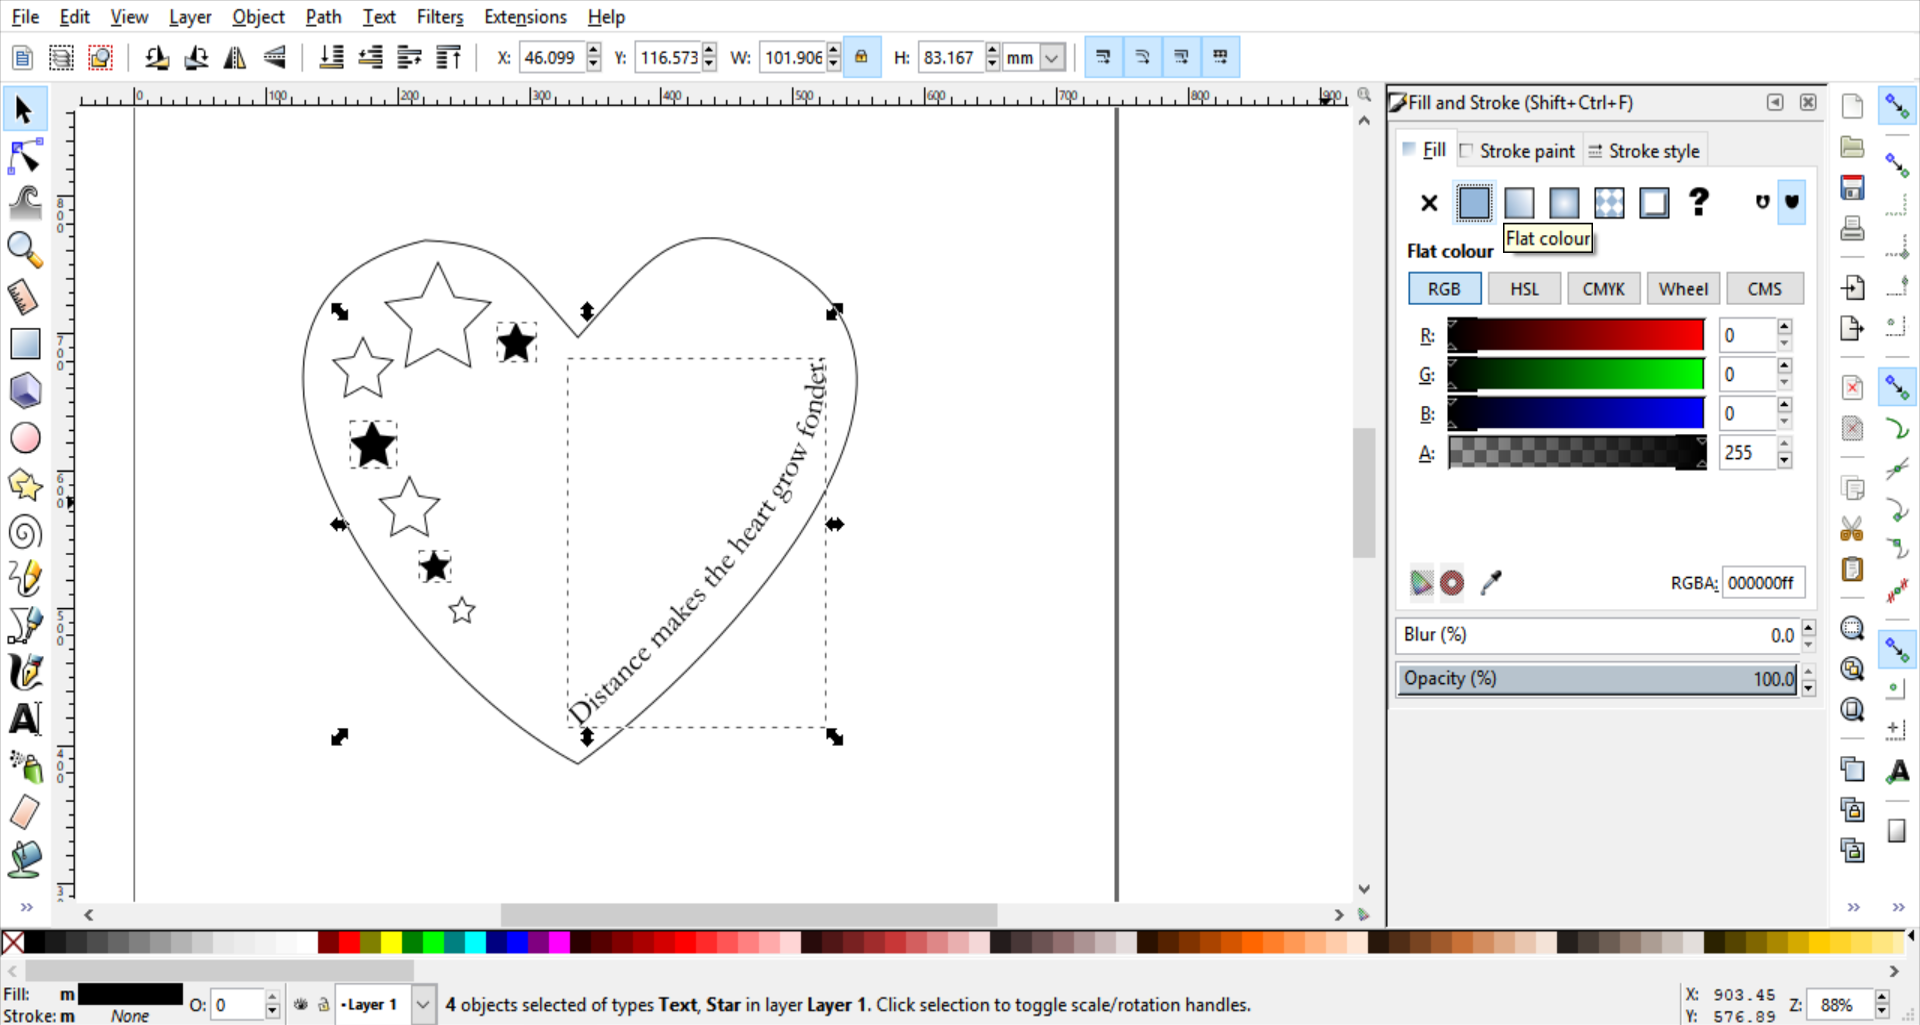
Select any parts of the design to be etched and set them as No Paint in the Stroke Paint menu and Flat Colour, RGB Black (R0, B0, G0) in the Fill menu.
Step 3
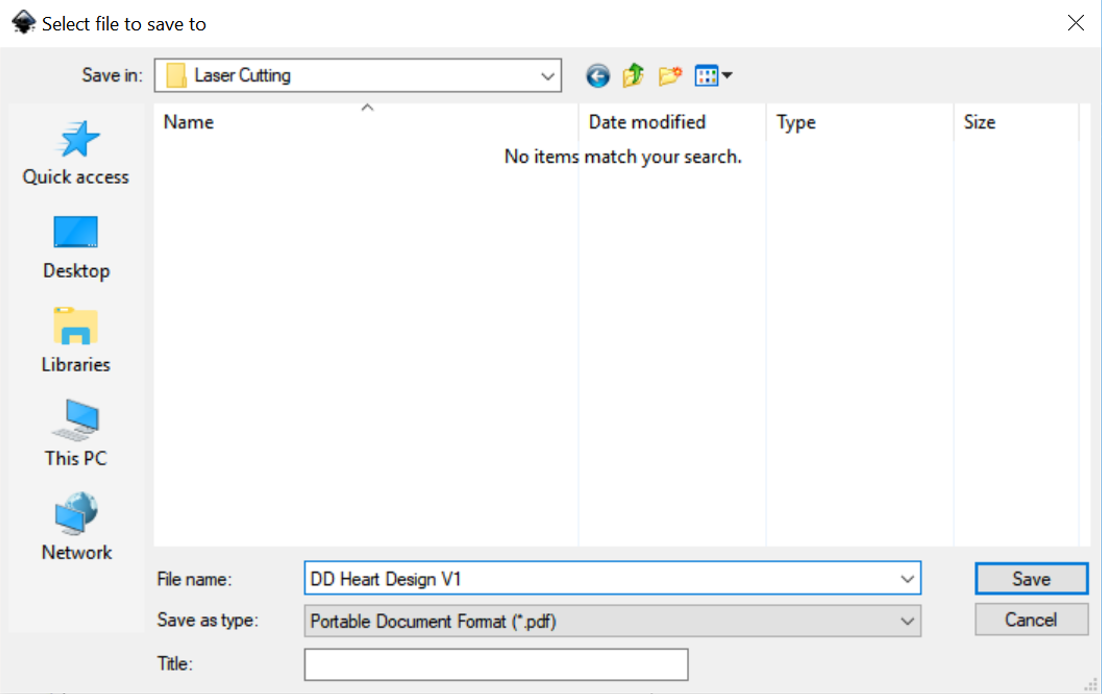
Make sure that your artwork is sitting in the centre of the background document then select File>Save As.
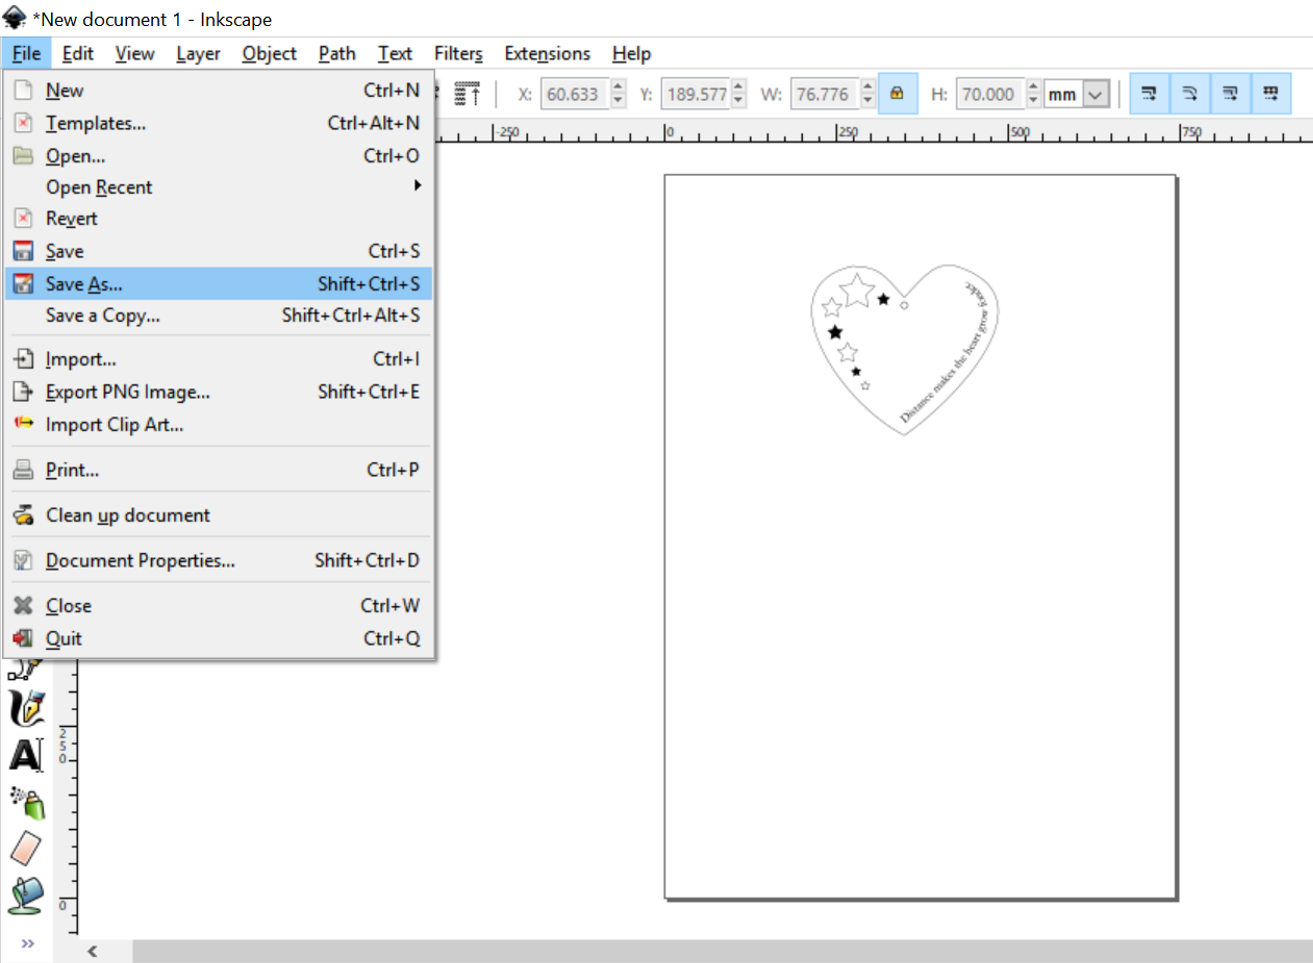
Select your USB key, give your file a memorable name and save it as a .PDF file.