Course navigation
Machine Settings
Select the appropriate focus and home settings based on your material and design. Set up your machine ready for laser cutting.
Step 1
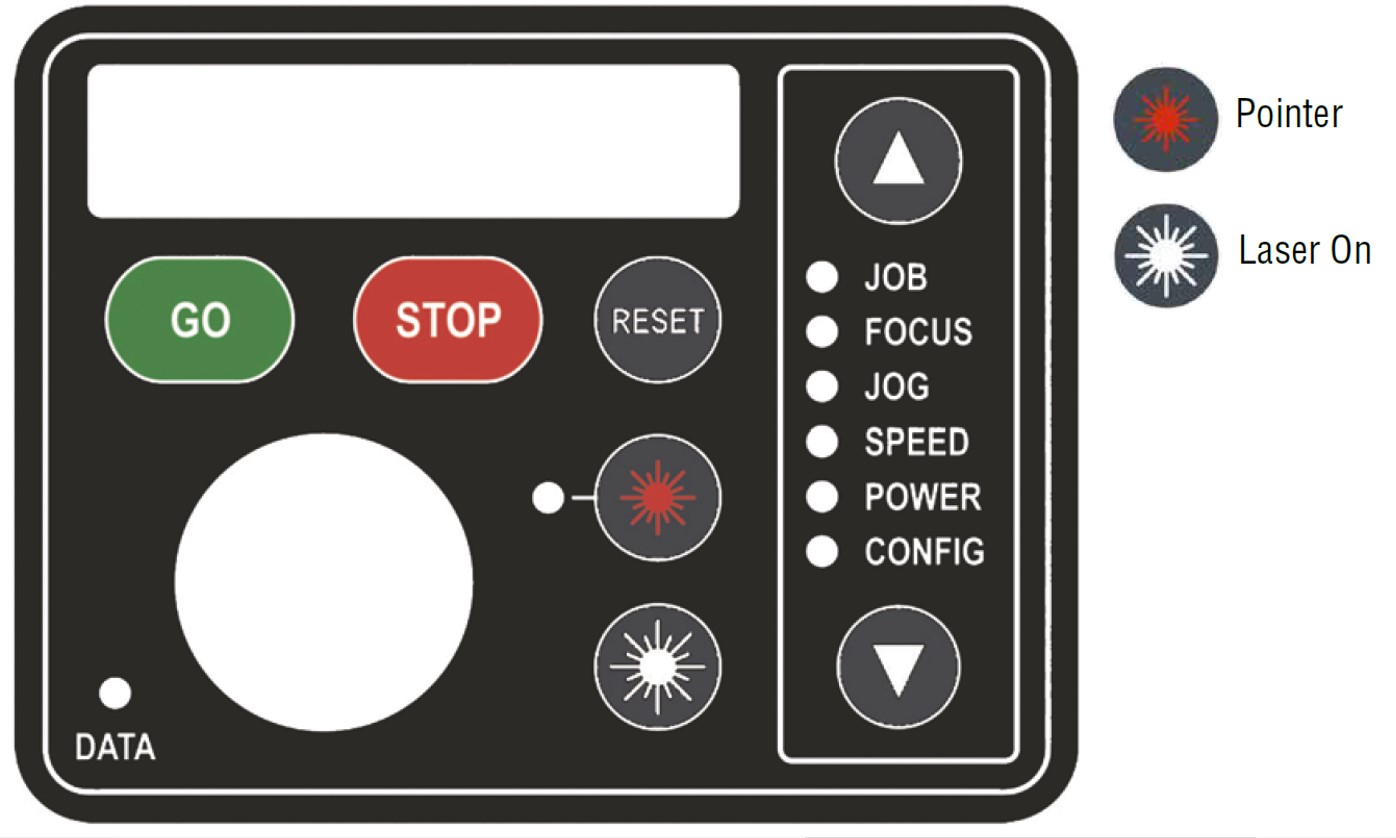
Check that your job has come through on the LCD display of the laser cutter (the job number will increase with each file you send to print).
Open the top cover of the laser cutter and place your sheet material lined up to the top left corner.
Step 2
Set the focus on your material by selecting the Jog menu on the laser cutter’s control panel.

Use the joystick to move the laser carriage left/right and front/back until you have it positioned in the centre of your material.
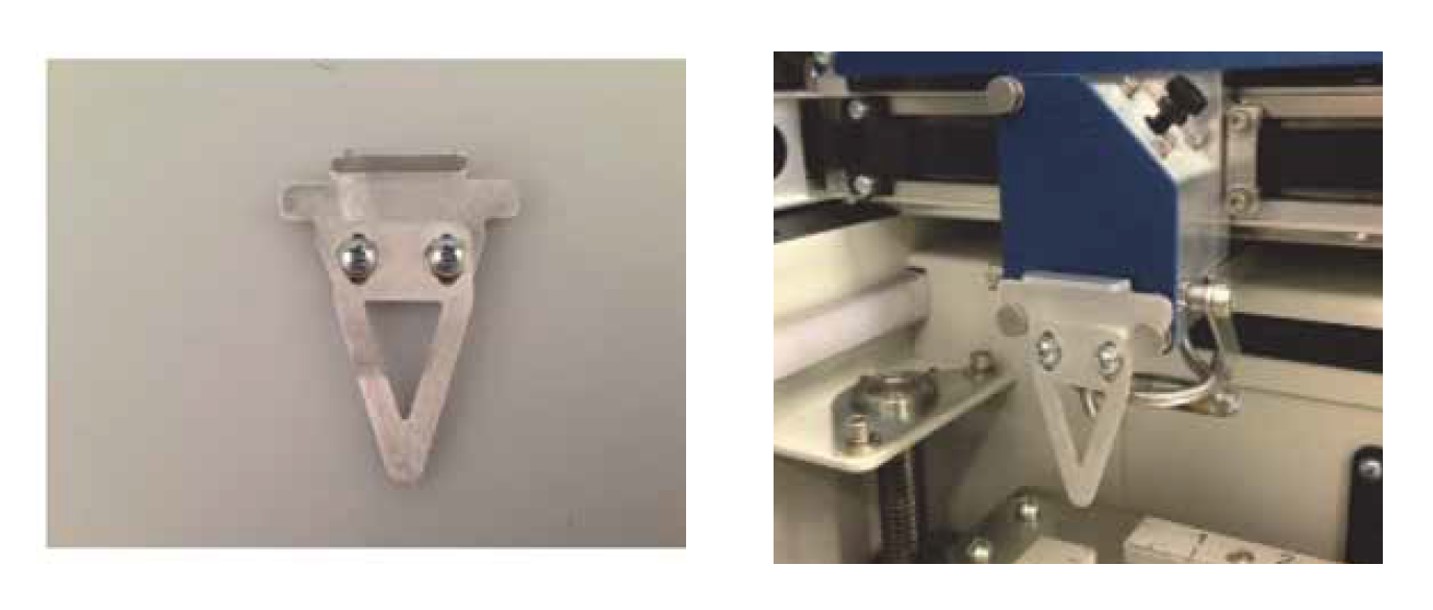
Place the focus tool in position on the laser carriage

Select the Focus menu on the laser cutter’s control panel.
The Focus menu allows you to manually set the table to the correct height for engraving. With Focus highlighted, use the joystick to move the table up or down until the tip of the focus tool touches the material. This will signify that you are at the correct focal height and you can remove the focus tool.
Step 3
You are now ready to set your homing position (0,0 on the x,y axis).
Switch on the red pointer on the laser cutter control panel.

This will shine a red dot on your material indicating where the laser will start cutting when fired.
Select the Jog menu and use the joystick to move the laser carriage front/back and left/right until you have the red dot lined up to the top left corner of material, leaving a margin of 2-3mm from the edges.
Once in position, press down once on the joystick to set your position. The LCD display will read Setting to register this command.
Step 4
You are now ready to cut your material.
Check that the Job menu is selected and the LCD screen is displaying the job you wish to cut.
Switch on the compressor and the extraction unit attached to the laser cutter.
Press GO on the laser cutter control panel and let the laser cutter run until the job is complete.
Remember: In the event of any issues, press STOP on the laser cutter controls to pause the job and STOP and RESET to cancel the job altogether.