Course navigation
Create a Photo Etching Graphic
Trace a photo using the greyscale settings in Trace Bitmap. Save your file ready for laser etching.
Step 1
Vector graphics can be created from photos, but before it can be traced, it needs to be altered.
Select a photograph with a sharp white background from personal images or find one online in Google images and save it to your desktop.
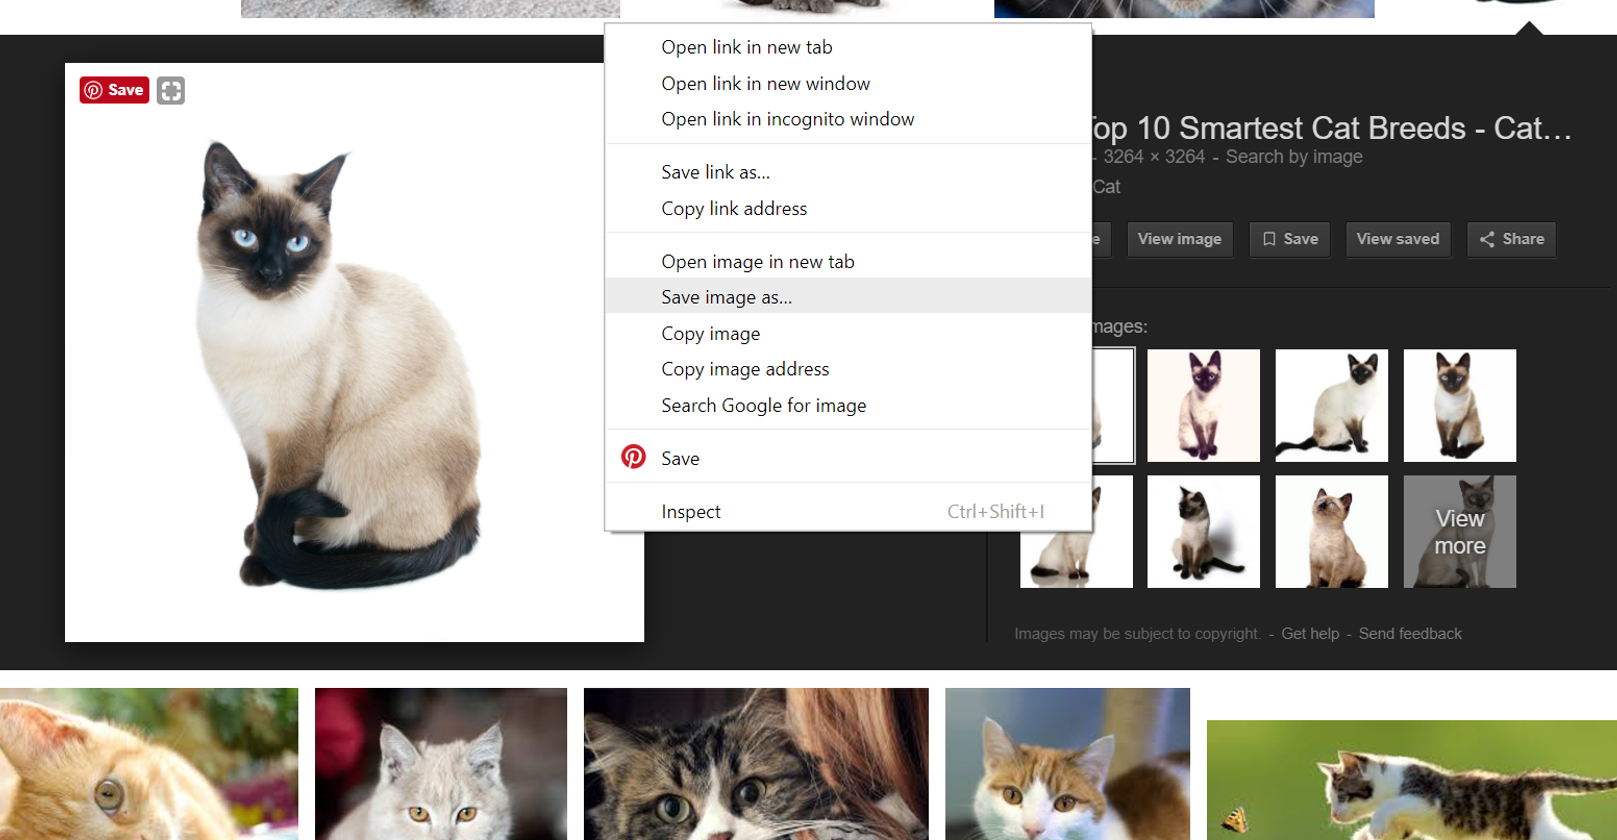
Select the Inkscape icon on your desktop and open a new document.
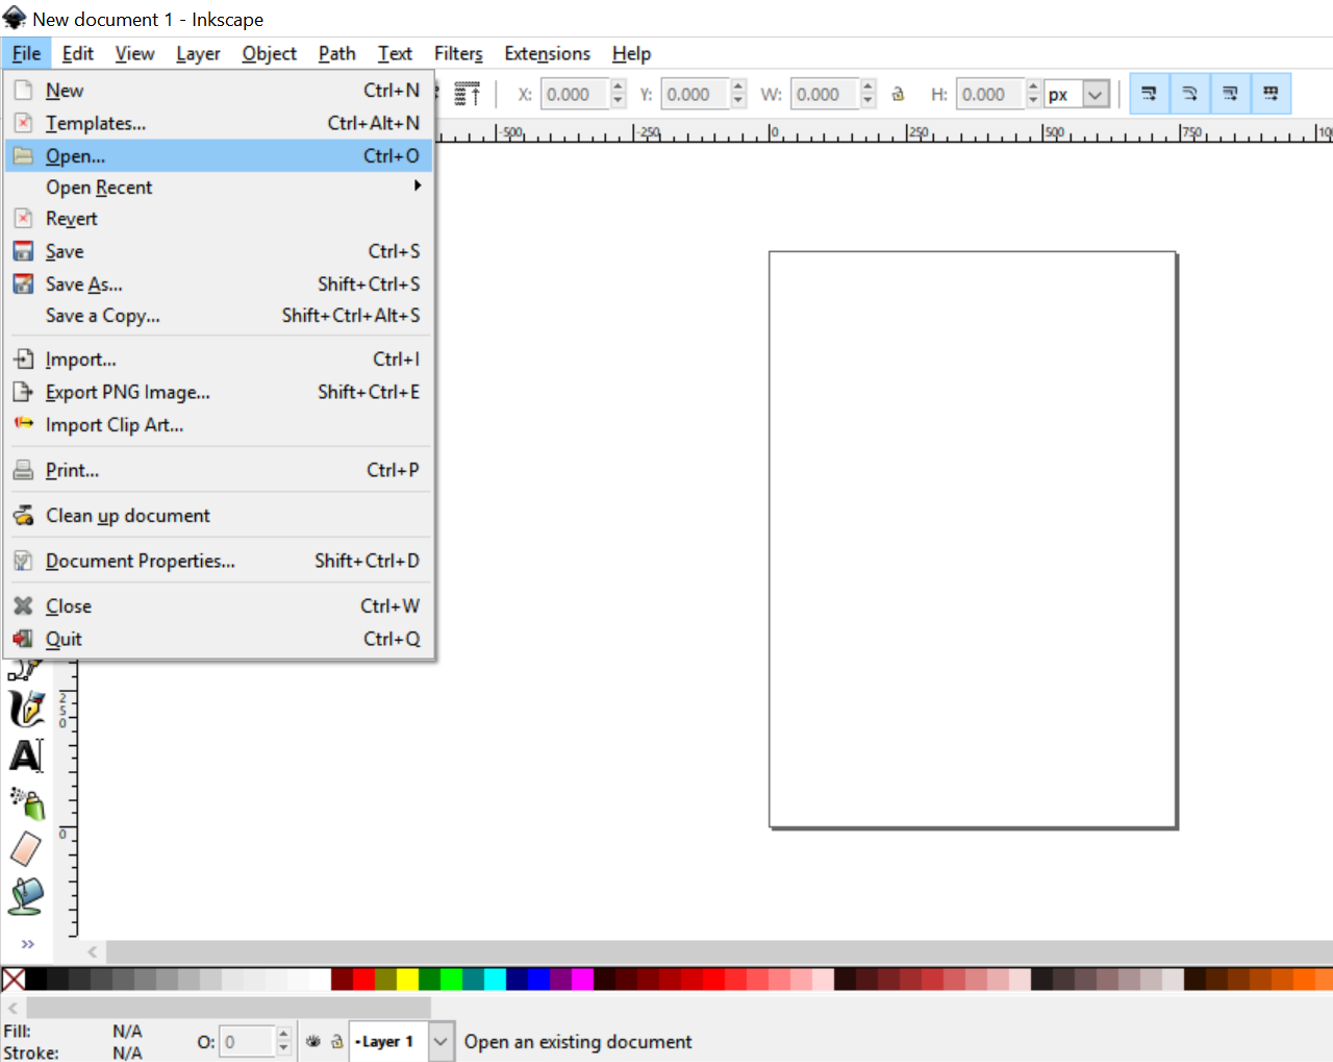
Select File>Open and open your photograph in the Inkscape document.
Step 2
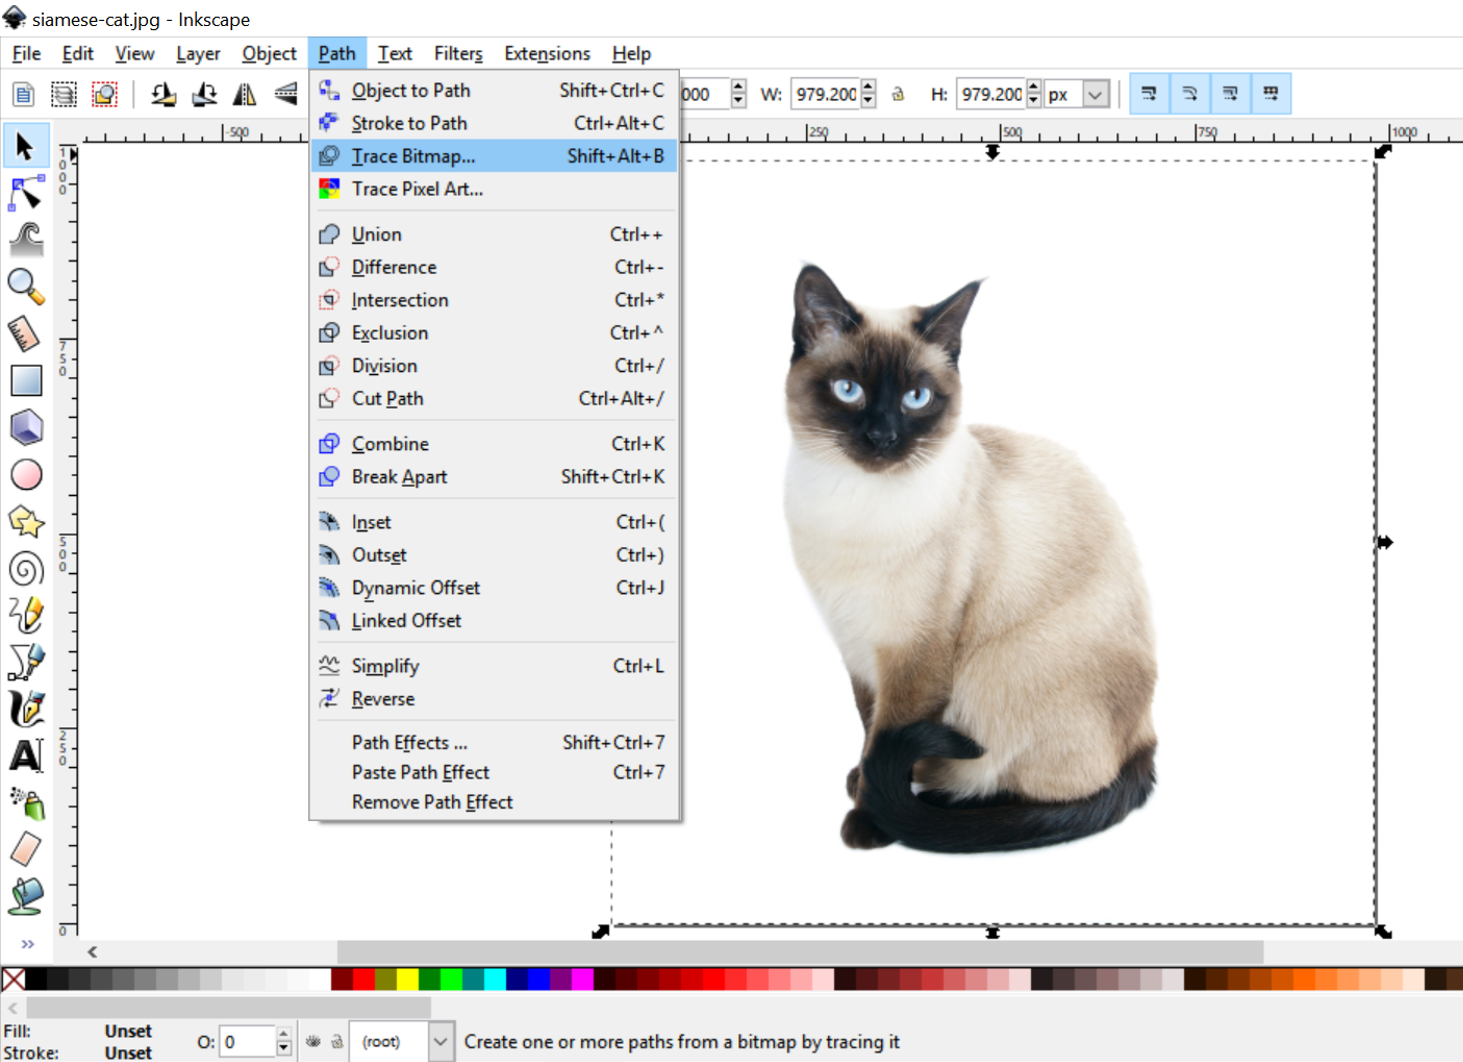
Select your image, click on the Path dropdown menu and select Trace Bitmap.
With your image still selected, select Greys in the Multiple Scans menu and press OK to execute the trace.
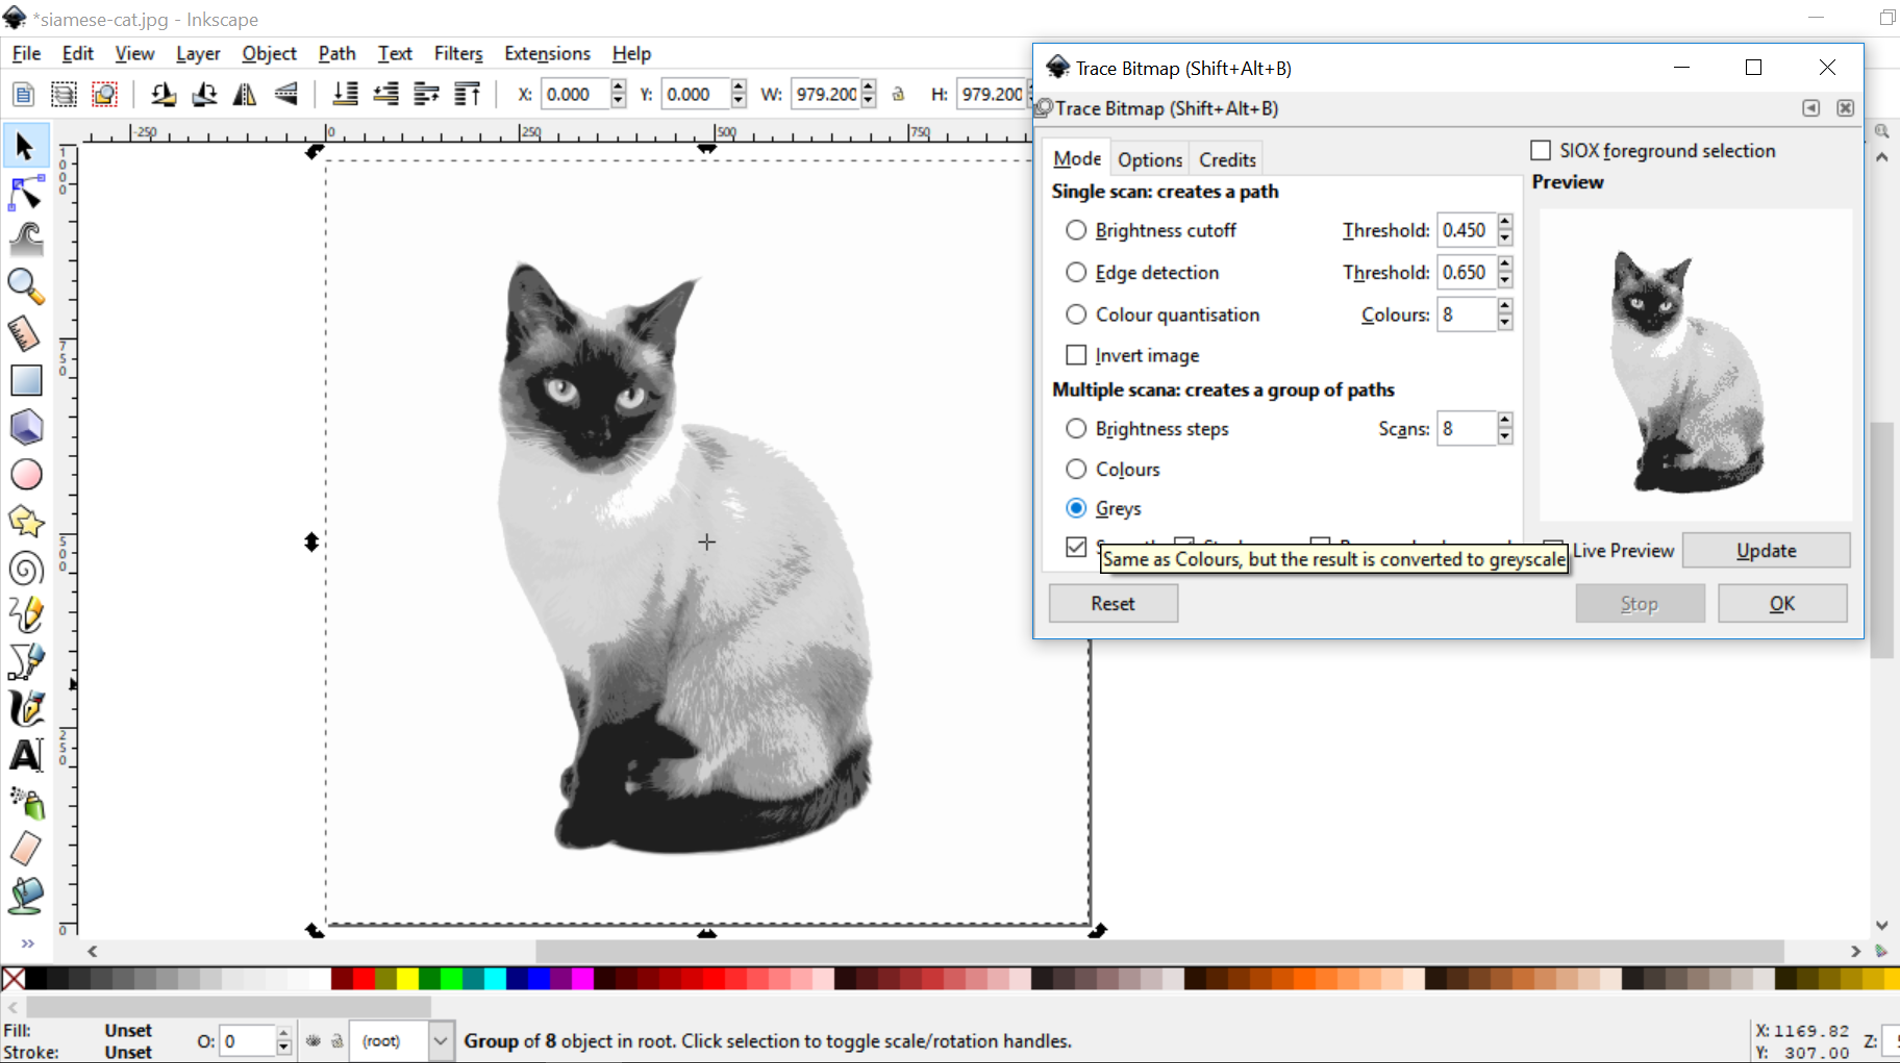
This will now convert the image to a greyscale vector graphic.
Close the dialogue box once the trace is complete.
Your vector trace will now be sitting on top of the original image.
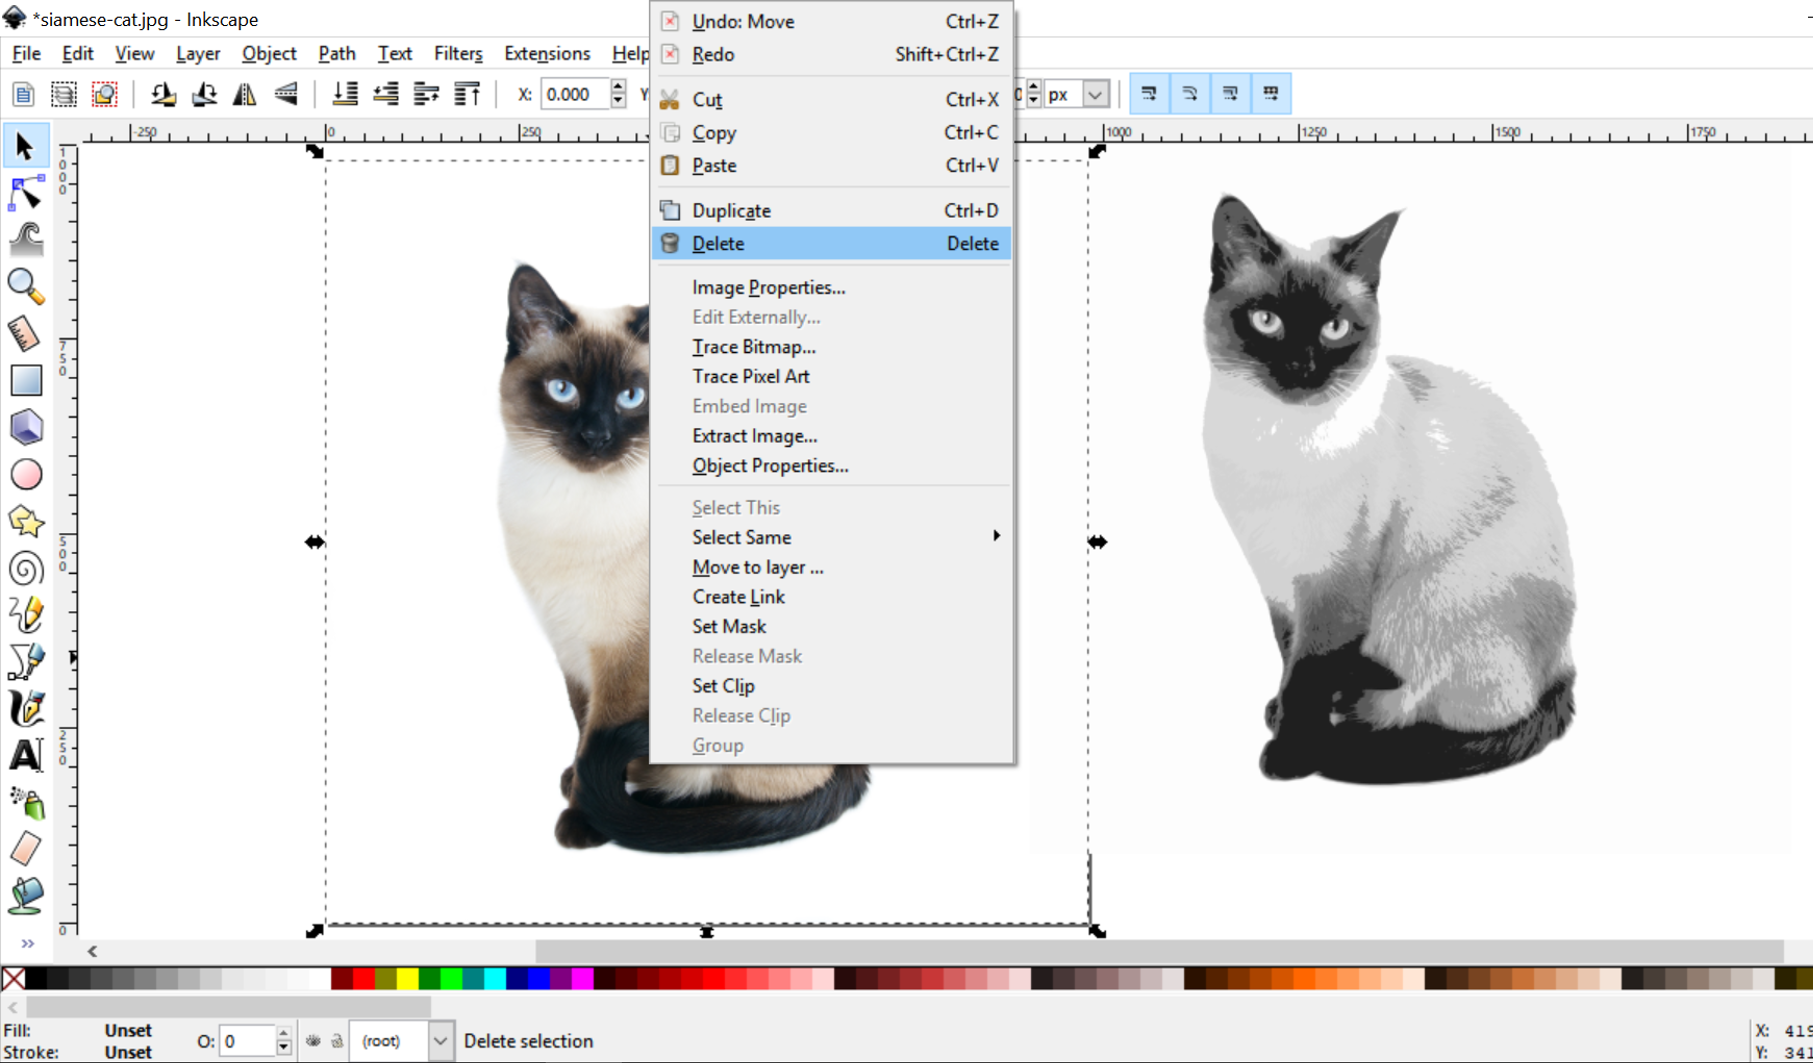
Click and drag on the trace to move it aside, then select your original image and delete it.
Step 3
Position your trace in the centre of the background document and select the image.
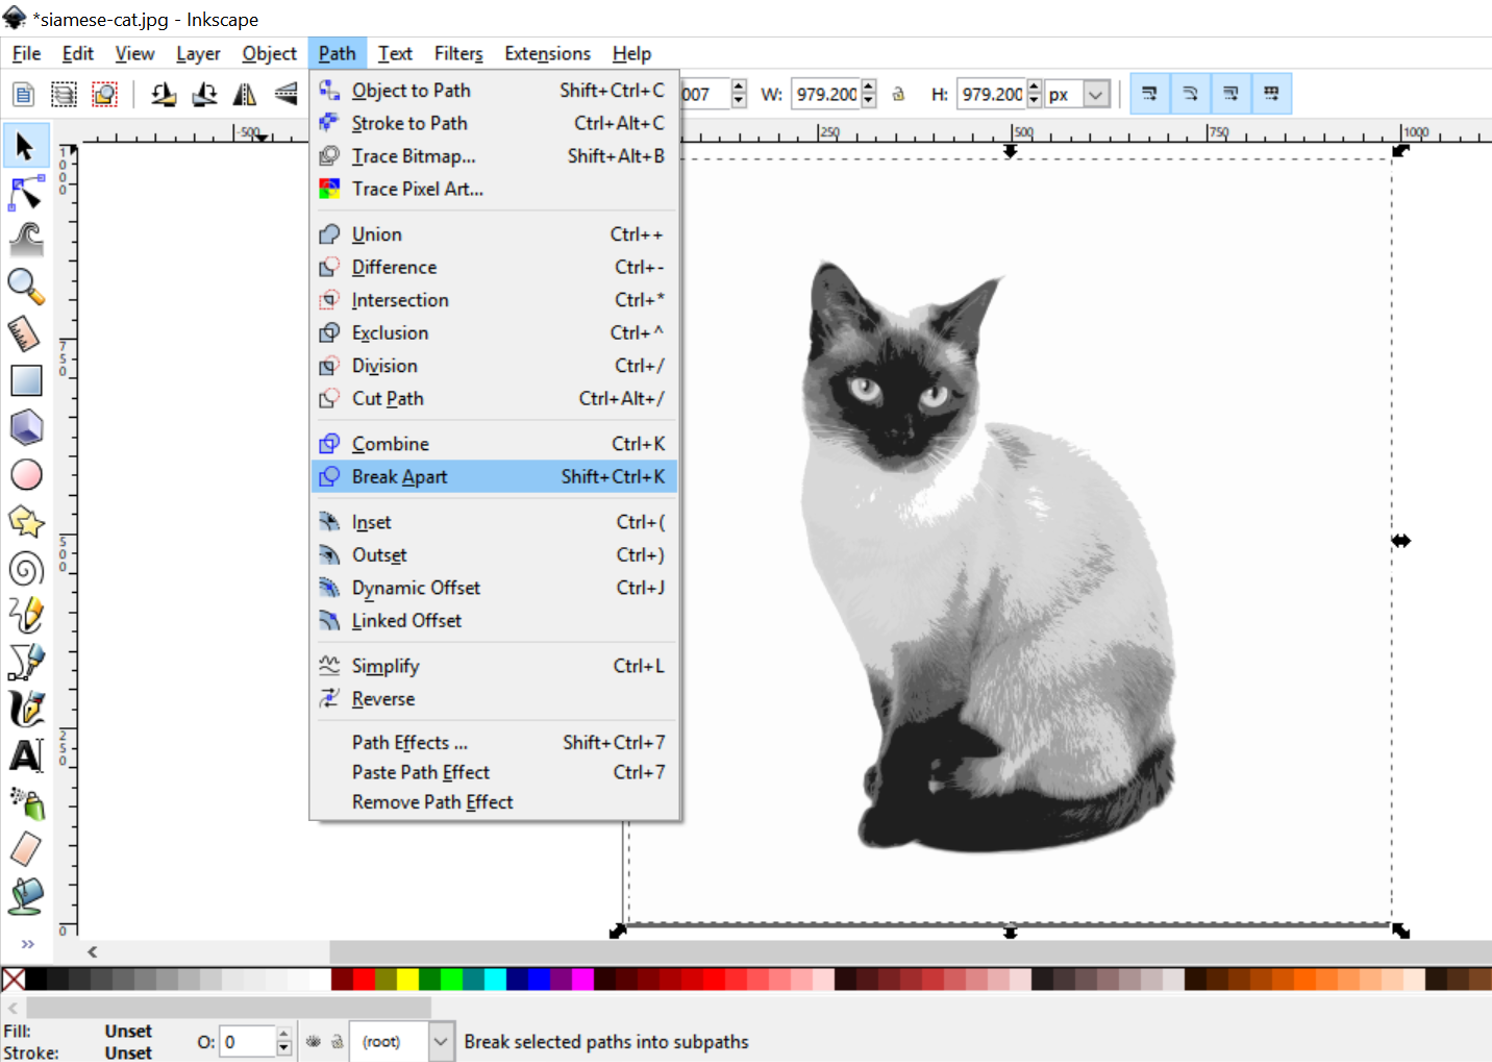
Select the Path dropdown menu and click Break Apart to break the image up into block of colours.
Select the Object dropdown menu and click Ungroup.
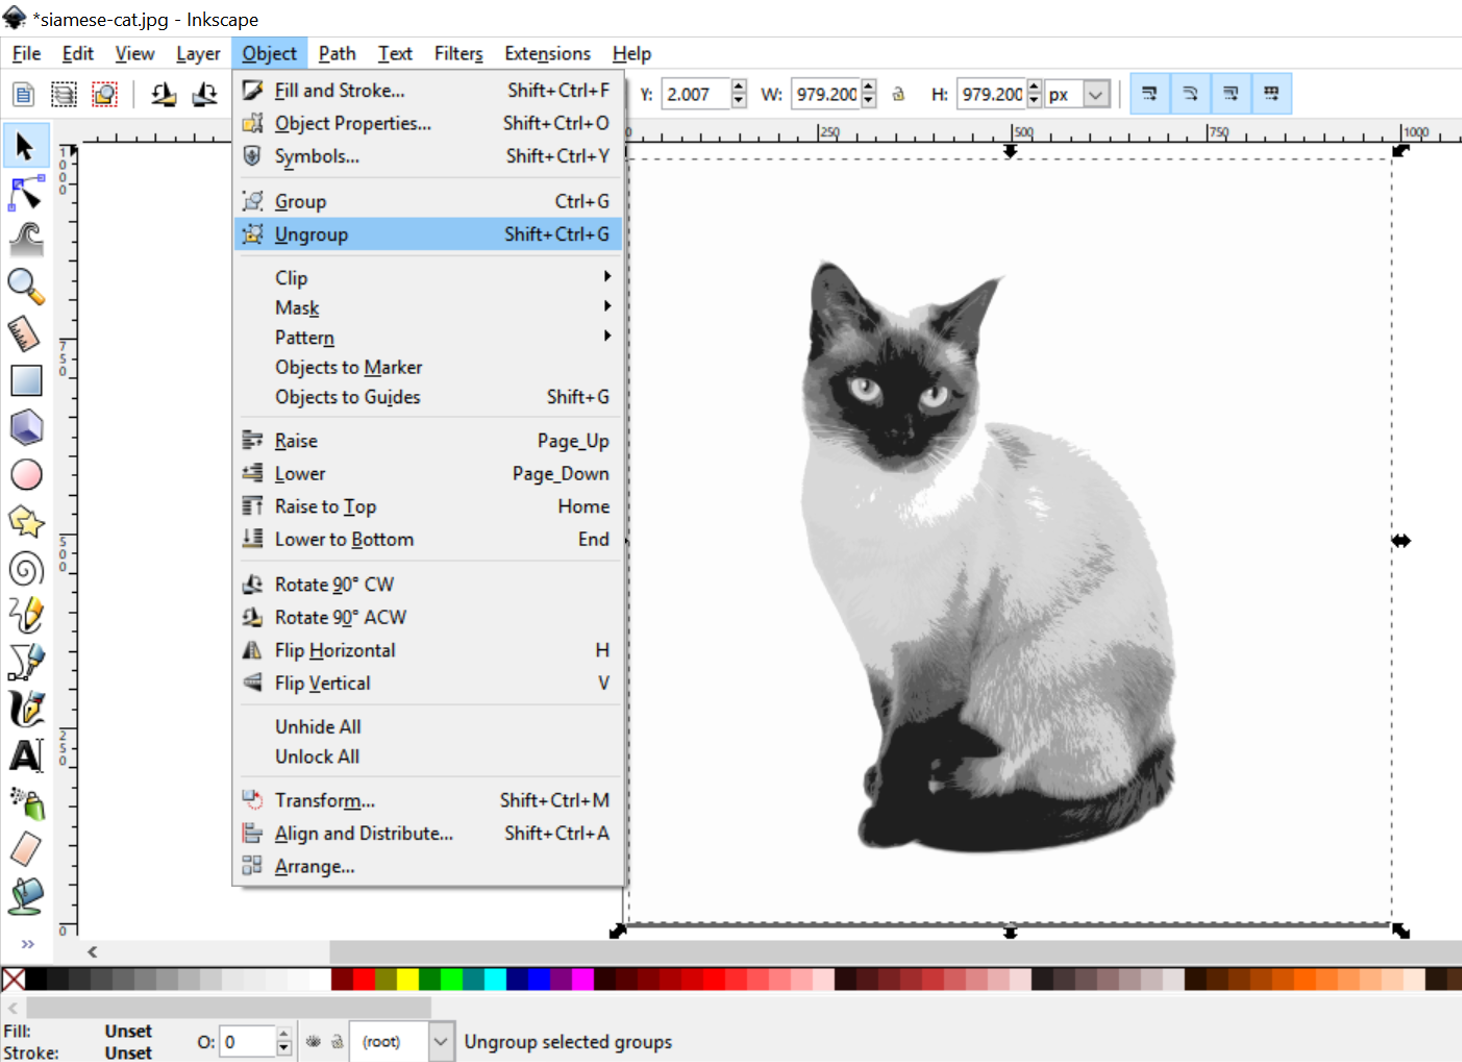
Select the background white by clicking on it and delete it.
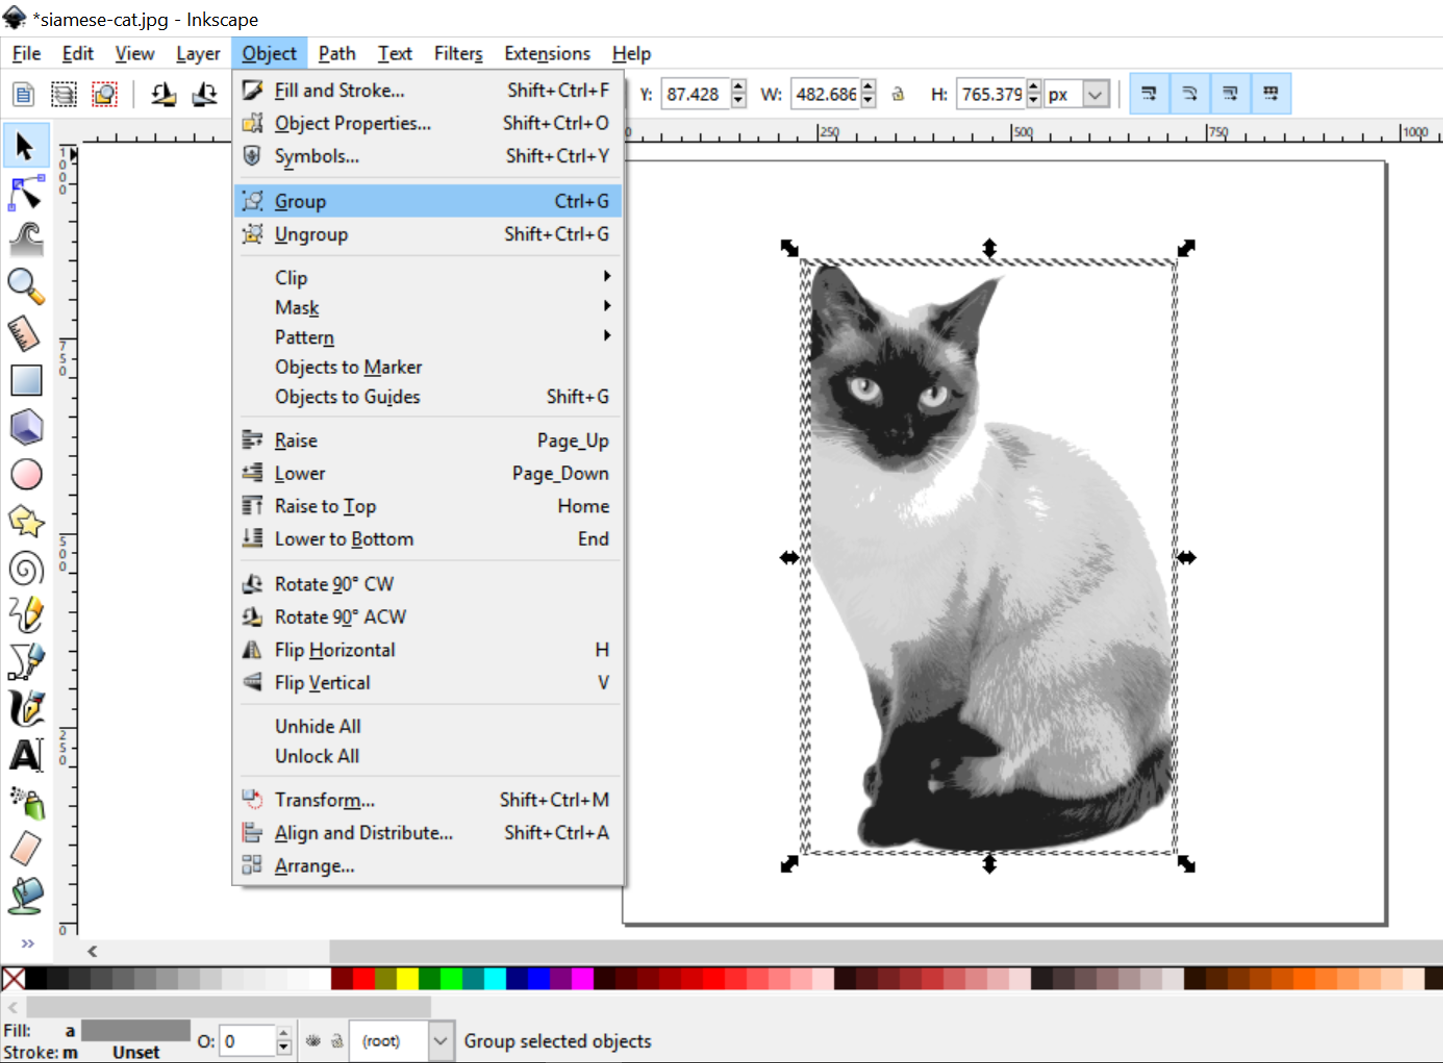
Draw a selection box around your whole picture and group them by selecting Object and then clicking group.
Save your image as a .PDF file with a memorable name.
This process will create crisp greyscale images ready for laser etching.