Course navigation
Trace a Photo Using Path Editing Tools
Use path editing tools to interpret a photograph and create a bold vector graphic using a mixture of vector outlines and fill areas.
Step 1
Another way of preparing a photo for laser cutting is to use Path Editing tools in Inkscape. This means manually tracing around your image to create the shape.
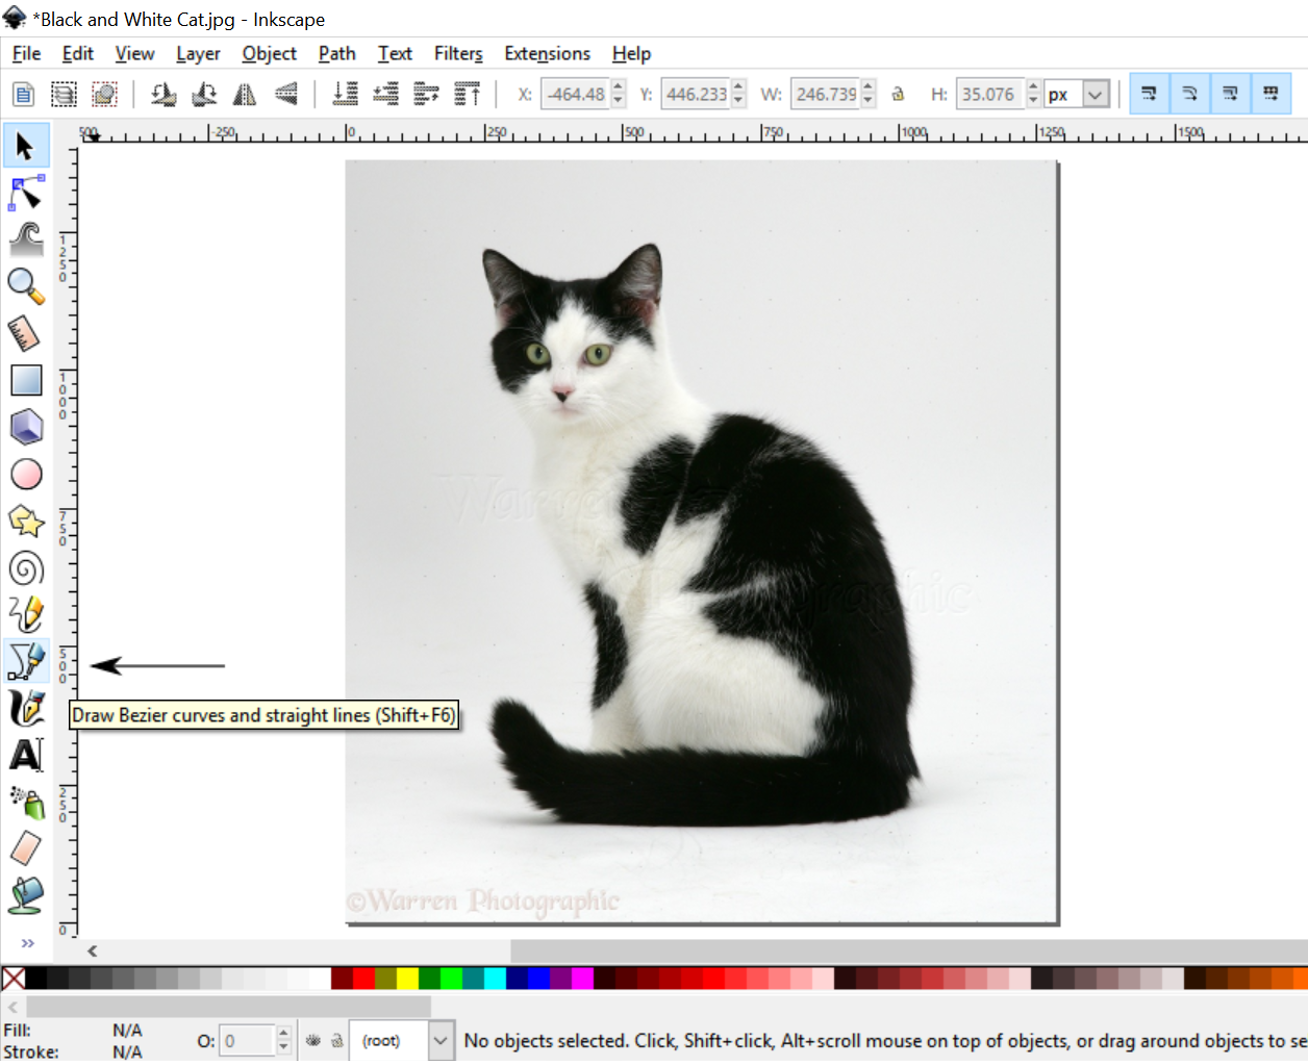
Select a colour photograph from personal images or find one online in Google images and save it to your desktop.
Open the image in a new Inkscape document.
Step 2
Select the Pen tool from the toolbar on the left of the screen.

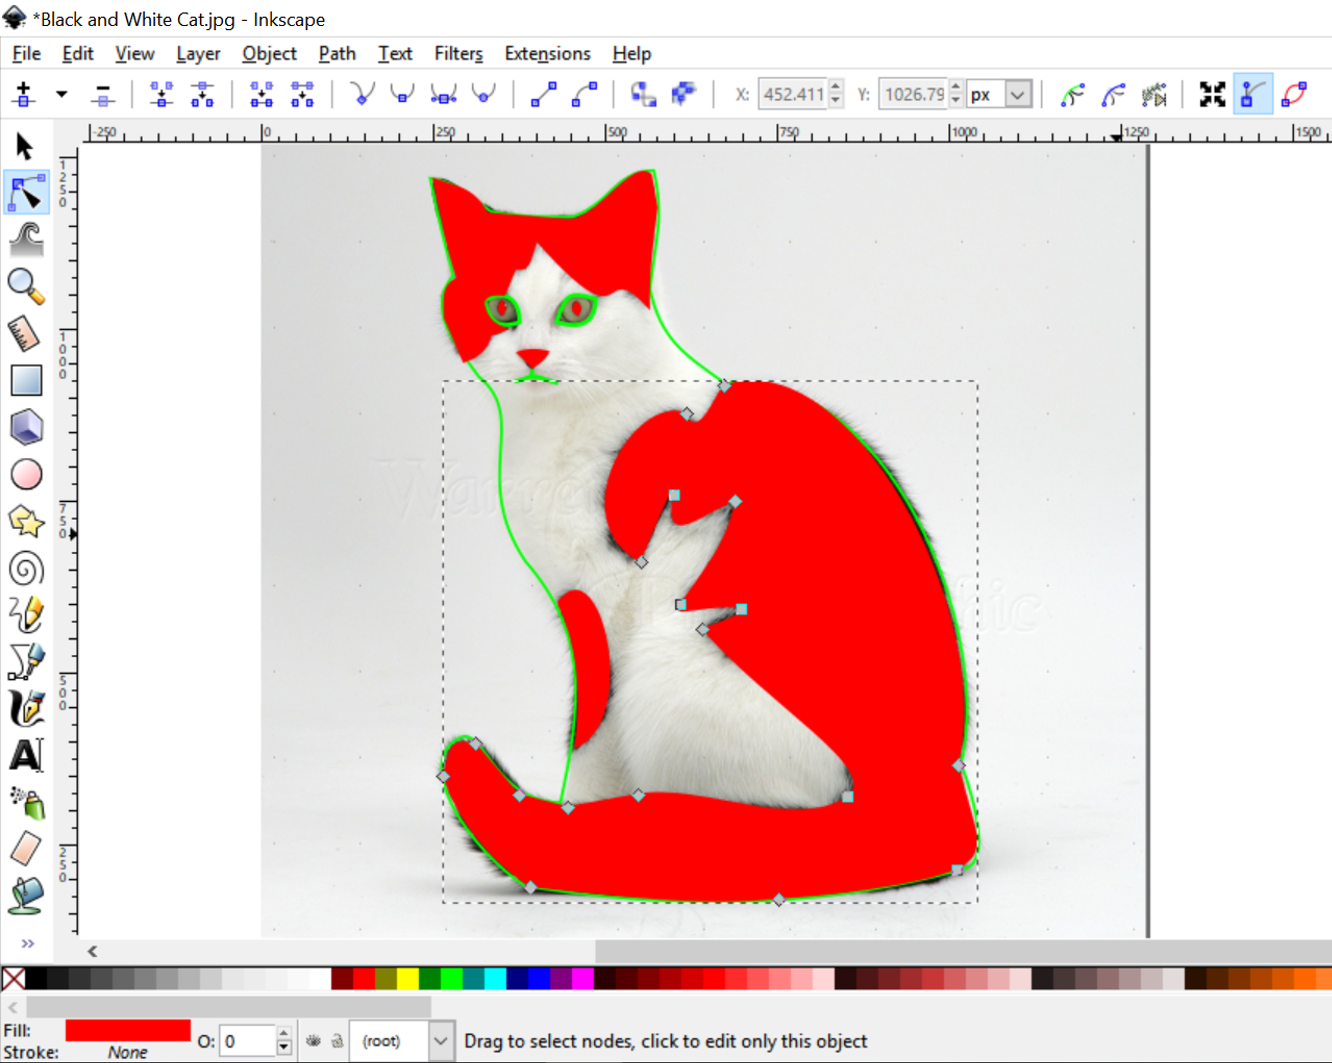
To draw an outline around your object click on the very edge of your image and then continue to click at points all the way along the outside until you get back to the start. When you get back to the beginning, click on the first point and your line should join up and appear selected.

Open the fill and stroke box (Ctrl+Shift+F) and set the Stroke to RGB Green (R0, G255, B0) for contrast.
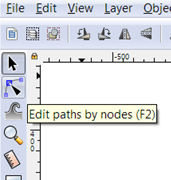
Use the Edit Path by Nodes tool to edit your outline and provide greater accuracy and rounder curves as required. You can click and move any point on the curve.
All the lines in RGB Green will be set as vector etching lines.

Select the Pen tool again and trace around any areas you would like to raster etch. These areas will appear as a different texture to the rest of the image. You can use this to show different colours or patterns in your photo.

Set the Fill to RGB Red (R255, G0, B0) with no Stroke.
Step 3
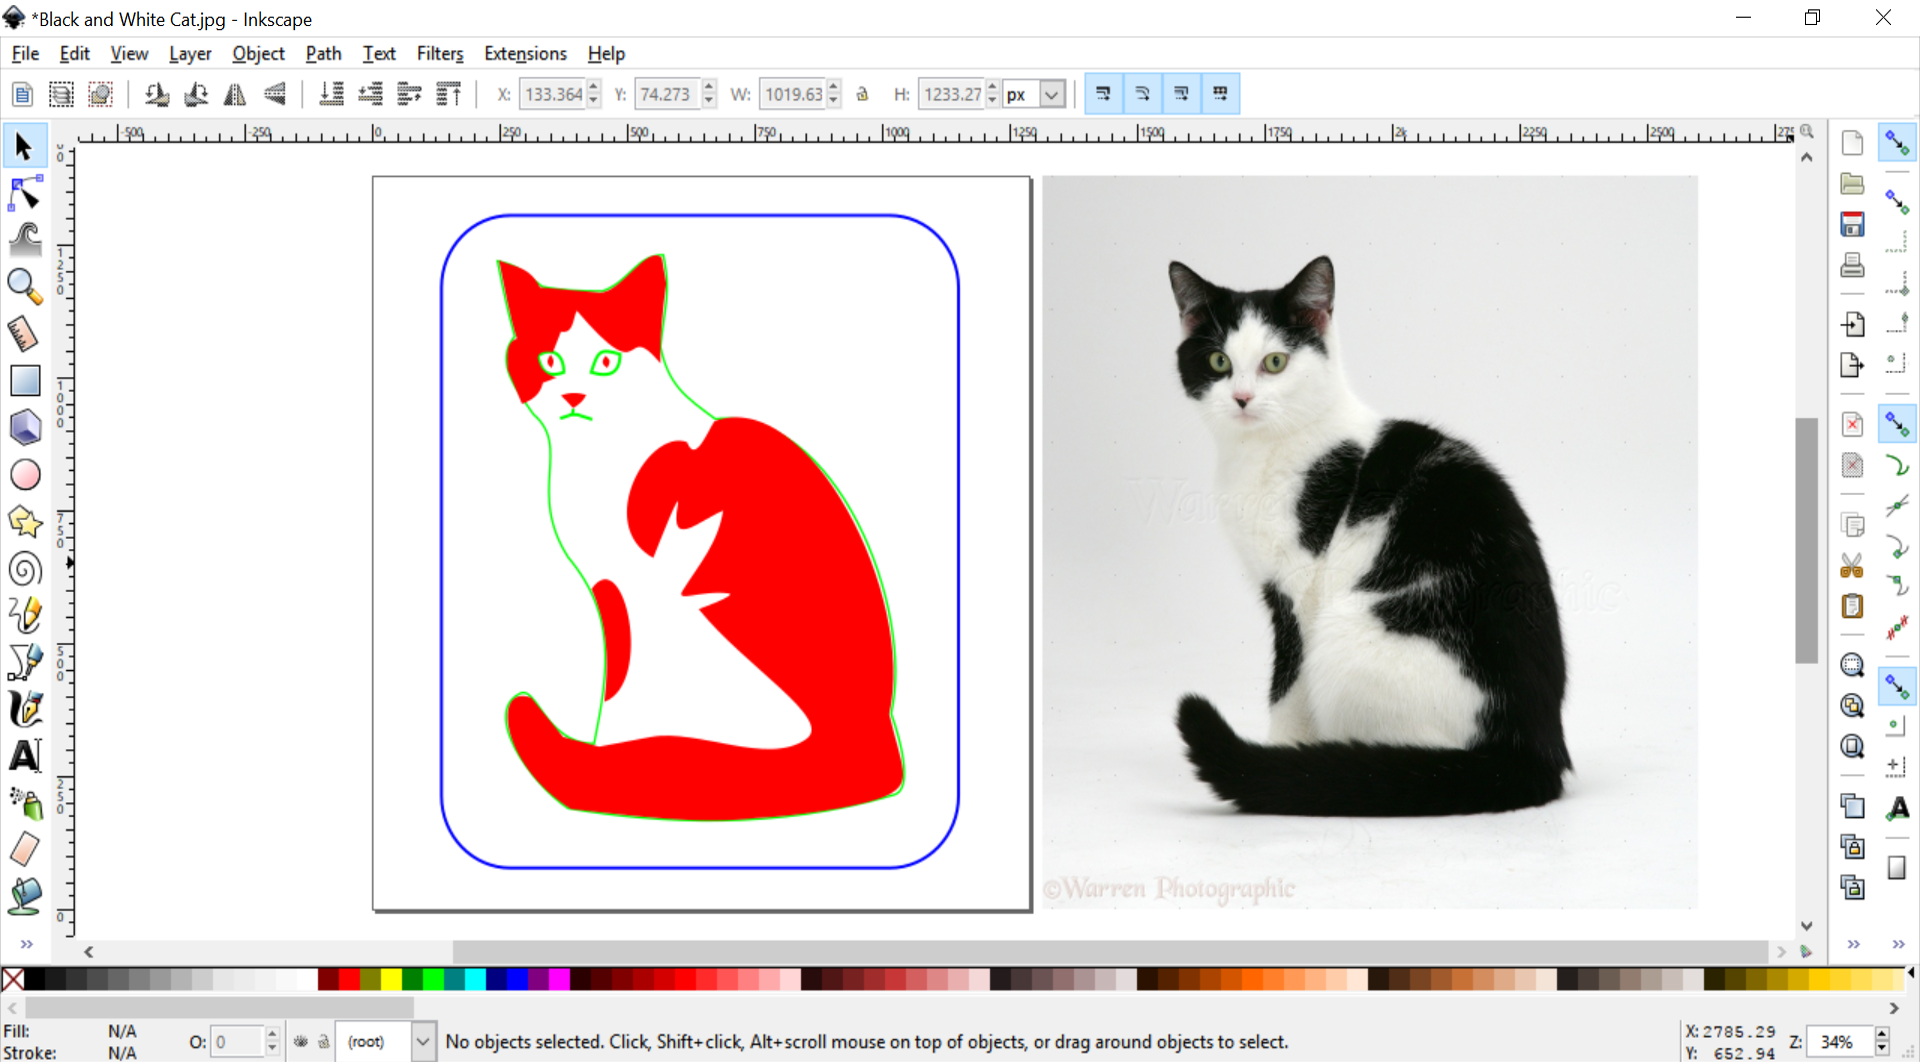
Check your edits by moving your background image to the side.
Once you’re happy, draw a vector cut outline using the line tool around your design. Make it RGB Blue (R0, G0, B255).
